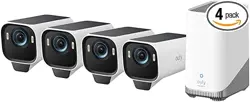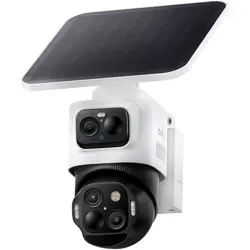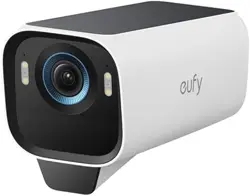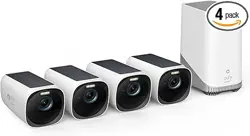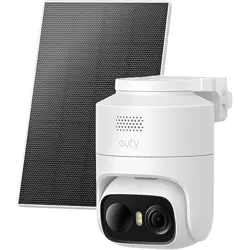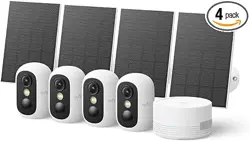

What's in the Box
At a Glance
Before Mounting
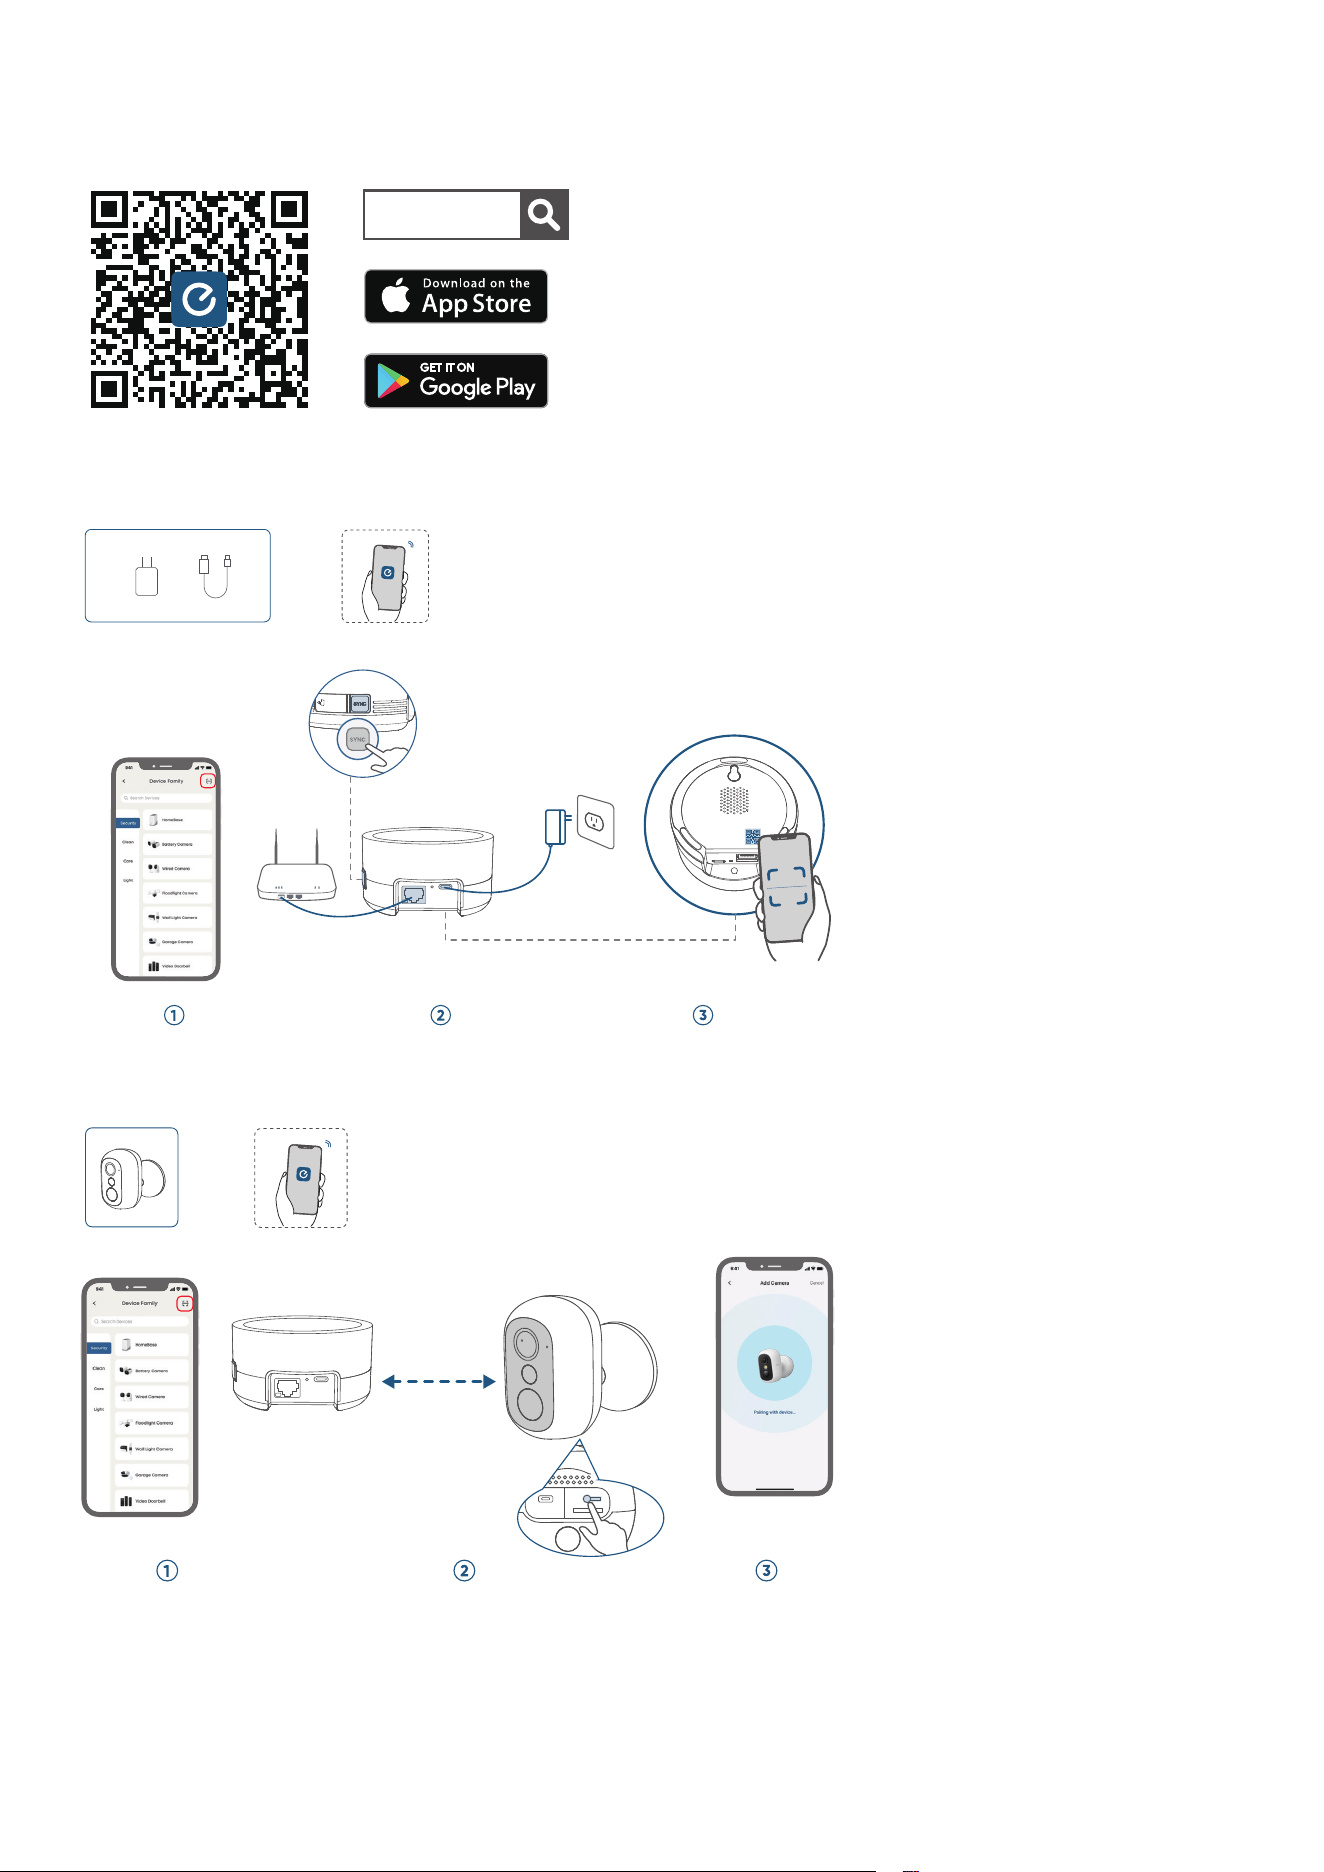
1. Download the eufy App
2. Add HomeBase Mini
3. Add the Camera
4. Fully Charge the Camera
5. Insert and Remove the microSD Card (Optional)
Before Mounting
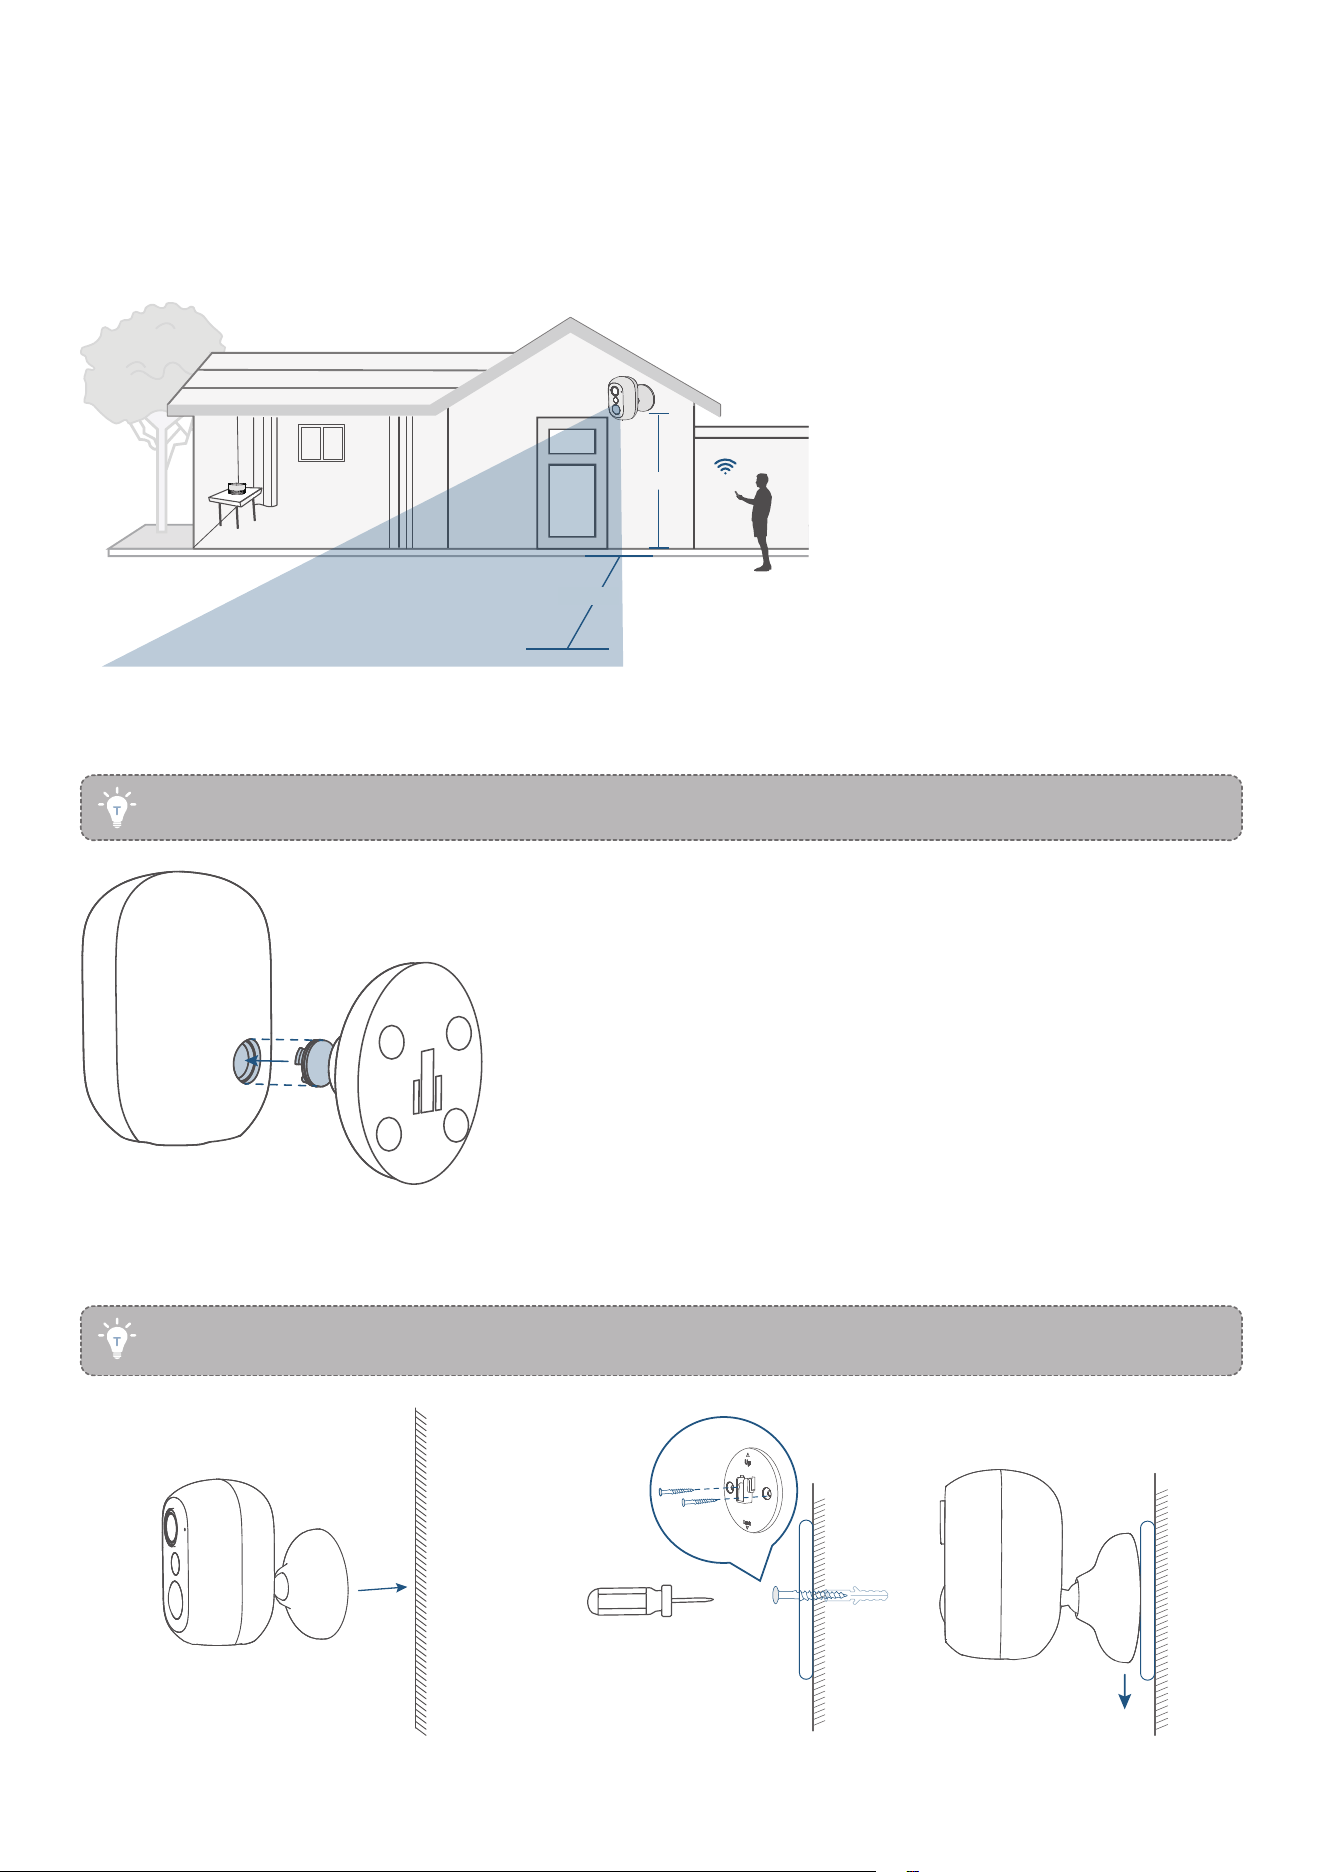
1. Choose a Location
2. Install the Mounting Bracket
3. Select a Mounting Option
4. Adjust the Camera Field of View
Detaching the Camera (Optional)
Notice
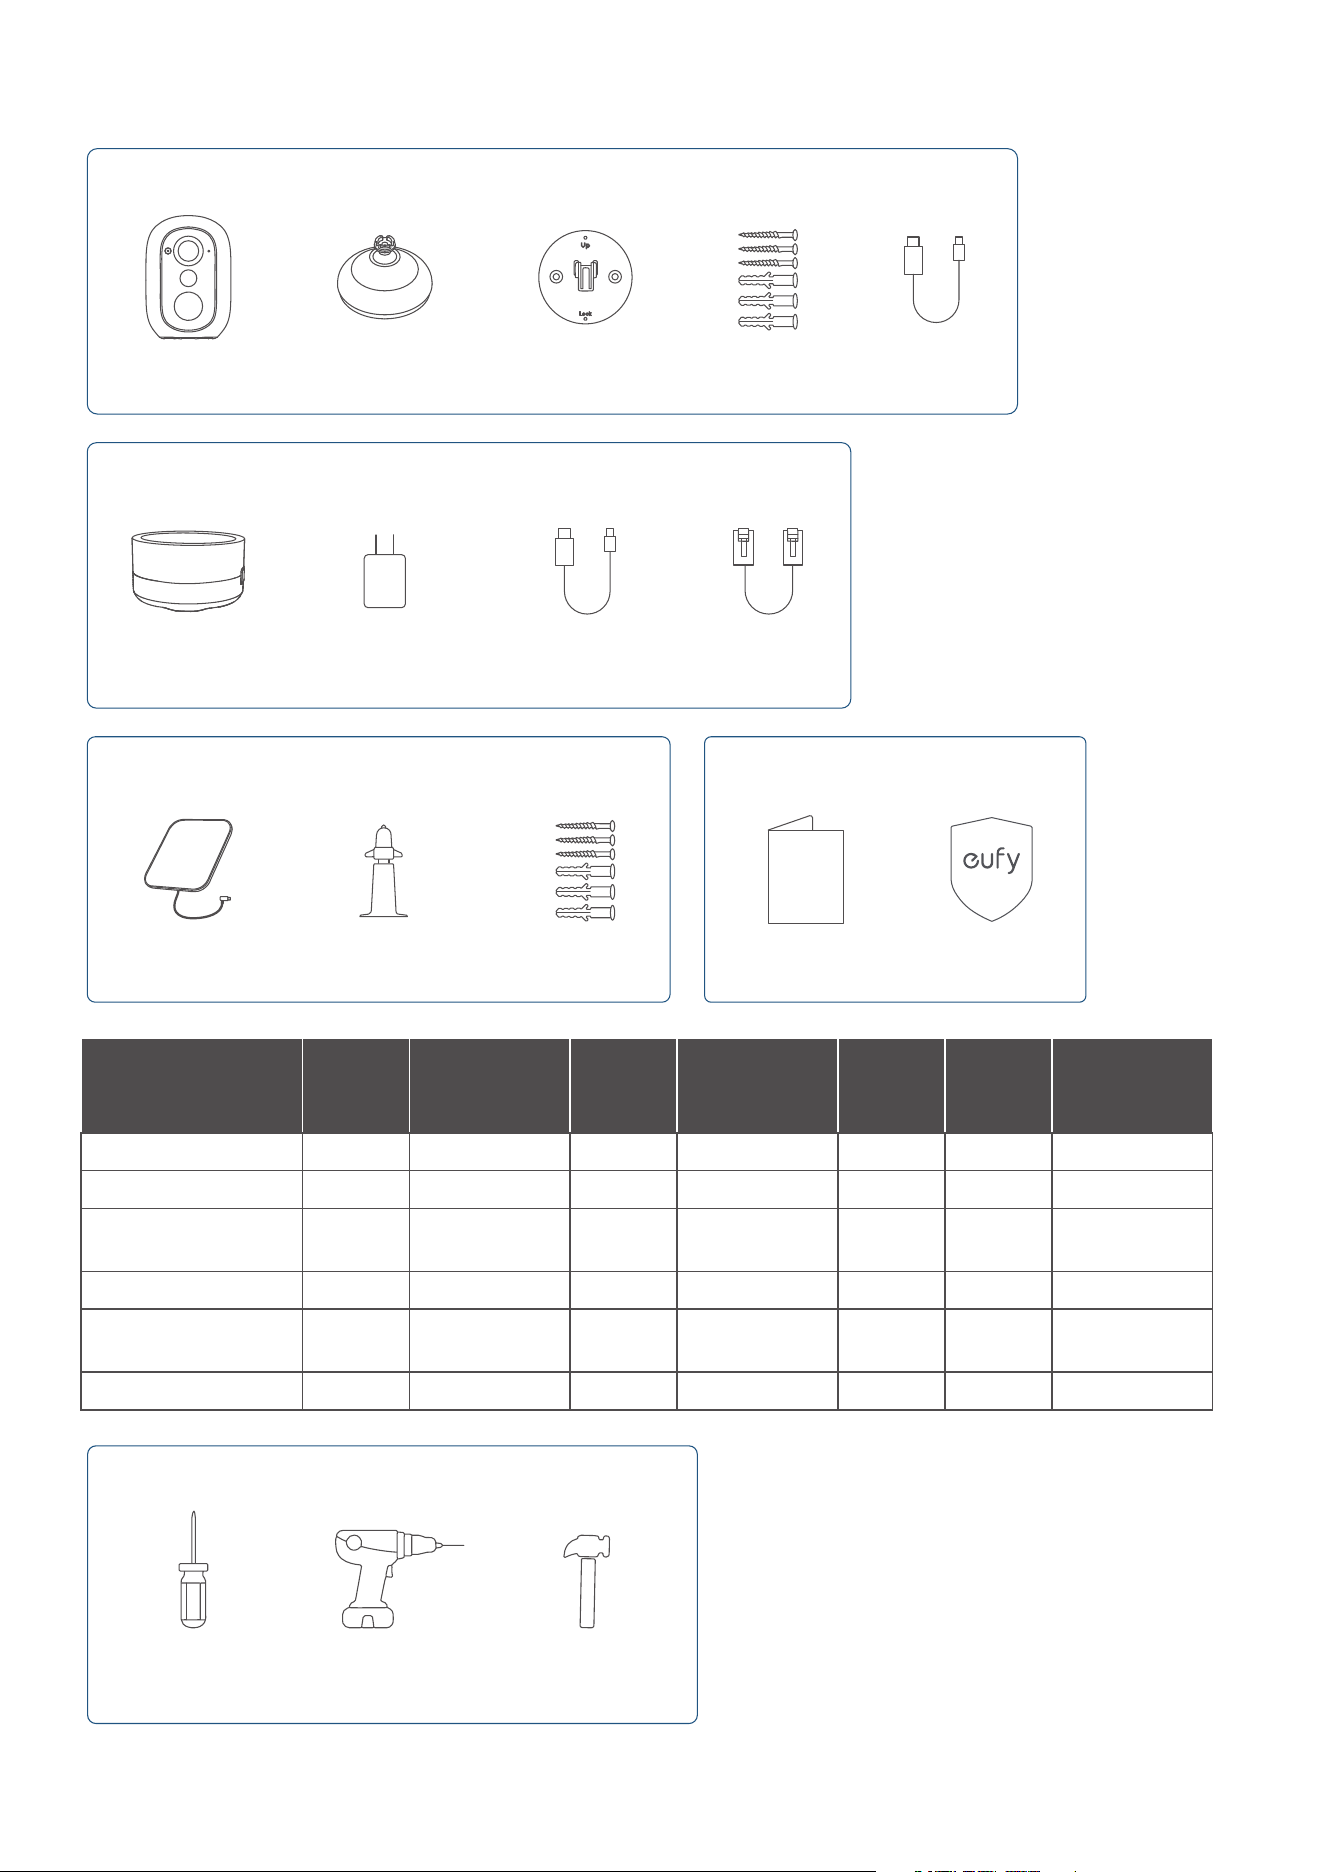
What's in the Box
For Camera Installation
Camera
HomeBase
Mini
Solar Panel Quick Start
Guide
Magnetic Mounting
Bracket
5V/2A Power
Adapter
Solar Panel Mounting
Bracket
Warning
Sticker
Mounting Base
2m Power
Cable
Screw Pack
Screw Pack
1.2m Internet
Cable
0.6m Type-C
Cable
For HomeBase Setup (Only available in 2-cam / 4-cam kits)
For Solar Panel Installation
(Only available in kits with solar panel)
Other
Items
Solo
Cam
Cam with
Solar Panel
2-Cam
kit
2-Cam kit
with Solar
Panels
3-Cam
kit
4-Cam
kit
4-Cam kit
with Solar
Panels
Camera 1 1 2 2 3 4 4
Solar Panel 0 1 0 2 0 0 4
Magnetic
Mounting Bracket
1 1 2 2 3 4 4
Mounting Base 1 1 2 2 3 4 4
Solar Panel
Mounting Bracket
0 1 0 2 0 0 4
Screw Pack 1 2 2 4 3 4 8
Tools You will Need
Phillips
Screwdriver
Power Drill
(6 mm)
Hammer
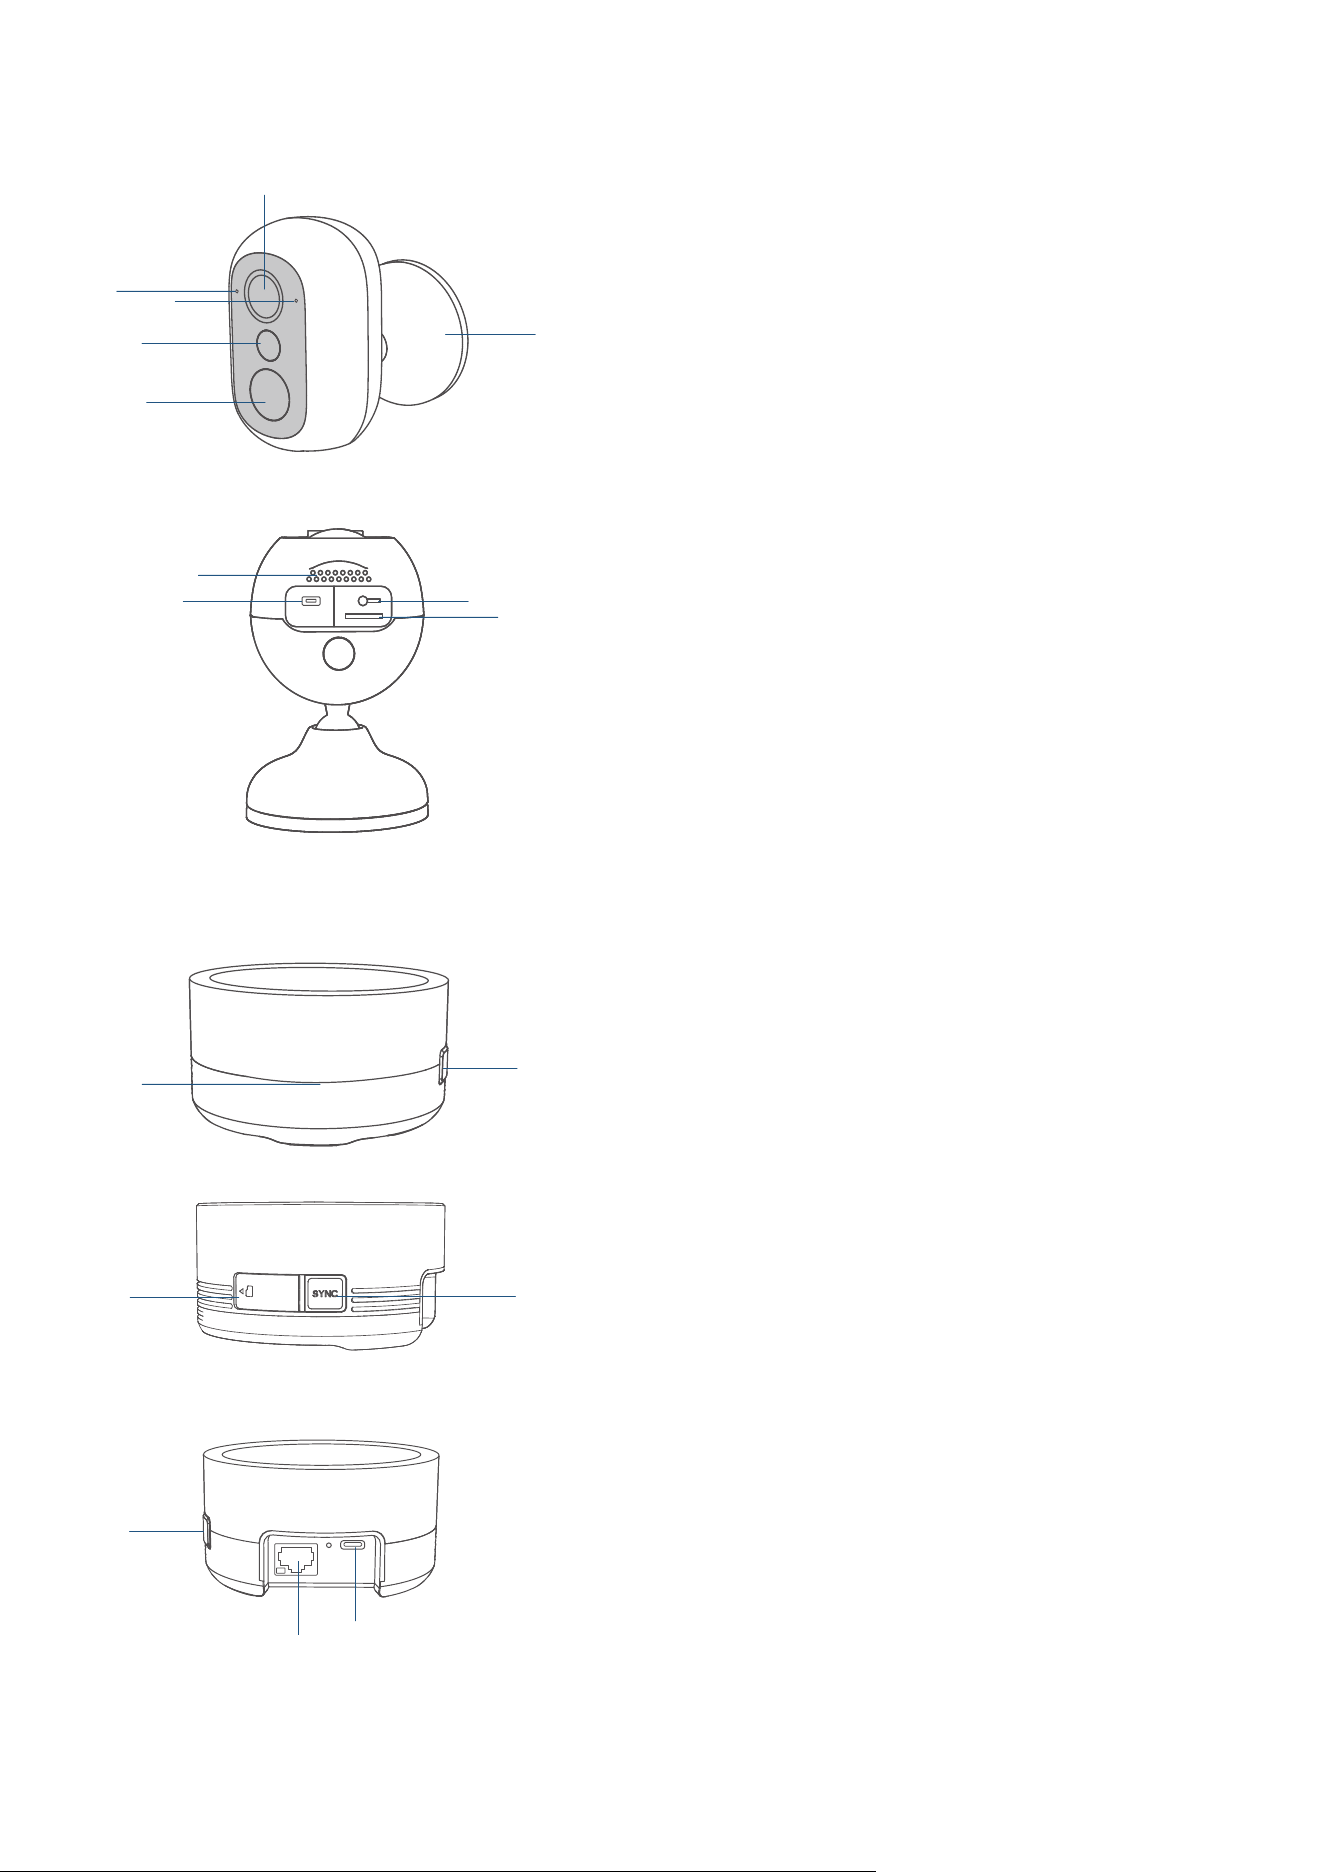
At a Glance
❶
❷
❸
❹
❺
❻
❼
❽
❾
❿
❶
Camera Lens
❷
LED Indicator
❸
Microphone
❹
Spotlight
❺
PIR Sensor
❻
Magnetic Mounting Bracket
❼
Speaker
❽
USB-C Port
❾
microSD Card Slot
❿
Sync Button
❶
❷
❷
❷
❸
❹
❺
❶
LED Indicator
❷
microSD Card Slot
❸
SYNC Button
❹
Ethernet Port
❺
USB-C Port
Before Mounting
1. Download the eufy App
eufy
2. Add HomeBase Mini
3. Add the Camera
< 3.3 ft (1 m)
2s
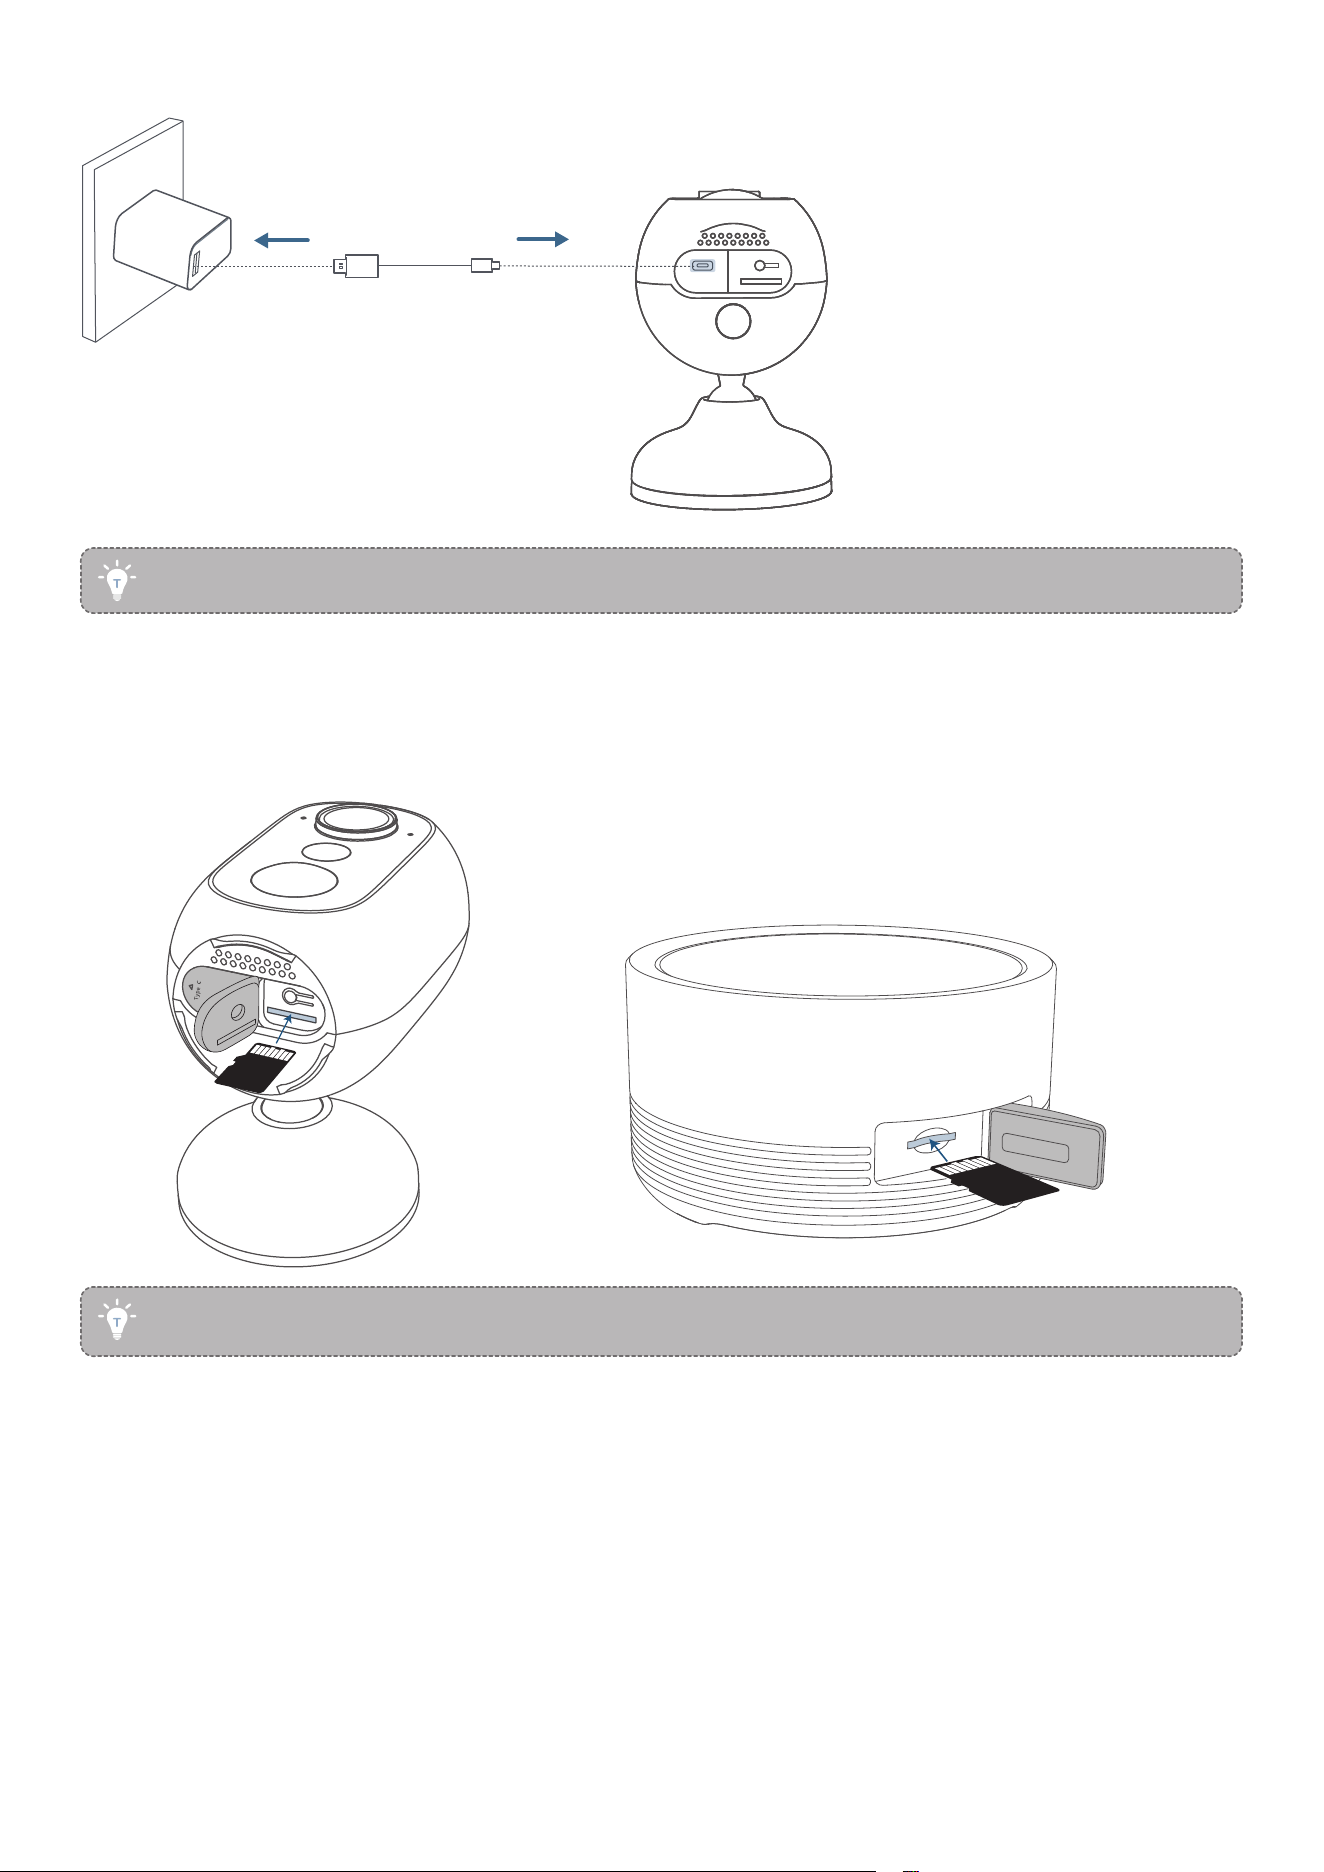
4. Fully Charge the Camera
You can check the battery level in the app.
5. Insert and Remove the microSD Card (Optional)
①
Insert the microSD card with its pins facing up. Press the card into the slot until it clicks into position.
②
To remove the microSD card, press it inward until it springs loose, then pull it out from the slot.
.
Do not insert or remove the microSD card when HomeBase Mini is powered on.
Before Mounting
1. Choose a Location
Recommended Location:
• Height of less than 2 m (7 )
• 7 m (23 ) field of view
• Strong Wi-Fi signal
2M (7 ft)
7M (23 ft)
2. Install the Mounting Bracket
Before installing the mounting bracket, adjust the ball joint to the illustrated angle.
3. Select a Mounting Option
Always position the camera upright to prevent water intrusion.
Magnetic Mount
(Metallic Suace)
Screws
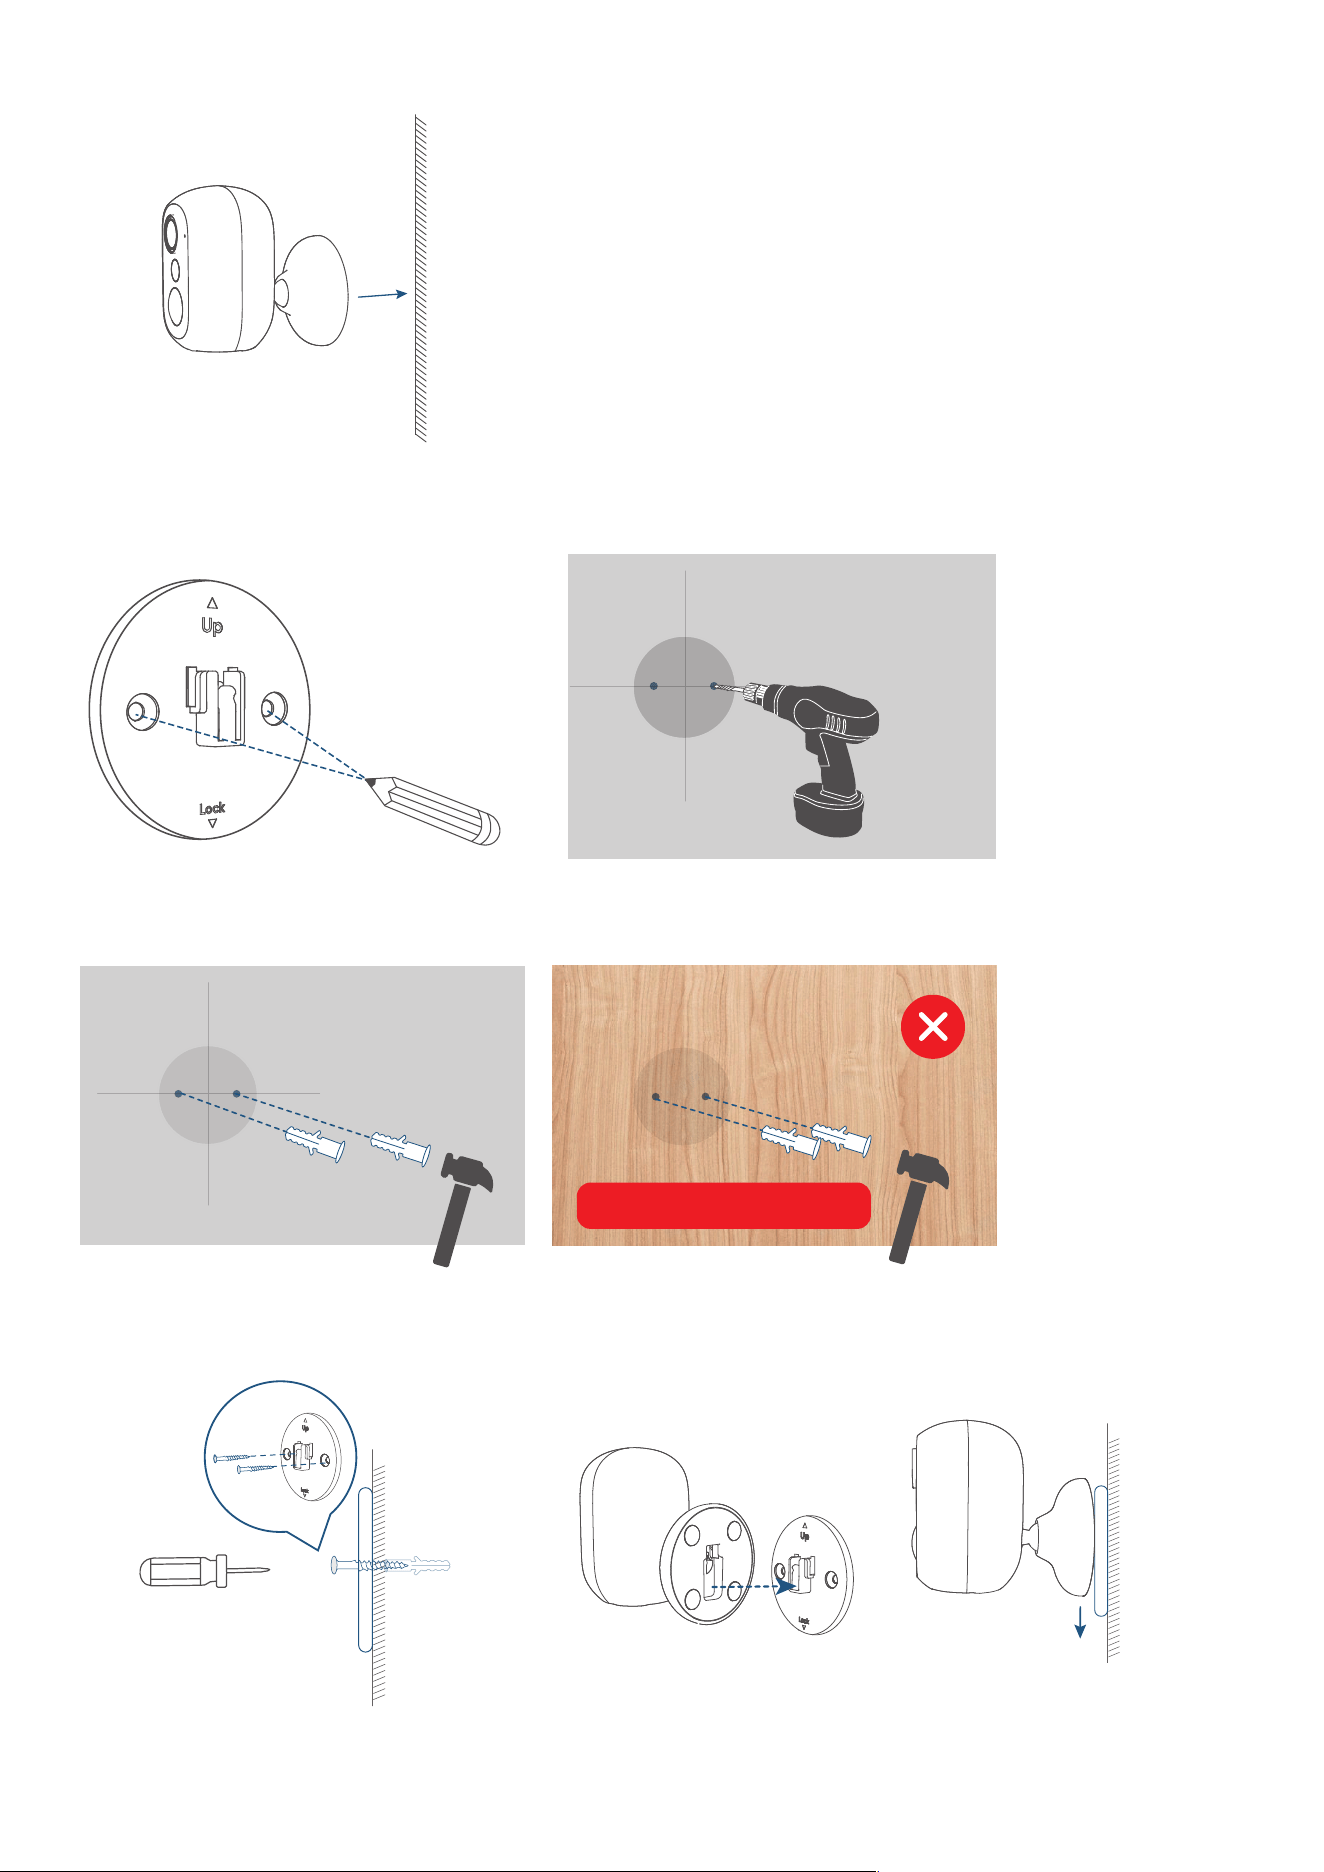
3.1 Install the Camera with Magnetic Mount (Metallic Suace)
Position and Attach
the Camera
3.2 Install the Camera with Screws
①
Position
②
Drill Holes
③
Insert Anchors (Skip for Wooden Walls)
④
Install the Mounting Base
⑤
Slide the Camera onto the Mounting Base
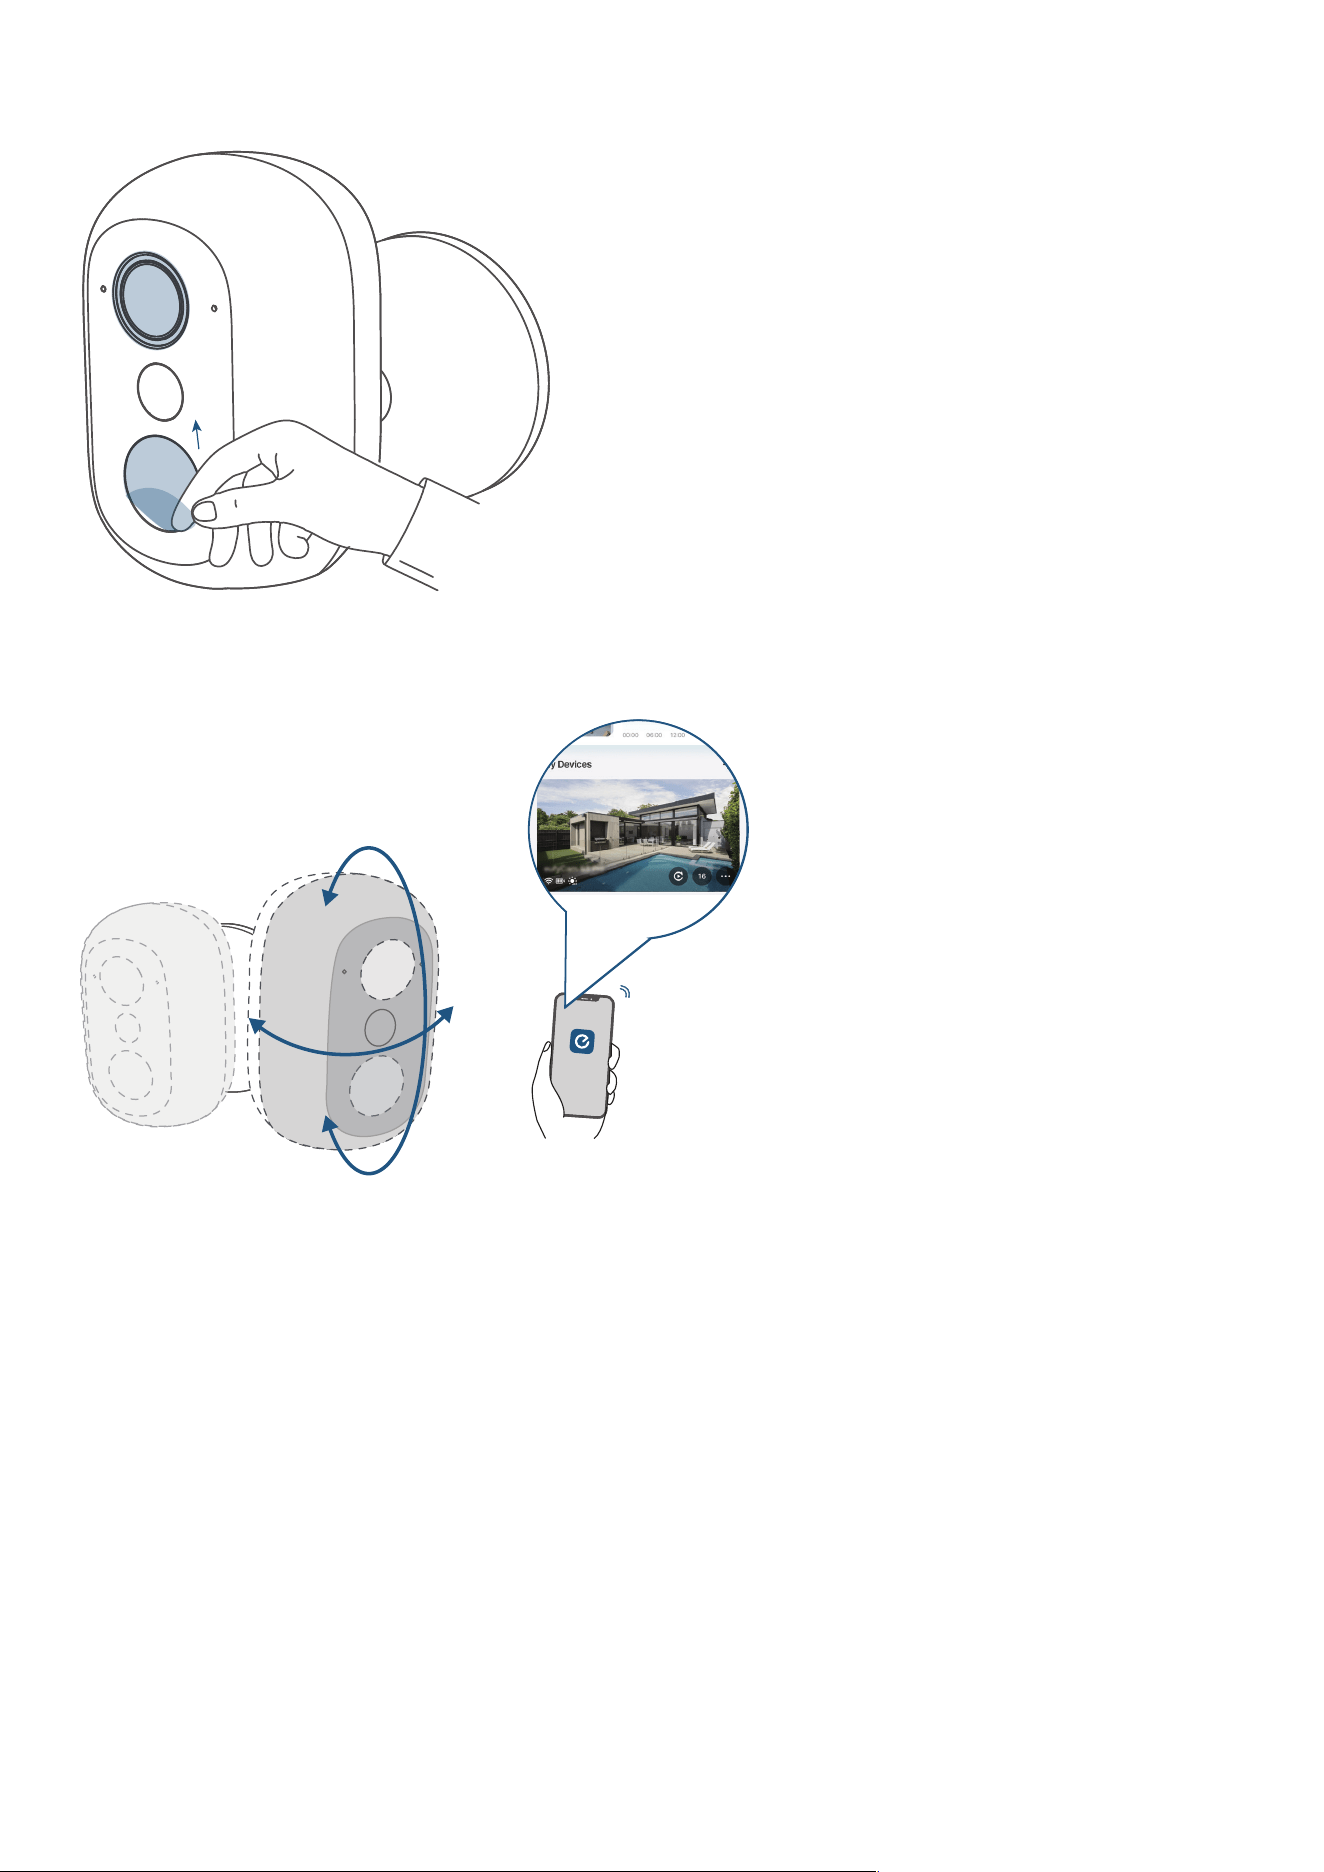
4. Adjust the Camera Field of View
①
Remove Protective Film
②
Rotate to Get the Optimal Angle
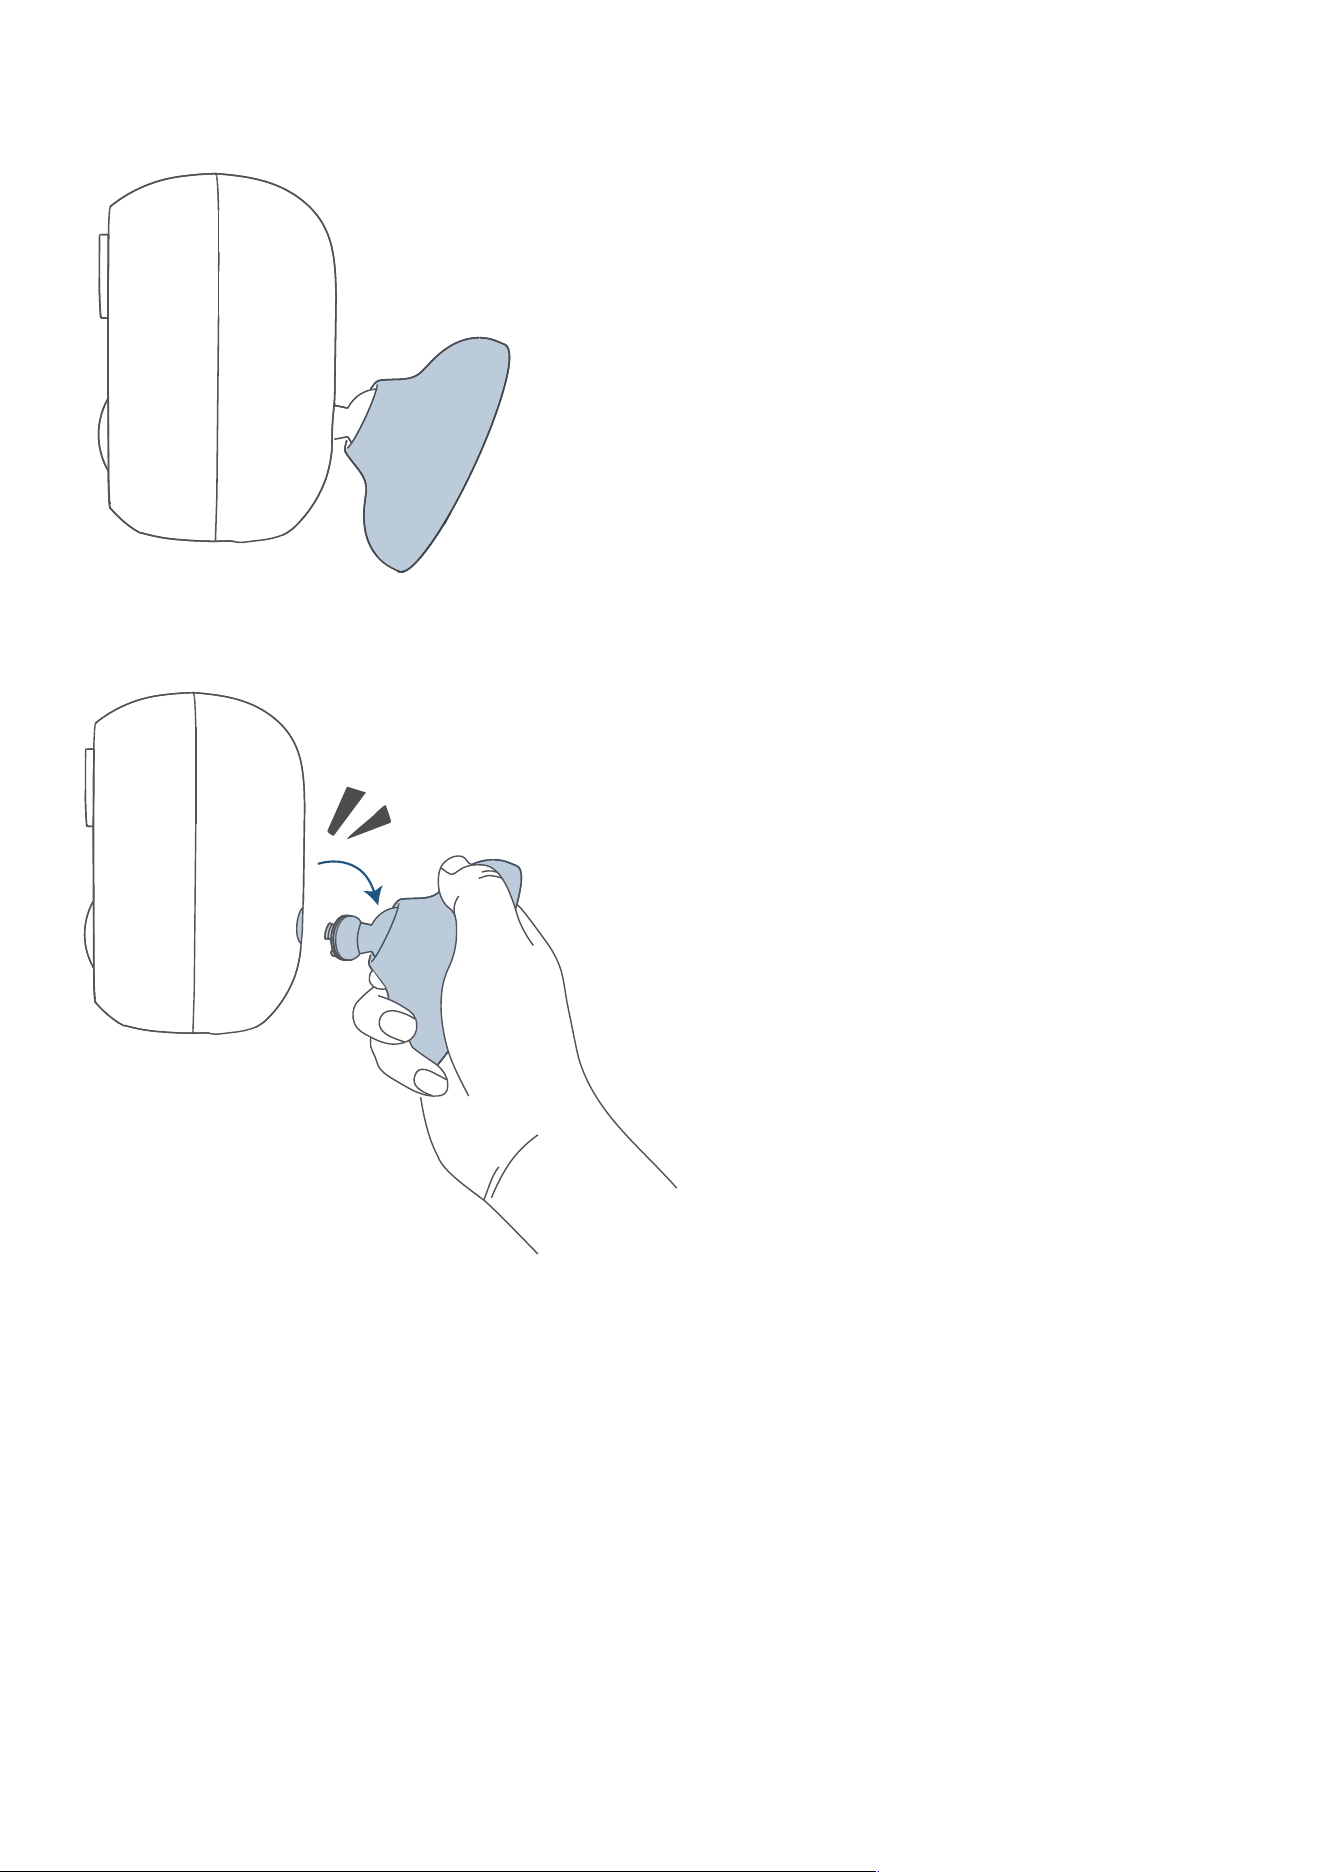
Detaching the Camera (Optional)
1. Adjust the bracket to the illustrated angle.
2. Hold the bracket firmly and bend it outward and downward to detach the camera and bracket.

Congratulations!
Now you're all set to use your eufyCam C35!
Please explore more in the eufy app.
Notice
• Once inserted, the microSD card will serve as the primary storage medium, prioritizing the storage of
system-generated data (such as logs and configuration files) and video recordings from the cameras.
• Power the HomeBase Mini with the included 5V/2A power adapter. The device will not function properly
if powered by a 5V/1A adapter.
eufyCam C35:
Default Open Port 1: Wi-Fi (2.4GHz)
Port Description:
1. When powered on for the first time or aer a reset, if there is no configured Wi-Fi information, it may
enter network pairing mode (such as AP/BLE pairing);
2. In normal working mode, it will automatically connect to the router and save the SSID and password;
3. If you need to switch Wi-Fi configuration, you can use the App or follow the instructions in the manual
to reconfigure the network.
4. When connected to HomeBase, the device listens on UDP port 10200 to receive audio and video data
for downstream intercom functionality.
5. In Solo mode, the device listens on UDP port 32108 to receive app device discovery, LAN device
discovery, and establish P2P connections.
6. In Solo Mode, the device dynamically listens on random UDP ports between 10000 and 30000 for P2P
communication, including command transmission/reception and data transfer.
Default Open Port 2: BLE (Bluetooth Low Energy)
Port Description:
1. Bluetooth remains inactive during normal device operation. It automatically enables broadcast and
communication functions during the binding process to provide network configuration services. Aer
the network configuration is completed, BLE pairing will automatically be disabled.
2. When connecting the phone and camera directly, Bluetooth will automatically turn on and provide
communication services. When this feature is disabled, Bluetooth will automatically turn o.
HomeBase Mini:
Default Open Port: Wi-Fi (2.4GHz)
Port Description:
1. HomeBase will activate a Wi-Fi hotspot upon power-up to establish connection with cameras;
2. HomeBase connects to your home router using standard Wi-Fi (2.4GHz/5GHz) for data upload, remote
management, and cloud interaction. Encryption uses WPA2 or higher.
Default Open Port 2: Ethernet Port
1. Aer initial power-on or reset, HomeBase typically obtains an IP address via DHCP;
2. Check and confirm the Ethernet connection status in the device management inteace or app. To
use a wired connection, simply insert the Ethernet cable and ensure your router or switch is functioning
properly.