VERSION: 1.0
USER MANUAL
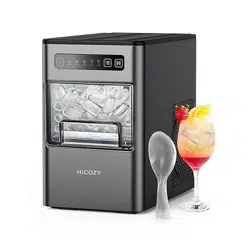
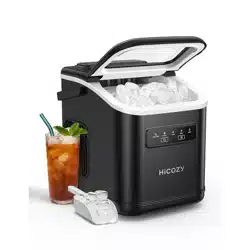
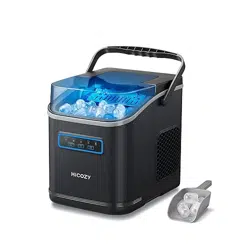
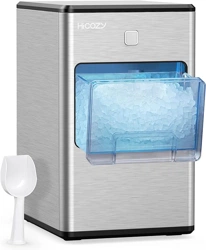
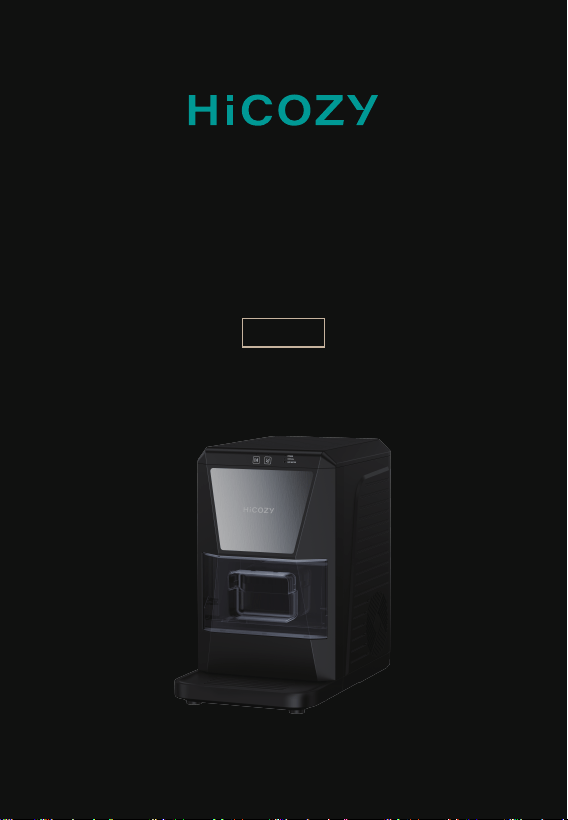
ICE MAKER
HIM-B1

Content
Introduction
Precautions
Diagram
Specifications
Package
Installation
Functions
Using the Unit
Cleaning
Troubleshooting
Recycling
Warranty Period
Contact Us
04
05
08
10
10
11
11
13
17
19
20
21
22
Introduction
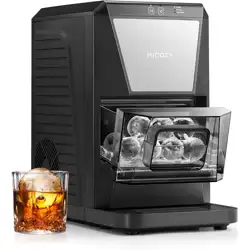
This product is intended to make ice balls, and cool down liquor
and other beverages for maintaining flavor. It works great in living
rooms, kitchens, bars, banquets, and more.
Please read and follow all of the following instructions before
operating this machine, and keep this manual for future reference.
We hope you enjoy your new HiCOZY Ice Maker!
Thank you again for choosing HiCOZY.
If you have any questions or concerns regarding your product, please
contact us at 1-866-444-2699 or support@hicozy.com.
Please thoroughly read and understand this manual before using
the product; keep it for future reference.
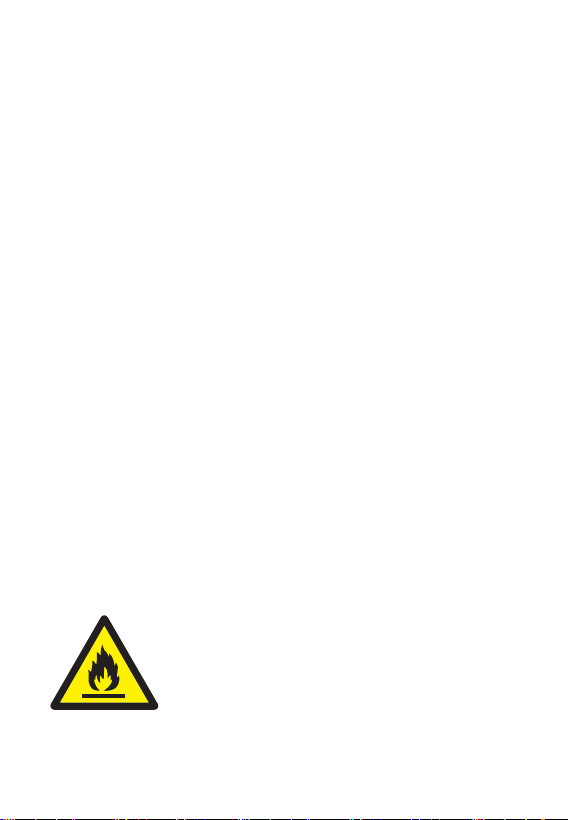
Warning:Risk of fire/flammable materials.
EN > 03

Precautions
If the water temperature is too high or too low, the quality of the
ice balls will be affected. To manufacture quality ice balls faster,
we recommend adding drinking water between 59°F-77°F (15℃
-25℃) to the water tank.
Both the quality of the ice balls and the time it takes to make ice
are easily affected by the water temperature, ambient temperature
and voltage; these variations are normal.
To ensure stable compressor operation when using the ice maker
for the first time, keep the product standing for at least 4 hours
before initial use; after moving the product, it also needs to stand
for 4 hours.
Please use safe drinking water in the product, as the unhealthy
water quality may cause injury or sickness.
It is normal that the surface of the ice balls may be slightly raised
or depressed due to the flow of water during the production.
During the ice-making process, if the machine is turned off, it
will automatically defrost. Once defrosting is complete, proceed
with cleaning, draining, and storing.
After adding water and noticing an increase in temperature, it is
normal for the first two rounds of ice balls to exhibit ice
remnants or indentations.
During the ice-making process, if no air is coming from the vent,
the ice maker is in defrost mode. It is not recommended to open
the ice basket while defrosting is in progress.
If the water pump is making noise, first check if there is enough
water in the tank. You can also try removing and reinserting the
ice basket to reduce the noise.
EN > 04

As new products need to be cleaned before use, please follow
the method outlined in the “Cleaning” to clean it.
To ensure the quality of the ice balls, we recommend operating
the machine in an environment of 50°F-86°F (10℃ and 30℃).
Once the temperature is too high or too low, the quality of the
ice balls will be affected.
In order to ensure the fresh taste, please promptly use the finished
ice balls, as they may melt.
The ice balls are usually immersed in water when making. It is
normal for there to be water on the surface.
Do not add hot water above 86°F (30°C) into the machine at the
maximum.
This product shall be properly grounded. Please use a power
strip with a grounding plug, the rated power of the plug must
be greater than 1000W.
It is prohibited to put your hands into the ice maker parts during
use, as it may cause injury.
If prolonged inactivity is anticipated, please empty any residual
water from the water tank, dry the product with a clean towel,
then store it in a dry and ventilated environment.
Please use products in a dry, flat, stable environment.
Before use, always ensure that the power source’s voltage range
matches the one specified on the machine’s nameplate, the
power cord plug matches the socket, and that the socket is
properly grounded.
Do not use this product if the power cord or socket is damaged,
or if any other electrical components are faulty.
Do not use an extension cord to connect this product to an
extension cord.
EN > 05

Do not place this product upside down or tilt it over 45°.
Do not repair or disassemble this product by yourself.
Do not expose the power cord plug or air outlet to water. Never
immerse the machine in water or other liquids, doing so may
cause an electric shock.
Always keep your hands dry when plugging in or operating the
product.
Disconnect the power plug when the product is not in use or
while cleaning. To prevent injury or damage, please hold the plug
rather than the cord when unplugging.
Keep the product away from ovens, electric stoves, and other heat
sources to prevent accidents.
For effective heat dissipation, ensure the product is kept at least
3in away from other items.
Use only recommended or specified accessories, do not use this
machine for purposes other than those specified.
Limit the frequency of starting the product to at least 5-minute
intervals. Excessive restarting will damage the compressor.
This product is intended for home or indoor use only and should
not be operated outdoors.
Never insert metal sheets or other conductive materials into the
machine. Doing so may cause a fire or short circuit.
This machine should not be operated by individuals (including
children) with poor physical strength, reduced mental faculties,
or lack of experience and knowledge unless they are under
appropriate supervision or instruction.
Do not attempt to speed up the defrosting process using other
machines or methods.
EN > 06
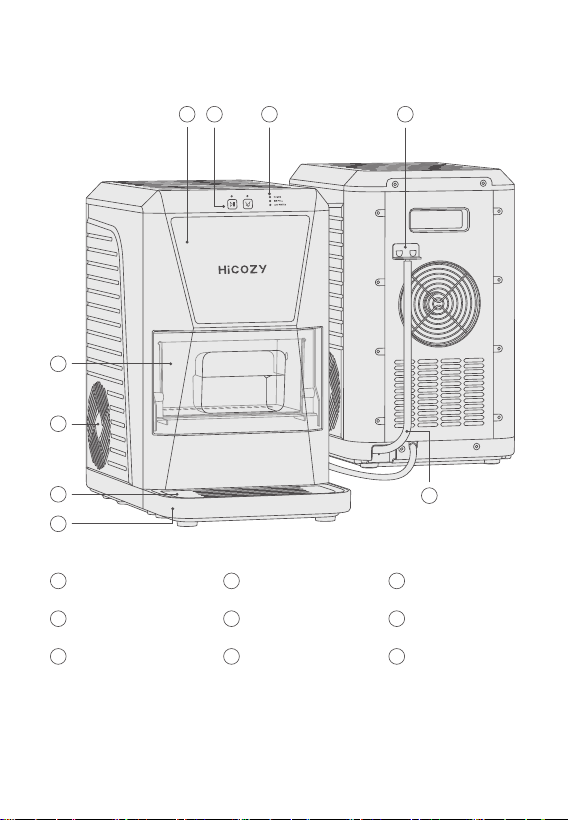
Ice Basket
Heat Emission Hole
Drip Tray Lid
Indicator
Drain Pipe Plug
Drain Pipe
7
8
Diagram
6
5
2
1
2
3
1
5
6
4
8
9
7
3
4
9
Drip Tray
Decorative Sheet
Button
EN > 07
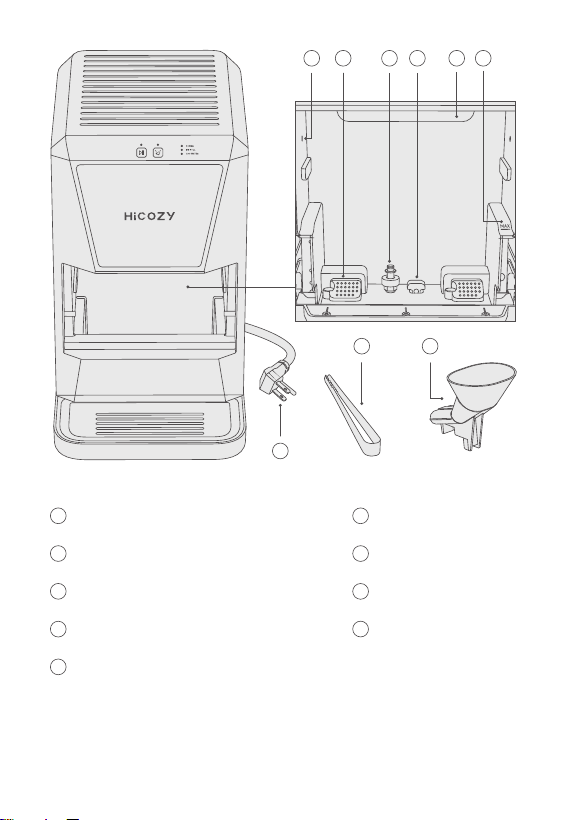
Infrared Device
Water Inlet/Filter Screen
Water Level Sensor
Water Outlet
Ice Making Device/Ice Outlet
10
17
16
18
11 12 13 14
15
10
11
15
16
17
18
12
13
14
MAX Water Line
Power Cable
Ice Tong
Water-Filling Funnel
EN > 08

Package
Ice Maker
Ice Tong
Drip Tray
Water-Filling Funnel
User Manual
After-Sales Card
× 1
× 1
× 1
× 1
× 1
× 1
Specifications
Model
Duration of Manufacturing
Capacity of Ice Container
Capacity of Water Tank
Working Voltage
Refrigerant/Refrigerant Amount
Power Consumption
Product Weight
Product Dimension
HIM-B1
40-70mins
8-10pcs
44oz (1300ml)
AC120V 60Hz 1.5A (US/CA/MX)
R600a/0.9oz (25g) (US/CA/MX)
100W (US/CA/MX)
23.9 ± 2.2lbs (10.7kg ± 1kg)
9.8 (L) × 13.4 (W) × 16 (H) in
(25 × 34 × 41cm)
EN > 09
Installation
After removing the product from its packaging, take out all its
accessories.
After placing the ice maker upright on a flat table, install the drip
tray in front of the ice maker.
Use a clean towel to wipe the water tank, ice container, water-filling
funnel, ice tong, and drip tray.
Before using the ice maker for the first time, keep it standing
for 4 hours before use.
Buttons
Functions
Ice Making Button
Start ice making by pressing this button. Stop ice making by pressing
it again.
Start cleaning by pressing this button once. Stop cleaning it by
pressing it again. To enter this mode, you must first pause the
ice-making process.
Clean Button
EN > 10
Indicators
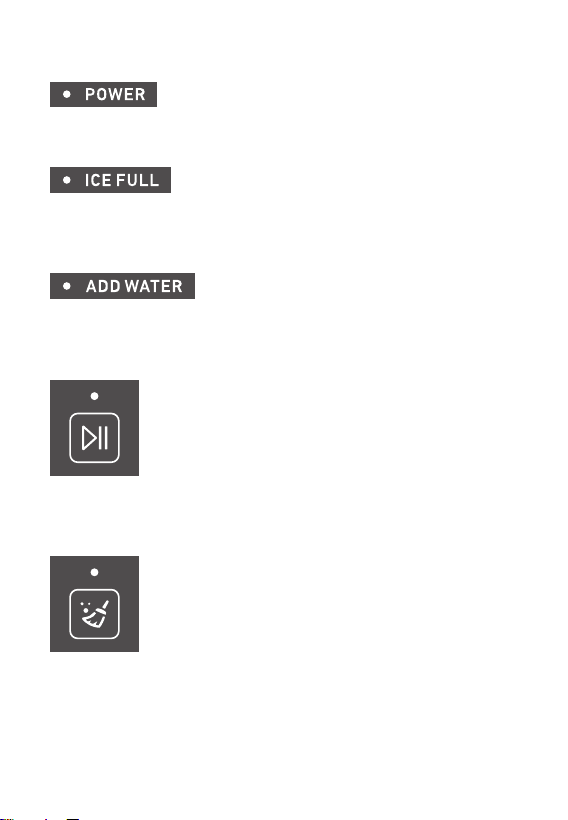
After powering on, the white indicator will always on.
After the ice container is full, the Ice Full indicator will illuminate
white.
When the water level in the water tank is too low, the orange Add
Water indicator will illuminate orange.
Power Indicator
Ice Full Indicator
Add Water Indicator
Ice Making Mode
After the ice making mode is enabled, this indicator will illuminate
white.
After the cleaning mode is enabled, the cleaning indicator will
illuminate white.
Cleaning Mode
EN > 11
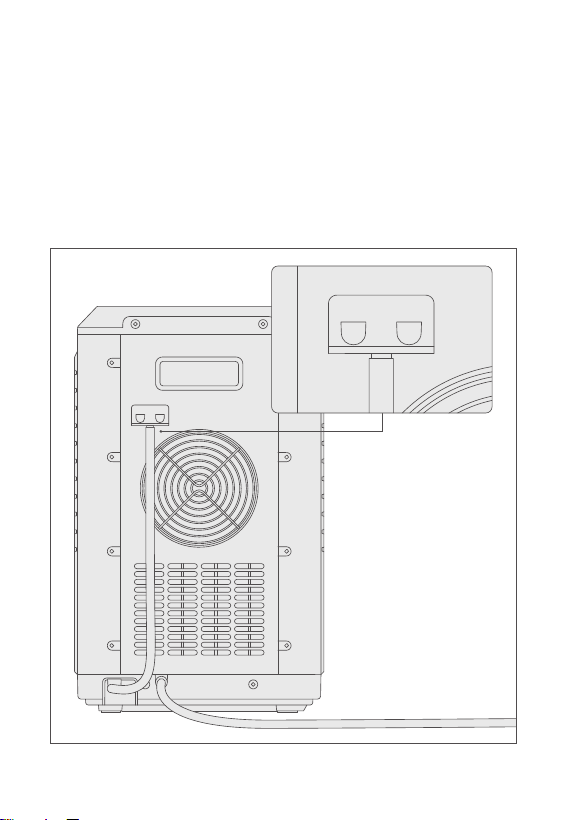
1. When using the ice maker for the first time, keep it standing
upright for at least 4 hours.
2. Ensure that the drain pipe plug is tightly plugged and check
whether there is any debris in the water tank and ice container.
Add Water
Using the Unit
EN > 12
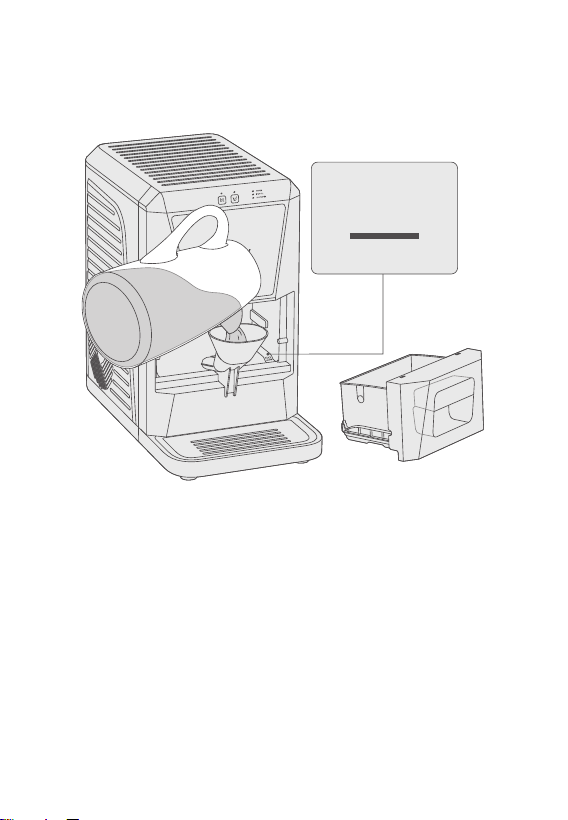
3. Remove the ice container, attach the water-filling funnel to the
tank, and slowly pour clean water of 44oz (1300ml) into the
tank (keep the water below the MAX water level line).
1. Check whether the supply voltage is consistent with that of the
product nameplate.
2.
After connecting to the power supply, all the indicator lights will
flash for 1 second and then go out. The power light normally on
indicates whether or not the machine is functioning normally.
Do not connect to the power supply with wet hands. Instead, please
keep the plug dry.
Note:
Power On
MAX
EN > 13
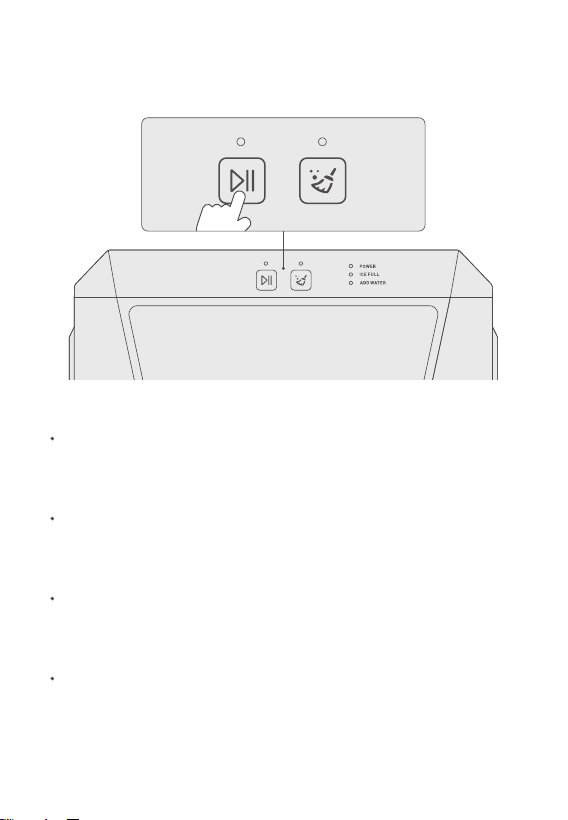
Press the Power Button to start ice making.
Start Ice Making
For first time use, or for the product of prolonged inactivity, please
follow the “Cleaning” section to complete the cleaning process
prior to use.
It will take 40-70 minutes for a full ice-making cycle to complete.
The actual time varies depending on the water temperature,
ambient temperature, and voltage.
As the internal piping is not completely cooled during the first few
rounds of ice making, the ice balls may have a bulge or depression
in their surface. This is a normal phenomenon.
Once the ice container is full, the ice machine will automatically
stop running. If the ice balls melt, the product will automatically
start re-making the ice.
Note:
EN > 14
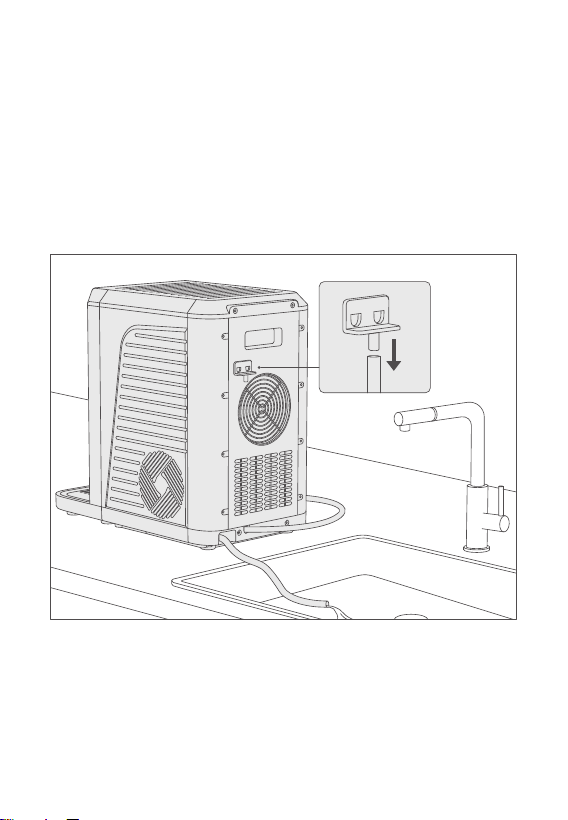
4. After the water tank is empty, plug the drain pipe plug into the
drain pipe, and wipe away the residual water in the water tank
with a clean towel.
5.
Put the ice maker back.
1. Before draining, first disconnect the power supply.
2.
Move the ice maker flat to a nearby place with water catching
devices such as a sink (Note: place the product on a smooth,
stable surface to prevent it from falling and breaking).
3.
After unplugging the drain pipe plug, the residual water from the
tank will flow into the water sink.
Drainage
EN > 15
Cleaning
In order to maintain the fresh taste of the ice balls and the hygiene
of the ice maker, we recommended cleaning the ice maker once
a week.
Take out the ice container, add water and citric acid of appropriate
amount into the water tank (please refer to the
User Manual
to
citric acid for the specific ratio. As this product does not contain
citric acid, you need to buy it yourself).
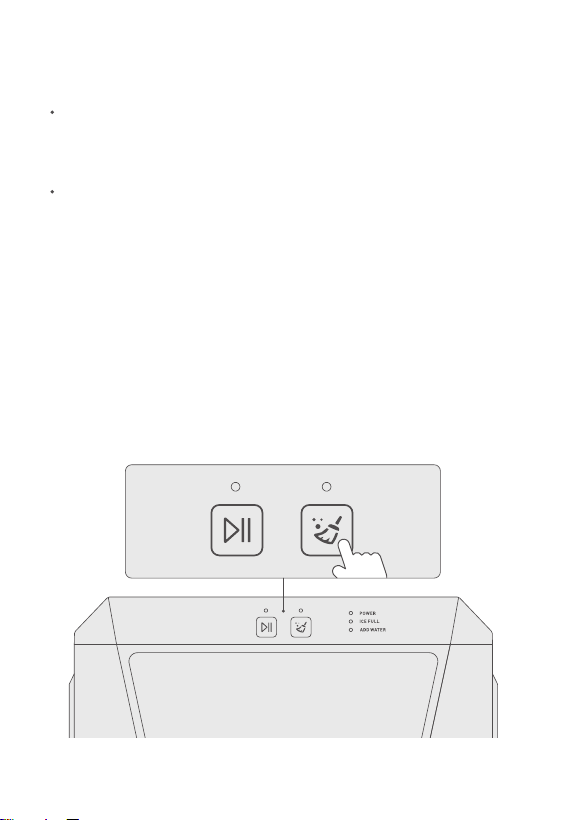
1. After adding water, click the Clean Button in the standby state.
Then, the cleaning indicator light will illuminateand the machine
will enter the Clean Mode. After about 3 minutes, the product will
automatically stop (you can press the Clean Button at any time to
manually stop the cleaning. However, you cannot enter Clean Mode
while the ice-making process is ongoing.)
EN > 16

2. After the cleaning cycle is completed, pull out the drain pipe
plug to drain the waste water. Then plug the drain pipe back in
tightly.
3. Re-add clean water, and then perform the Clean Mode again for
2~4 times to ensure no residual cleaning agent is present.
If any water enters the product’s internals, the risk of damage or
personal injury is greatly increased.
After adding the cleaning agent, it is not allowed to make ice under
the Ice Making Mode as this may damage the internal parts.
Do not use organic solvents, boiling water, strong acid, or alkali for
cleaning.
Note:
EN > 17

The product fails to make ice
Troubleshooting
Check whether the product is powered correctly.
Check whether there is enough water in the tank.
Check whether the compressor works.
Water leakage
Do not exceed the MAX water level when adding water.
Check whether the drain pipe plug is plugged tightly.
Water tank has water, but the machine fails to make ice
Check whether the filter screen of the water tank is blocked.
Check whether the compressor works.
As it is difficult to make ice in low-temperature environments,
ensure that the product works in environments above 50℉ (10℃).
The ice container is not full of ice, but the “ICE FULL” indicator
light is on
Check whether the infrared device inside the water tank is blocked.
If any, you need to clear the sundries in time.
Thank you again for choosing HiCOZY.
The following lists common product problems and solutions. If you
can’t troubleshoot the problems by yourself during use, please
contact us at 1-866-444-2699 or support@hicozy.com.
EN > 18

Recycling
This product contains a refrigerant that must be removed before
disposal, as required by Federal Law.
Please ensure the product is disposed of in accordance with local
regulations.
Water tank has water, but the “ADD WATER” indicator light is on
Check whether the water level sensor is damaged or blocked by
sundries. If any, clean them in time.
It takes more than 2 hours to make ice, or fails to make ice
Check whether the water temperature is lower than 86℉ (30℃) and
the ambient temperature is lower than 86℉ (30℃). The overtem-
perature will prolong the time of ice making.
EN > 19

Warranty Period
1-year warranty and free returns within 30 days for any reason
from HiCOZY.
If the ice maker due to a defect in material or workmanship during
the 1-year limited warranty, HiCOZY will, at its sole discretion,
either replace your product with a new one or issue a refund of
the purchase price.
The warranty service shall not cover the following:
Each HiCOZY Ice Maker is guaranteed to be free from defects in
materials and workmanship.
This warranty does not cover damage resulting from neglect, misuse,
contamination, alteration, accident, or abnormal operating or handling
conditions.
It only applies to the original purchaser and is non-transferable.
Service trips to your home.
Improper maintenance.
Replacement of house fuses or resetting of circuit breakers.
Incidental or consequential damage resulting from possible defects
in the appliance.
Labor and other charges related to the installation and/or removal
of the product.
Any damage due to private disassembly.
EN > 20

Thank You for Your Purchase!
HiCOZY is always looking forward to providing our customers
with excellent products and customer services.
For any questions or concerns, please contact us.
We are glad to help you!
Get in Touch
Visit Our Website at hicozy.com
Call us: 1-866-444-2699
Mon to Fri, 9:00am to 5:00pm, PT
Email: [email protected]
Online
EN > 21