K-I60 User Manual
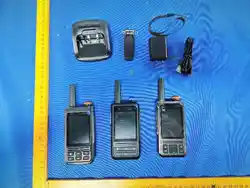
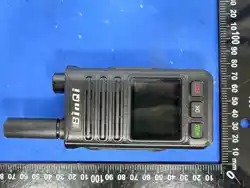
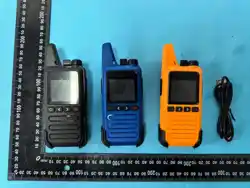
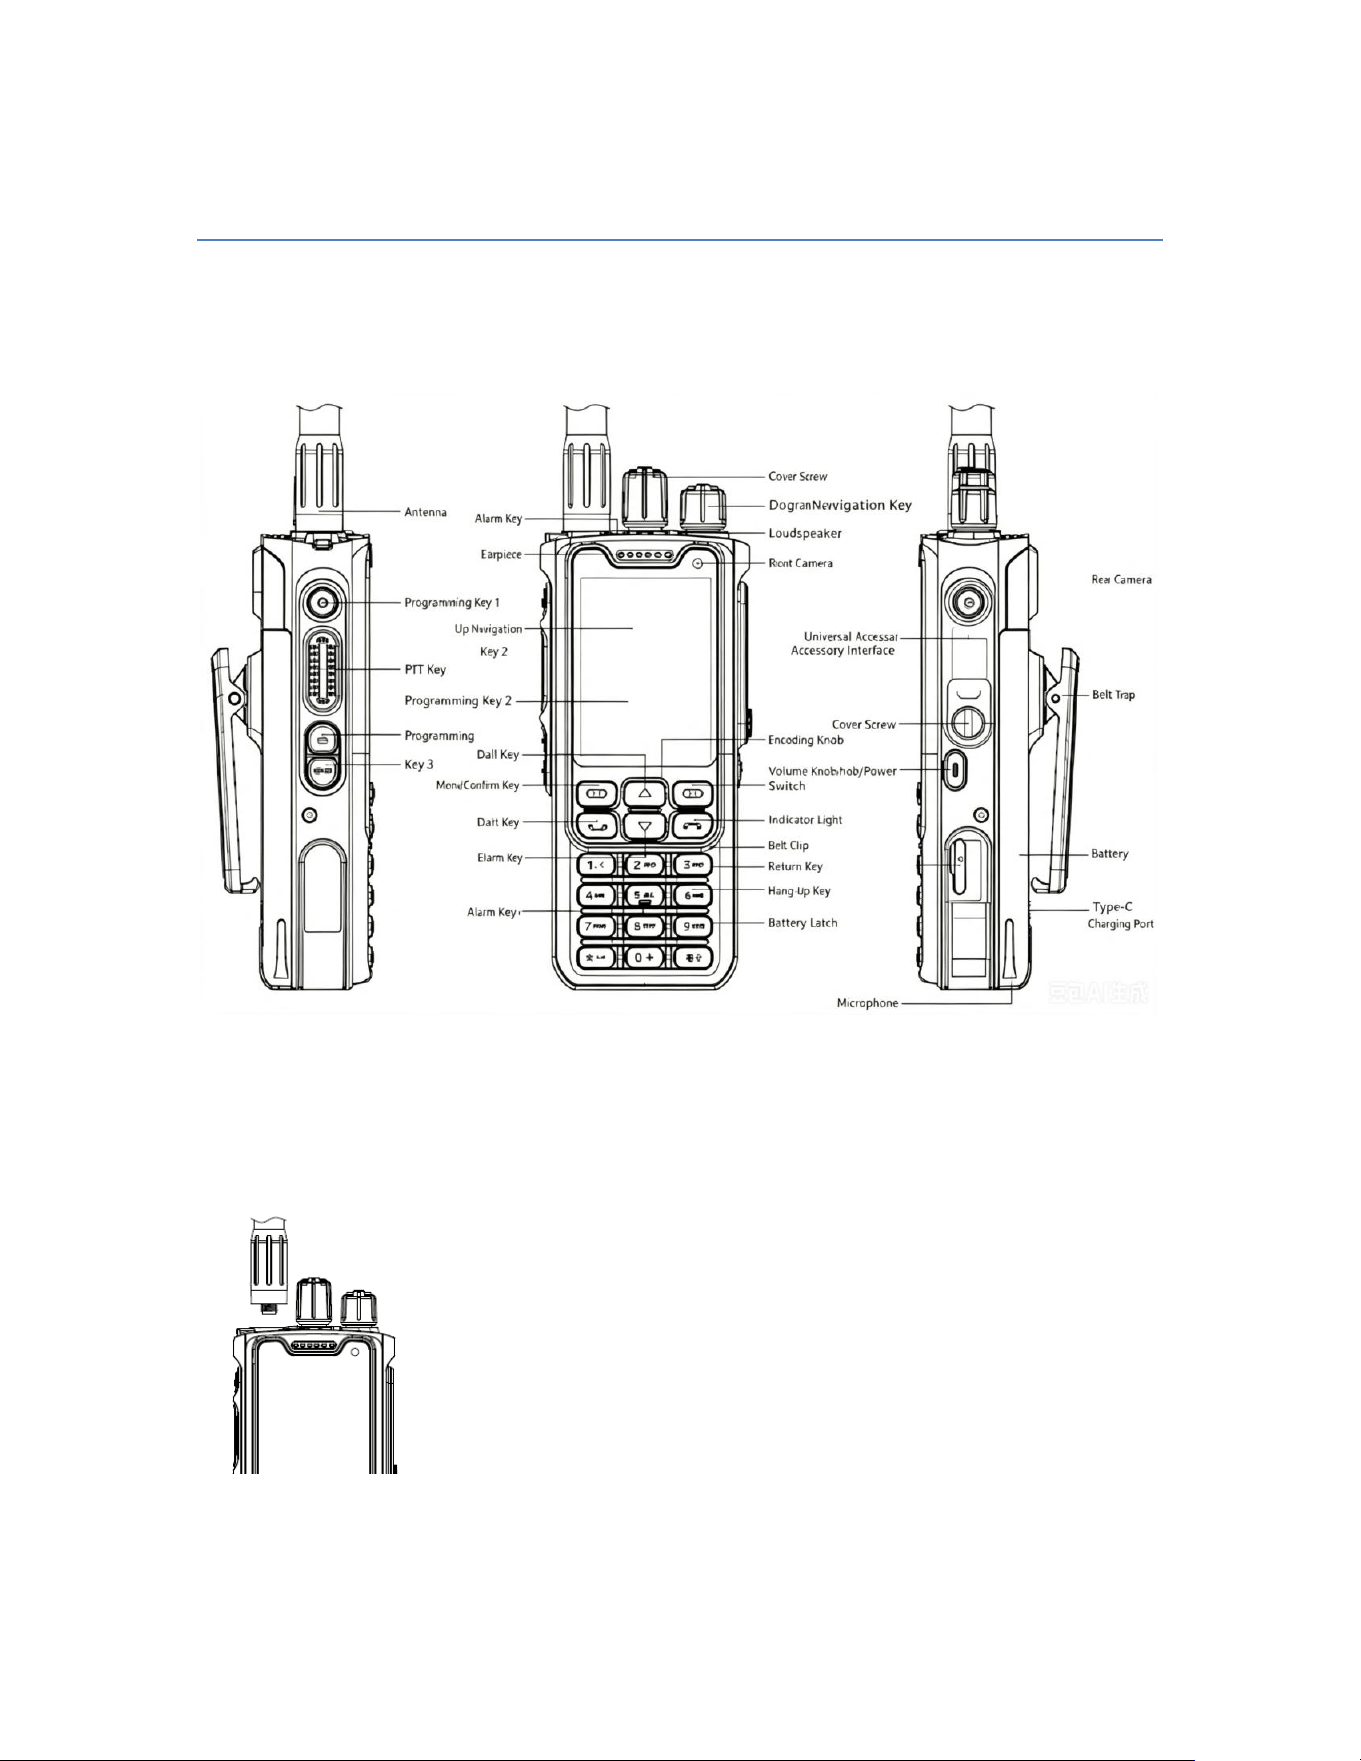
Get to Know the Product
Install / Remove the Antenna
Align the antenna with the antenna connector on the top of the walkie‑talkie, rotate
clockwise until tight. To remove, rotate counterclockwise.
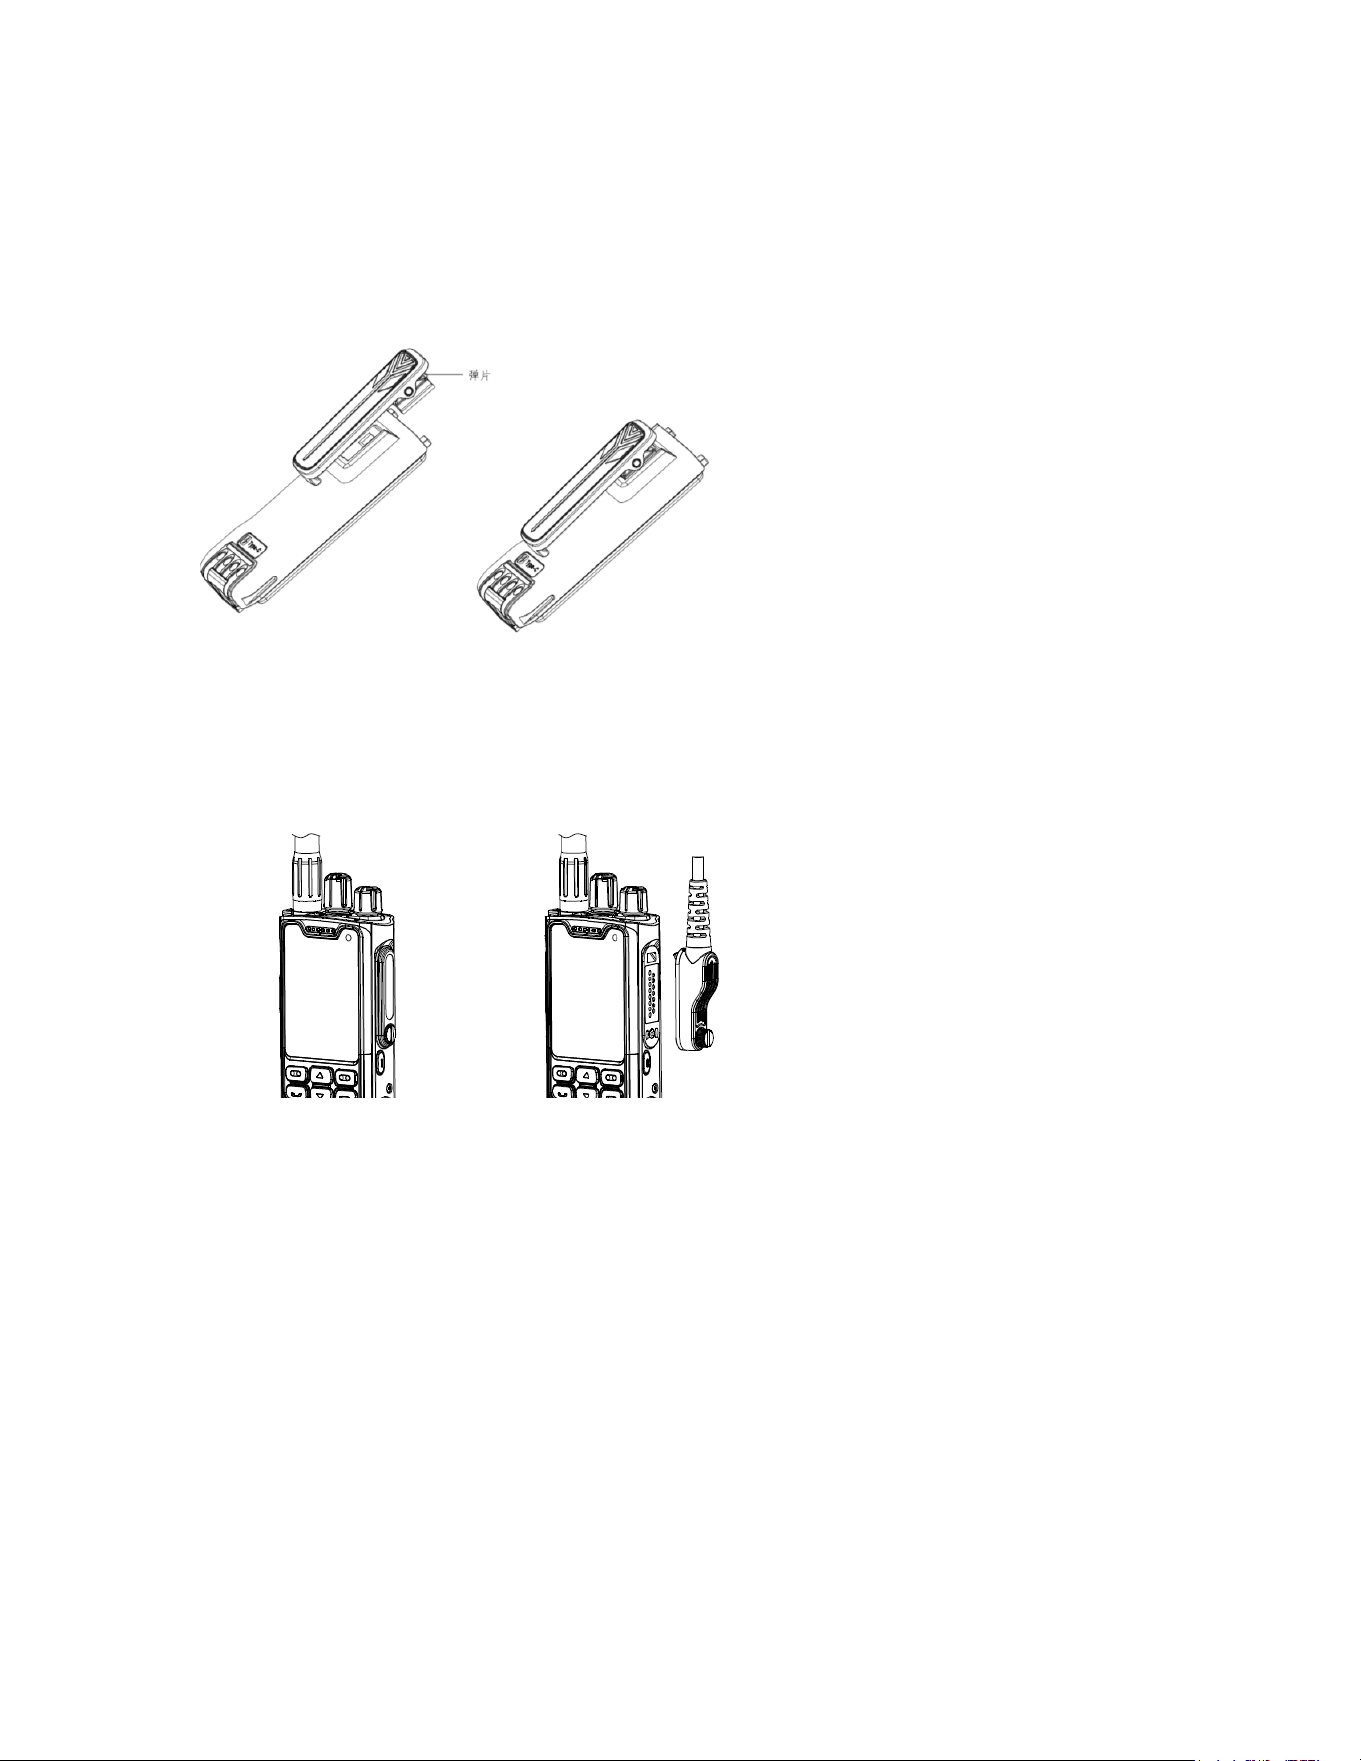
Install / Remove the Belt Clip
Installation: Insert the belt clip into the battery groove until the spring locks.
Removal: Insert fingernail or tool into upper groove, flip up the catch and push the clip
upward to remove.
Install Accessories
Remove the side accessory port cover, insert external audio accessories into the
universal port, and secure with screws.
Install / Remove SIM & TF Cards
Position 1
Use a small Phillips screwdriver to loosen the TF card cover screw. Flip the cover left to
access SIM and TF slots.
Removal order: Push TF card right → pull SIM holder spring left.
Installation order: Install SIM first, then TF.
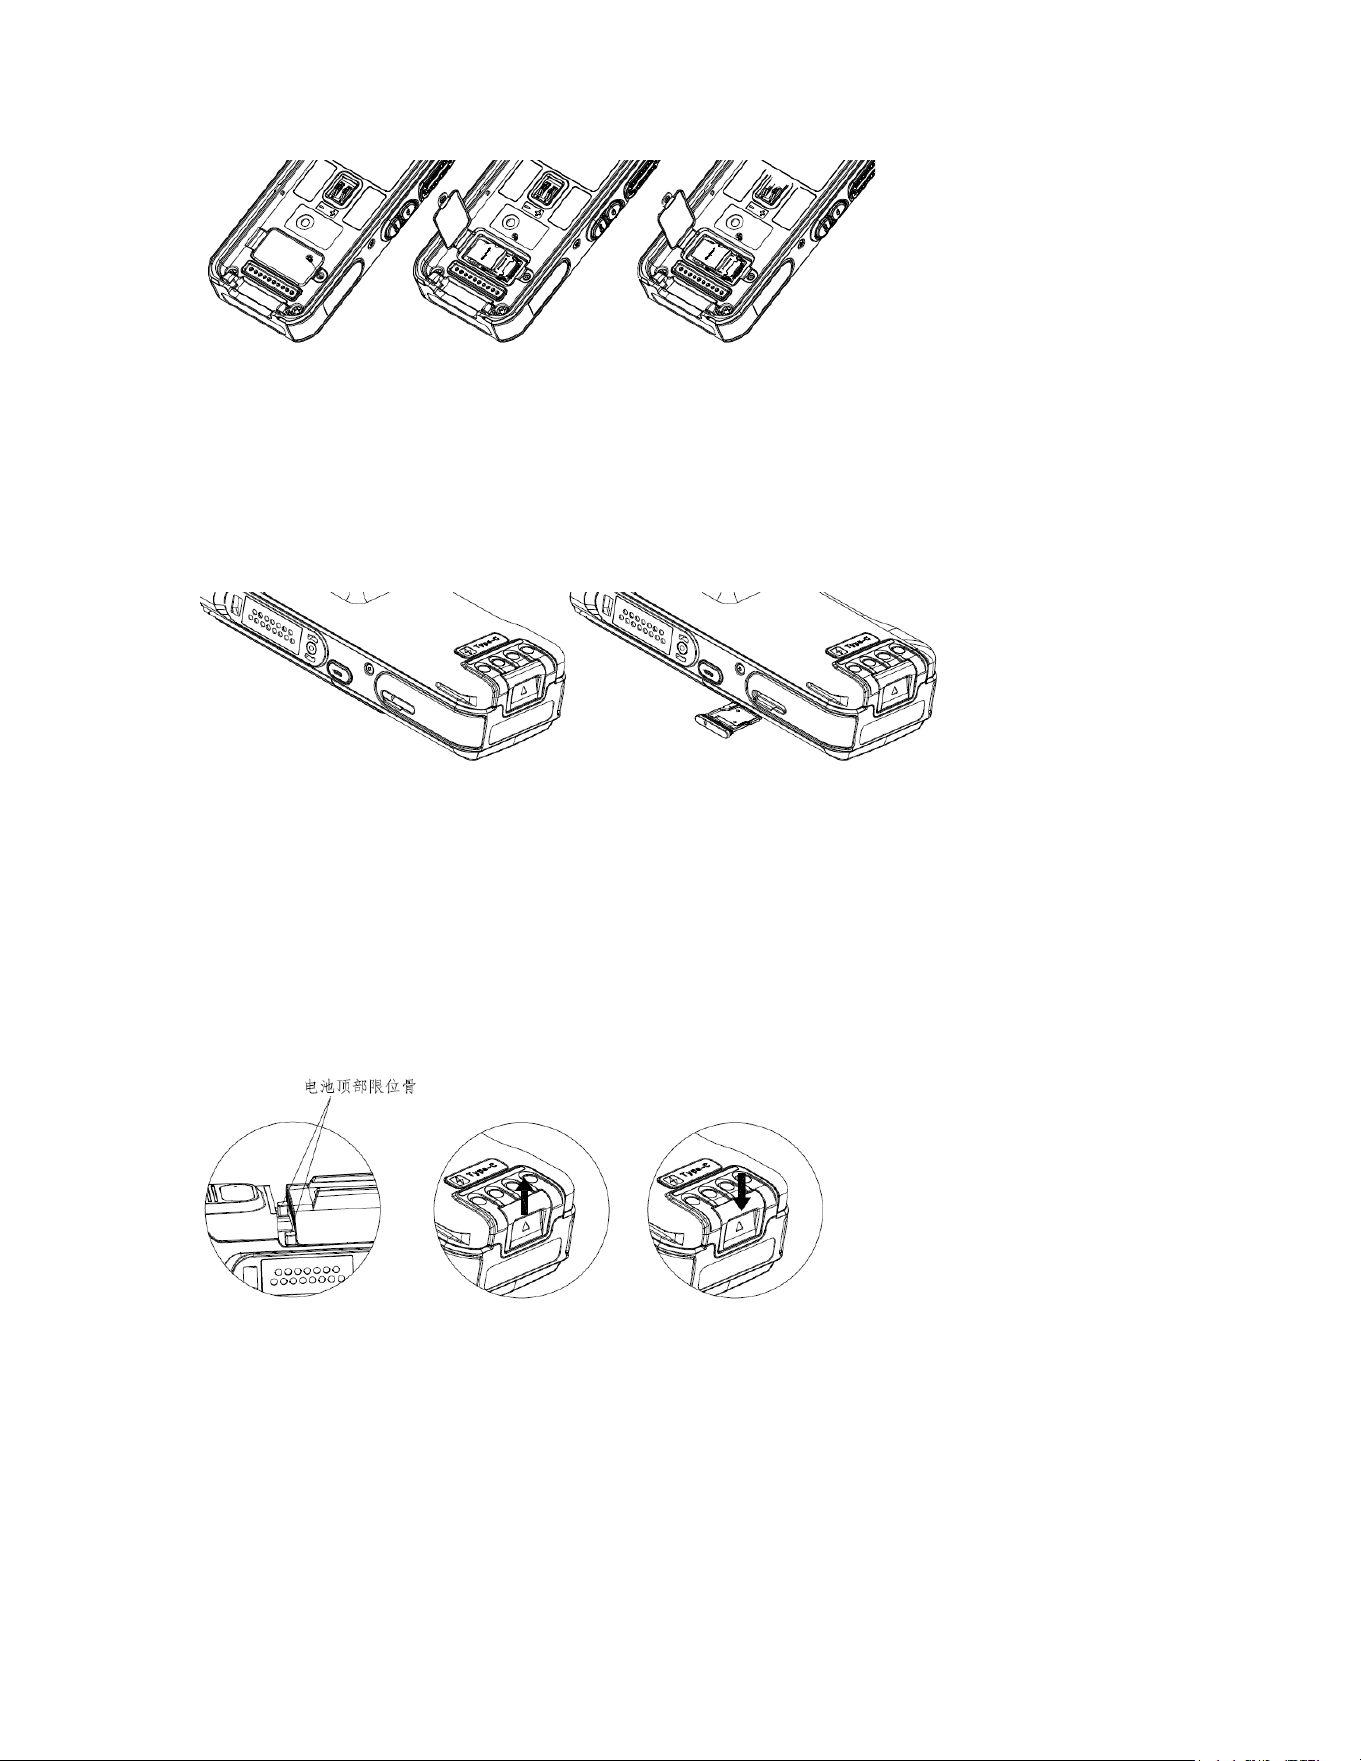
Position 2
The card tray is on the left side (marked with a triangle). Pull out the tray, insert cards,
then push back firmly.
Install the Battery
1. Align the top plugs of the battery with the battery compartment slots and insert.
2. Push the battery latch into position.
3. Press the bottom gently until locked.
Type‑C Charging
Lift and rotate the Type‑C port cover to expose the port and indicator.
• Red light on: Charging
• Red light flashing: Charging error
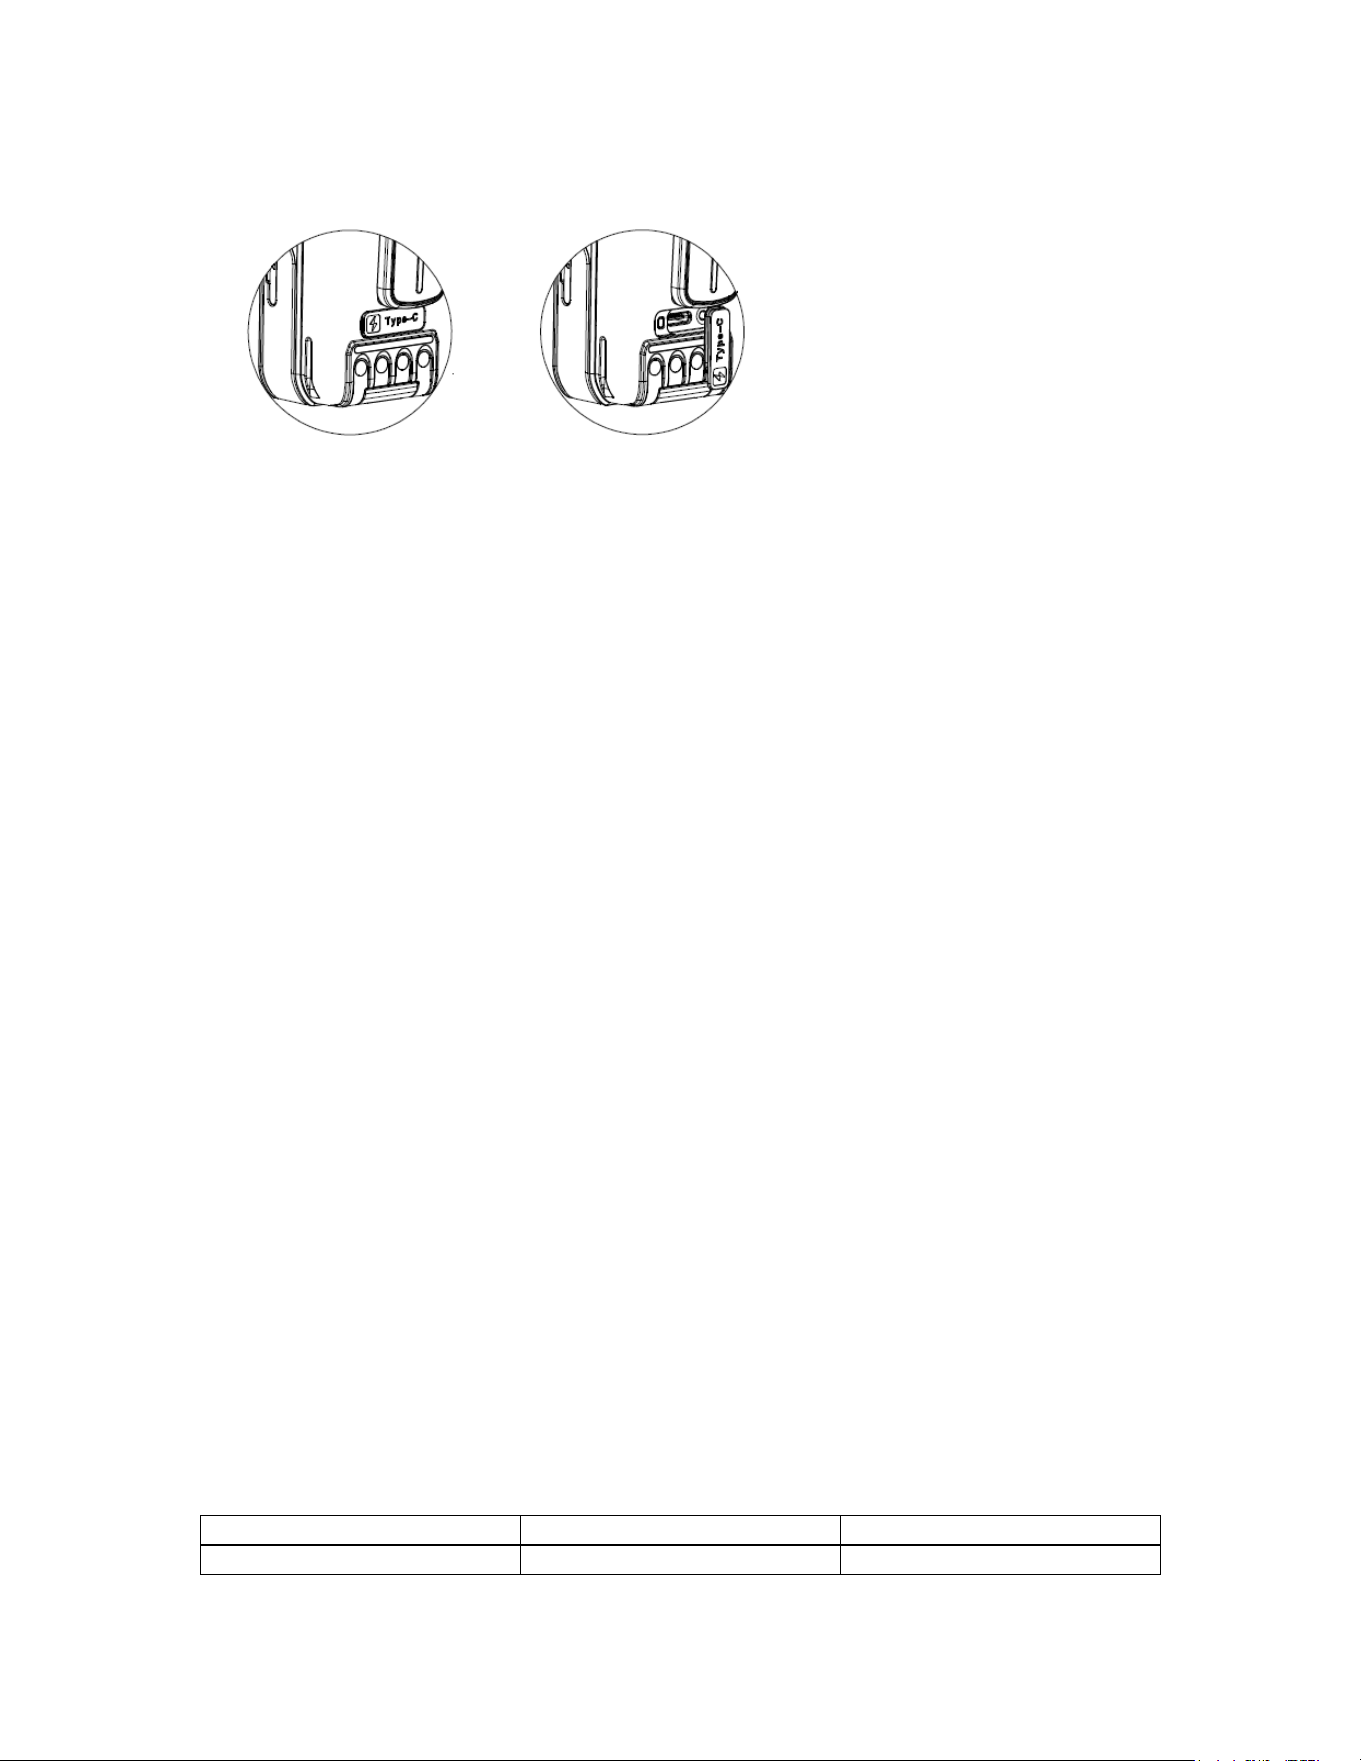
• Red light off: Fully charged
Basic Operations
1. Power On / Off
On: Rotate Power/Volume knob clockwise until click. Off: Rotate counterclockwise until
click.
2. Select Channel
Rotate the channel knob. Channels can be analog or digital (set by dealer via software).
3. Adjust Volume
Clockwise to increase, counterclockwise to decrease. Turn past min to power off.
4. Make a Call
• Default contact: Hold PTT.
• Select contact: Enter Contacts → hold PTT.
• Manual dial: Enter ID → hold PTT.
5. Receive a Call
Green LED on; display shows caller info. Hold PTT to reply during call hold time.
6. Emergency Alarm
Send emergency alert and voice to designated group at any time.
7. Call Records
View outgoing, incoming, and missed calls.
8. Positioning System
Enable via software or Positioning menu. Device shows location and updates to server.
Troubleshooting
No.
Symptom
Cause & Solution
1
Will not power on
A. Low battery:
Charge/replace.
B. Poor contact: Reinstall
battery.
C. Dirty contacts: Clean
terminals.
2
Cannot communicate
A. Loose antenna: Tighten.
B. Wrong frequency:
Match RX/TX.
C. Mismatched codes:
Reprogram.
D. Out of range.
3
No positioning
A. Wrong settings:
Reconfigure.
B. Shielded area: Move to
open space.
4
Programming failure
A. Bad cable: Check
connection.
B. Poor port:
Inspect/replace board.
FCC Statement
15.19 Labeling requirements.
This device complies with part 15 of the FCC Rules. Operation is subject to the following two
conditions: (1) This device may not cause harmful interference, and (2) this device must accept
any interference received, including interference that may cause undesired operation.
15.21 Information to user.
Any Changes or modifications not expressly approved by the party responsible for compliance
could void the user's authority to operate the equipment.
15.105 Information to user.
This equipment has been tested and found to comply with the limits for a Class B digital device,
pursuant to Part 15 of the FCC Rules. These limits are designed to provide reasonable protection
against harmful interference in a residential installation. This equipment generates uses and can
radiate radio frequency energy and, if not installed and used in accordance with the instructions,
may cause harmful interference to radio communications. However, there is no guarantee that
interference will not occur in a particular installation. If this equipment does cause harmful
interference to radio or television reception, which can be determined by turning the equipment
off and on, the user is encouraged to try to correct the interference by one or more of the
following measures:
-- Reorient or relocate the receiving antenna.
-- Increase the separation between the equipment and receiver.
-- Connect the equipment into an outlet on a circuit different from that to which the receiver is
connected.
-- Consult the dealer or an experienced radio/TV technician for help.

Specific Absorption Rate (SAR) information:
This product meets the government's requirements for exposure to radio waves. The guidelines
are based on standards that were developed by independent scientific organizations through
periodic and thorough evaluation of scientific studies. The standards include a substantial safety
margin designed to assure the safety of all persons regardless of age or health.
FCC RF Exposure Information and Statement The SAR limit of USA (FCC) is 1.6 W/kg averaged
over one gram of tissue. This device was tested for typical body-worn operations when the device
used at 25mm from front face and 10mm from the product, 0mm from the belt, for maintain
compliance with FCC RF exposure requirements. The use of belt clips, holsters and similar
accessories should not contain metallic components in its assembly. The use of accessories that
do not satisfy these requirements may not comply with FCC RF exposure requirements, and
should be avoided.