START
1. Connect the red battery clamp to the
positive (+) battery terminal and the black
battery clamp to the negative (-) battery
terminal.
2. Connect the jump starter Smart Clamps
to the EC5 port on the unit.
After correct connection, the green starting
state indicator light will be ON. If the starting
state indicator light is not showing solid
green, please reference the previous
section to diagnose. Notice, the green light
should be solid and not flashing.
3. Attempt to start vehicle. Once the engine
has started, first disconnect the Smart
Clamps from the jump starter unit and
second, disconnect the Smart Clamps from
the vehicle battery.
If starting is unsuccessful, wait one minute
and repeat steps 1, 2, and 3.
NOTE: Remove the product from the
vehicle within 30 seconds of jump starting.
If not, it could lead to damage.
To charge the jump starter, use the included AC adapter
and USC-C charge cable. Only use the chargers provided
with this unit. In order to fully recharge the unit, please
allow for 8-9 hours of charge time on the provided AC
charger adapter.
To extend battery life, charge the unit every 3-6 months.
Disconnect unit when fully charged.
Thank you for choosing the JMP2500
jump starter. Please read this manual carefully
before use and keep for future reference.
• This unit is designed to jump start 12V vehicle batteries.
Do not use on 6V or 24V batteries. If the vehicle does not
start immediately, wait for 1 minute to allow the unit to cool
before trying again. To avoid damage to the starter motor,
visit an Interstate All Battery Center for a battery test, if it
does not start after five attempts.
• Do not open this unit. Opening the unit may break or
damage components and will void the warranty.
• Do not place the unit in a high intensity magnetic field.
This may damage components that may cause the unit
to fail.
• The unit is not water proof. Do not use in wet conditions.
Water may short-circuit the unit and may cause excessive
heat, product deformation, damage or explosion.
• Not to be used by children.
• Recharge the unit every 3-6 months for best performance
(even if the unit has not been used). This will extend the life
of the battery.
• Do not throw unit into fire.
• Use only the provided smart clamps and AC charger
provided with the unit.
• Once product life is complete, please recycle as a
rechargeable lithium battery in accordance with local
regulations.
• This unit is to be used in emergency situations to jump
start a vehicle. It is not to be used in place of the vehicle
battery.
• When in use, do not allow the positive and negative
clamps to touch. This may result in sparking, short circuit
and may compromise safety.
• When a vehicle battery is less than 3 volts the unit’s
jump start capabilities will be disabled.
• The unit may get hot while charging. This is normal. Use
caution when handling. Disconnect the unit when fully
charged.
• Before using the product to jump start a vehilce, turn off
all electric equipment on the vehicle (lights, air
conditioning, navigation, etc.).
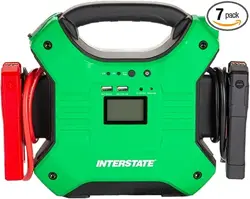
USER MANUAL
CHARGE & GO MAX
JMP2500
Please read the entire manual before use.
SAFETY & MAINTENANCE
SAFETY & MAINTENANCE
JUMP STARTING A VEHICLE
TECHNICAL SPECIFICATIONS
RECHARGING THE UNIT
PRODUCT DESCRIPTION
STARTING STATE INDICATOR LIGHT:
Green Light ON: Ready to Jump Start Mode / Connections
and circuits are correct and working properly.
Green Light Flashing: Indicates vehicle battery voltage is
low. Press the BOOST button and wait until the Green light is
solid ON, then turn on the engine within 30 seconds.
Red Light & Alarm ON: Indicates Short Circuit, Over Current -
Remove clamps from the unit to recover.
Red / Green Light Flashing: Unit in Protection Mode after 4
continuous attempts to jump. Wait 120 seconds before another
attempt. If still unable to jump, DO NOT make additional
attempts. Contact your local All Battery Center for assistance.
No Indicator Light ON: Vehicle battery may be damaged.
JUMP STARTER BATTERY INDICATOR:
Press the POWER button to check the battery level of the unit.
All lights will be OFF when the level is 0%, charging is paused
or completed. 1 Light = 25%, 2 Lights = 50%, 3 Lights = 75%,
4 Lights = 100%
LED FLASHLIGHT MODES:
Press and hold the POWER button for 3 seconds to turn the
LED light ON. While ON, press and release the POWER
button to cycle through ON, S.O.S, Strobe, and OFF modes.
25000mAh
Distributed by Retail Acquisition and Development, Inc.
Urbandale, IA 50323
©2022 Interstate Batteries
866.842.5368
Capacity
Dimensions(L,W,H)
Weight
Built-In Battery
Input Recharging
Fully Charged Time
EC5 Output
Output
Bulb Type
25000mAh, 92.5Wh
8.19 x 3.52 x 1.72in (224 x 89.6 x 43.8mm)
1.709lb (775g)
High Rate Discharge Lithium Polymer Batteries
USB-C 15W (5V/3A)
8-9 hours
Supports 12V Battery System Vehicle
Quick Charge USB: 5V/2.4A; 5V/2.4A, Type-C 15W (5V/3A)
Ultra Bright LED Flashlight/SOS/Strobe
Starting / Peak Amps
Operation Temperature Range
Lifecycle
Safety Technology
600A / 1500A
-4°F to 140°F (-20°C to 60°C)
>500 times
MultiSafety Protection
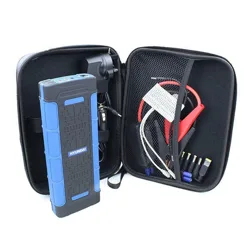
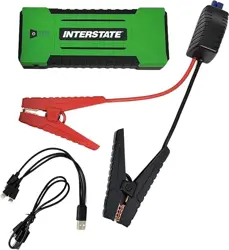
1 x Jump Starter 1 x Smart Clamps
1 x AC Power Adapter 1 x User Manual
1 x 3-in-1 Charging Cable
1 x USB-C Charging Cable
Package Includes
3
To charge electronic devices, plug in the 3-in-1 USB cable
into the USB output port. Connect the cable to your device
and press the POWER button on the unit.
CHARGING ELECTRONIC DEVICES
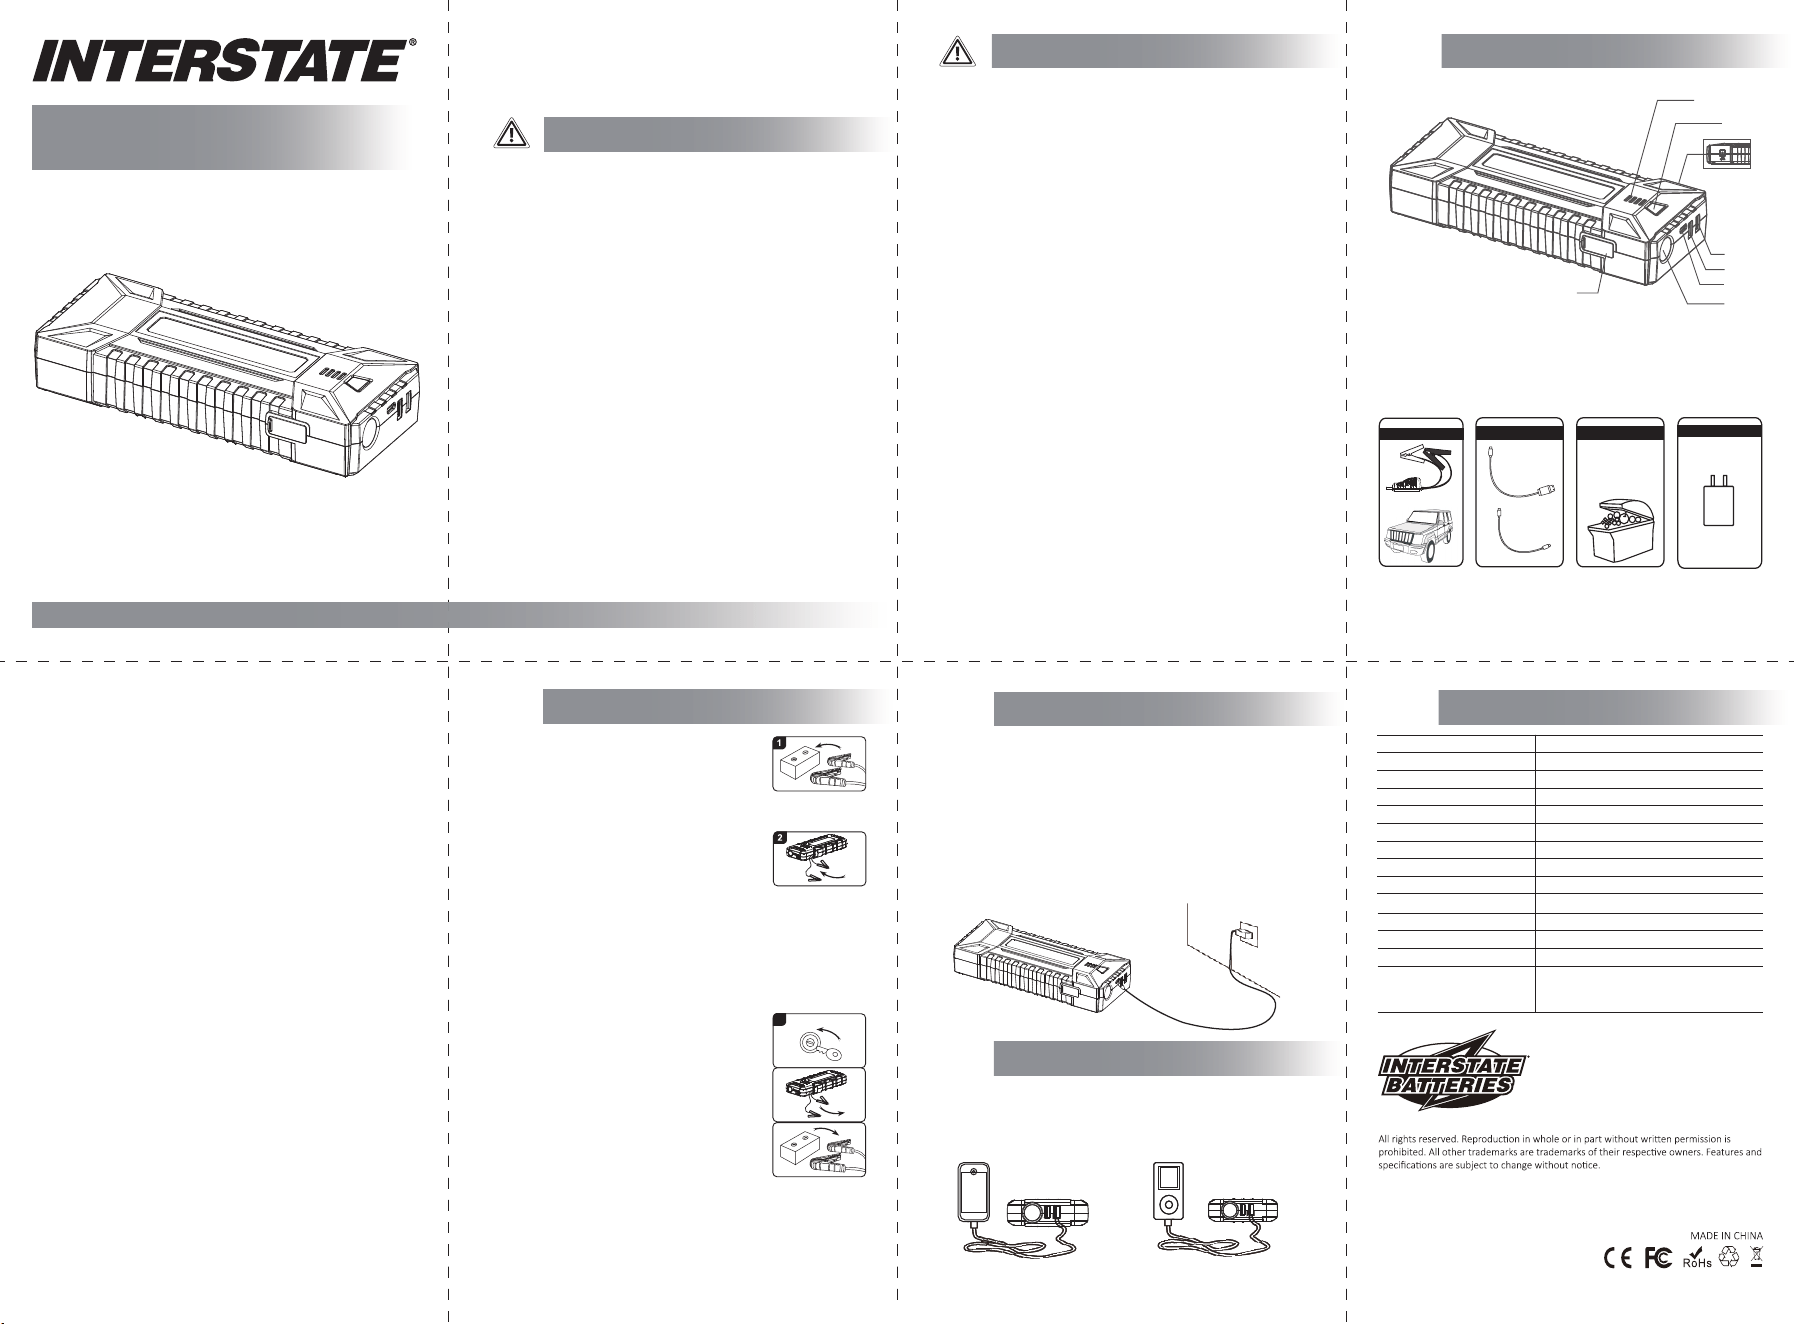
1. Indicator
2. Switch
3. 15V 10A output port
4. USB5V 2.4A output port
5. Quick Charge output port
6. USB-C input(output) port
7. LED Flash Light
8.Jump start socket
1
2
3
4
5
6
7
8
Jump start socket
Intell igen t jumper
cable
For 12V ve hicl e products
15V 10A output port
USB-C inpu t(o utp ut) p ort
Home charge r
USB-C In put port