Enamel Pin
Instruction Manual
一、 Packaging List
Please check if the following items are included:
•Electronic Blister x 1
•Magnetic charging cable x 1
•Instruction manual x 1
二、 APP Download
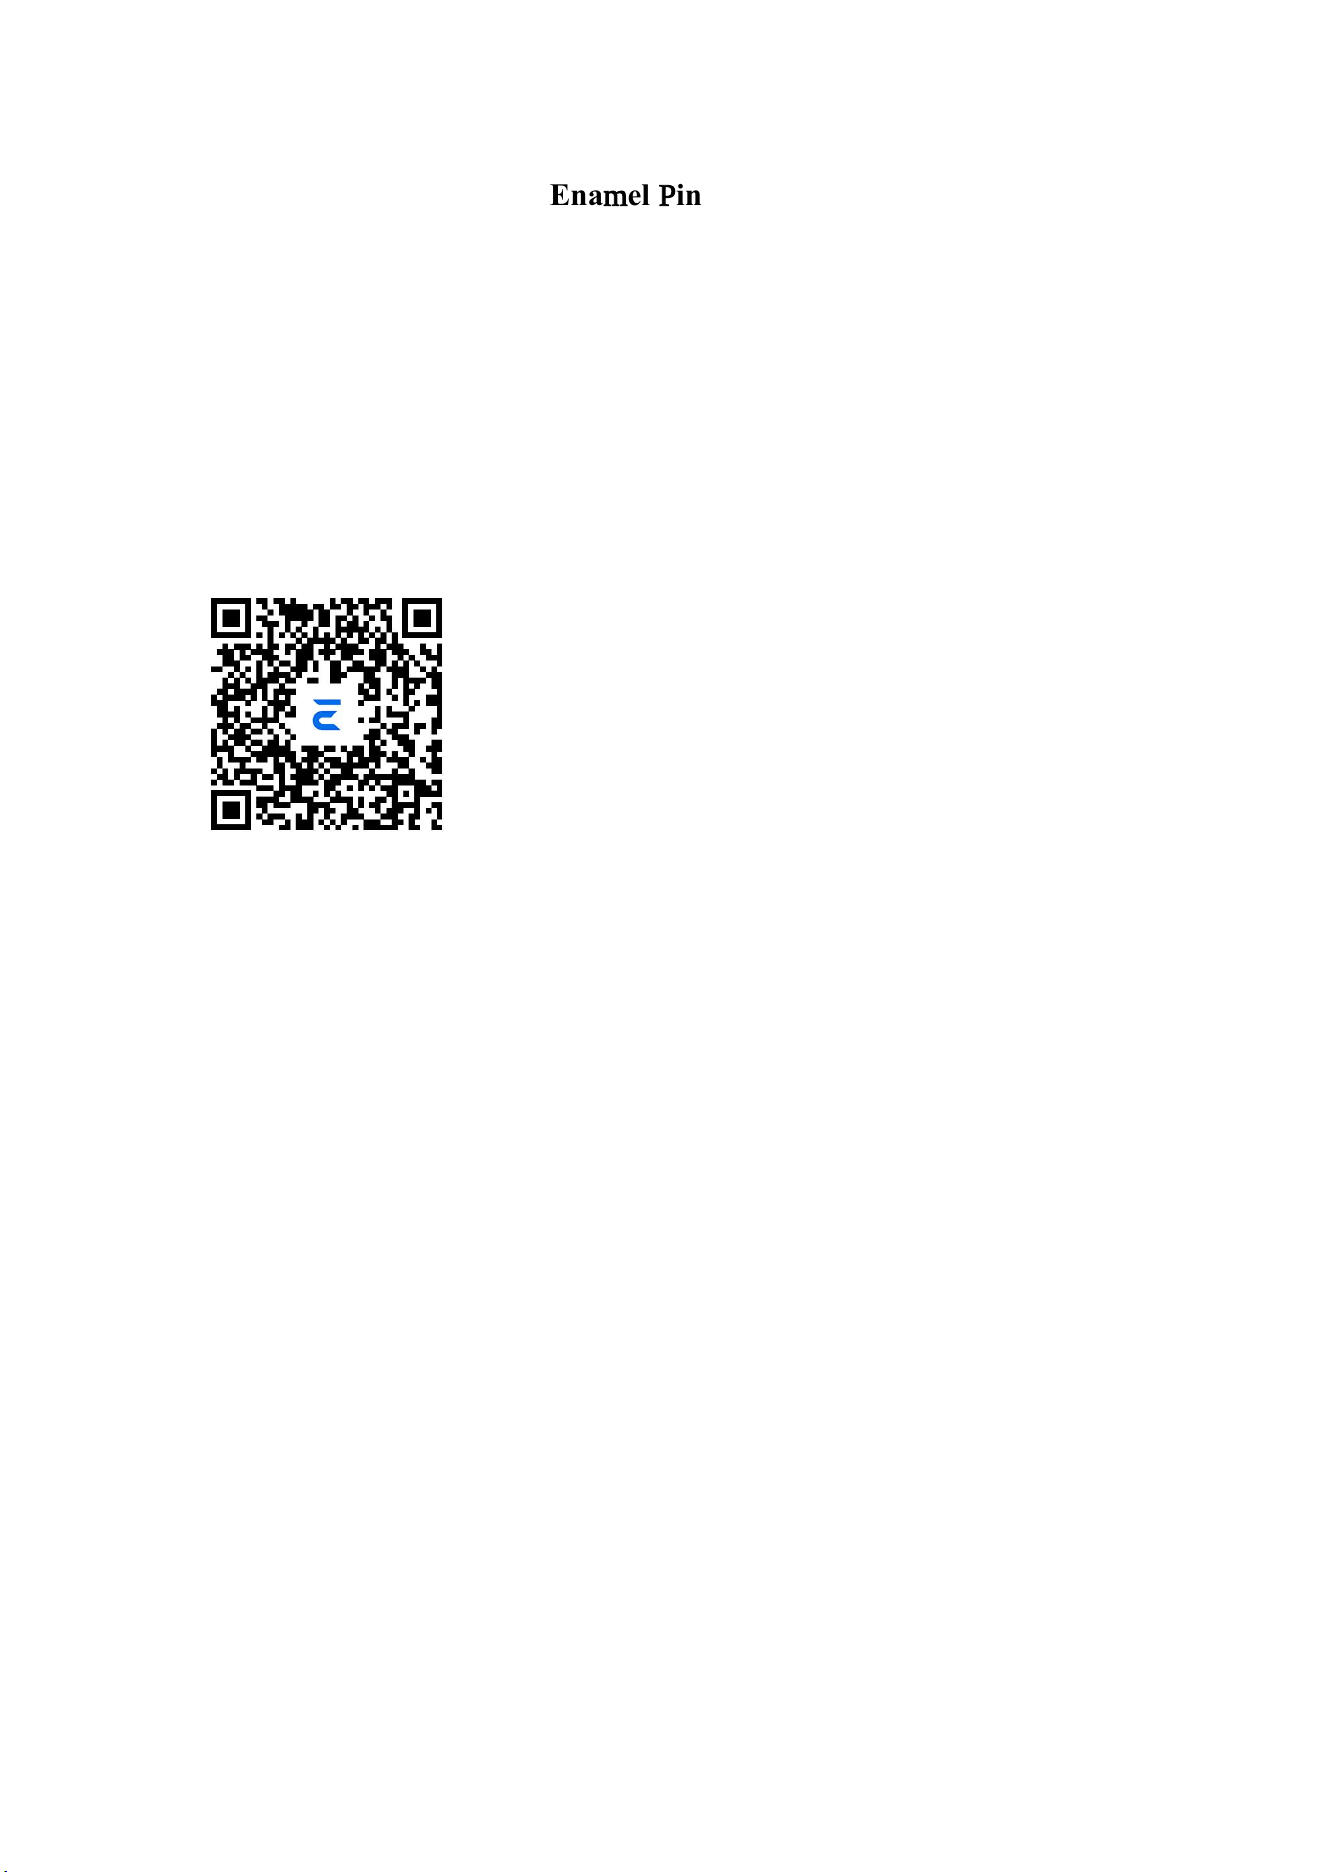
1. You can download it by scanning the QR code below
2. You can also search and download through the app marketplace or App Stoer
三、 Function Explanation and Operation
Key:
1. Power on/off: Long press the function keys on the side/back (2-3 seconds)
2. Short press once on the second and third level pages to return to the list page.
3. Short press once on the list and dial pages to turn off the screen.
4. When the screen is turned off, briefly press to turn on the screen.
The dial page slides down:
1. Battery level grid display.
2. BLE/BR connection icon.
3. Download the app's QR code icon.
4. Version information and Bluetooth name are displayed at the bottom.
Slide on the dial page:
1. Enter the function page
The dial page slides left and right:
When the device has not turned on the carousel, you can slide left and right to switch the dial. Sending function:
1.Select the dial to be sent, click the send icon to transfer the dial to another device.
2.If you have not entered the transmission page, swipe left to cancel the sending when prompted with 'Sending,
confirm recipient opens receive'.
After successful sending, the page will directly return to the dial page.
Receiving function:
After the sending device confirms the sending, the receiving device only needs to click on accept to enter the
transmission page for receiving.

2. If you have not entered the transmission page, swipe left to cancel the reception when prompted to 'wait for
reception, confirm that the other party has opened the send'.
After successful reception, the page will directly return to the table surface.
Display and brightness:
1. Screen always on: To turn on the device and keep it on, you need to manually press the button to turn off the
screen.
Turning off the device will turn off the screen according to the set screen off time.
2. Screen off time: Set 5 seconds, 10 seconds, 15 seconds, 20 seconds, 30 seconds, 60 seconds. Click to confirm
different time options, and the screen will be turned off according to different times.
QR code:
Scan the code to download the device connection app.
Rotating broadcast:
1. The carousel animation opens, and all dials on the dial page can be streamed and played.
2. The carousel animation is turned off, and the dial on the dial page needs to be manually slid left and right to
switch.
Delete dial:
1. Select the dial to be deleted, click the delete button and select √ to delete it.
2. Click the delete button. If you do not want to delete it, please mark X first to cancel.
3. If the last dial is deleted, it cannot be deleted, and the prompt says' There is only one dial, it cannot be deleted '.
Supporting lights:
1. Enter the auxiliary light, double-click to flash.
2. Swipe left to switch the color of the auxiliary light, including white, blue, red, green, purple, yellow, and sky blue.
3. Right swipe to exit the auxiliary light function.
Settings
General
1. Language settings: Switch languages.
2. Instruction manual: Scan the code to obtain the user manual.
3. QR code: Scan the code to download the device connection app.
Regarding: version information, Bluetooth name, version number, QR code.
5. Shutdown: Click to select whether to shut down.
6. Factory reset: Click to select whether to reset to factory settings.
Carousel animation
1. The carousel animation opens, and all dials on the dial page can be streamed and played.
2. The carousel animation is turned off, and the dial on the dial page needs to be manually slid left and right to
switch.
Volume adjustment: Click the left and right icons to adjust the volume.
Display and brightness:
1. Screen always on: To turn on the device and keep it on, you need to manually press the button to turn off the
screen.
Turning off the device will turn off the screen according to the set screen off time.
2. Screen off time: Set 5 seconds, 10 seconds, 15 seconds, 20 seconds, 30 seconds, 60 seconds. Click to confirm
different time options, and the screen will be turned off according to different times.
Charging operation: It can be used while charging, and the charging icon can be displayed in the battery box on the
dial page to show the charging lightning icon.

When turned off, it cannot be used while charging.
Device and APP connection usage:
1. Click on the unconnected device and search for the device's Bluetooth name to establish a connection.
2. Single image push: Click on the function area to open the phone album permission, obtain the album image,
select the image that needs to be downloaded and upload, and after successful upgrade, the device will obtain the
selected image.
3. Video push: Click on the function area to open the phone album permission, obtain the album video, select the
video that needs to be downloaded and upload it. After successful upgrade, the device will obtain the selected
video.
4. Search function: Click on search, and the device will flash the response light.
5. Online upgrade, if the device version is updated, click to OTA the latest version.
6. Restore factory settings: Click to select 'No' to restore factory settings.
7. Regarding: APP version information and download QR code.
四、
Charging instructions
1. Find the charging interface on the back and use magnetic suction to attach the charging cable
2. Connect using the included USB charging cable.
3. The charging icon lights up: indicating that it is charging.
4. Circle running full: indicates it is full.
Charging time: about 2-4 hours.
五、 Safety precautions
•Do not dismantle, impact, burn or put into fire.
• Avoid children putting small parts in their mouths to prevent accidental ingestion.
•When charging, try to avoid using it as much as possible. If you find that the product is overheated, deformed, or has
an odor, please stop using it immediately.
•Do not store or use in high temperature or high humidity environments.
六、 Troubleshooting
• Unable to turn on?
Please connect the charger to charge for 30 minutes first, as the battery may have been depleted.
Does the indicator light not light up during charging?
Check if the charging cable and charging head are properly connected, and try replacing them with other charging
cables or USB ports
Can't find Bluetooth or Bluetooth connection failed?
Please restart the device and refresh the app,
• Content not displayed?
Re upload the file or try restarting the machine
✦ Thoughtful maintenance
Cleaning: Gently wipe the surface with a soft microfiber cloth.
Storage: Please store in a cool and dry place, avoiding prolonged direct sunlight.
Safety: This product is not waterproof, please do not expose it to rain or water immersion. Avoid severe impact.
FCC Requirement
changes or modifications not expressly approved by the party responsible for compliance could void the user’s

authority to operate the equipment.
This device complies with Part 15 of the FCC Rules. Operation is subject to the following two conditions:
(1) this device may not cause harmful interference, and
(2) this device must accept any interference received, including interference that may cause undesired operation.
Note: This equipment has been tested and found to comply with the limits for a Class B digital device, pursuant to
Part 15 of the FCC Rules. These limits are designed to provide reasonable protection against harmful interference in a
residential installation. This equipment generates, uses, and can radiate radio frequency energy, and if not installed
and used in accordance with the instructions, may cause harmful interference to radio communications. However,
there is no guarantee that interference will not occur in a particular installation. If this equipment does cause harmful
interference to radio or television reception, which can be determined by turning the equipment off and on, the user
is encouraged to try to correct the interference by one or more of the following measures:
– Reorient or relocate the receiving antenna.
– Increase the separation between the equipment and receiver.
– Connect the equipment into an outlet on a circuit different from that to which the receiver is connected.
– Consult the dealer or an experienced radio/TV technician for help.