DO160/DO160-KIT_v1_3/2026
USER MANUAL
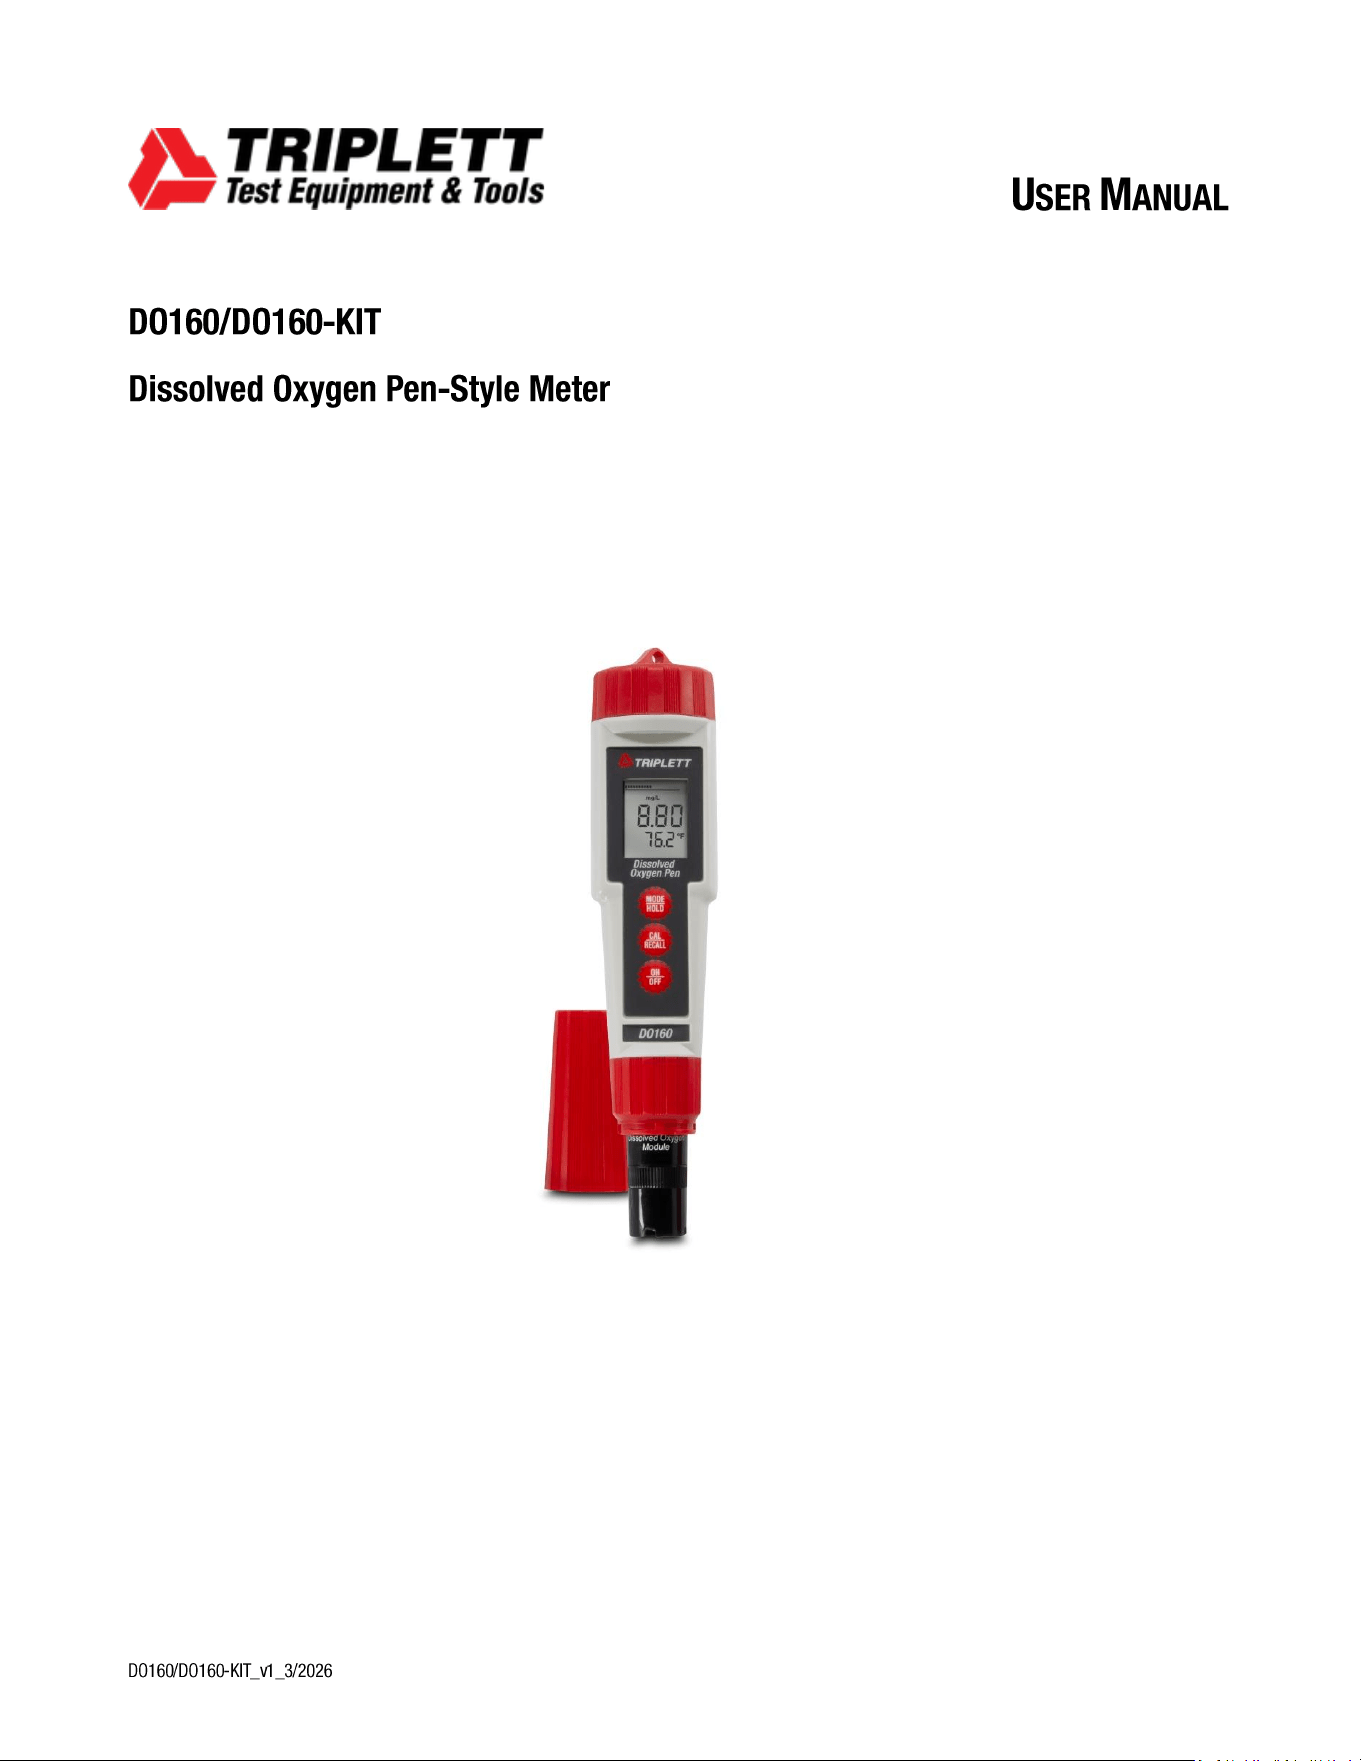
DO160/DO160-KIT
Dissolved Oxygen Pen-Style Meter

2
Introduction:
Welcome, and congratulations on your purchase of the Triplett DO160 Dissolved Oxygen Pen-Style Meter. Kit
With this powerful tool, you can easily
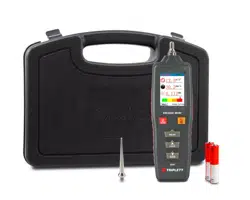
What’s in the box:
▪ DO Meter
▪ Batteries
▪ Extension cable 5m (DO160-KIT Only)
▪ Weighted Base (DO160-KIT Only)
▪ Electrolyte Solution
▪ Polishing Strips (DO160-KIT Only)
▪ User Manual
Stay updated:
For the most recent version of the user manual, always visit the official Triplett website:
www.triplett.com and search for DO160.
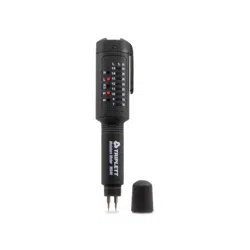
Description
Meter Description
1. Battery Compartment Cap
2. LCD Display
3. MODE / HOLD Button
4. CAL / RECALL Button
5. ON/OFF Button
6. Electrode Collar
7. DO Electrode
LCD Display
1. Bar Graph Reading
2. Measurement Units
3. Main Display
4. RENEW Indicator
5. HOLD Indicator
6. RANGE Calibration Indicator
7. Low Battery Indicator
3
8. Temperature Display
Operation
Preparing the Electrode
The electrode is shipped ‘dry’ and requires filling before use, using the supplied electrolyte solution. The DO160 is shipped
with the membrane in place. Refer to the DO Bonded Membrane Cap Replacement section for filling the bonded cap.
NOTE: Ensure no air bubbles in the electrode before use.
Powering ON/OFF the meter
If the batteries are low, the battery indicator will appear on the LCD. Press the ON/OFF button to turn the DO160 meter
on or off. The auto power-off feature automatically shuts off the DO160 meter after 10 minutes of inactivity to conserve
battery life.
Auto Power OFF Disable
To disable the Auto Power Off feature:
1. Turn the unit on.
2. Quickly press the CAL/RECALL button once.
3. Immediately and simultaneously press the MODE/HOLD and ON/OFF buttons for approximately 2 seconds, until 'OFF'
is briefly displayed.
To re-engage this feature, turn the meter off using the ON/OFF button. The next time the meter is powered on, the Auto
Power Off mode will be activated again.
Changing the Displayed Temperature Unit
To change the temperature units displayed (°C or °F):
1. With the meter turned off, press and hold the CAL/RECALL button.
2. While holding down the CAL/RECALL button, briefly press the ON/OFF button. When 'SELF CAL' appears on the display,
release the CAL/RECALL button. The meter will power on, displaying the temperature in the new unit.
Change Units of Measure
The available units are % saturation, mg/l, or parts per million (ppm). To change the units:
1. Long press the MODE/HOLD button, the units of measure (%, mg/l, ppm) will scroll.
2. Release the button when the desired units are displayed, the meter will return to the normal operating mode.
Data Hold
Press the MODE/HOLD button to freeze the current reading on the display. The meter will enter HOLD mode, and the 'HOLD'
indicator will appear.
NOTE: This action also stores the reading.
Press the MODE/HOLD button again to return to normal operation.
4
Storing Readings into Memory
1. Press the MODE/HOLD button to store a reading. The storage location number will appear on the
lower display, while the main display shows the stored reading. The meter will enter HOLD mode,
and the 'HOLD' indicator will be displayed.
2. Press the MODE/HOLD button again to exit HOLD mode and return to normal operation.
3. If more than 25 readings are stored, earlier readings (starting with number 1) will be overwritten.
Recalling Stored Readings
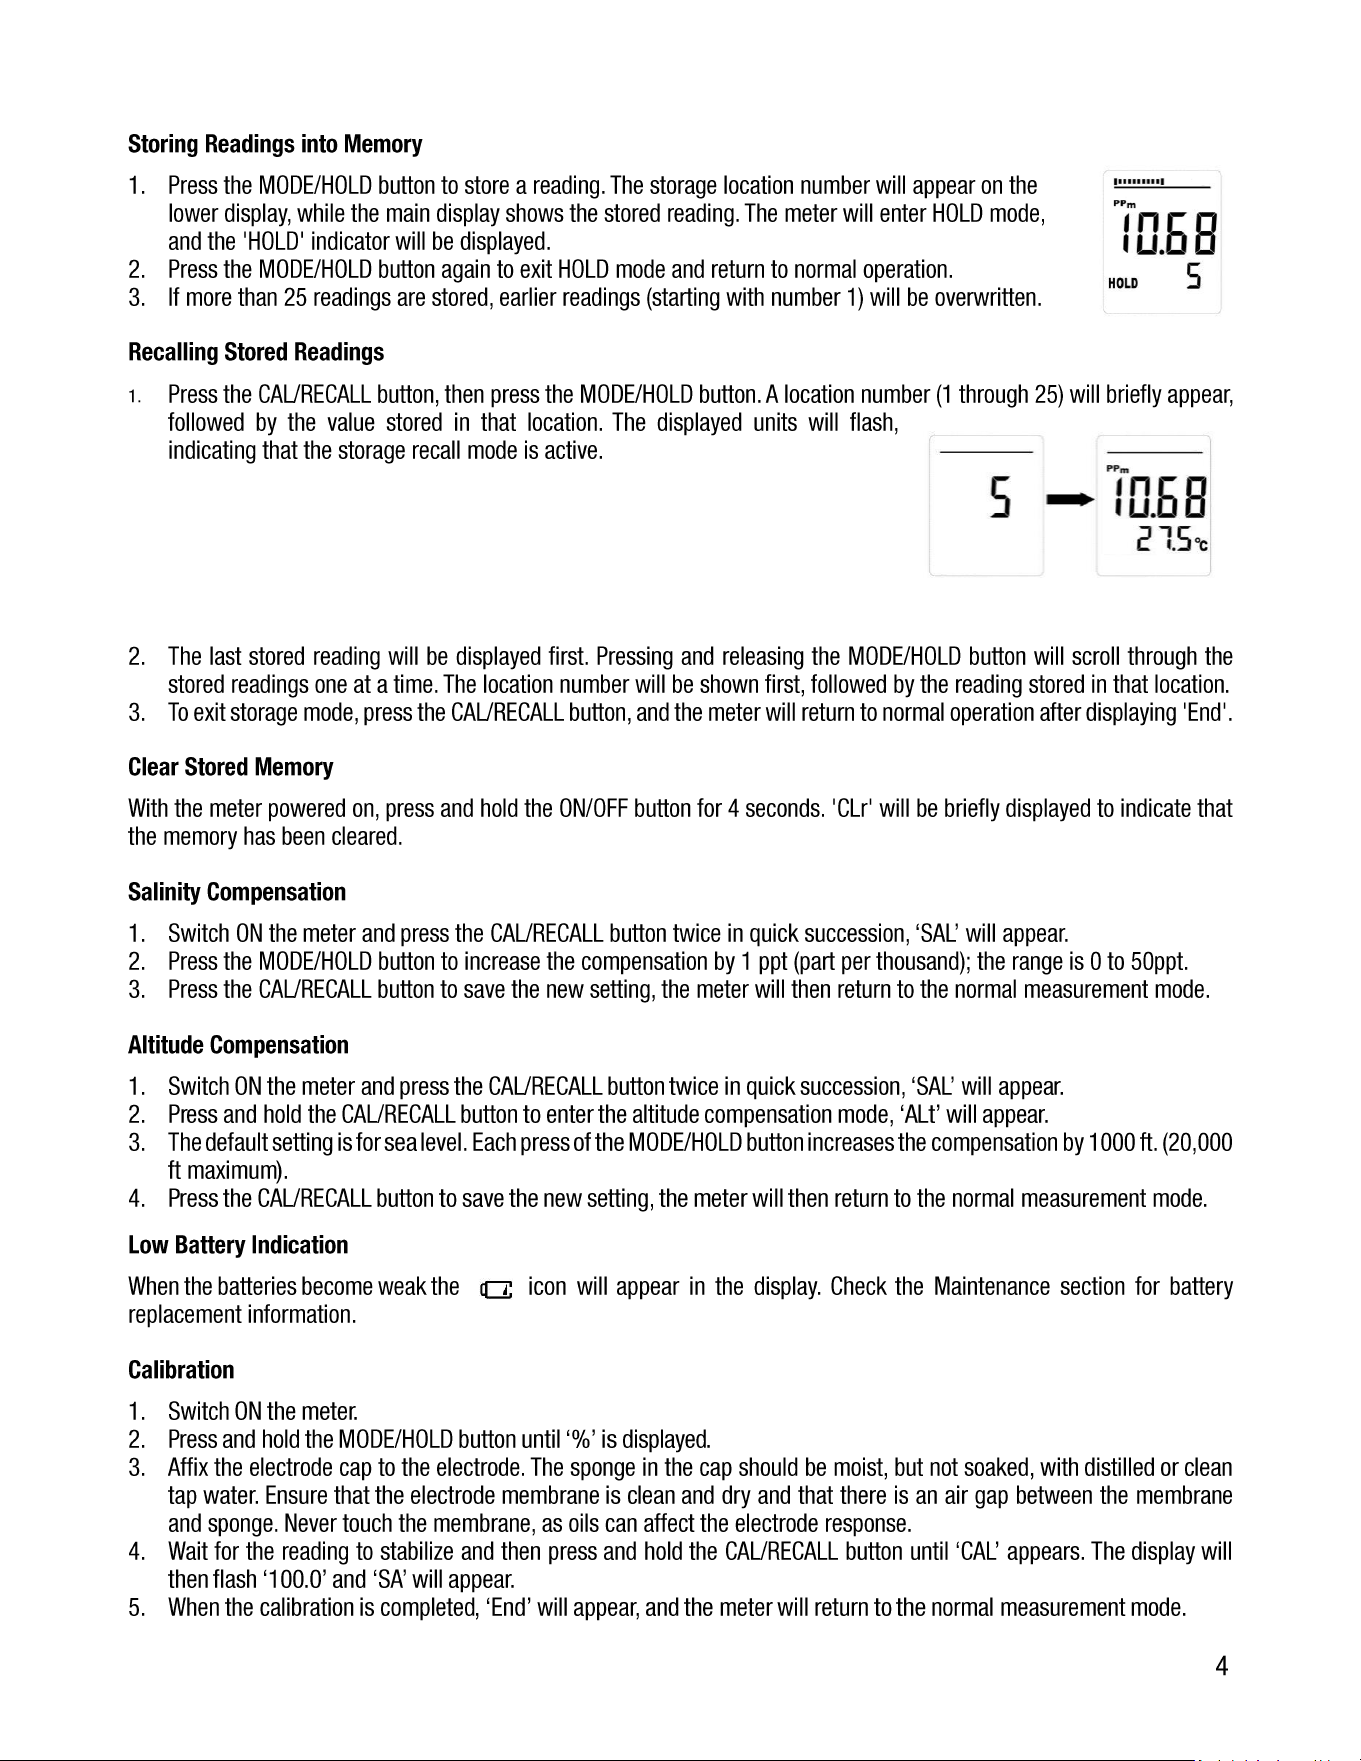
1. Press the CAL/RECALL button, then press the MODE/HOLD button. A location number (1 through 25) will briefly appear,
followed by the value stored in that location. The displayed units will flash,
indicating that the storage recall mode is active.
2. The last stored reading will be displayed first. Pressing and releasing the MODE/HOLD button will scroll through the
stored readings one at a time. The location number will be shown first, followed by the reading stored in that location.
3. To exit storage mode, press the CAL/RECALL button, and the meter will return to normal operation after displaying 'End'.
Clear Stored Memory
With the meter powered on, press and hold the ON/OFF button for 4 seconds. 'CLr' will be briefly displayed to indicate that
the memory has been cleared.
Salinity Compensation
1. Switch ON the meter and press the CAL/RECALL button twice in quick succession, ‘SAL’ will appear.
2. Press the MODE/HOLD button to increase the compensation by 1 ppt (part per thousand); the range is 0 to 50ppt.
3. Press the CAL/RECALL button to save the new setting, the meter will then return to the normal measurement mode.
Altitude Compensation
1. Switch ON the meter and press the CAL/RECALL button twice in quick succession, ‘SAL’ will appear.
2. Press and hold the CAL/RECALL button to enter the altitude compensation mode, ‘ALt’ will appear.
3. The default setting is for sea level. Each press of the MODE/HOLD button increases the compensation by 1000 ft. (20,000
ft maximum).
4. Press the CAL/RECALL button to save the new setting, the meter will then return to the normal measurement mode.
Low Battery Indication
When the batteries become weak the icon will appear in the display. Check the Maintenance section for battery
replacement information.
Calibration
1. Switch ON the meter.
2. Press and hold the MODE/HOLD button until ‘%’ is displayed.
3. Affix the electrode cap to the electrode. The sponge in the cap should be moist, but not soaked, with distilled or clean
tap water. Ensure that the electrode membrane is clean and dry and that there is an air gap between the membrane
and sponge. Never touch the membrane, as oils can affect the electrode response.
4. Wait for the reading to stabilize and then press and hold the CAL/RECALL button until ‘CAL’ appears. The display will
then flash ‘100.0’ and ‘SA’ will appear.
5. When the calibration is completed, ‘End’ will appear, and the meter will return to the normal measurement mode.
5
Zero Oxygen Calibration (Optional)
The zero-oxygen calibration improves accuracy for very low or high DO measurements.
Place the electrode in a zero-oxygen calibration solution (5% sodium sulfite), wait for stability, and then press and hold the
CAL/RECALL button until ‘CAL’ appears. Stability in a zero solution may take some time, depending on electrode history.
Electronic Zero Calibration (Optional)
1. Perform this calibration when readings are unstable or when replacing the electrode.
2. Switch OFF the meter and remove the electrode by unscrewing the retaining ring and pulling off the electrode.
3. Switch ON the meter and set the mode to %.
4. Press and hold the CAL/RECALL button until ‘CAL’ appears. When the calibration cycle completes, the display should
read 0.0%.
5. Switch OFF the meter.
6. Re-attach the electrode and repeat the first calibration procedure provided at the beginning of this Calibration section.
Reset Calibration Data
Follow this procedure to clear all calibration data from the meter. Resetting the calibration data may be necessary when
new calibration solutions are used or when the accuracy of measurements is in question.
1. Turn off the meter.
2. Press and hold the CAL/RECALL and MODE/HOLD buttons simultaneously.
3. Momentarily press the ON/OFF button. As soon as the display turns on, release all three buttons.
4. The display will show ‘dFLt rSt’ (default reset), indicating that all calibration data has been erased. If ‘dFLt rSt’ does not
appear, please retry the procedure.
Electrode Replacement
1. To remove the electrode, switch OFF the meter and remove the electrode retaining collar by unscrewing
counterclockwise.
2. Gently rock the electrode from side to side, pulling it away from the meter until it disconnects.
3. To attach an electrode, and then carefully push the electrode into the meter socket until it is fully seated.
4. Tighten the electrode retaining collar sufficiently to seal the electrode with the meter.
DO Bonded Membrane Cap Replacement
NOTE: Do not touch the membrane, oils will interfere with the oxygen permeability rate of the membrane.
1. To remove the bonded cap from the electrode, unscrew the cap counterclockwise from the electrode. Discard the used
cap.
2. Rinse the old electrolyte solution from the cathode and anode.
3. Use the supplied polishing paper to clean, polish, and remove scratches from the cathode. Be sure to moisten the cloth
before polishing and do not over-polish.
4. Set the replacement bonded cap on a flat surface and leave it in this position throughout this process.
5. Fill the bonded cap with the electrolyte solution, to the bottom of the threads on the inside of the cap.
6. Tap the side of the bonded cap to remove trapped air bubbles from the solution.
7. Keeping the cap in a fixed position on a flat surface, carefully insert the electrode into the new bonded cap by first
dipping and removing the electrode several times from the cap. With each dip, push the electrode progressively further
into the bonded cap.
8. Screw the electrode slowly onto the bonded cap (clockwise) until fully tightened. The dipping and removal technique
minimizes air bubbles in the electrolyte solution.
9. When tightening the cap, excess solution will leak, this is normal and desirable since it minimizes the introduction of
air pockets. Clean the excess electrolyte before use.
6
Maintenance
Battery Replacement
1. Unscrew the battery compartment cap.
2. Replace the four (4) CR2032 batteries, ensuring correct polarity.
3. Reattach the battery compartment cap.
Disposal: Do not dispose of this instrument in household waste. The user is obligated to take end-of-life devices
to a designated collection point specifically for the disposal of electrical and electronic equipment.
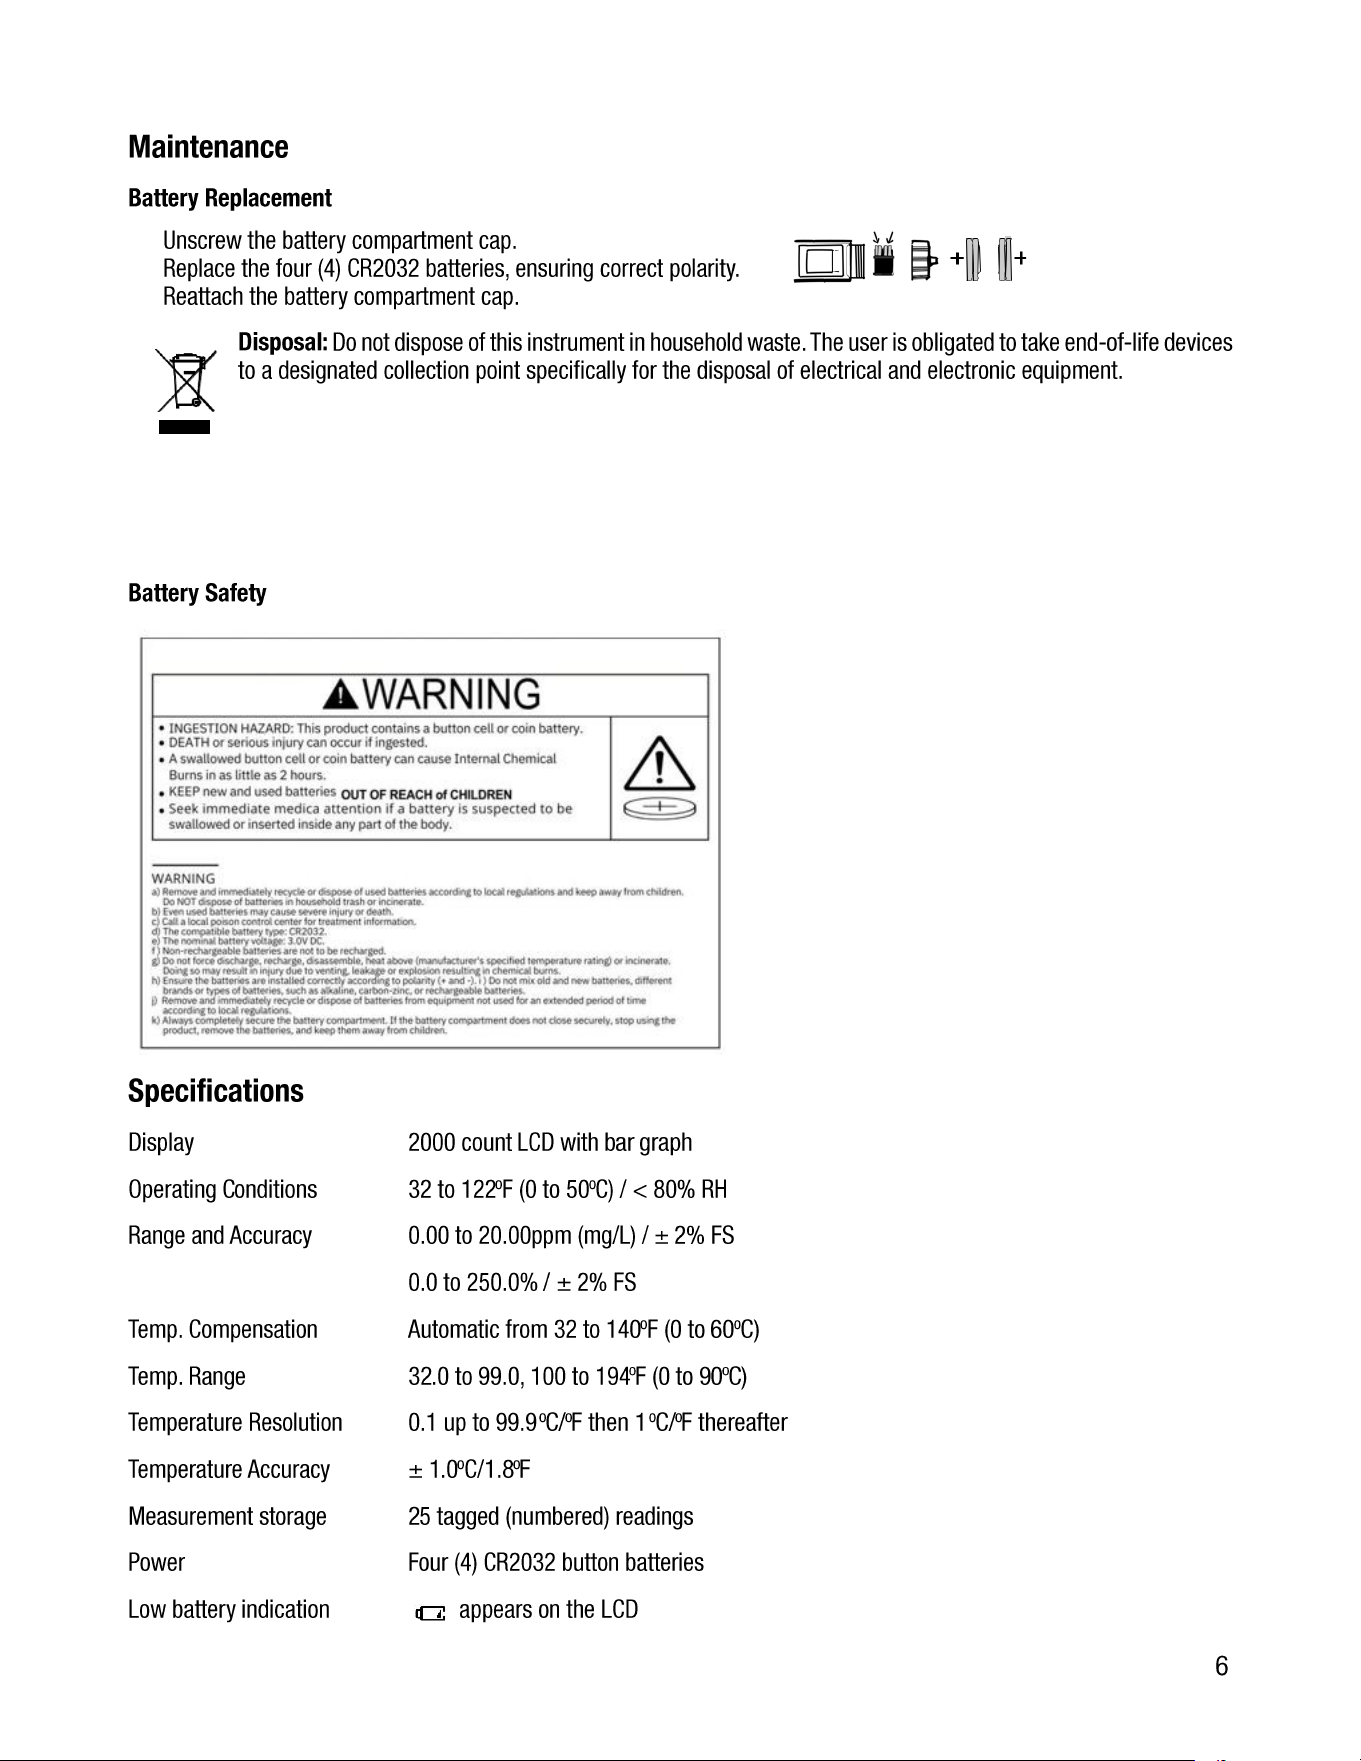
Battery Safety
Specifications
Display 2000 count LCD with bar graph
Operating Conditions 32 to 122
o
F (0 to 50
o
C) / < 80% RH
Range and Accuracy 0.00 to 20.00ppm (mg/L) / ± 2% FS
0.0 to 250.0% / ± 2% FS
Temp. Compensation Automatic from 32 to 140
o
F (0 to 60
o
C)
Temp. Range 32.0 to 99.0, 100 to 194
o
F (0 to 90
o
C)
Temperature Resolution 0.1 up to 99.9
o
C/
o
F then 1
o
C/
o
F thereafter
Temperature Accuracy ± 1.0
o
C/1.8
o
F
Measurement storage 25 tagged (numbered) readings
Power Four (4) CR2032 button batteries
Low battery indication appears on the LCD
7
Auto power off After 10 minutes of inactivity
Dimensions 1.5 x 7.8 x 1.5” (38 x 198 x 38 mm)
Weight 3.5 oz (100 g)
Warranty Statement
Triplett Test Equipment offers a one-year warranty to the original purchaser of its products. We guarantee that
our products will be free from defects in workmanship and materials for two (2) years from the purchase date.
This warranty does not cover:
▪ Products purchased from unauthorized distributors.
▪ Items that have been repaired or altered by unauthorized individuals.
▪ Damage from misuse, abuse, misapplication, negligence, or accidents.
▪ Products with altered, defaced, or removed serial numbers.
▪ Accessories, including batteries.
Copyright © 2026
Triplett www.triplett.com