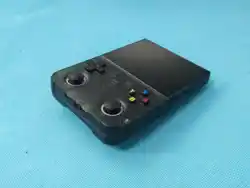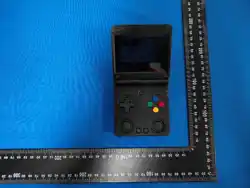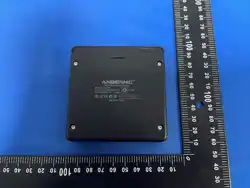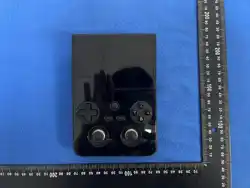

Instructions for Power On and Off:
Power On: Press and hold the power button for 5 seconds. Wait patiently for
about 25 seconds to enter the operation interface.
Power Off: Press and hold the power button for 7 seconds to display the
power-off menu. By default, press the A button to turn off the device.
Note: Please exit the game before shutting down. Do not press any buttons
when the system is starting up.
Charging Instructions:
When the red light on the host is on, please charge it in a timely manner.
Connect the charging cable to the DC interface for charging. When it is fully
charged, the red light will automatically turn off.
Note: Do not press the reset button during the charging state. The charger
must not exceed 5V2A.
Function Shortcut Combinations:
Fix System Bugs: L1+L2+R1+R2+(SELECT*3)
Shortcut Combinations during the Game (except for PSP and NDS):
Save Game Progress: SELECT+R1
Load Saved Game Progress: SELECT +L1
Exit the Game: (SELECT+START)*2
Display FPS: SELECT+B

Pause the Game: SELECT+A
RA Menu: SELECT+X
Game acceleration start and stop: SELECT+R2
Game Screenshot: SELECT+Y
Instructions for PSP Game Buttons:
PSP Menu: SELECT+B
PSP Save Game: Press SELECT+B to enter the PSP menu, select 1.settings >
2.system > 3.Auto loadsavestate > 4.slot 1> 5. Back > 6. save state for
successful saving >7. Exit to menu to exit.
Instructions for NDS Game Buttons:
Press R2 to switch between vertical and horizontal screen display.
Press L2 to display the full-screen switch.
Press the right joystick: Use the stylus to click.
Press the left joystick: Enter the game background menu.
Kid Mode Setup/Unlock
Set up Kid Mode: Press the START button,select “System Settings”, enter "User
Interface Mode", select "Kid" and press A. Press B to return— a reminder pop-up will
appear. Select "Yes" and press A to confirm. Kid Mode is now set up.
Unlock Kid Mode: Press START, select UNLOCK USER INTERFACE MODE, press A, and
press AAABA to unlock.
How to set up a WiFi connection between two machines?
Note: It is required that the game should support the two-player or
multi-player battle mode.
Setup Steps for the First Game Console
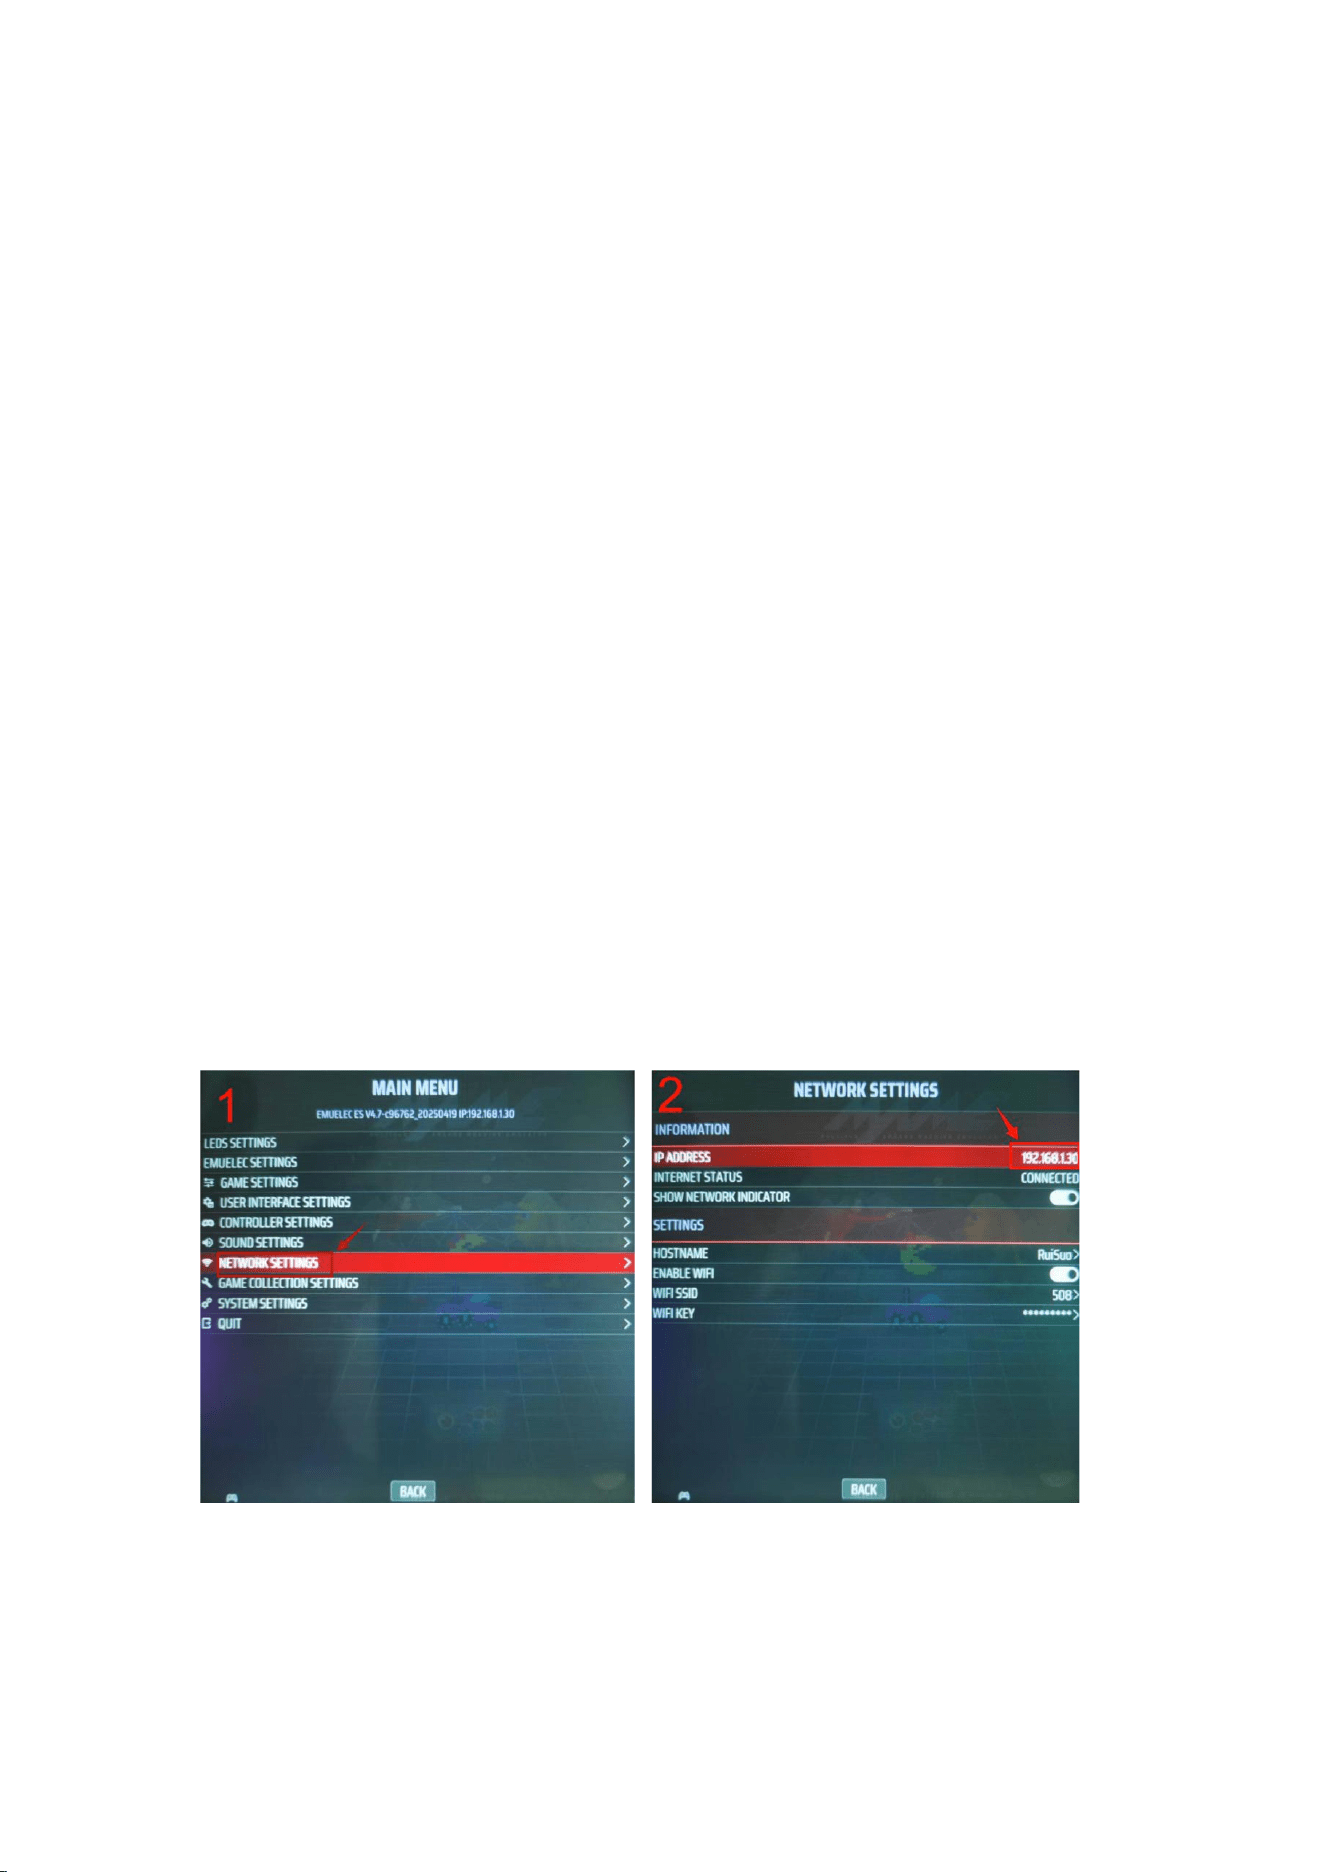
Step 1:On the main interface, press the "START" button to enter the settings
menu. Find the network settings and connect to an available Wi-Fi network.
(Note: For multiplayer games with 2 or more players, all devices must be
connected to the same Wi-Fi network.)
Step 2:Logging IP Address.(Record the IP address for later steps.)
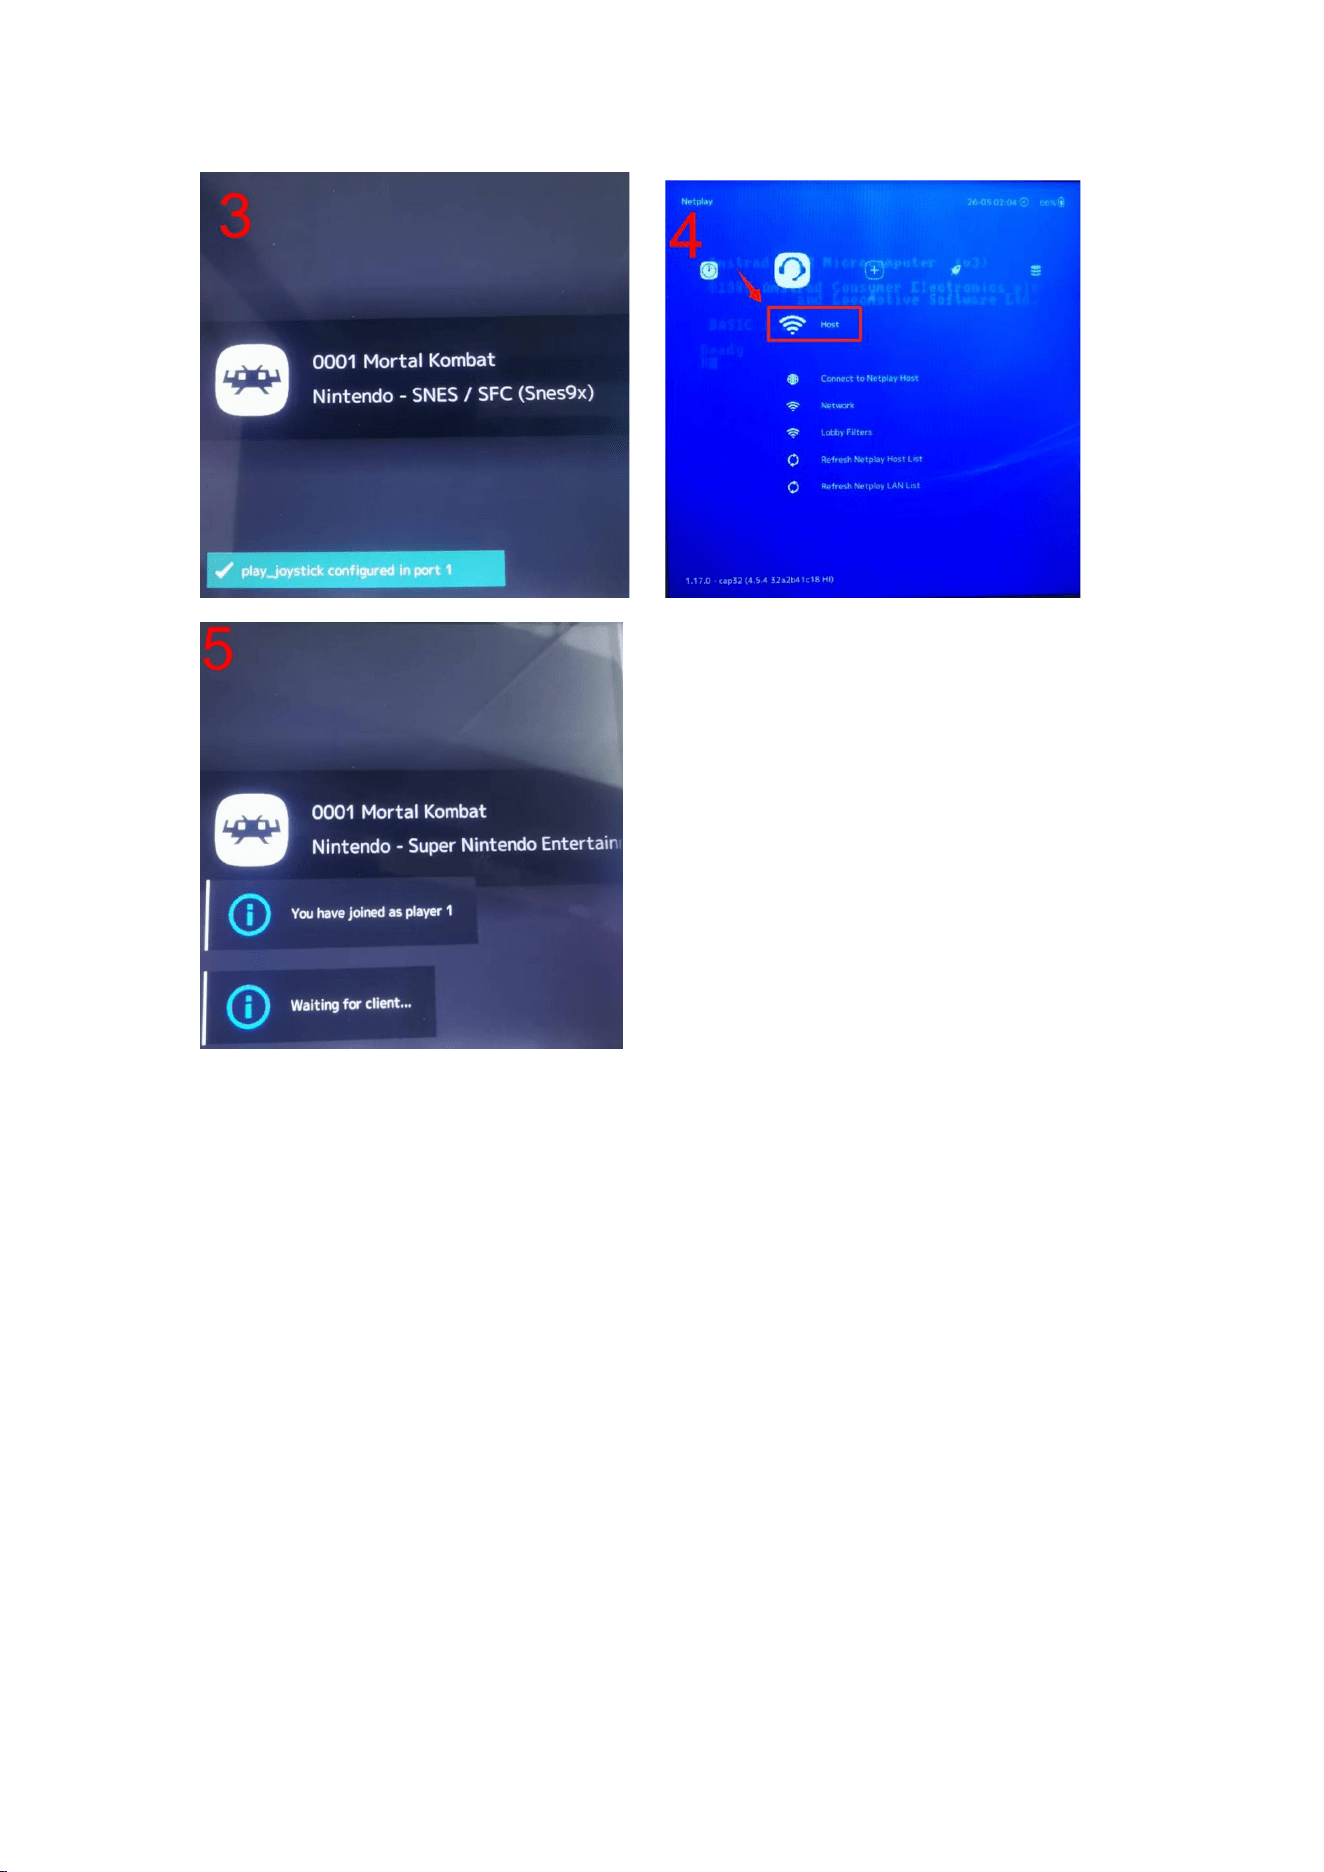
Step 3:Open a game that supports multiplayer (2 or more players). Enter the
game interface, then press "SELECT" + "X" to access the settings menu, and
press the "B" button.
Step 4:Find the "Host" option to start the network game.
NOTE: At this point, the setup for the first game console is complete.
Setup Steps for the Second Game Console
Step 1:Press the “start” key in the main interface to enter the setting interface,
find the network setting to connect an available WIFI. (Note: The Wi-Fi
connection steps are the same as for setting up the first console.)
Step 2: Once the Wi-Fi connection is successful, open the same game and
enter the game interface. Press "SELECT" + "X" to access the settings menu,
then press the "B" button.
Step 3: Find the "Connect to Netplay Host" option.
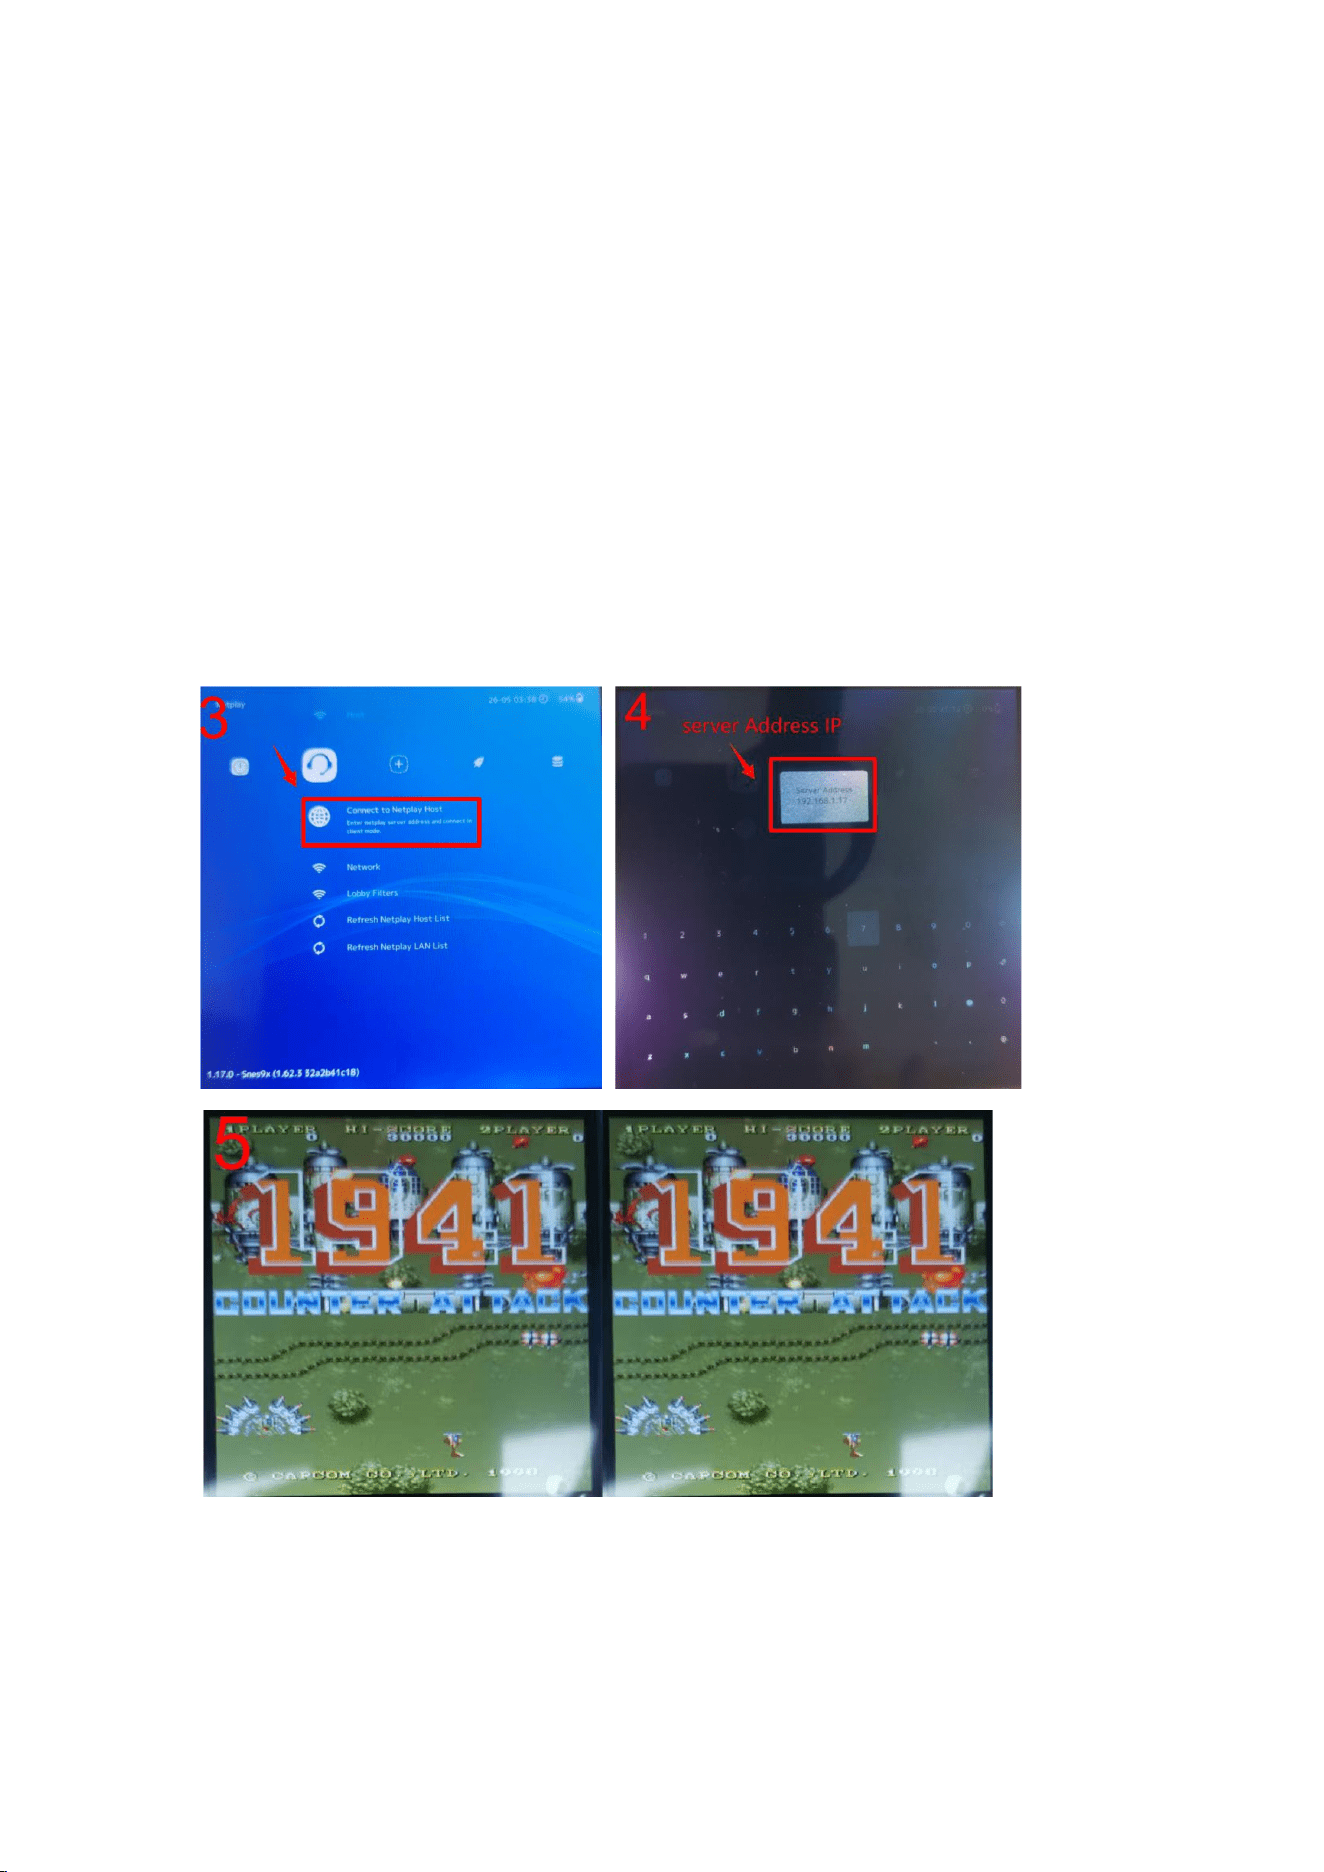
Step 4: Enter the IP address of the first console and press the "X" button to
join the game.
Step 5: If both consoles display the same screen, the connection is successful.
Select the multiplayer mode to start the game.
NOTE:Prioritize the setting to find the "host" as the main control of the game
console to start the network game console and use it as the “Main Control
Handle”
1. ①Press the start key in the main interface to enter the setting interface, find

the network setting to connect an available wifi. ②Record the IP address for
later use, and then find a double game. ③Enter the game interface and press
“select”+“X” key to enter the setting interface and then press the “B” key. ④
Find host to start the network game. ⑤At this time the first console is set up.
2. After the WiFi connection of the other device is successful, find the same
game to enter the game interface, and press “select”+“X” to enter the setting
interface and then press “B” key. ①Find “connect to Netplay host”. ②Enter
the IP address of the first host press the “X” key to enter the game. ③At this
time the two hosts show the same screen indicates that the connection is
successful, select the double mode to enter the game.
How to Switch the Emulator Core?
If the game cannot run, the main reason is that the emulator core does not
support the game, which can be solved by changing the emulator core. Please
select the game name with an error in the game list, hold down the "A" key for
two seconds, select the second-to-last item "Advanced Game Options", and
try to change the first item "Emulator" to a different core. If all the cores in the
list cannot run the game, there may be a problem with the game ROM. Please
provide feedback to me so that I can correct it! Core Selection Suggestions:
(1) CPS1, 2, 3: Give priority to the FBAlpha2012 core, followed by the FBNeo
core and other FBA cores;
(2) FBNeo: Give priority to the FBNeo core, followed by FBAlpha2012 and
other FBA cores;

(3) MAME: Give priority to the FBNeo core, followed by MAME2010, and then
other cores;
(4) GBA: MGBA supports shortcut combinations, and GPSP supports game
modification.
How to Set Global Settings, Single Emulator Settings, and
Single Game Settings?
EE has three methods for setting games. The first is the global settings: Set it
in the "Game Settings" section of the ES menu; the second is the emulator
settings: "Game Settings-PERSYSTEMADVANCED CONFIGURATION"
corresponds to different models; the third is the single game settings. Press
and hold the A button on the game name and set it in the "Advanced Game
Options" that appears. Note the priority: Individual game settings > Emulator
settings > Global settings.
How to Change the Theme?
Press START to pop up the selection menu, select User Interface Settings, press
A to enter the settings: Background Theme, and switch to the theme you like.
Adjustment of the Game Display Aspect Ratio:
(1) Press START to pop up the selection menu, select Game Settings, press A
to enter the settings, pull down to select the game screen aspect ratio, and
select the appropriate screen aspect ratio.

(2) X/Y: Select according to the screen resolution. For example, if the
resolution is 640x640, it is exactly a 1/1 ratio. If the "Game Display Aspect
Ratio" is set to 1/1, all games will basically be displayed in full screen (some
games have black edges by themselves and cannot be fully displayed).
(3) CORE PROVIDEO: The default resolution of the emulator core corresponds
to the default resolution of the game model. This setting can ensure that the
game screen is fully displayed according to the original ratio without
distortion. For example, if an arcade vertical shooting game is displayed
horizontally, it will be stretched to full screen in the X/ mode, resulting in
serious screen distortion. However, using COREPROVIDEO can ensure that the
original ratio remains unchanged. Also, for GB and GBC games, if you use X/Y
full screen, they may be seriously distorted.
How to Add a Game to the Favorites?
Select the game you want to collect in the game list, hold down the A key to
pop up a menu, select Add to Favorites, press the A key to confirm, and the
selected game will be added to the favorites list.
How to Adjust the Screen Brightness?
Press the START key to pop up the selection menu, select System Settings,
press the A key to enter the System Settings menu, select Brightness. The left
key of the directional pad is to decrease the brightness, and the right key of
the directional pad is to increase the brightness.

How to Convert the Language?
Press the start key to pop up the selection menu, select System Settings,
Language, press A to enter the language selection, select the language
suitable for you, press A to confirm. Changing the language requires a restart.
After selection, return to the previous menu, enter the exit option, and select
Restart.
How to Set the B Side in an fds Game?
Some fds games require setting the B side to start. If you open the game and
are prompted to set the B side, press L1 to set the B side, and the game will
load normally.
How to Add a Game?
Insert the TE card into the computer, enter the disk named EEROMS, put the
downloaded game into the corresponding emulator folder, put the game
image into the media/screenshot folder, and then find the file named
gamelist.xml. You can choose to open it with Notepad, add the newly added
game to the list by imitating the existing game information, and then save it.
Eject the TF card from the computer, insert it into the device, start it, and the
newly added game will appear. (If the EEROMS disk is not displayed on your
computer, select This PC on the desktop, right-click, select Manage, Disk

Management, scroll down to this disk, select it, right-click, and assign a drive
letter to it.)

FCC Warning
This device complies with Part 15 of the FCC Rules. Operation is subject to the following two conditions:
(1) This device may not cause harmful interference, and (2) this device must accept any interference received, including
interference that may cause undesired operation.
NOTE 1: This equipment has been tested and found to comply with the limits for a Class B digital device, pursuant to part 15 of
the FCC Rules. These limits are designed to provide reasonable protection against harmful interference in a residential
installation. This equipment generates, uses and can radiate radio frequency energy and, if not installed and used in accordance
with the instructions, may cause harmful interference to radio communications. However, there is no guarantee that
interference will not occur in a particular installation. If this equipment does cause harmful interference to radio or television
reception, which can be determined by turning the equipment off and on, the user is encouraged to try to correct the
interference by one or more of the following measures:
- Reorient or relocate the receiving antenna.
- Increase the separation between the equipment and receiver.
-Connect the equipment into an outlet on a circuit different from that to which the receiver is connected.
-Consult the dealer or an experienced radio/TV technician for help.
NOTE 2: Any changes or modifications to this unit not expressly approved by the party responsible for compliance could void the
user's authority to operate the equipment.
The device has been evaluated to meet general RF exposure requirement. The device can be used in portable exposure
condition without restriction.