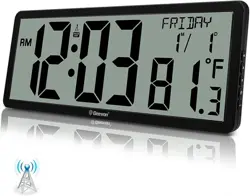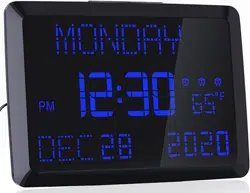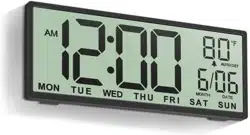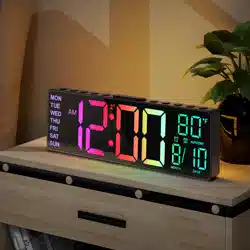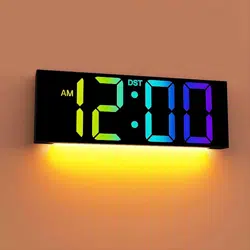
Digital Wall Clock User Manual
Dear users, thank you for using our products. In order to make
you operate the machine smoothly and get the most perfect
products, please read the operation manual carefully.
Setup and Maintenance
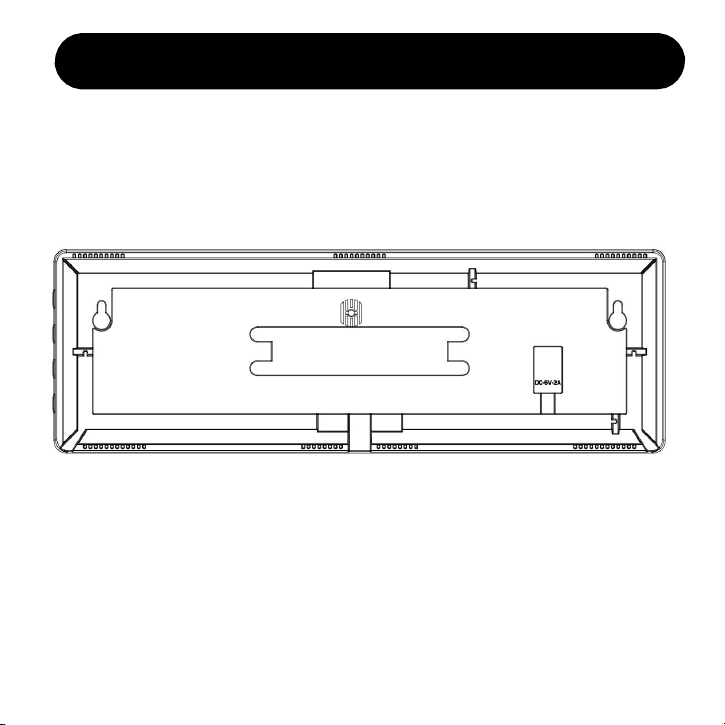
Power on for the first time
Connect the DC power plug to the back connector of the alarm clock, and the USB plug
at the other end is connected to the charging head to plug into the 100V-240V home
socket. As shown in the following figure:
Product preservation
Alarm clocks should be placed in display cabinets, or stored in their boxes or in a
cool and dry place.
Product cleaning
Wipe off the dust with a soft damp cloth and do not use liquids or abrasive cleaners.
Remote control operation
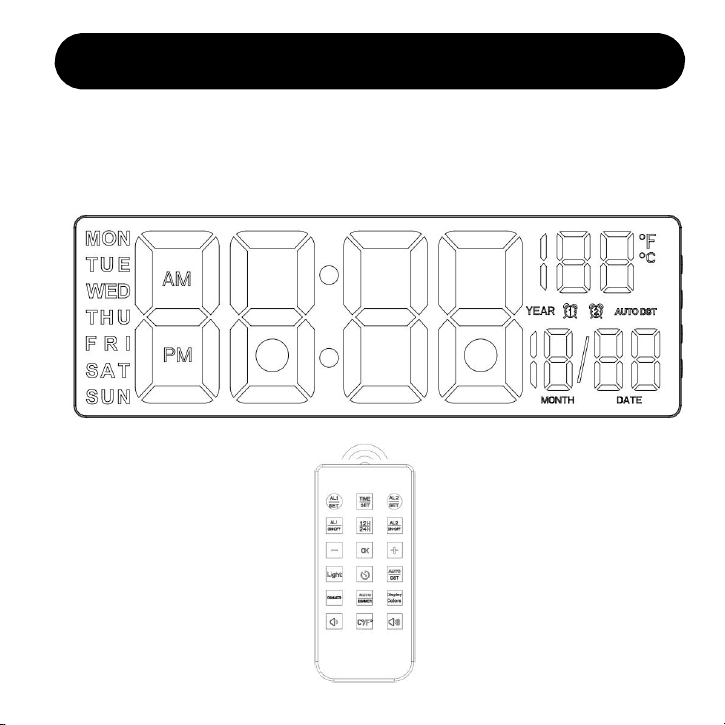
Please aim at this product when using the remote control
Setup and Maintenance
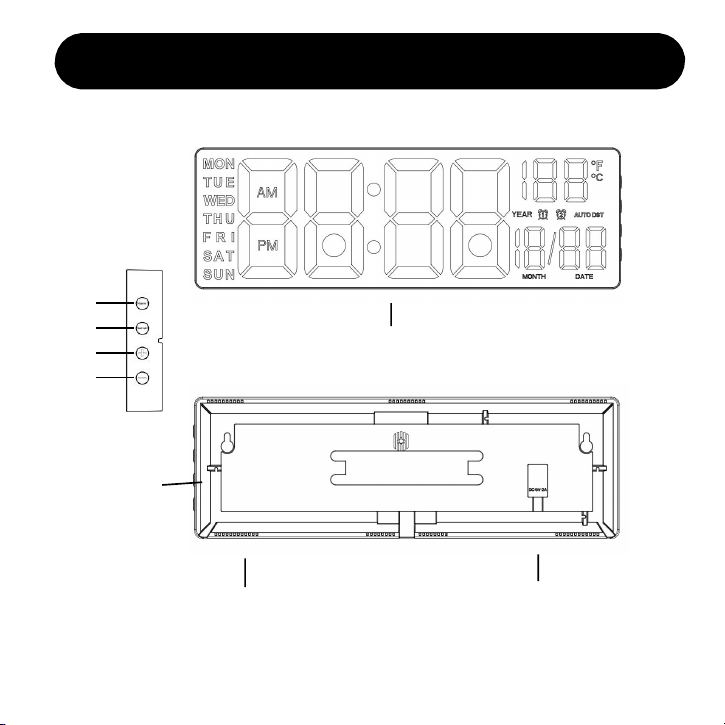
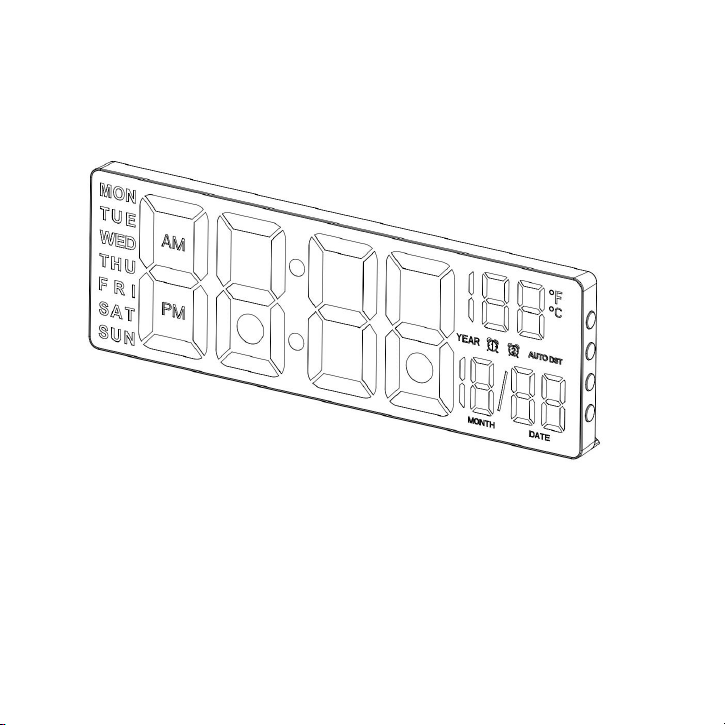
Product Appearance Introduction
Time display area
Night Light
Alarm setting
Time setting
Set up and add
Set minus
DC input interface
Night Light
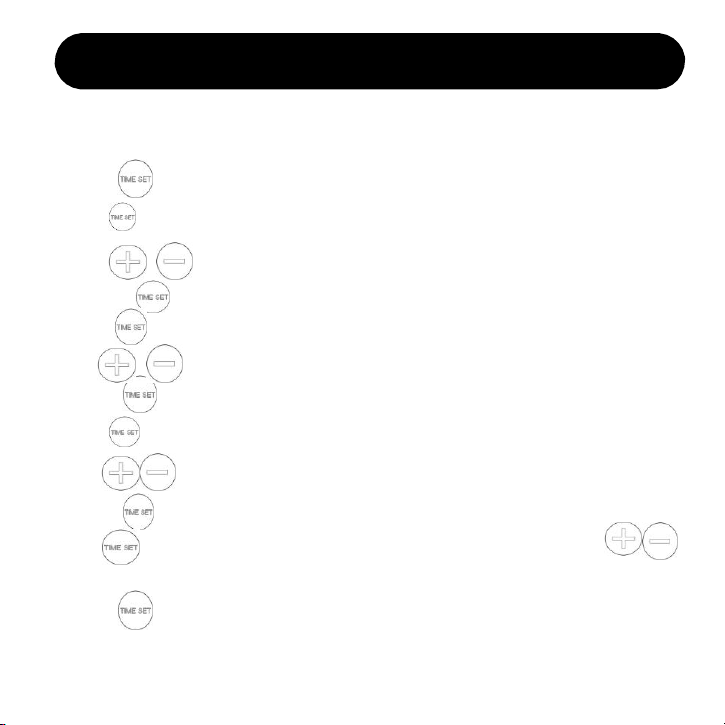
Time Setting (Alarm Clock Button Setting)
When powered on for the first time, the time shows AM 12:00 on
January 1st.
1. Click to confirm to enter the clock setting
Click to confirm to enter the clock setting clock bit will flash,
press to set the current clock.
2. Click to enter the minute setting
Click to confirm to enter the minute to set the minute bit will flash,
press to set the current minute.
3. Click to enter the year setting
Click confirm to enter the year to set the year bit will flash,
press to set the current year.
4. Click to enter the date setting
Click confirm to enter the date setting date bit will flash, press
to set the current date. Setup complete.
5. Click to confirm and exit the time setting.

Alarm Switch
Alarm switch
In the time display status, click to set alarm.
User prompt
The alarm button only supports the alarm 1 setting.
In the time setting state, if you do not operate for 10 seconds, the
current setting will be automatically exited.
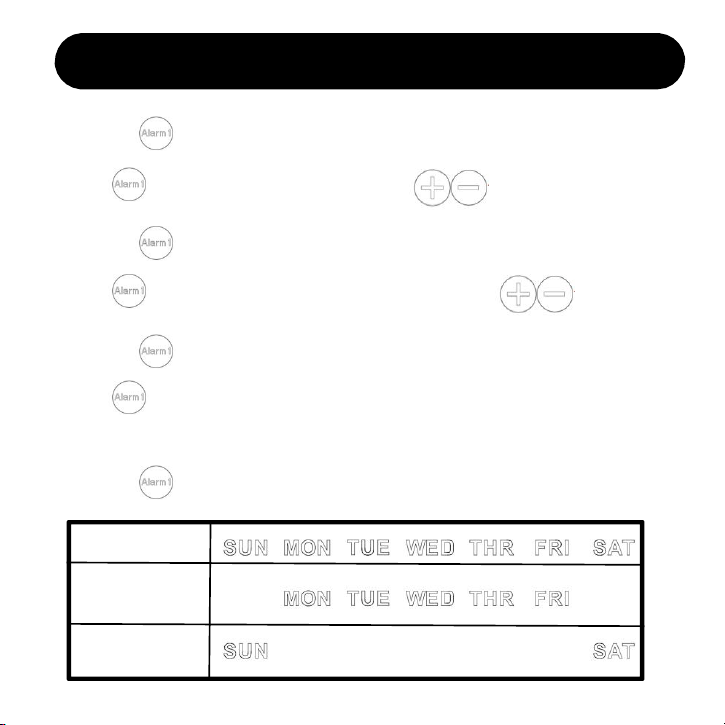
AlarmSetting (Alarm Button Setting)
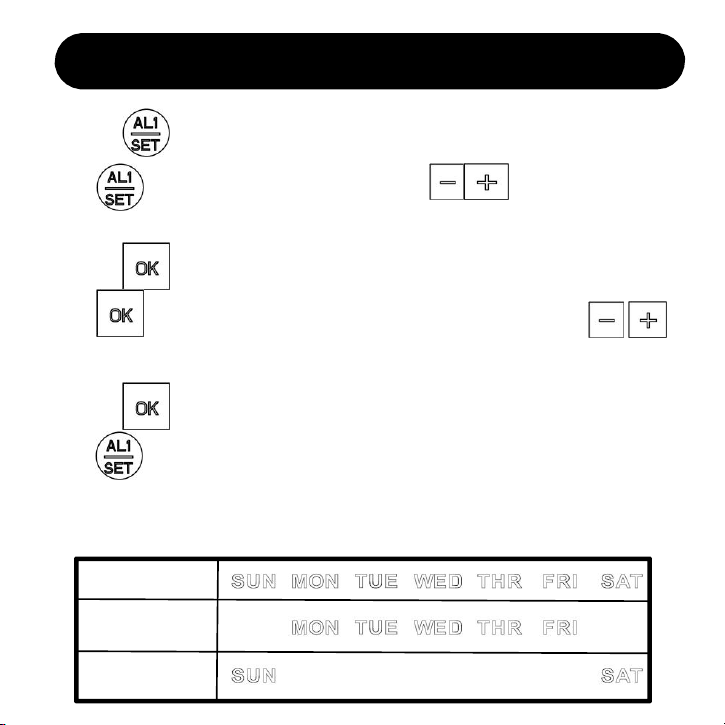
1. Click to enter the alarm 1 setting
Click , and the clock to flash, click to set the alarm clock
2. Click to confirm
Click to enter the minute setting, and click to set minute
3. Click to confirm
Click to enter the daily alarm (MON-SUN), weekday alarm (MON-
FRI) and weekend alarm (SAT-SUN), as shown in the following figure
4. Click to confirm and exit the alarm setting
Weekend alarm:
Alarm every day:
Weekday alarm:
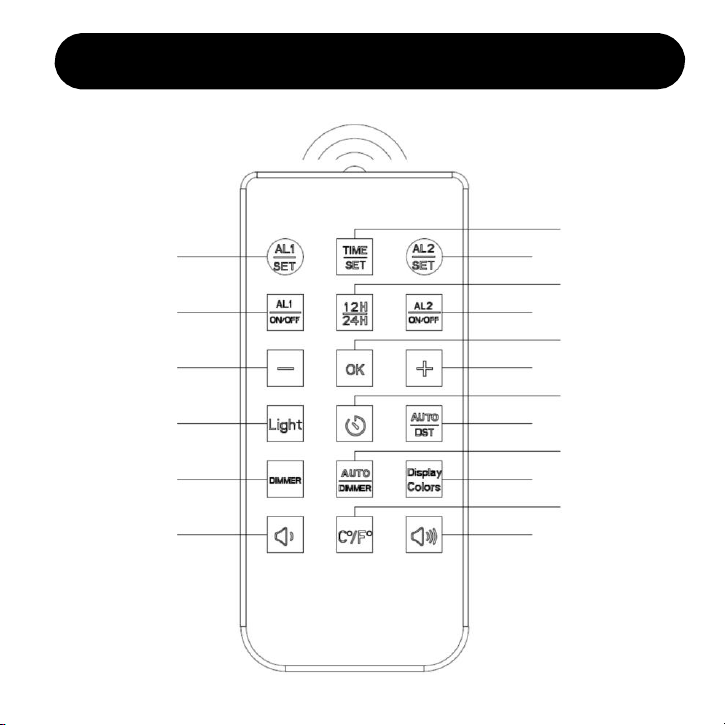
Introduction to the Appearance of Remote Control
1
2
3
4
5
6
7
9
11
13
15
17
8
10
12
14
16
18

1.Alarm 1 setting 2.Alarm 1 switch.
3.Night light minus/setting minus 4.Night light switch
5.Screen brightness setting 6.Volume reduction
7.Time setting 8.Alarm 2 setting.
9.12H/24H Setting 10.Alarm 2 switch.
11.Confirm 12.Night light plus/set plus
13.Countdown setting 14. Auto DST
15.Automatic photosensitivity 16.Screen magic color switch
17.Temperature unit switching 18.Volume increase
Time Setting (Remote Control Setting)
When powered on for the first time, the time shows AM 12:00 on
January 1st.
1 . Click to enter the time setting
In the time display state, click to enter the time setting, the clock bit
will flash, press to set the current clock.
2. Click to confirm
Click to enter the minute setting, the minute bit will flash, press
to set the current minute.
3. Click to confirm
Click to enter the year setting, the year bit will flash, and press
to set the current year.
4. Click to confirm
Click to enter the date setting, the date bit will flash, press to set
the current date, and the setting is complete.
5. Click and exit the time setting.
User prompt: in the time setting state, do not operate for 10 seconds, automatically
exit the current setting.
Alarm Setting (Remote Control Setting. Take alarm 1 as an Example)
1. Click to enter the alarm 1 setting
Click , and the clock will flash, click to set the alarm
clock
2. Click to confirm
Click to confirm to enter the minute settings, and click
to set minutes
3. Click to confirm
Click to enter the daily alarm (MON-SUN), weekday alarm (MON-
FRI), and weekend alarm (SAT-SUN), as shown in the following figure
4. Click OK and exit the alarm setting
Weekend alarm::
Alarm every day:
Weekday alarm:

Alarm Setting (Remote Control Setting. Take Alarm 1 as an Example)
User prompt:
1.Alarm 1, alarm 2, operate in the same way.
2.Alarm 1 default alarm time 7:00, alarm 2 default alarm time
8:00.
3.In the alarm setting state, there is no operation for 10 seconds
and automatically exits the current setting.

Operation When the Alarm Goes Off
After the alarm is turned on, the alarm will be turned on at the preset
time: when it is time for the alarm, the alarm will start to go off and
wake you up. When the alarm goes off, you can do the following:
1. . Stop this noise
When the alarm goes off, click any key to stop this alarm without
affecting the next alarm.
2. When unmanned
When the alarm goes off 20MIN without any operation, this alarm
will be stopped automatically, and the next alarm will not be
affected.

Operation When the Alarm Goes Off
After the alarm is turned on, the alarm will be turned on at the preset
time: when it is time for the alarm, the alarm will start to go off and
wake you up. When the alarm goes off, you can do the following:
1. . Stop this noise
When the alarm goes off, click any key to stop this alarm without
affecting the next alarm.
2. When unmanned
When the alarm goes off 20MIN without any operation, this alarm
will be stopped automatically, and the next alarm will not be
affected.
Night Light Mode
1. Light switch
In the time display state, click to turn on the night light and
switch light(C01-C11).
2. Light brightness
When the light is on, click to adjust the brightness of the
light (range: L01-L10)
In the time display state, click to adjust the screen
brightness in turn (highlight-secondary highlight-medium light-
low light-off)
Screen Brightness Control
Countdown Setting
1.Countdown switch
In the time display screen, click to turn on the countdown, the
countdown flashes, click to set the countdown, set the range
(1~99.59MIN), and long press to turn off the countdown.
User prompt:
1.The countdown is over and the bell rings for 10 seconds.
2.In the countdown setting state, there is no operation for 10 seconds,
and automatically exits the current setting.
Volume Setting
1.Volume level
In the time display screen, click to set volume and set
range (V01-V05)

Bluetooth Auto Time Sync
1. Bluetooth Sync Time
This wall clock can automatically calibrate the time. In the
product time display state, click the BT button to turn on the
calibration time.
When the cell phone Bluetooth and digital wall clock Bluetooth
connection, the wall clock time ginger automatically follow the
cell phone network time.
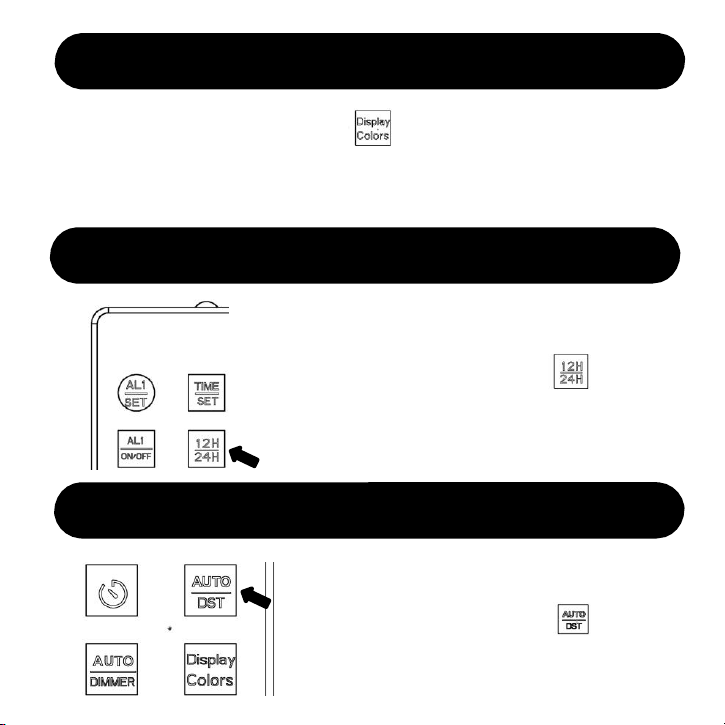
Screen Font Color Setting
In the time display state, click to toggle screen font colors
(11 kinds of colors)
12H/24H Setting
As shown in the figure on the left: in
the time display state, click to
switch 12H/24H.
Daylight Saving Time Setting
As shown in the figure on the left: in
the time display state, click to
open or close daylight saving time.
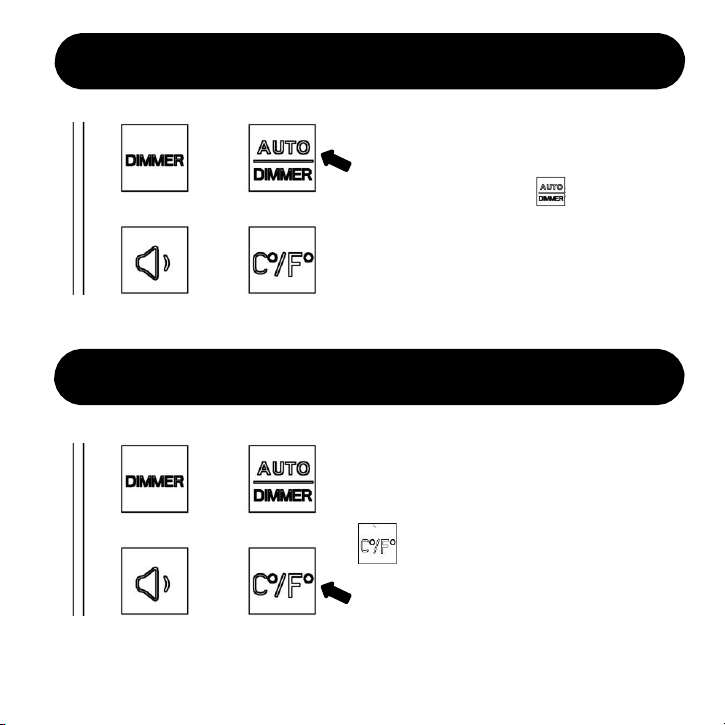
Automatic Photosensitive Setting
As shown on the left: in the time
display state, click to open
or close automatical sense light.
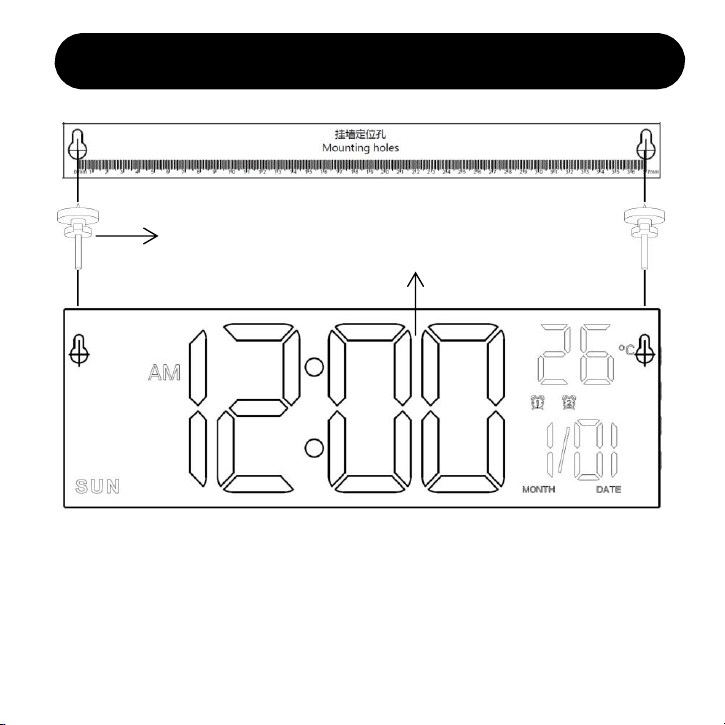
Temperature Unit Switching
As shown in the figure on the left:
in the time display state, click
to switch the temperature unit.
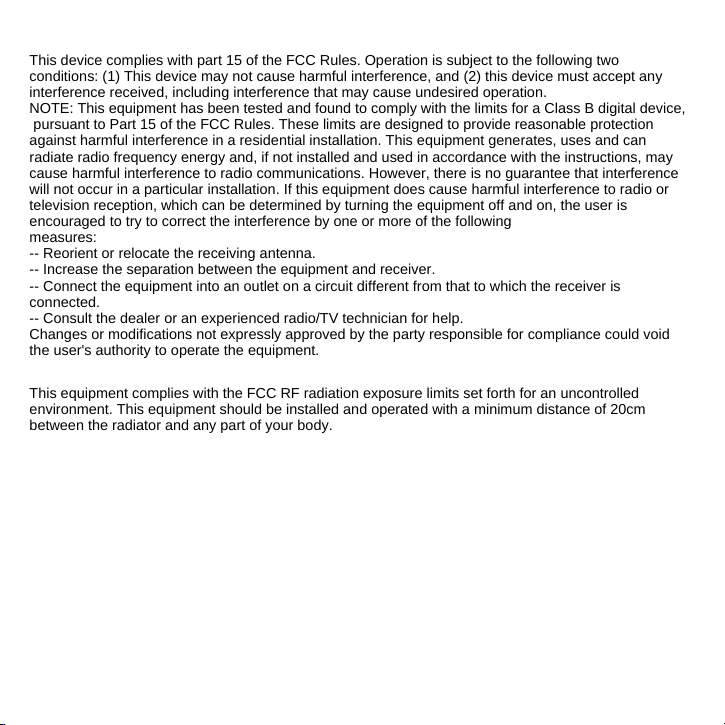
Installation method
2 * hanging nails
Alarm clock
1.Align the positioning hole to nail the hanging nail to the wall.
2.Hang the alarm clock on the nail.
3.Installation completed
This device complies with part 15 of the FCC Rules. Operation is subject to the following two
conditions: (1) This device may not cause harmful interference, and (2) this device must accept any
interference received, including interference that may cause undesired operation.
NOTE: This equipment has been tested and found to comply with the limits for a Class B digital device,
pursuant to Part 15 of the FCC Rules. These limits are designed to provide reasonable protection
against harmful interference in a residential installation. This equipment generates, uses and can
radiate radio frequency energy and, if not installed and used in accordance with the instructions, may
cause harmful interference to radio communications. However, there is no guarantee that interference
will not occur in a particular installation. If this equipment does cause harmful interference to radio or
television reception, which can be determined by turning the equipment off and on, the user is
encouraged to try to correct the interference by one or more of the following
measures:
-- Reorient or relocate the receiving antenna.
-- Increase the separation between the equipment and receiver.
-- Connect the equipment into an outlet on a circuit different from that to which the receiver is
connected.
-- Consult the dealer or an experienced radio/TV technician for help.
Changes or modifications not expressly approved by the party responsible for compliance could void
the user's authority to operate the equipment.
This equipment complies with the FCC RF radiation exposure limits set forth for an uncontrolled
environment. This equipment should be installed and operated with a minimum distance of 20cm
between the radiator and any part of your body.