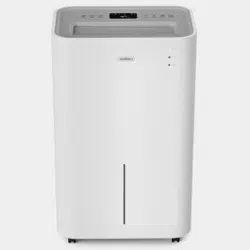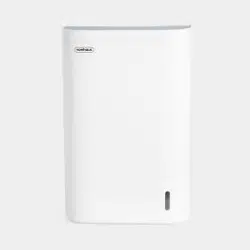
Product Instructions
Product No. 2000275
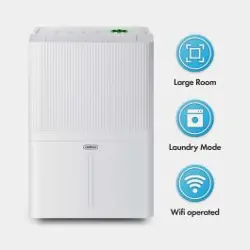
30 LITRE
DEHUMIDIFIER

2 3
Need further help?
suppor[email protected]
See our full range at
www.vonhaus.com
Besoin d’aide supplémentaire ?
suppor[email protected]
Découvrez notre gamme complète sur
www.vonhaus.com
Benötigen Sie weitere Hilfe?
suppor[email protected]
Entdecken Sie unser gesamtes
Sortiment auf
www.vonhaus.com
Necesita más ayuda?
suppor[email protected]
Descubra toda nuestra gama en
www.vonhaus.com
Hai bisogno di ulteriore assistenza?
suppor[email protected]
Scopri tutta la nostra gamma su
www.vonhaus.com
Let’s get started!
Visit our product hub for
useful tips and tricks on
getting the most out of
your new product.
SCAN ME
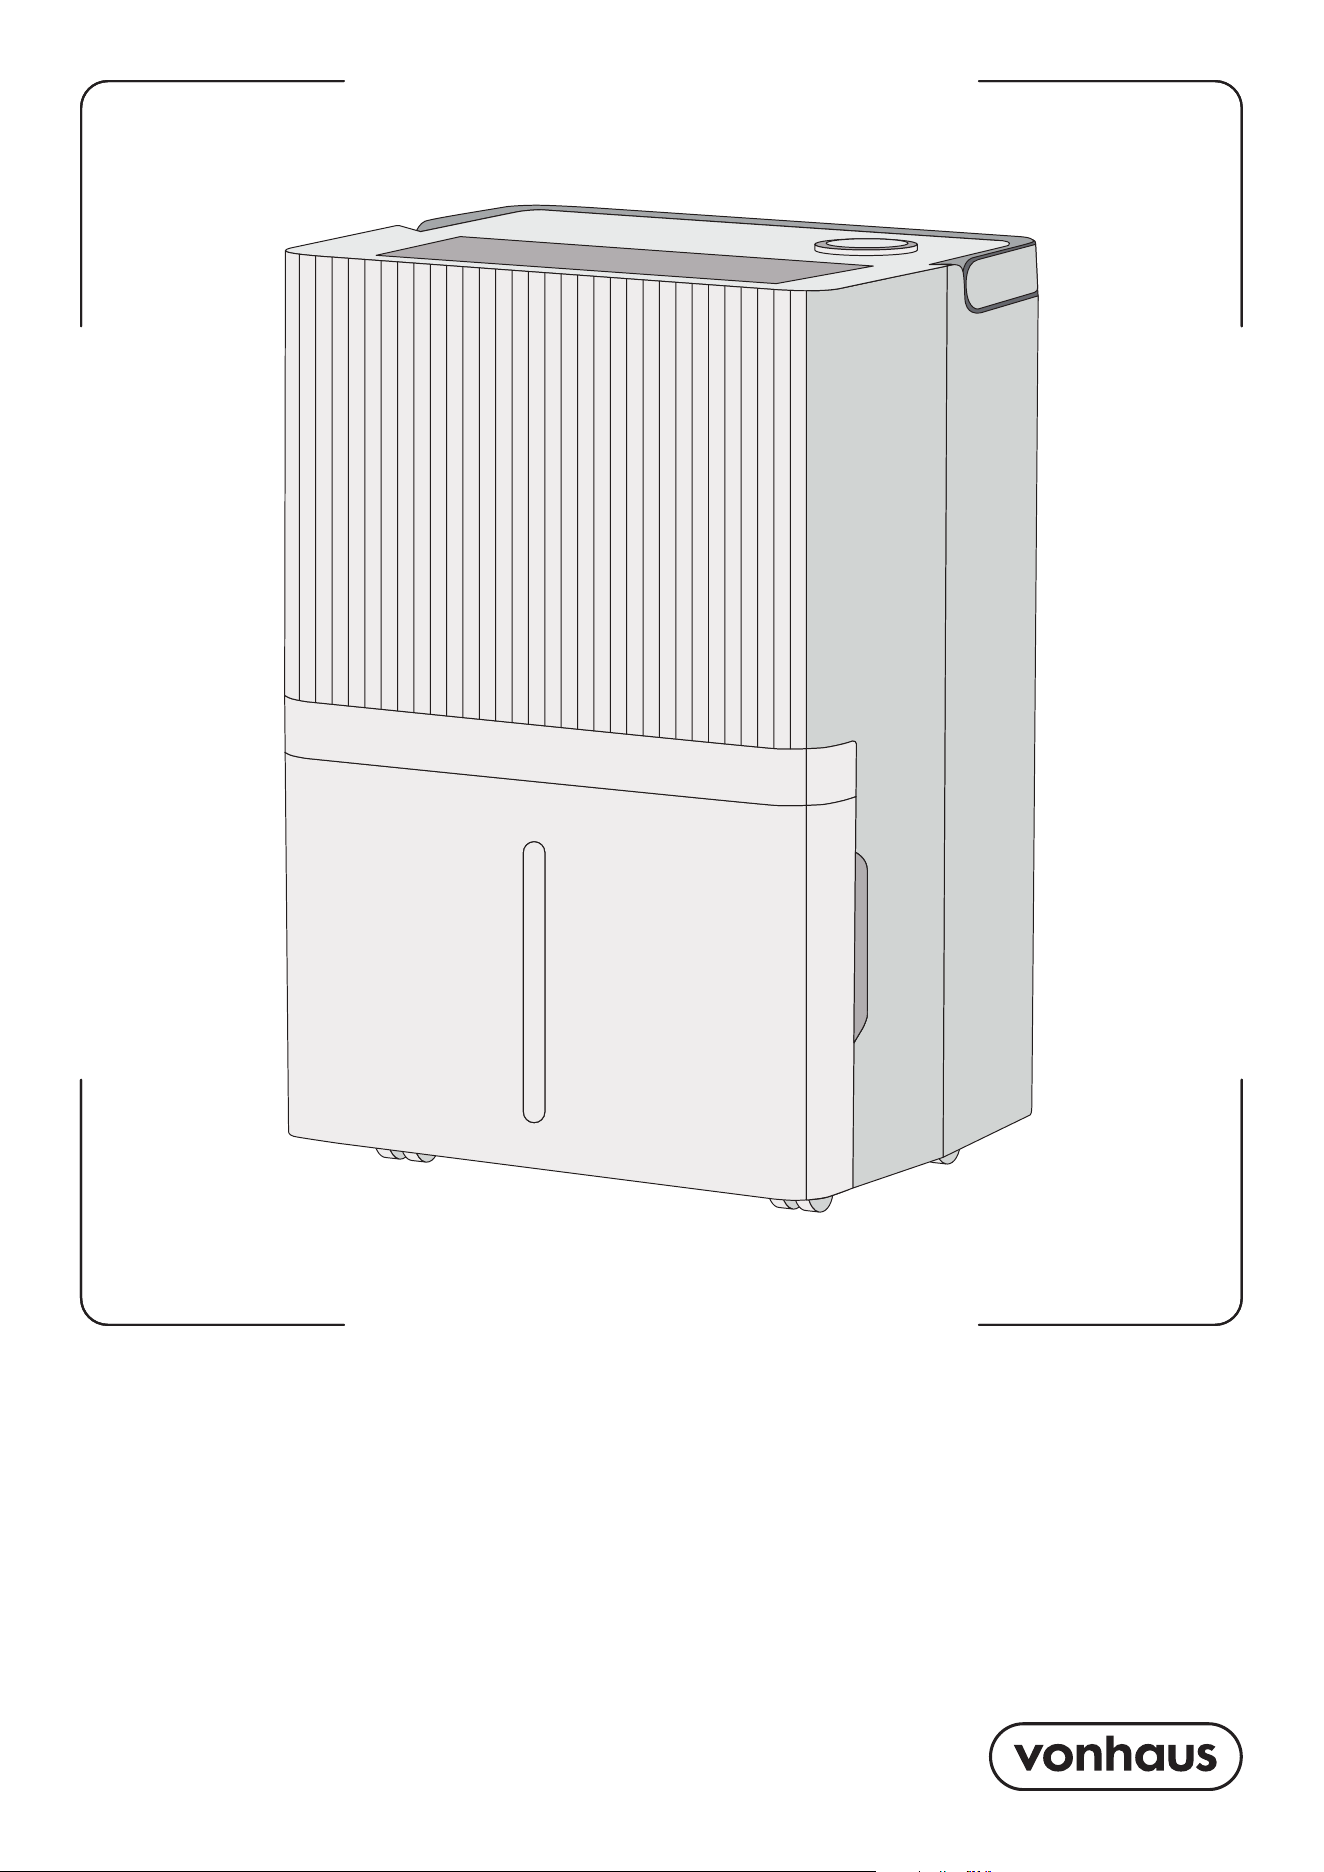
Product Diagram
A B
E
C
F G
H I
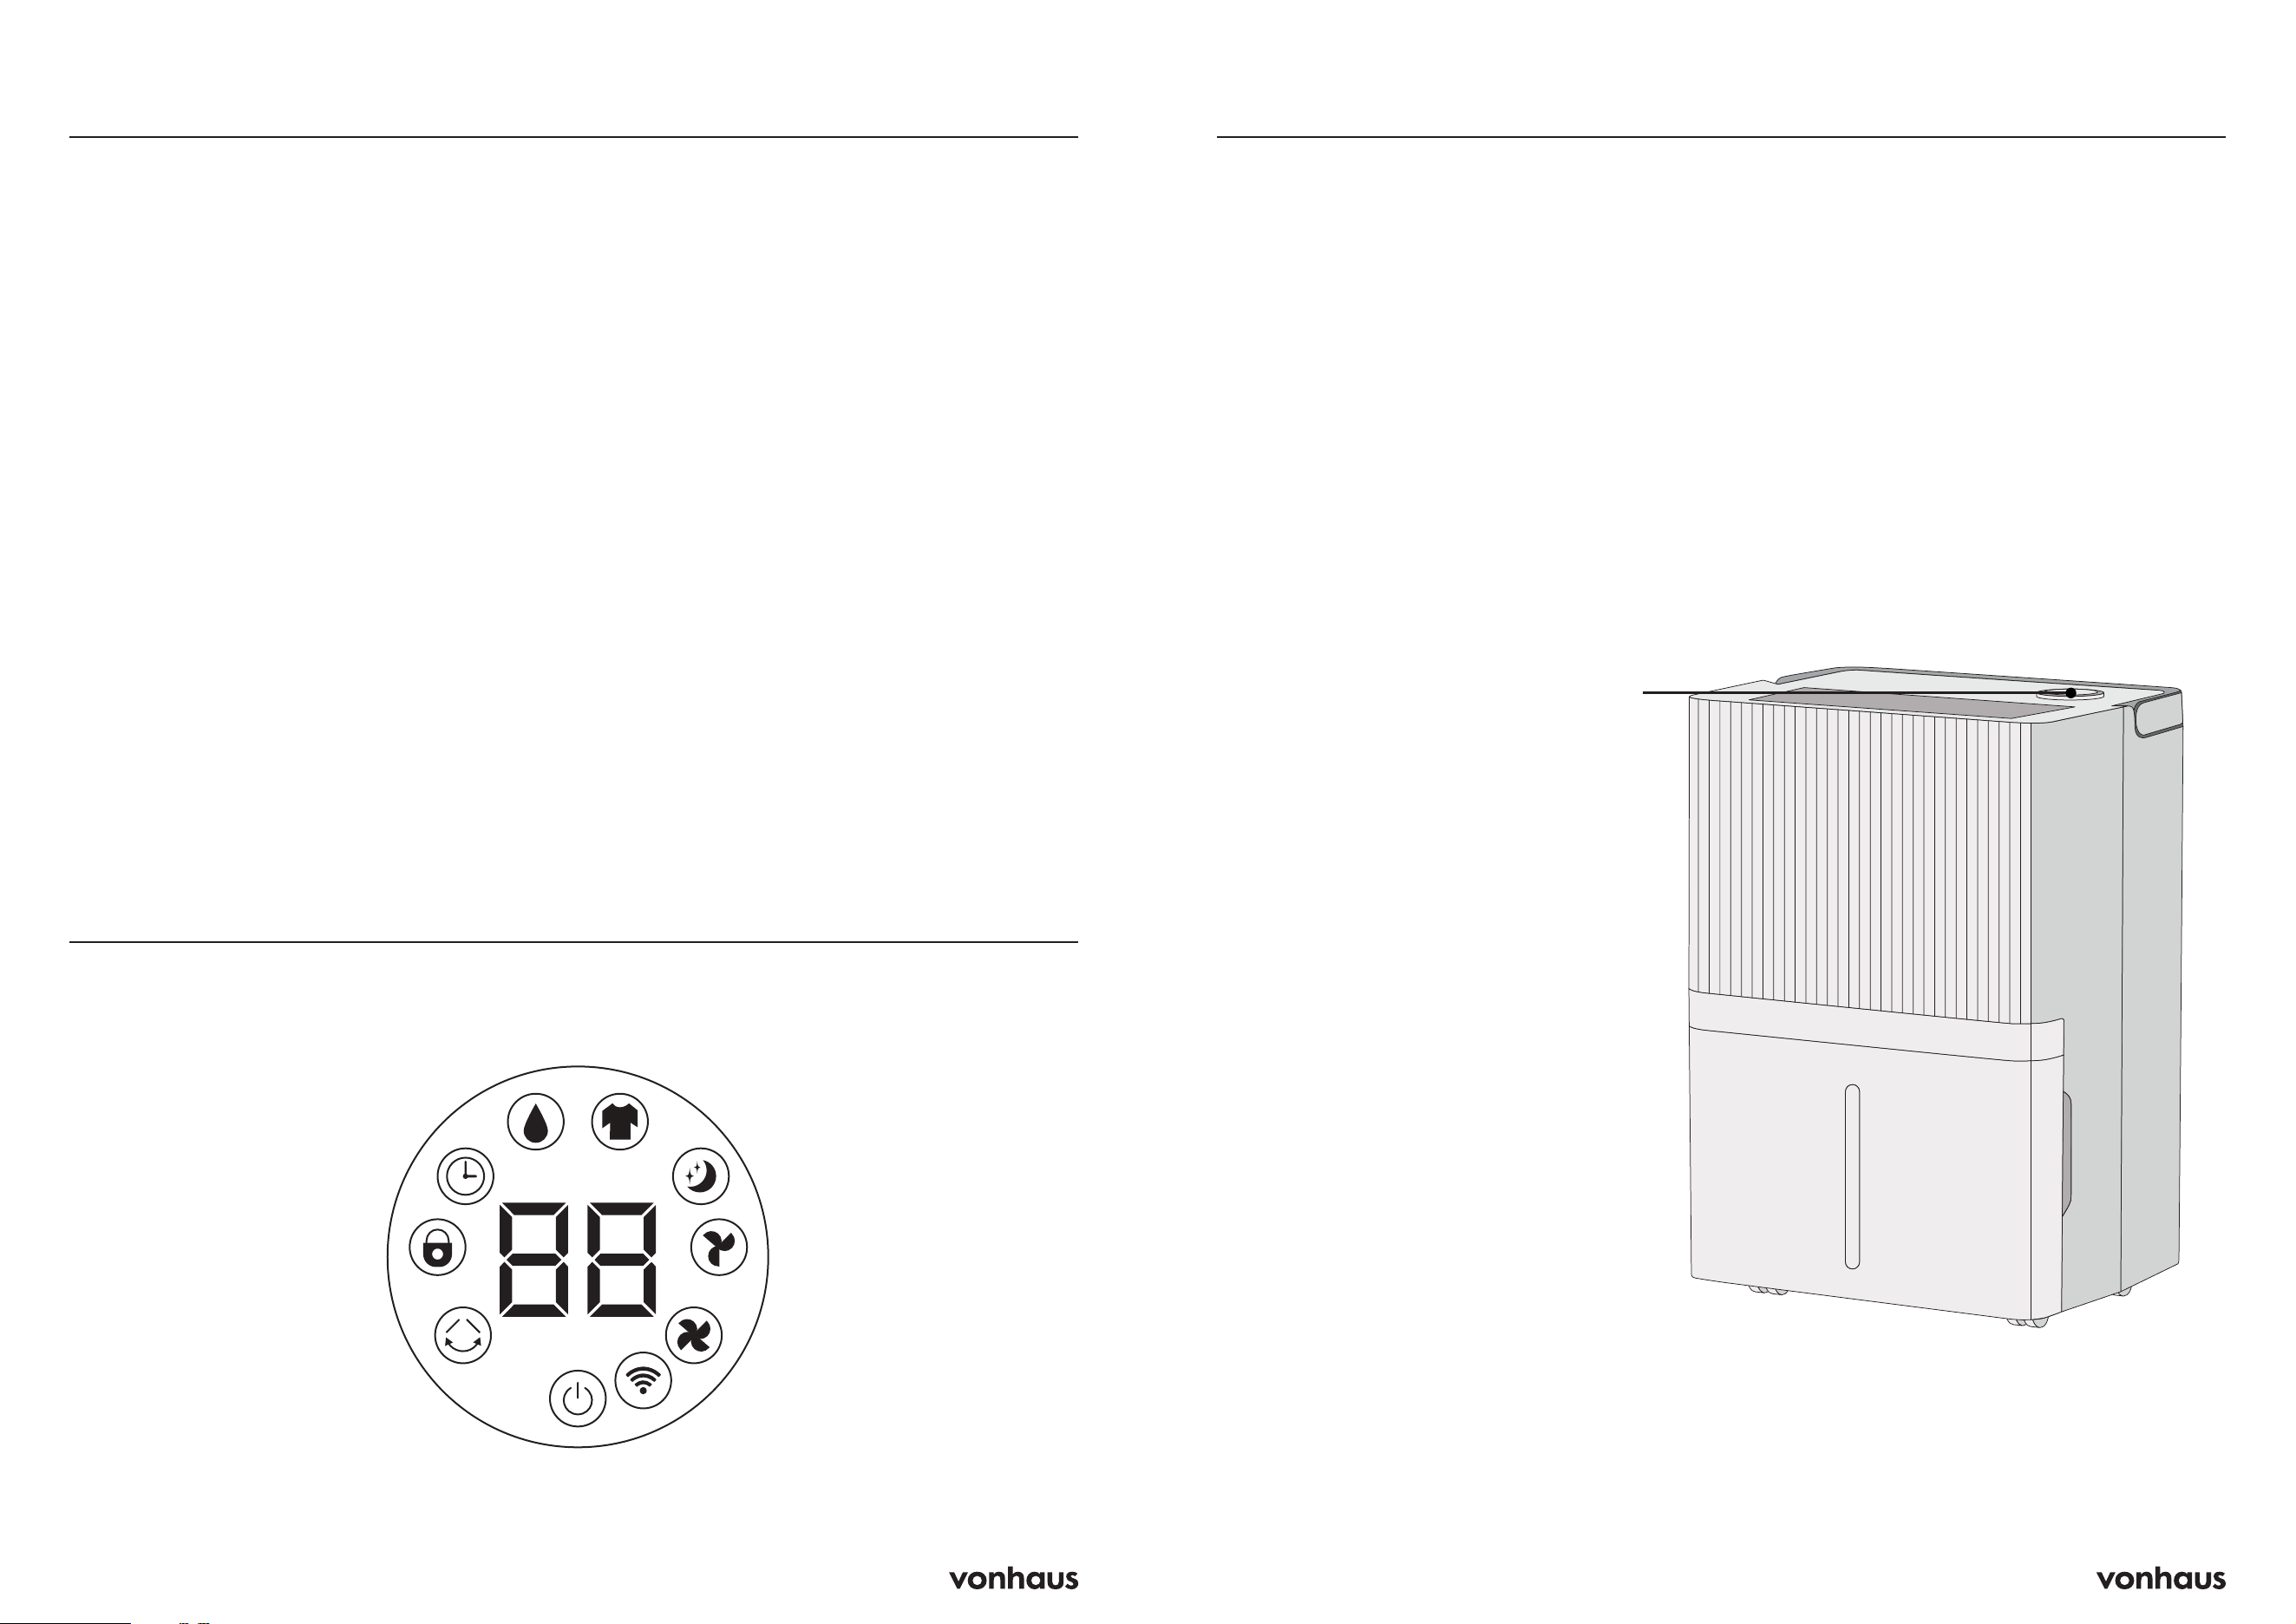
A. Control Panel
B. Digital Display
C. Three Colour Digital
Display
D. Water Tank
E. Wheels
F. Handle
G. Air Outlet
H. Power Cord
I. Air Inlet with Air Filter
J. Back Shell
J
D
4 5
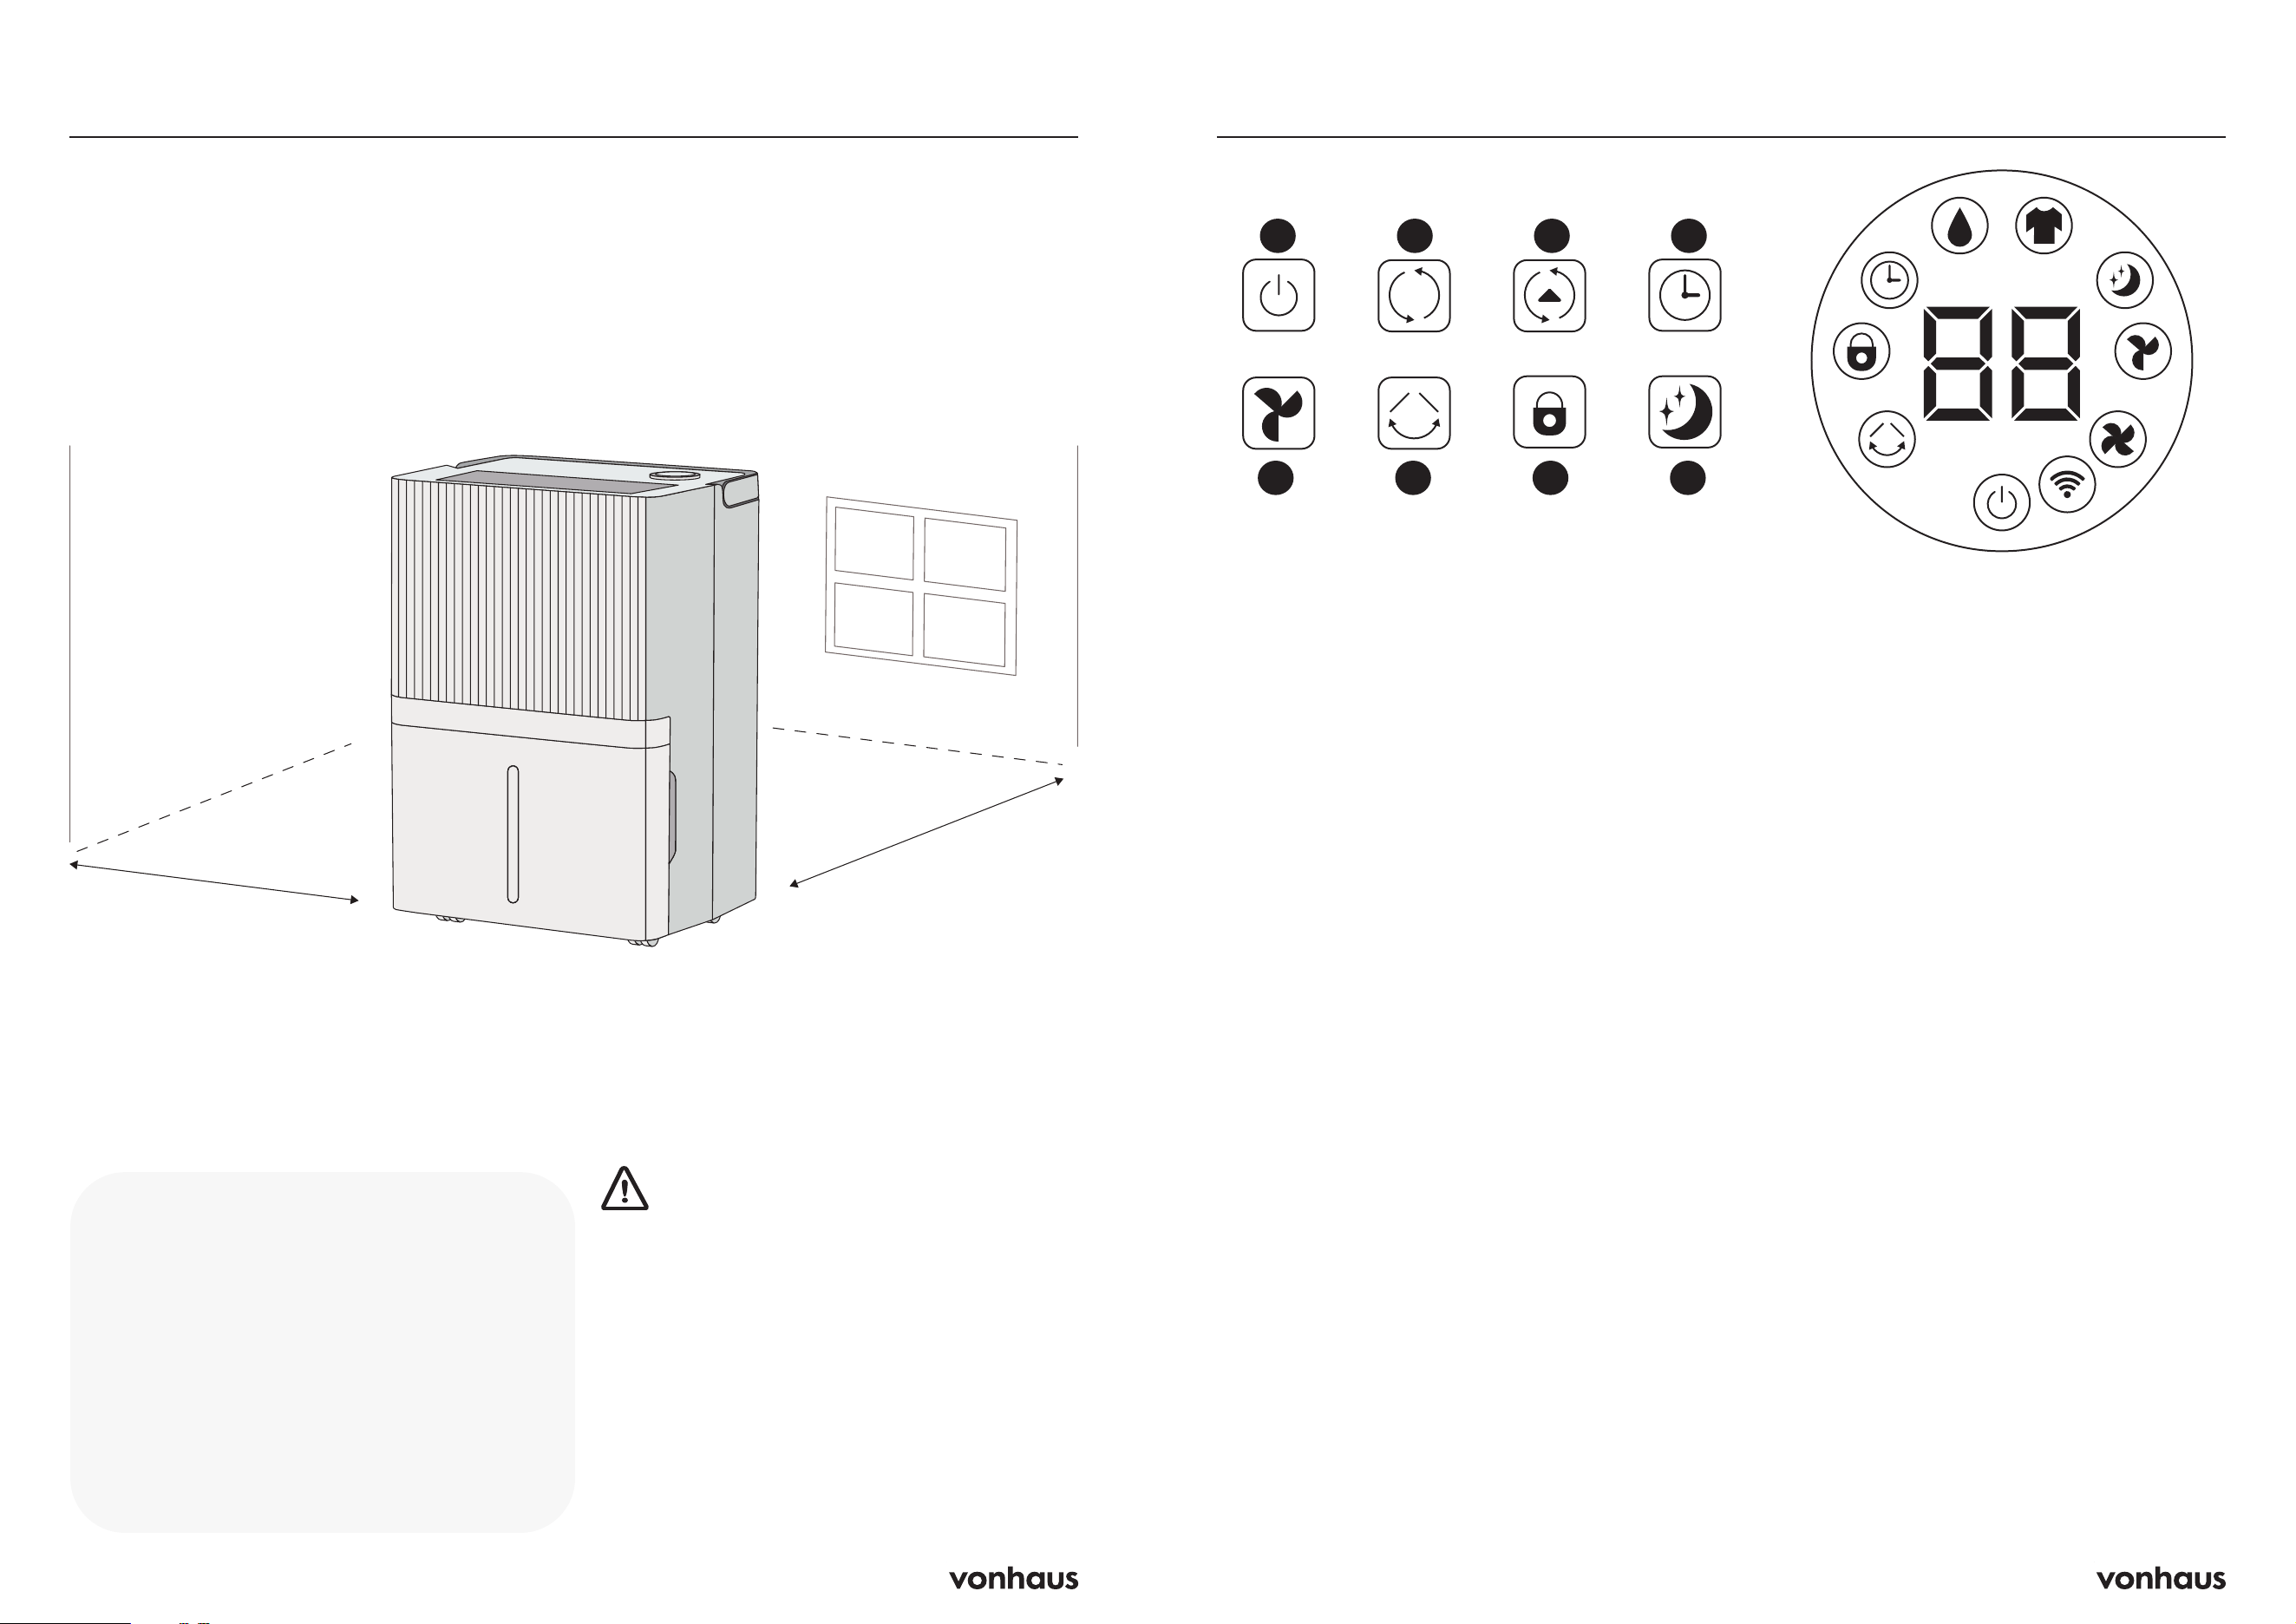
Placement
30cm
30cm
Unit Placement
Place on a firm, level surface with at least
30cm of open space around the unit for
air circulation.
Install the unit in rooms larger than 4 m².
WARNING: Avoid these locations
• Near heat sources
• Where oil or water may splash
• Direct sunlight
• Vibration or shock
• Excessive dust
• Poor ventilation (e.g., inside cabinets)
Control Panel
1. Power
Press the power button to turn on (running light
shows, high fan speed, 50% humidity). Press
power to turn off (light goes off, motor stops).
2. Mode
Press the Mode button to switch between
Auto and Continuous Laundry Mode. The
corresponding indicator will light up :
Auto Mode:
• When the environment exceeds the set
humidity level by more than 3%, the fan
and compressor will both be activated
• If the environments humidity drops 3%
lower than the set humidity, the fan and
compressor will stop working
• The fan speed and humidity can be adjusted
in this mode
Continuous Laundry Mode:
• The appliance will continue to run regardless
of the humidity level
• The fan speed can be adjusted but the
humidity cannot
3. Adjust
• Press to adjust the humidity setting (30-
80%)
• Each time you click the button, the humidity
level will increase by 5% from 30% to 80%,
then return to 30%
• Hold the button for 3 seconds to see the
room temperature. The temperature will
display for 5 seconds before returning to
display the humidity level
4. Timer/WIFI Connection
Press this button to set the timer/ check the
timer/cancel the timer
Long press this button to connect the unit to
WIFI
Timer
• Setting the timer: Press once. The digital
display screen will flash to show the timer
time. While flashing, press the Adjust button
to set the timer (0-24 hours)
• Checking the timer: Press the button once
and the display screen will flash to show
the time remaining
• Cancelling the timer: Press the button so the
display screen shows the time remaining.
While the screen is flashing, press the timer
button again to cancel the timer
65
4321
7 8
6 7
WIFI Connection
• Hold this button down for 5 seconds
to connect or disconnect to WIFI. See
‘Connect to WIFI’ section for further details
5. Fan Speed
Press once to switch between high and low fan
speeds. The relevant indicator light will show
the current setting.
6. Swing Function
• Press to turn the oscillation on/off, press the
button again to set the degree of oscillation
• The adjusting louvre will distribute the air
evenly throughout the room
• The louvre will close when the dehumidifier
is turned off
7. Child Lock
• Press this button for 3 seconds to activate
child lock. The indicator light will show on
the display screen
• To deactivate, press the button again for 3
seconds. The indicator light will also turn off
8. Sleep Mode
• The humidity level will be default to 60%.
After 10 seconds, the display screen will
turn off and the fan speed will automatically
be set to low. The display screen can be
restored by clicking any button
• Fault codes will not be displayed. When
the water tank is full, the appliance will not
alarm but it will turn off and the full water
tank indicator light will be on to remind you
to empty the tank
Digital Display Screen Icons
The light on the top of the unit will display
different colours depending on the ambient
humidity level of the environment:
• Blue: Humidity level is below 45%
• Green: Humidity level is between 45%
and 65%
• Red: Humidity level is above 65%
The light will also be red if there are any error
codes on the LED display screen.
Please see the “Error Codes” (Page 17)
section for more information.
Colour Light Indicator
Control Panel Colour Light Indicator
Continuous Mode
Sleep Mode
Low Fan
High Fan
Auto
Mode
Timer
Child Lock
Swing
On/Off
WIFI Mode

8 9
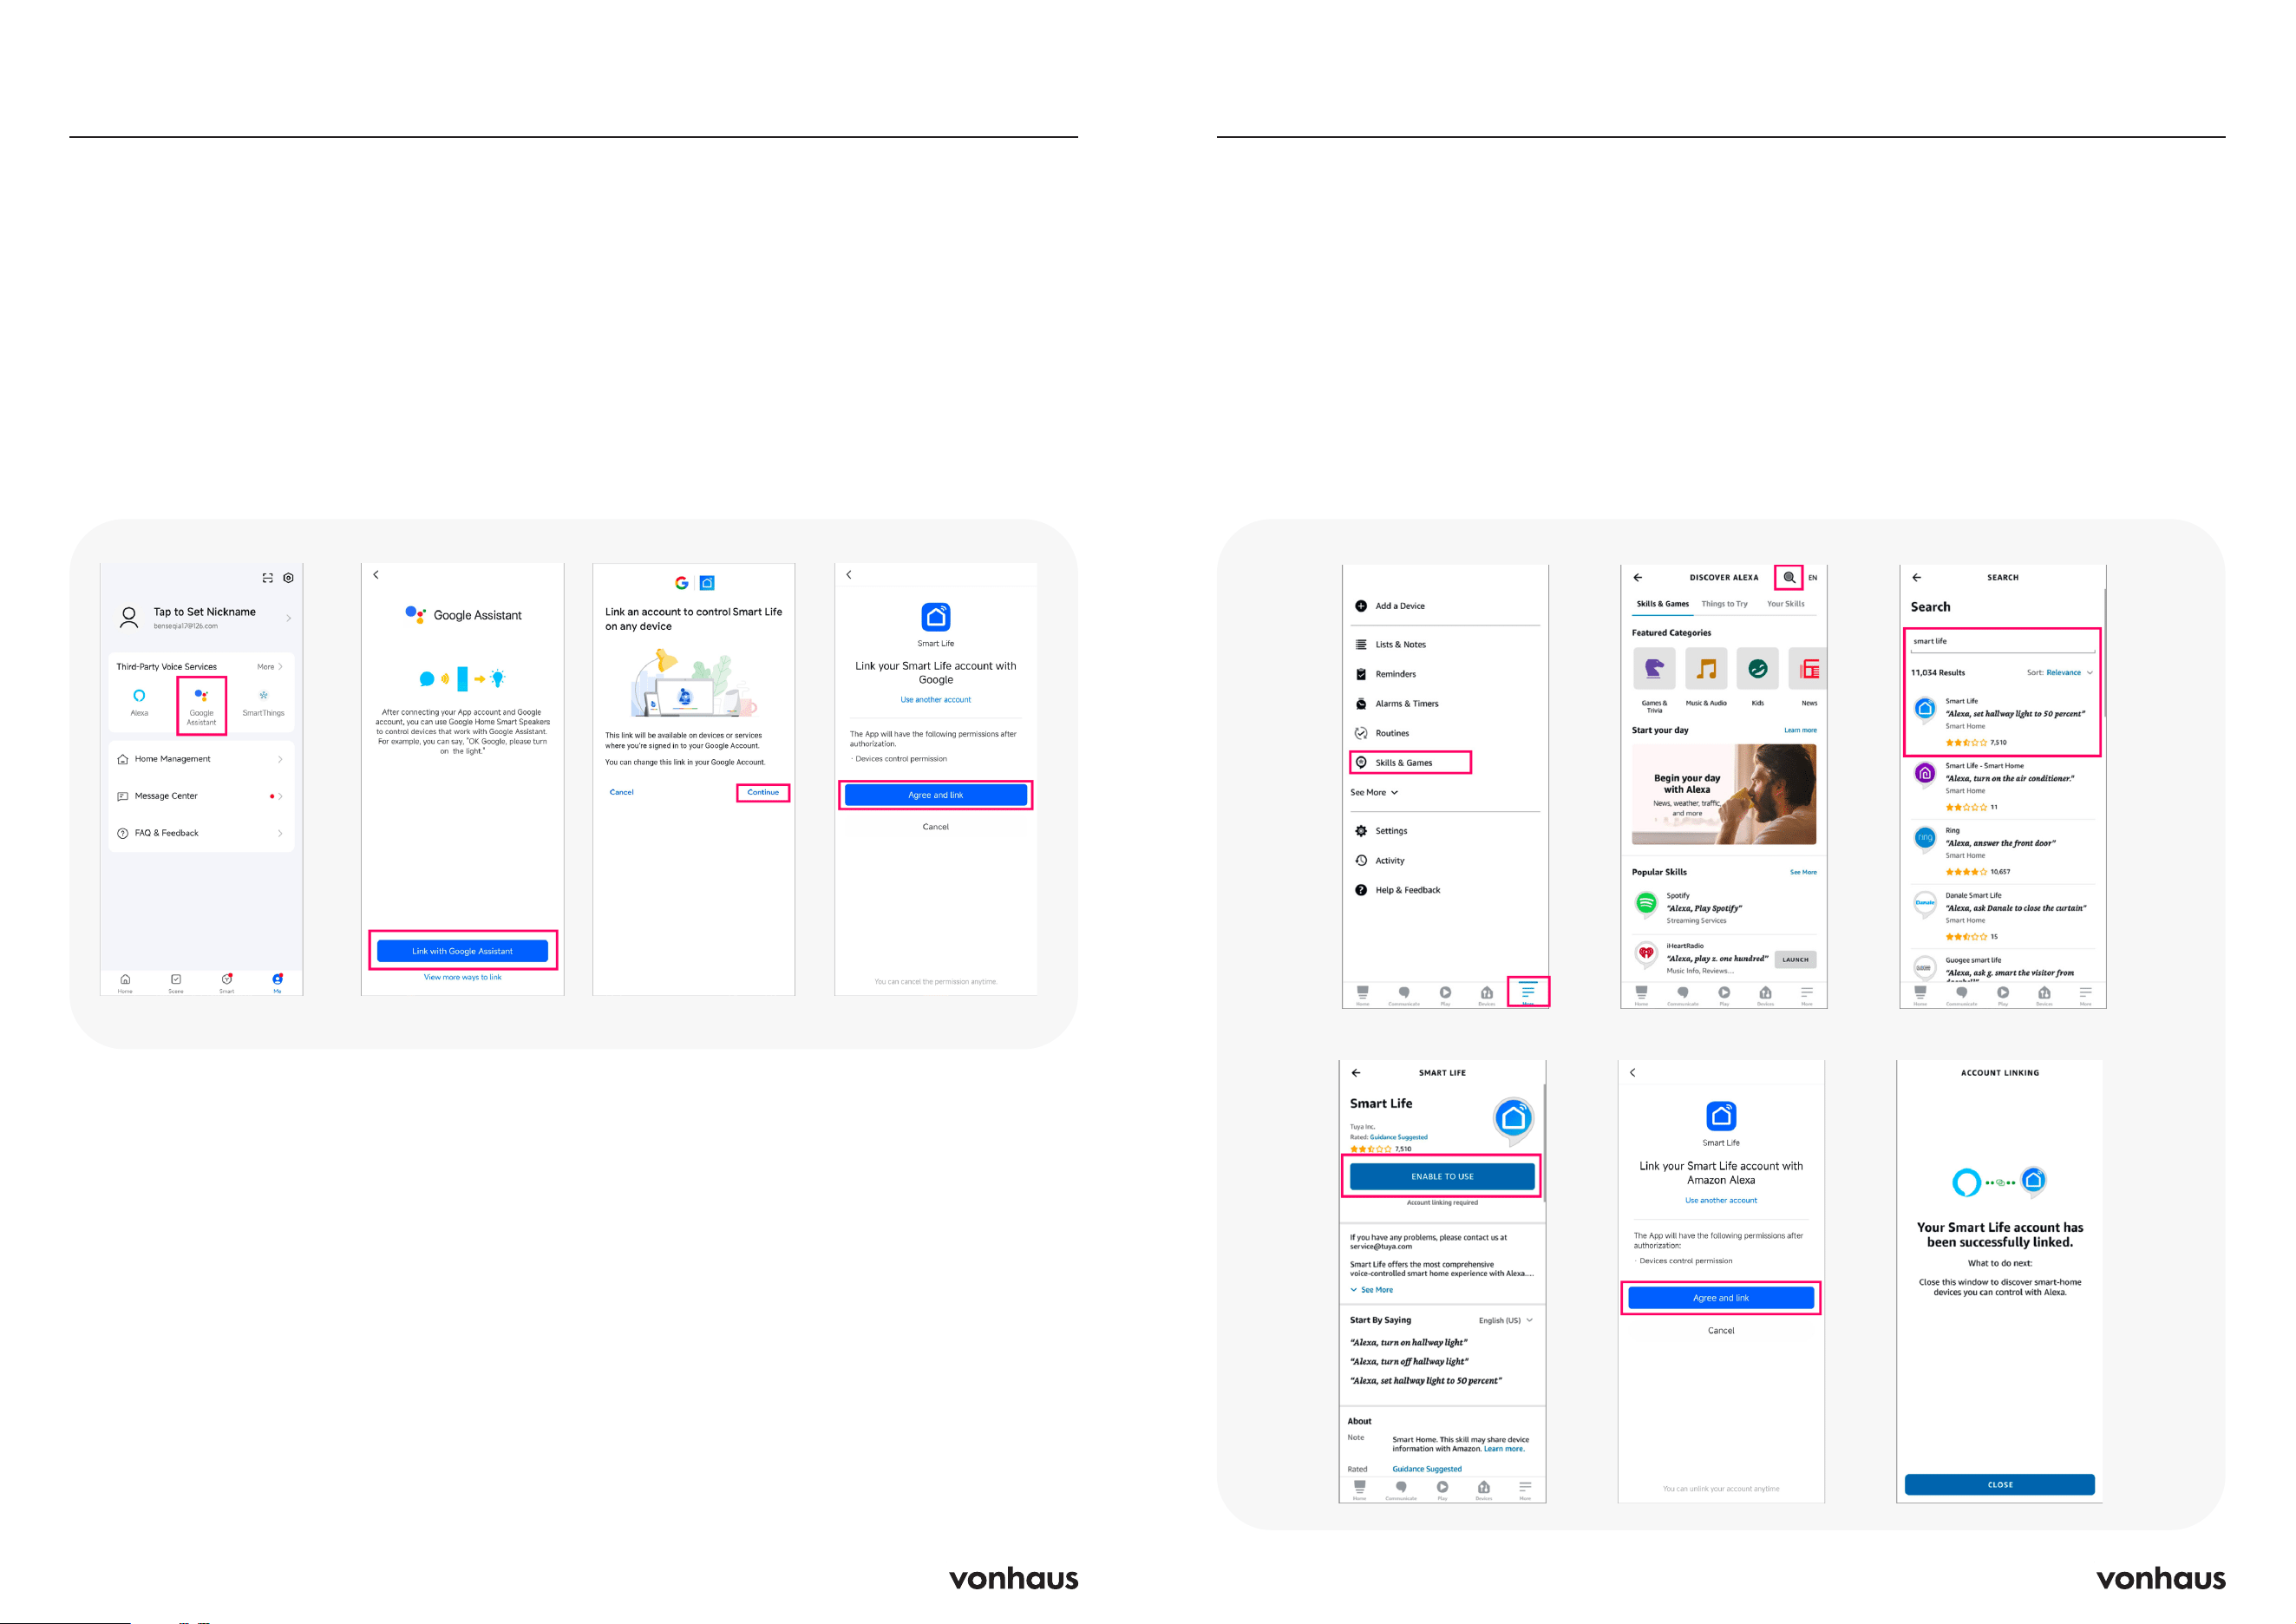
Voice Control - Google Home
Step 1. Configure Google Home
and Add Device
Method 1: Use the Google Home app to
start linking
1. Open the Google Home app and tap + in
the top left corner of the home page.
2. Select Set up device > Works with Google.
3. Tap the search icon in the top right corner
of the page and search for the Smart Life
app name.
4. Tap the search result, then tap Continue.
The Google Home app will open the Smart
Life app. Tap Agree and link, and wait for
the loading to finish. The Smart Life app is
now linked with Google Assistant.
Connect to WiFi
Download the Smart Life App
The “Smart Life” app works on Android and
iPhone. Scan the QR code to download it
directly.
Step 1: Get Ready
• Install the “Smart Life” app
• Create an account
• Make sure your phone has WiFi and
Bluetooth turned on
Step 2: Prepare Your Appliance
• Place the dehumidifier within 5 metres of
your router
• Turn on WiFi on the dehumidifier by holding
the “Timer” button until the WiFi light starts
flashing
Important: If you don’t connect to WiFi within
3 minutes, the light turns off. Just hold the
“Timer” button again to restart.
Step 3: Connect Your Appliance
to WiFi
Now choose one of these two methods:
Method 1: Easy Bluetooth Connection
1. Make sure Bluetooth is on
2. Open the “Smart Life” app whilst the WiFi
light is flashing
3. The app will connect your appliance to
WiFi automatically
Method 2: Manual Connection
1. Open the “Smart Life” app whilst the WiFi
light is flashing
2. Select “Add Device” → “Small Home
Appliances” → “Dehumidifier”
3. Follow the on-screen instructions
4. Watch your WiFi light:
• Fast flashing: The app will connect
directly
• Slow flashing: Tap “Go to Connect,”
join the “SmartLife-XXXX” network, then
return to the app
Success!
The WiFi light stays on solid (no flashing)
You can now control your appliance through
the app
To Disconnect
Hold the “Timer” button for 5 seconds. The
WiFi light will turn off.
10 11
Step 1. Configure Amazon Alexa
and Add Device
Method 1: Use the Alexa App
1. Click More in the bottom right corner of the
home page, then select Skills & Games.
2. Use the search bar to find the Smart Life
app. Select the app and click Enable to
Use.
3. You will be redirected to the Smart Life app,
where you need to sign in to continue.
4. Once logged in, click Agree and Link.
Smart Life is now connected to Amazon
Alexa, and you can begin using voice
commands.
Voice Control - Amazon Alexa Voice Control - Google Home
Method 2: Use the Smart Life app to start
linking
1. If the Google Home app is installed on
your mobile phone, open the Smart Life
app and tap Me on the tab bar.
2. In the Third-Party Voice Services section,
select Google Assistant > Link with Google
Assistant to open the Google Home app.
3. Tap Continue to return to the Smart Life
app.
4. Tap Agree and link to access the Google
Home app. The Smart Life app is now
linked with Google Assistant.
Step 2. Use Google Home to
Control Smart Devices
You are now set up to control your smart device
from Google Home using voice commands.
Below are examples of commands supported
by Google Home:
• Ok Google, set the <device name>
humidity to X (where X = 30-80%)
• Ok Google, set the humidity on <device
name> to maximum
• Ok Google, decrease the humidity on
<device name> by 5%
• Ok Google, turn on <device name>
• Ok Google, turn off <device name>
*’Device Name’ is the name of the
dehumidifier, you can change the name in the
Smart Life app*
12 13
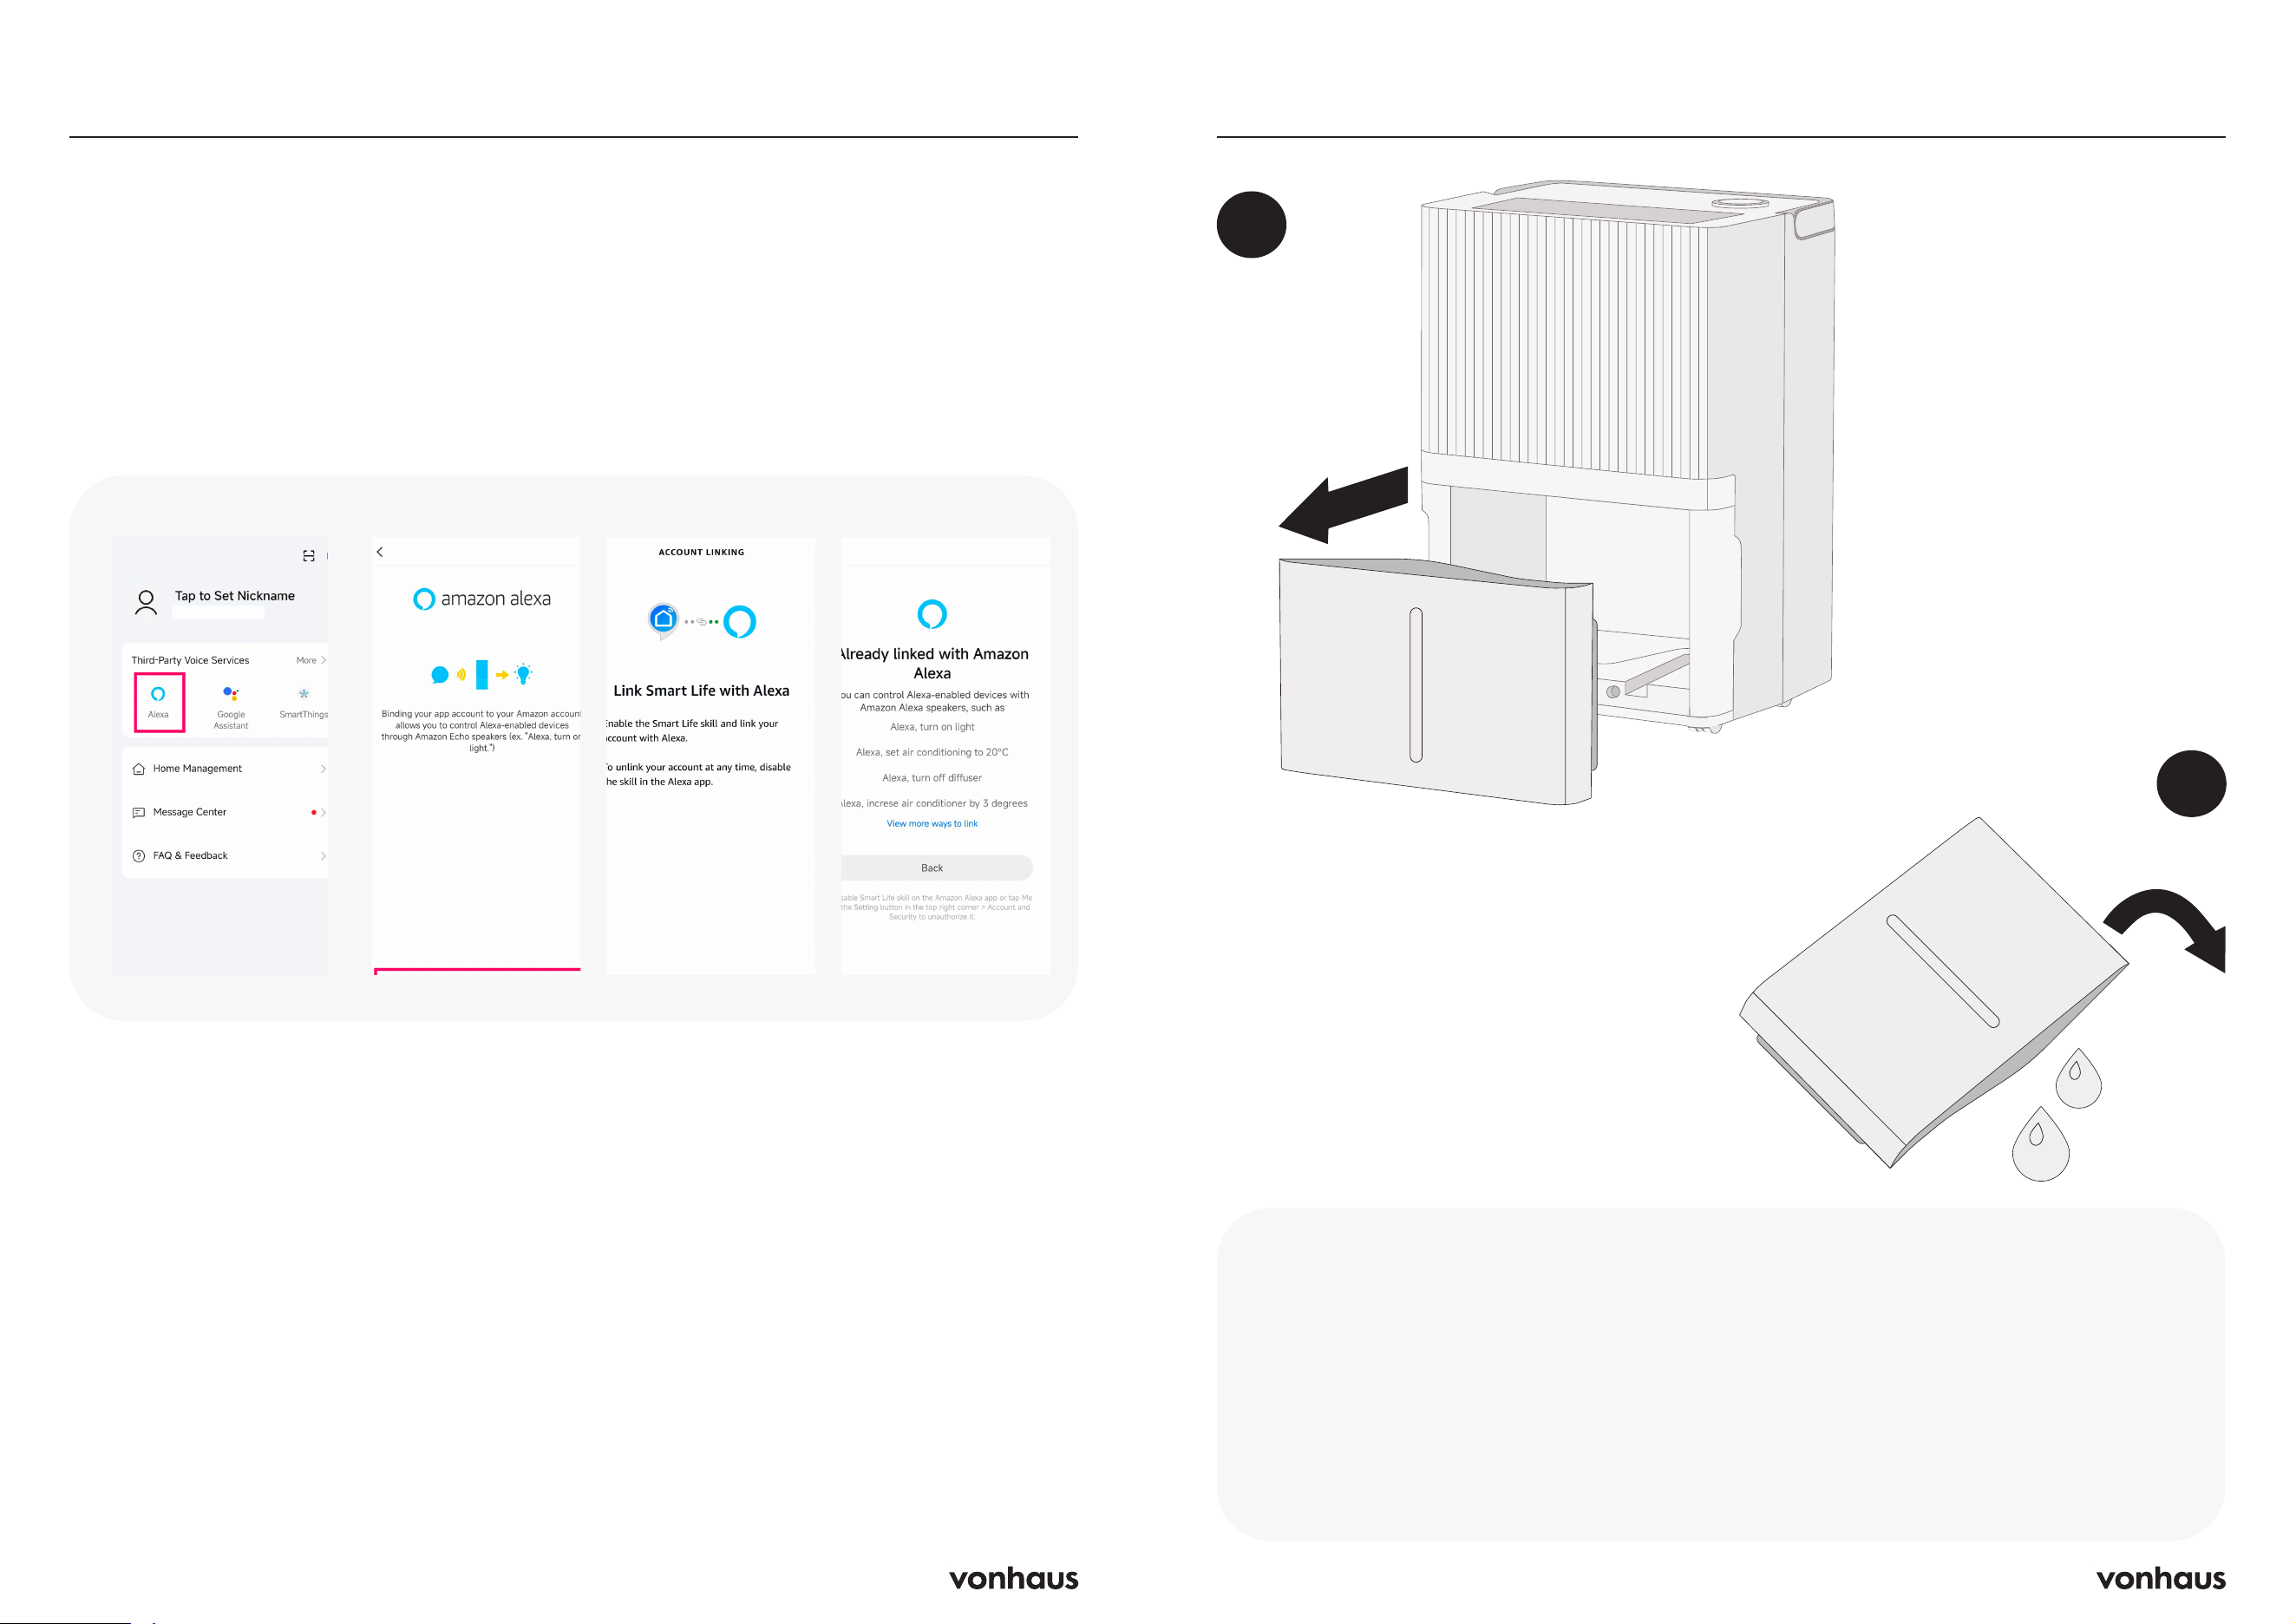
Instructions
1. When the tank is full, the unit will beep,
and the Full Water Tank indicator will
show on the display screen
2. Turn the unit off and slide the tank out
of the main body of the dehumidifier.
The unit will beep if you remove the
tank while it is still turned on
3. Empty the water and replace the tank
back into the dehumidifier
IMPORTANT: If the Full Water Tank
indicator remains on, ensure the tank has
securely been placed back into the unit
and the float in the tank is correctly in
place.
Draining the Tank
1
2
Voice Control - Amazon Alexa
Step 2. Use Amazon Alexa to
Control Smart Devices
You are now set up to control your smart device
from Amazon Alexa using voice commands
See a below an example of commands
supported by Amazon Alexa
• Alexa, set the <device name> humidity to X
(x=30-80%)
• Alexa, set the humidity on <device name>
to maximum
• Alexa, decrease the humidity on <device
name> by 5%
• Alexa, turn on <device name>
• Alexa, turn off <device name>
*’Device Name’ is the name of the
dehumidifier, you can change the name in the
Smart Life app*
Method 2: Use the Smart Life app
1. Open the Smart Life app and tap Me in the
bottom right corner of the home page.
2. Select Alexa under Third-Party Voice
Services.
3. Sign in to your Amazon account.
4. Click Link when prompted.
Smart Life is now connected to Amazon Alexa,
and you can begin using voice commands to
control your devices.
14 15
1
2
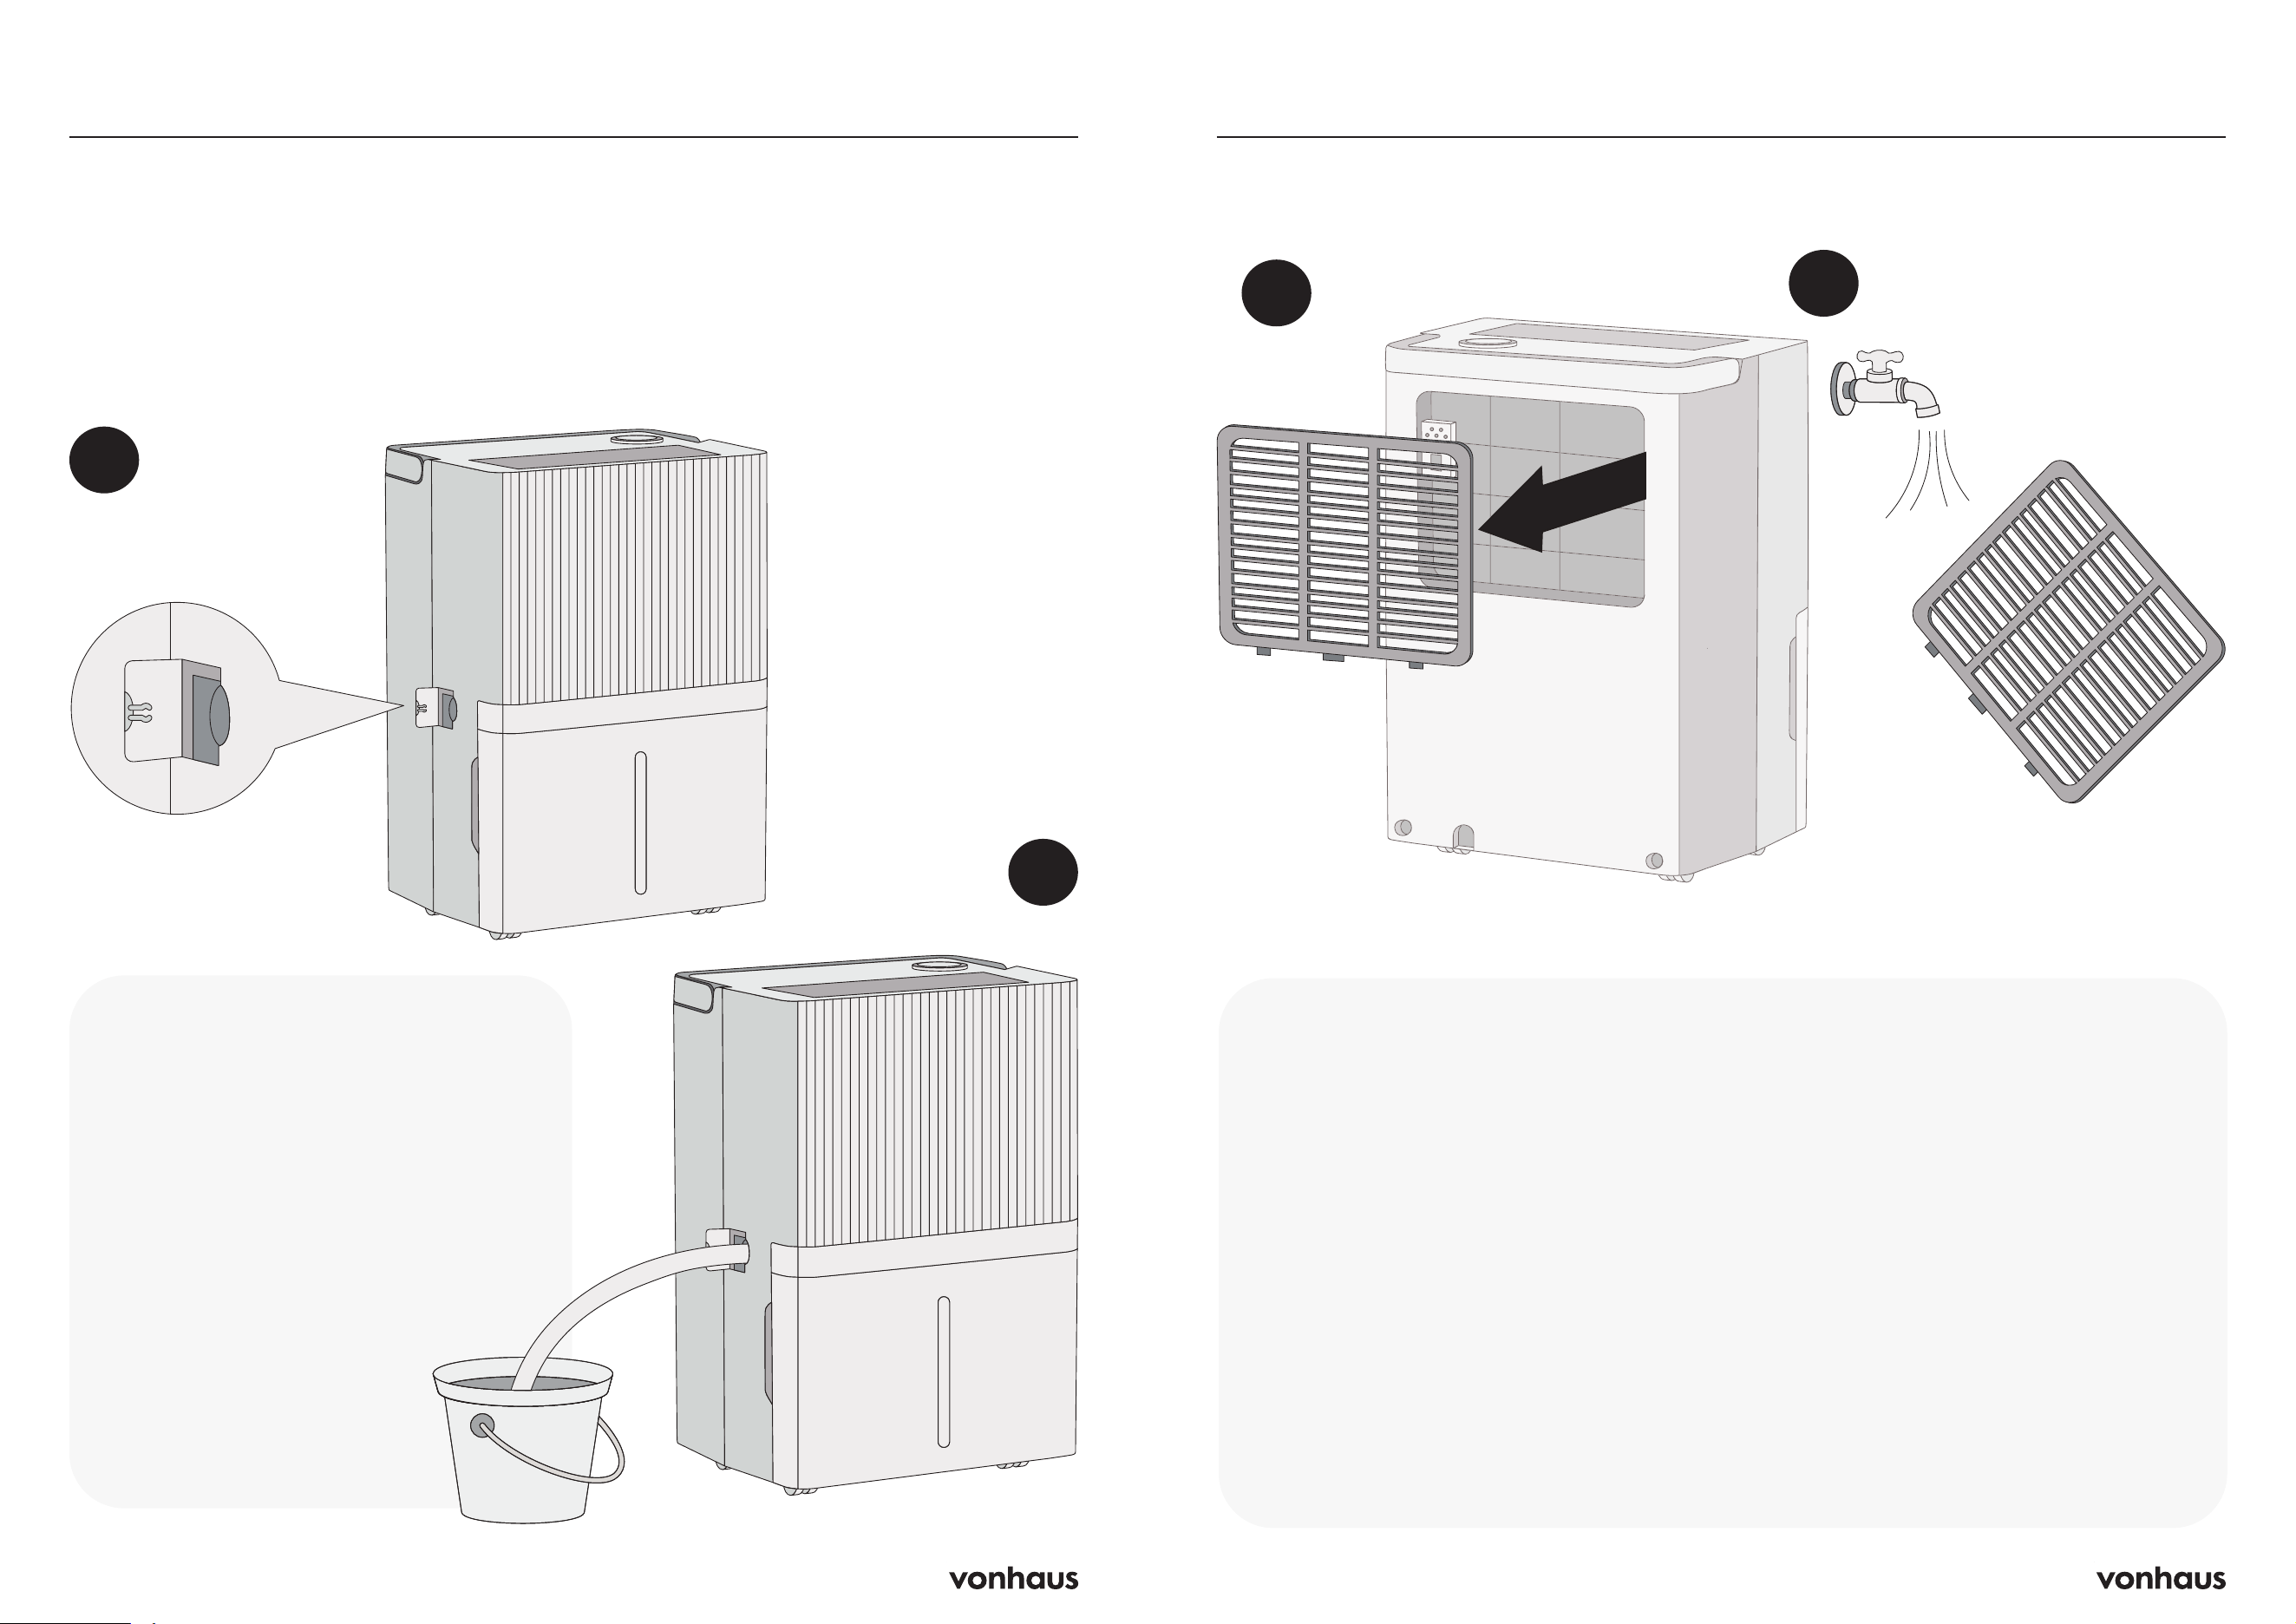
Cleaning the Air Filter
Instructions
IMPORTANT: Always turn off and
unplug the unit before cleaning.
1. Gently remove the filter from the back
of the air inlet
2. Gently vacuum any dust from the filter
surface
3. For heavily soiled filters, wash with
mild soap and water, then leave to air
dry completely
4. Reinstall the filter
Why This Matters
• Dust buildup restricts airflow
• Poor airflow reduces efficiency
• Blocked filters can damage the unit
• Never run the unit without a filter, as
this can contaminate the evaporator
Additional Tips
• Clean the filter regularly (every two
weeks)
• The filter is designed to be removable
for easy cleaning
• Ensure filter is completely dry before
reinstalling
Continuous Drainage
The humidifier offers a continuous drain option,
which is ideal for humid environments.
To set up continuous draining, simply connect
a drain hose to the unit.
1. Insert one end of the hose into the humidifier
and place the other end in your drain area.
2. Make sure to keep the hose straight and
positioned below the outlet level.
3. Double-check that the connection is secure
and that nothing blocks the drain path.
Important Notes
Ensure hose is:
• Securely connected
• Not kinked
• Unobstructed
• Angled downward (>20°)
Don’t submerge the end of the hose
(prevents air lock)
WARNING: Incorrect setup
may cause water spillage
1
2
16 17
Common Problems & Solutions
Why won’t my unit turn on?
If your unit won’t turn on, first ensure it’s properly
connected to a working power outlet. Check
if the water tank is full - it will need emptying
before the unit can operate again.
Also verify that the room temperature is
between 5°C and 35°C, as the unit won’t
function outside this range.
Why isn’t it working effectively?
If the dehumidifier isn’t working effectively, the
air filter may need cleaning, or the air vents
might be blocked. Check both the intake and
exhaust vents for any obstructions that could
be restricting airflow.
Why is it making unusual noise?
Unusual noise usually indicates the unit isn’t
placed on a level surface. Ensure it’s sitting
flat and stable. A dirty air filter can also cause
noise issues, so check if it needs cleaning.
Error Codes
FL: Water tank full
E1/E2: Sensor malfunction - contact
suppor[email protected]
Information
R-290 Refrigerant
This product contains R-290 (propane)
refrigerant and requires specific safety
precautions:
• Only qualified technicians can service the
sealed refrigerant system
• Never release refrigerant into air
• Keep away from flames, cigarettes, and
ignition sources
• Use only identical parts for repairs
WARNING: R-290 is flammable, heavier
than air, and odorless. Failure to follow safety
guidelines could result in explosion and serious
injury.
Electrical Safety
• Use only grounded power outlets
• Never pull power cord to unplug
• Avoid extension cords and adapters
Operation Safety
• Keep away from fire and flammable objects
• Don’t insert objects into air outlets
• Don’t touch inlet or aluminum fins
• Stop using if unit shows damage
• Avoid chemical cleaning
• Keep ventilation areas unobstructed
Installation Requirements
• Follow national wiring regulations
• Maintain minimum 4m² space for
installation
• Ensure proper ventilation
• Protect connecting pipes from damage
• Install away from heat sources
WARNING: Improper use may risk fire,
electric shock, or injury.
Safety Information
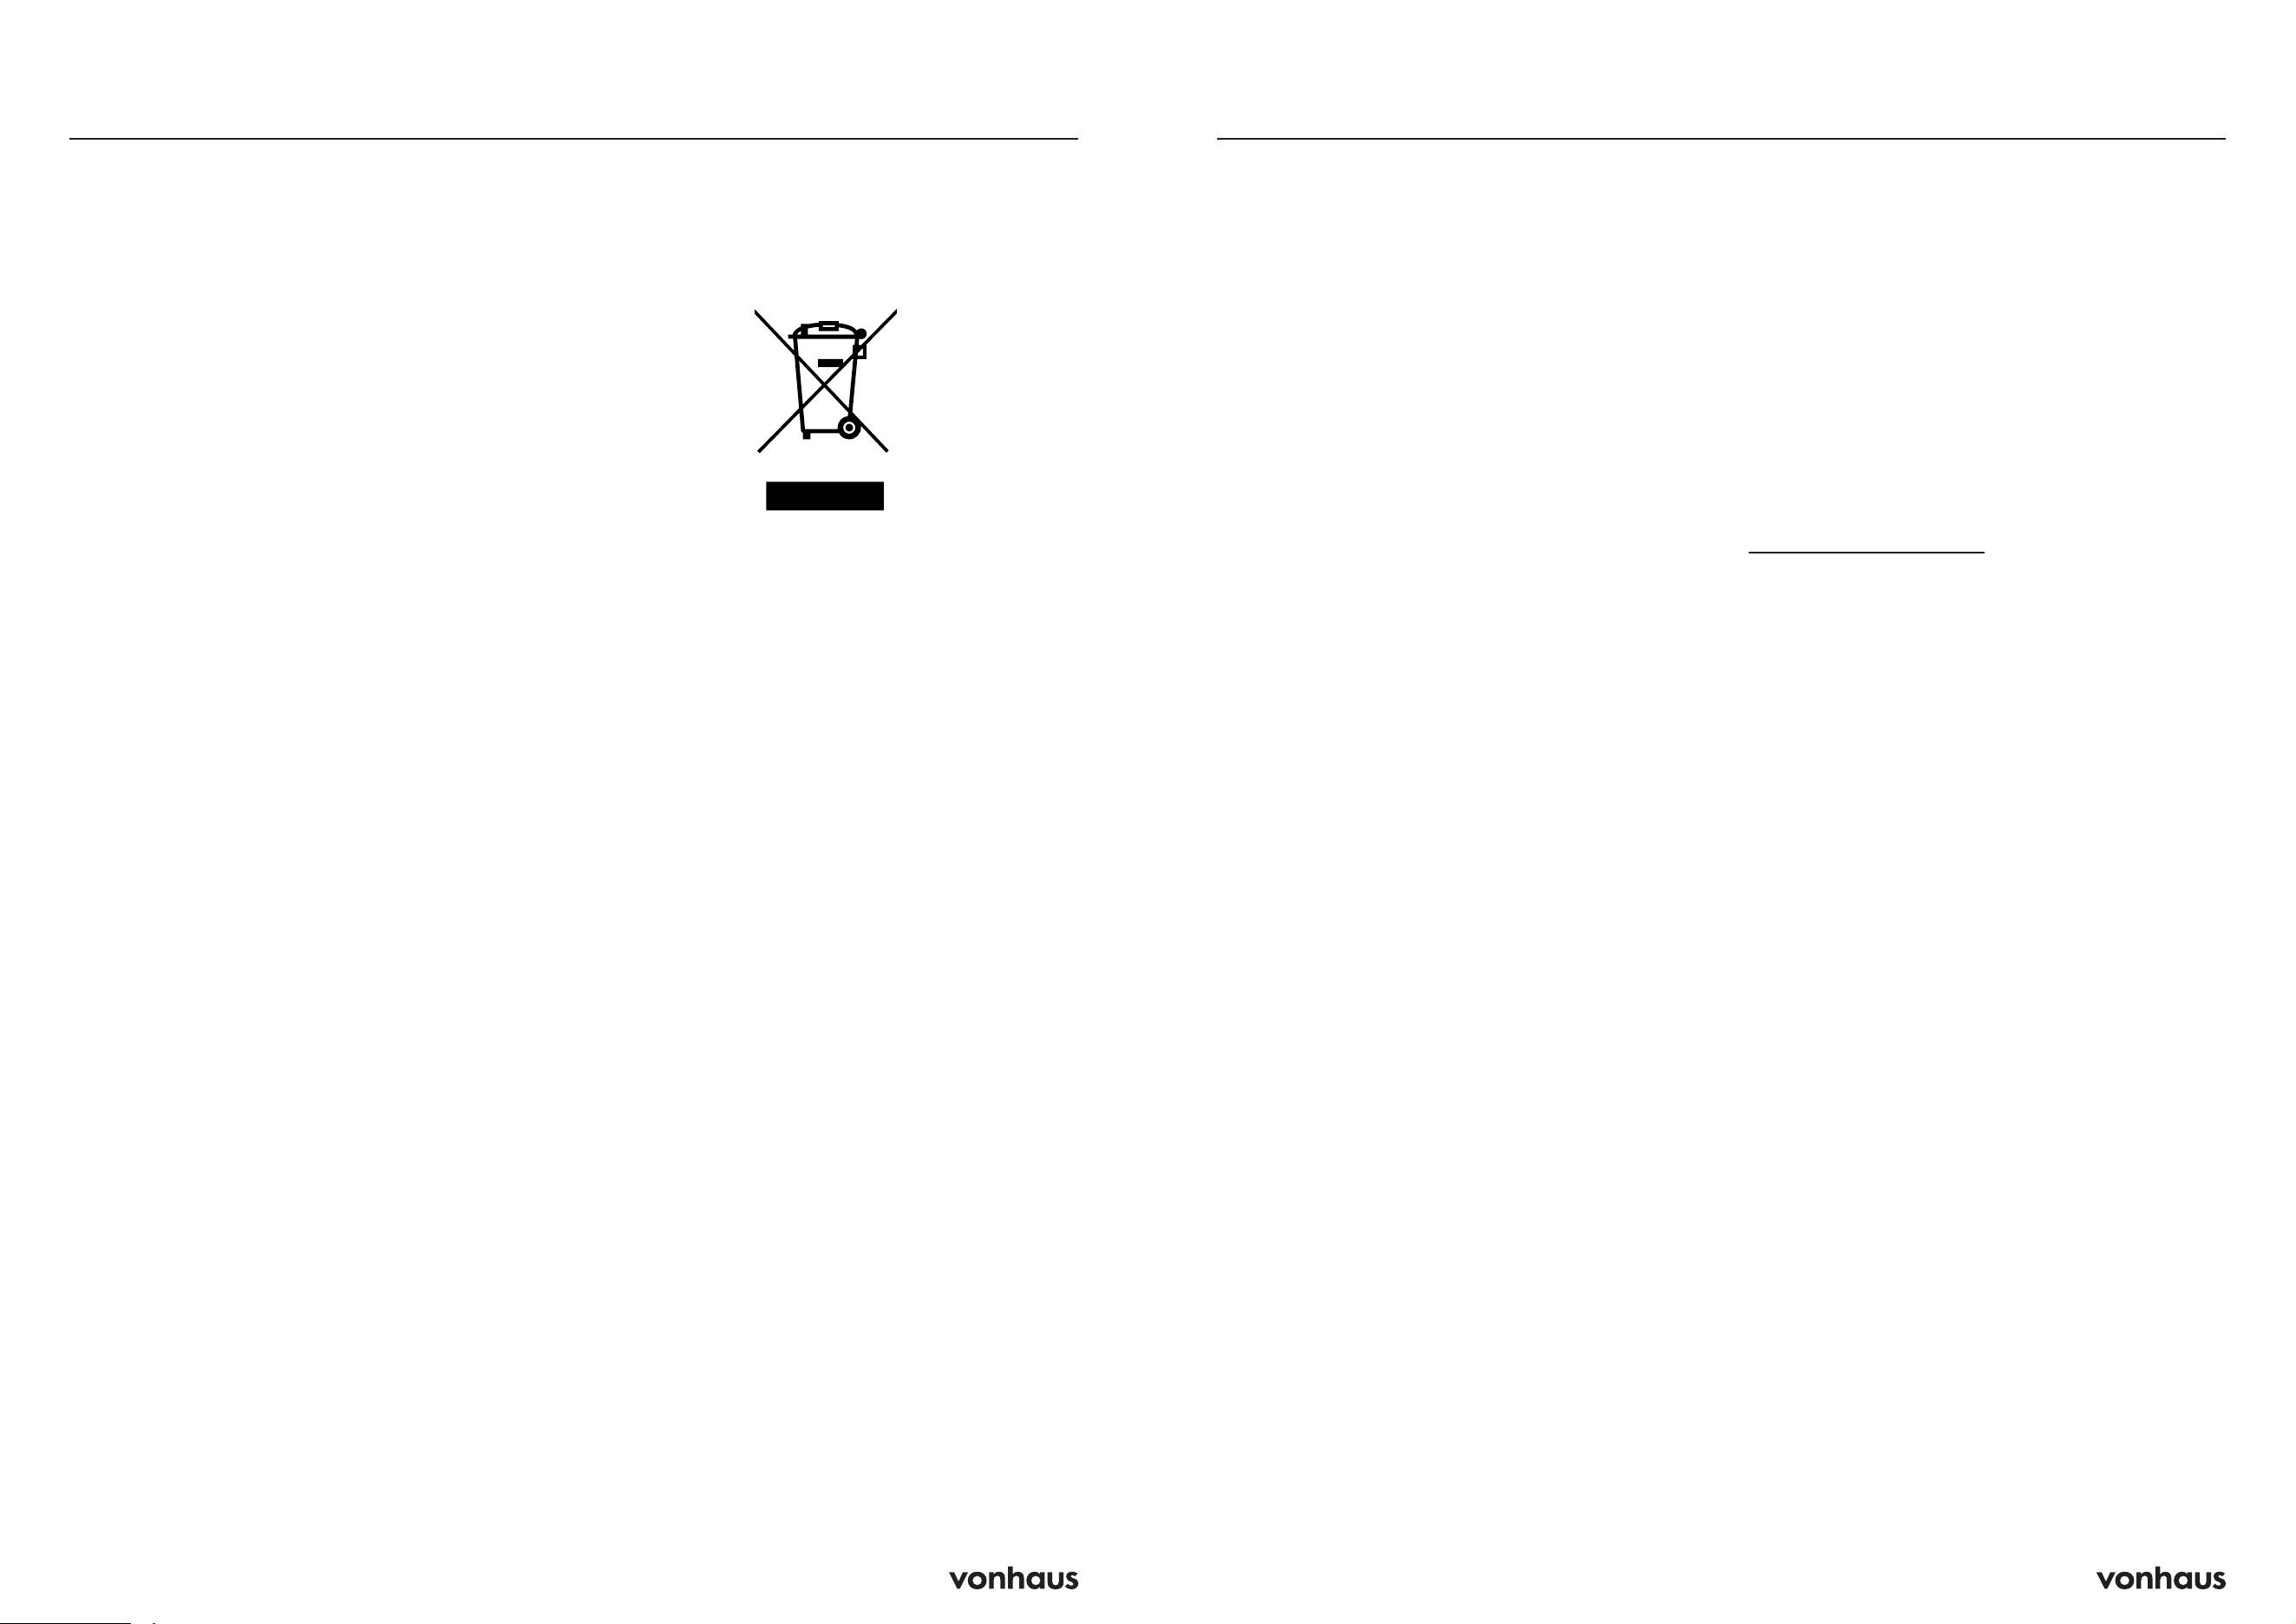
Disposal Information
WARNING: Releasing refrigerant into
atmosphere is strictly forbidden!
Do not dispose of electrical appliances as
unsorted municipal waste, use separate
collection facilities.
Contact your local government for
information regarding the collection
systems available.
If electrical appliances are disposed of in
landfills or dumps, hazardous substances
can leak into the groundwater and get into
the food chain, damaging your health and
well-being.
18 19
Customer Service
If you are having difficulty using this product
and require support, please contact
suppor[email protected]
Warranty
To register your product and find out if you
qualify for a free extended warranty please
go to www.vonhaus.com/warranty
Please retain a proof of purchase receipt or
statement as proof of the purchase date.
The warranty only applies if the product is used
solely in the manner indicated in the warnings
page of this manual, and all other instructions
have been followed accurately.
Any abuse of the product or the manner in
which it is used will invalidate the warranty.
Returns
Returned goods will not be accepted unless
re-packaged in its original packaging and
accompanied by a relevant and completed
returns form. This does not affect your statutory
rights.
No rights are given under this warranty to a
person acquiring the appliance second-hand
or for commercial or communal use.
Copyright
All material in this instruction manual are
copyrighted by DOMU Brands.
Any unauthorised use may violate worldwide
copyright, trademark, and other laws.
Thank You
Thank you for purchasing your product/
appliance.
Should you require assistance with your
purchase, please contact us at
suppor[email protected]
VonHaus is a registered trademark of DOMU
Brands Ltd.
Made in China for DOMU Brands Ltd.
Unit 30, Stakehill Industrial Estate
Middleton, Manchester, M24 2RW
EU Authorised Representative
Authorised Representative Service
77 Camden Street Lower
Dublin, D02 XE80
Ireland
Information
Product No. 2000275
Let’s get started!
Visit our product hub for
useful tips and tricks on
getting the most out of
your new product.
SCAN ME