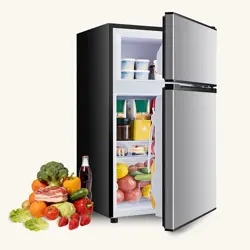
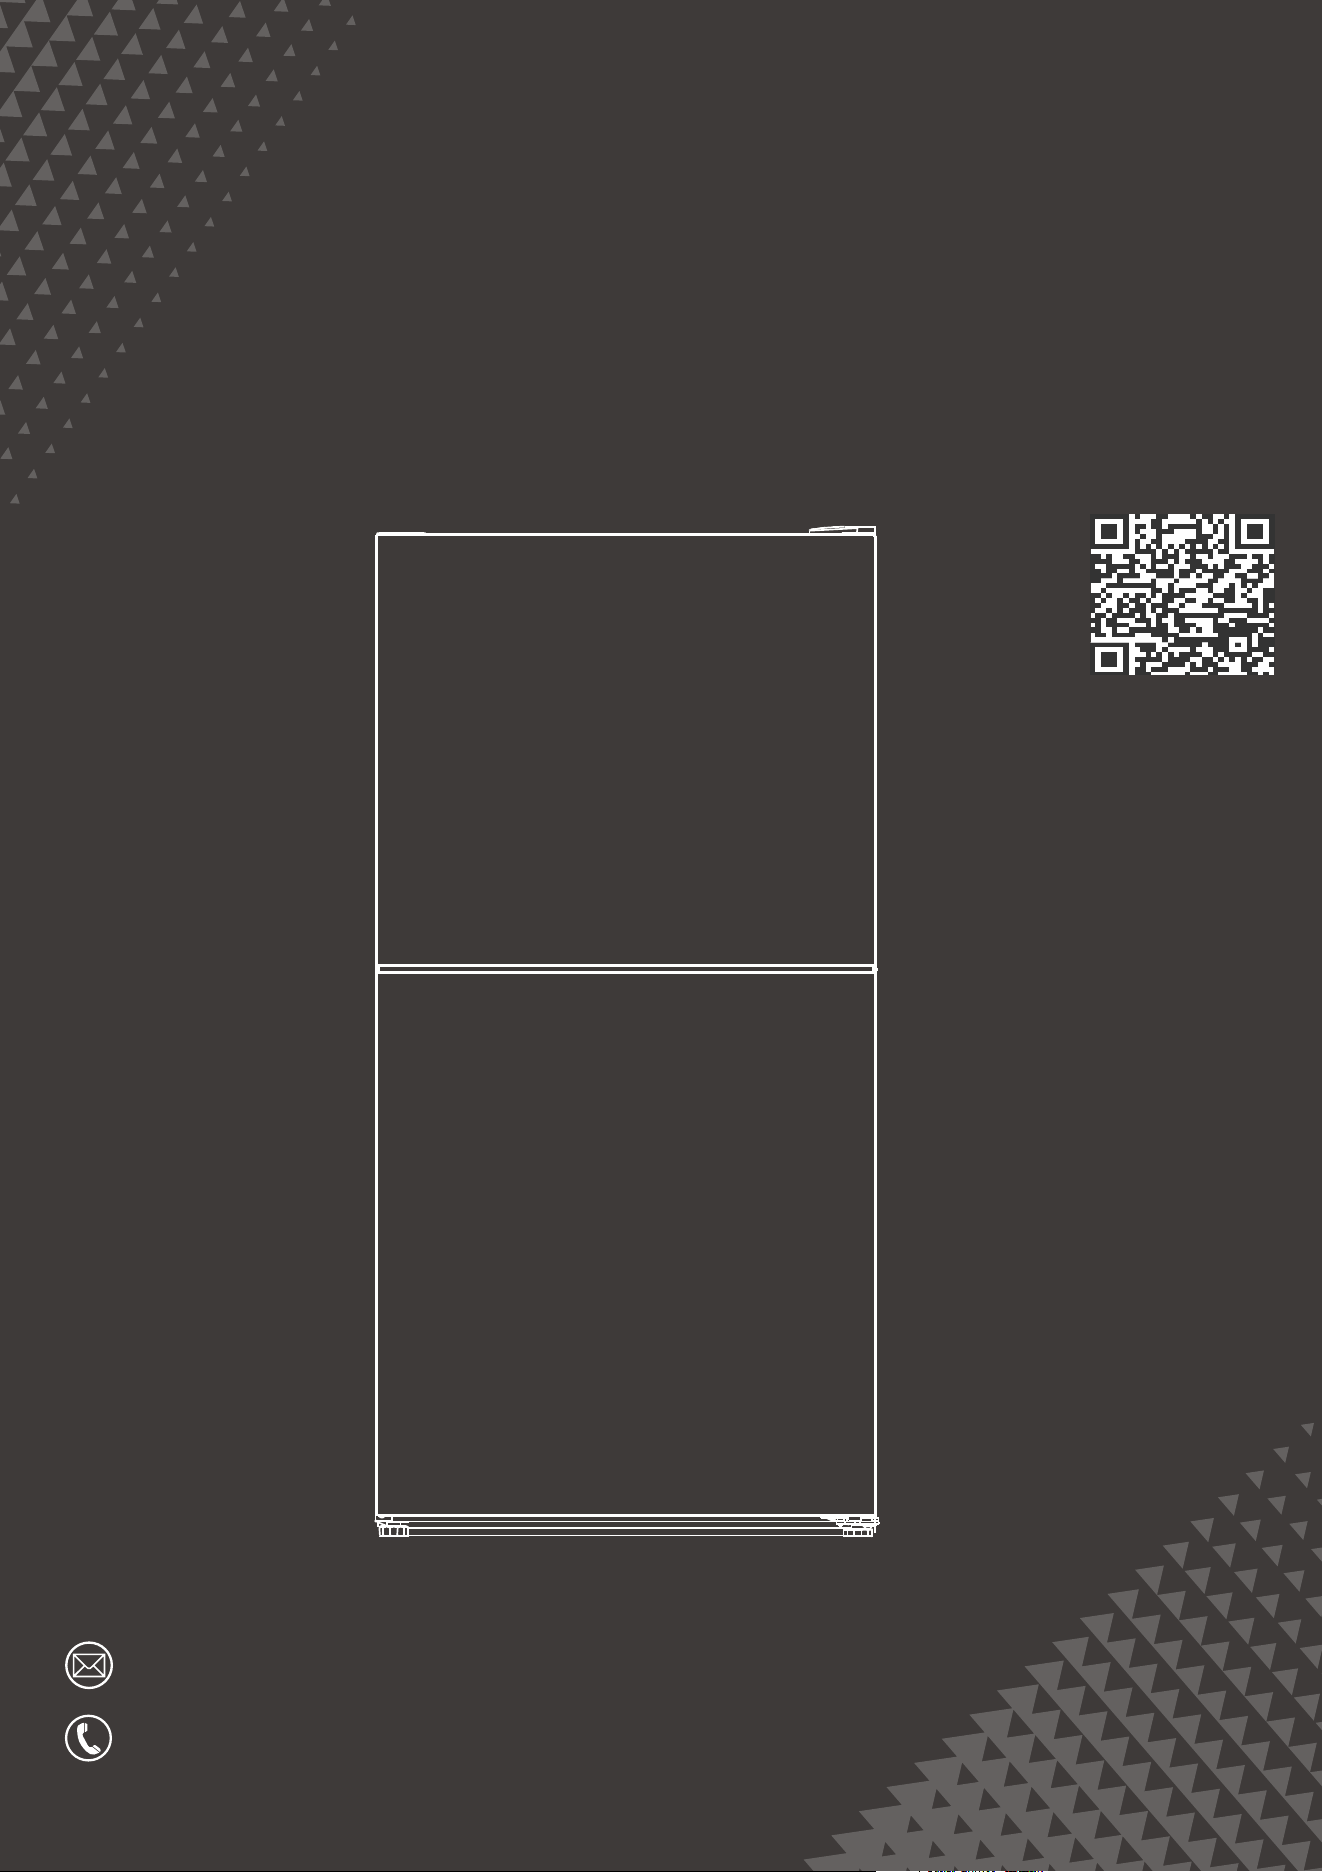
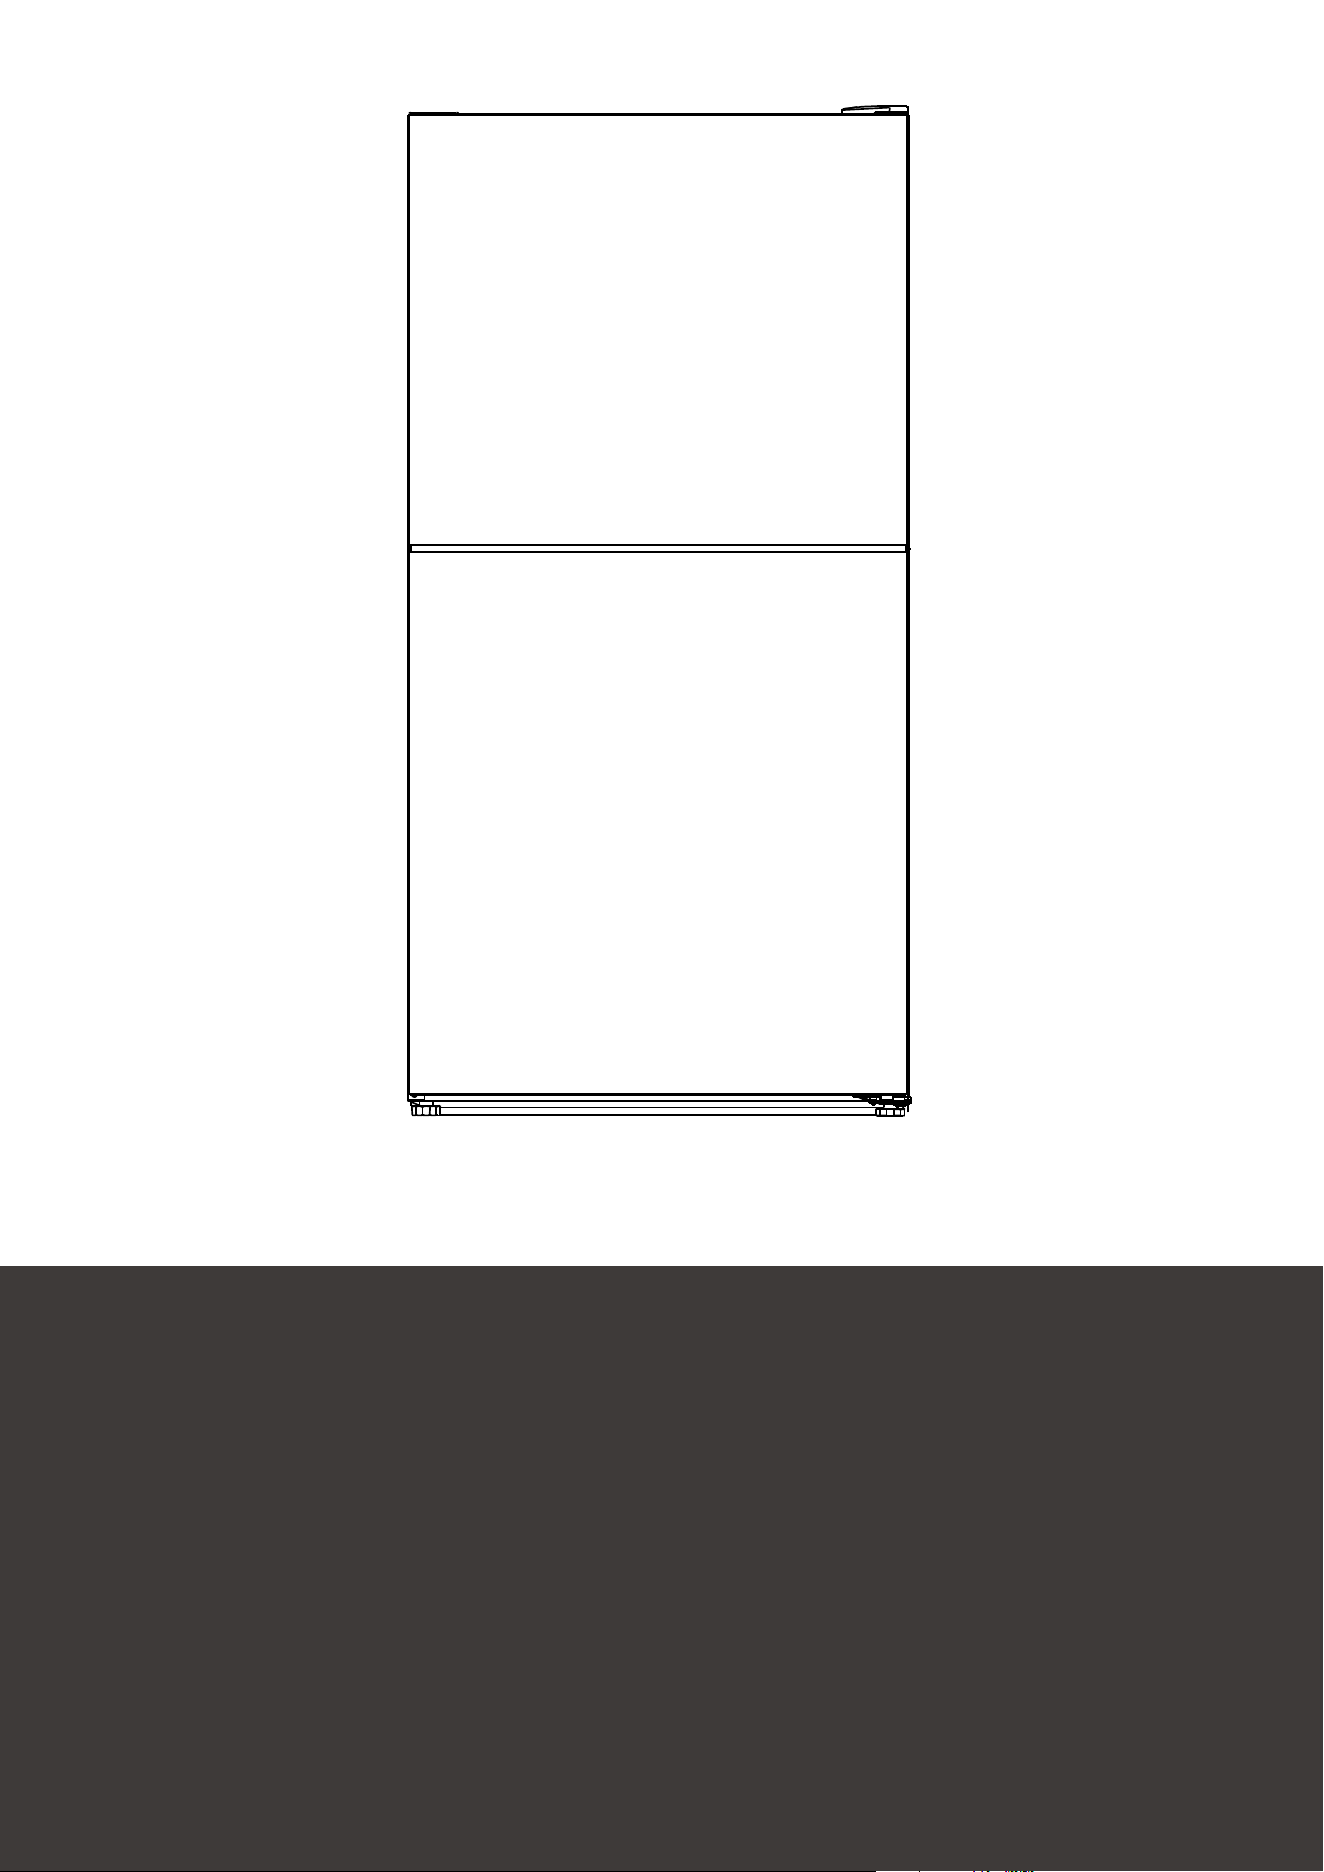
2-Door
Mini Refrigerator
Instruction Manual
HJ-Customer[email protected]
(909)637-7665 | (909)637-7593
EST 9:00AM--17:00PM
BX-SM01
Please read the following instructions carefully before using your refrigerator.
1. Don't put hot food inside the refrigerator.
2. Wrap all food items with a plastic protective film to avoid dehydration and lose food flavor.
3. Immediately close the refrigerator door after each use.
4. If you don't use the refrigerator for a long period of time, disconnect the unit, clean the inside
parts, put the refrigerator in a dry area and leave the door slightly open.
I. GENERAL
The refrigerator is extensively used in places such as hotels, offices, houses and student dormito-
ries. It is mostly suitable for refrigerating and preserving food such as fruits and beverages. It
enjoys the advantages of small size and lightweight, high efficiency and low energy consumption.
II. UNPACKING, REPACKING, AND MOVING
1. Unpacking:
Just cut off the packing band, and then pull the carton up.
2. Repacking:
Remember to put the original foam pads back in place.
3. Moving:
Make sure the refrigerator trays are in upright positions when moving it.
Do not tilt the refrigerator more than 45 degrees from the upright position.
Never lay the refrigerator on its side or upside down.
Do not apply force to any external parts such as the pipes, condenser, or door.
When moving the refrigerator, it must be well-packed and secured for long-distance transportation
to avoid damage from impacts or strong shocks.
III. INSTALLATION PROTECTION FROM HEAT AND MOISTURE
Do not install your refrigerator in any location where heavy moisture is present or where the area is
not properly insulated. This refrigerator is not designed to operate in a temperature setting below
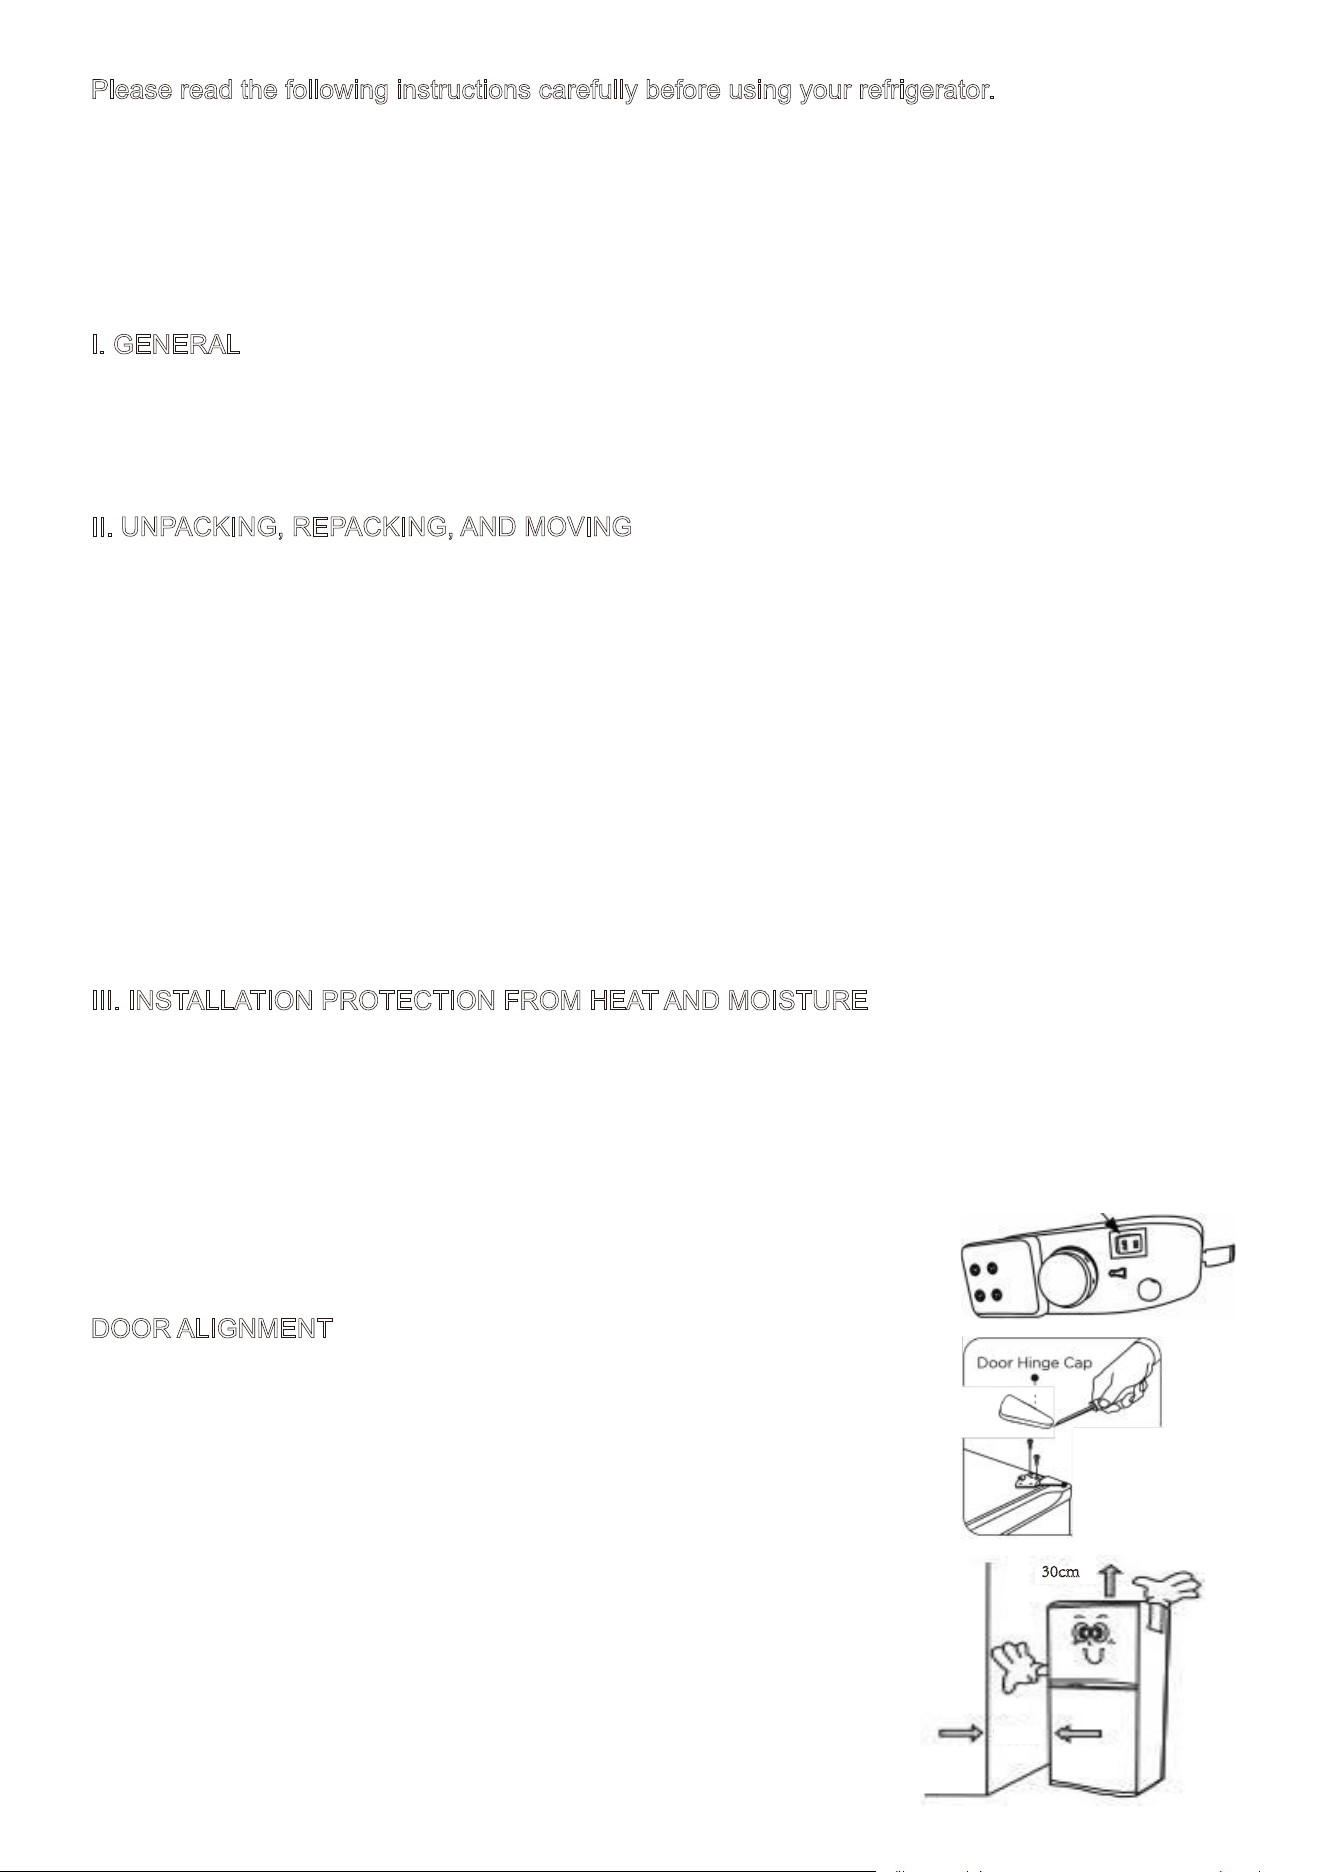
42° F. When the ambient temperature is too low, the compressor stops working. Open the heat
compensation button as shown in the diagram to allow the refrigerator to
run normally. Location for the refrigerator should be on a hard surface
and away from direct sunlight and heat source,e. g., radiators, baseboard
heaters, cooking appliances, etc.
DOOR ALIGNMENT
1.Remove the top hinge cover.
2. Loosen the top hinge screws using a Phillips-head
screwdriver.
3. Adjust the door or insert a spacer in between, and then
tighten the screws.
4. The top clearance of the refrigerator should not be less
than 30 cm. The distance between the sides, back, and
the wall should also be no less than 10 cm to ensure
proper door operation and heat dissipation. The refrigerator
should be placed on a flat and sturdy surface. If the refrigerator
is unstable, adjust the leveling foot accordingly.
30cm
10cm
IV: OPERATION
1. Before the refrigerator is plugged in, check the following:
- Each screw must be well fixed.
- Wall outlet must be properly connected.
- Be sure that everything is in normal condition and the refrigerator can be plugged in.
- Please place the machine upright 4 hours before plugging in.
2. When operating for the first time.
Before loading food, run the refrigerator without any load until it automatically stops at the desired
temperature. This usually takes 2 or 3 hours.Then set the thermostat to the required setting and
place foods in.
3. Temperature control.
The refrigerator temperature can be adjusted by turning the thermostat knob. The closer the knob
is set to position "7", the lower the temperature becomes. A medium setting is the most suitable for
general operation. Set the thermostat to position "7" only when ice cubes are needed or frozen
foods are stored in the freezing compartment.
The refrigerator's temperature will vary depending on the quantity of food stored and how often the
door is opened. In order to maintain good cooling efficiency and save energy, we recommend not
storing too much food and avoiding frequent door opening.
CAUTION:
when the thermostat has been turned clockwise to "7" position, don't attempt to turn it
further, otherwise it will be damaged.
4. lce cubes making.
After filling the ice tray with drinkable water till about 80% of its volume, put it into the freezing
compartment and then set the thermostat to "7". It takes about 3 hours to make ice cubes.
V. DEFROSTING
Defrost the freezing compartment whenever the layer of frost or ice on the evaporator reaches 3-4
mm. When defrosting, remove all food and ice cube trays. Put the drip tray in place to collect
melted water.
To start defrosting, set the thermostat to position "0" and keep the door open. After the frost or ice
has melted, discard it and dry the interior of the refrigerator. The refrigerator can then be restarted
by turning its thermostat to the desired setting.
CAUTION: Never use any sharp of metallic instruments (e.g., knives)to remove frost or ice from
the evaporator, as this will damage it. A punctured evaporator will cause serious problems.
VI. CLEANING AND MAINTENANCE
Before cleaning the refrigerator, disconnect the power supply and remove all food items, shelves,
and trays. Clean the interior using a solution of two tablespoons of baking soda per liter of warm
water. Wipe with clean water afterward.
Do not use acids, chemical thinners, gasoline, benzene, or similar substances to clean any parts
of the refrigerator. Do not use boiling water or benzene on plastic components, as this may cause
deformation or damage.
Overloading the refrigerator or using oversized containers may hinder air circulation. It is recom-
mended to utilize approximately 70% of the available storage volume.
Do not store volatile or flammable substances such as ether, gasoline, liquefied petroleum gas, or
adhesives, as these may pose a fire or explosion hazard due to electric sparks.
VII. SAFETY INSTURCTION
Before plugging in the refrigerator, ensure that your household power supply matches the rated
voltage and frequency indicated on the rating label (usually located on the back of the unit).
Always plug the refrigerator into a properly ventilated outlet. Overloaded circuits may overheat and
pose a fire hazard.
Do not splash water on the refrigerator, as this may cause electrical leakage or malfunction.
If the power cord is damaged, have it replaced immediately by a qualified technician.
The manufacturer is not liable for any accidents resulting from improper use.
Note: Specifications are subject to change without notice.
Warning:
1. Do not use electrical appliances inside the refrigerator compartments unless recommended by
the manufacturer.
2. The refrigerant and insulation materials used require special disposal procedures. Contact a
qualified service agent for proper disposal.
3. Do not use mechanical devices or other unauthorized methods to accelerate the defrosting
process.
4. Do not damage the refrigerant circuit.
5. This appliance is not intended for use by individuals with reduced physical, sensory, or mental
capabilities, unless under supervision or properly instructed by a person responsible for their
safety.
6. Children must be supervised to prevent them from playing with the appliance.
VIII. AFTER-SALES SERVICE
If you encounter any issues with this product, please contact our after-sales service.
Note:
A dated proof of purchase, along with the model and serial number, is required for warranty
service.
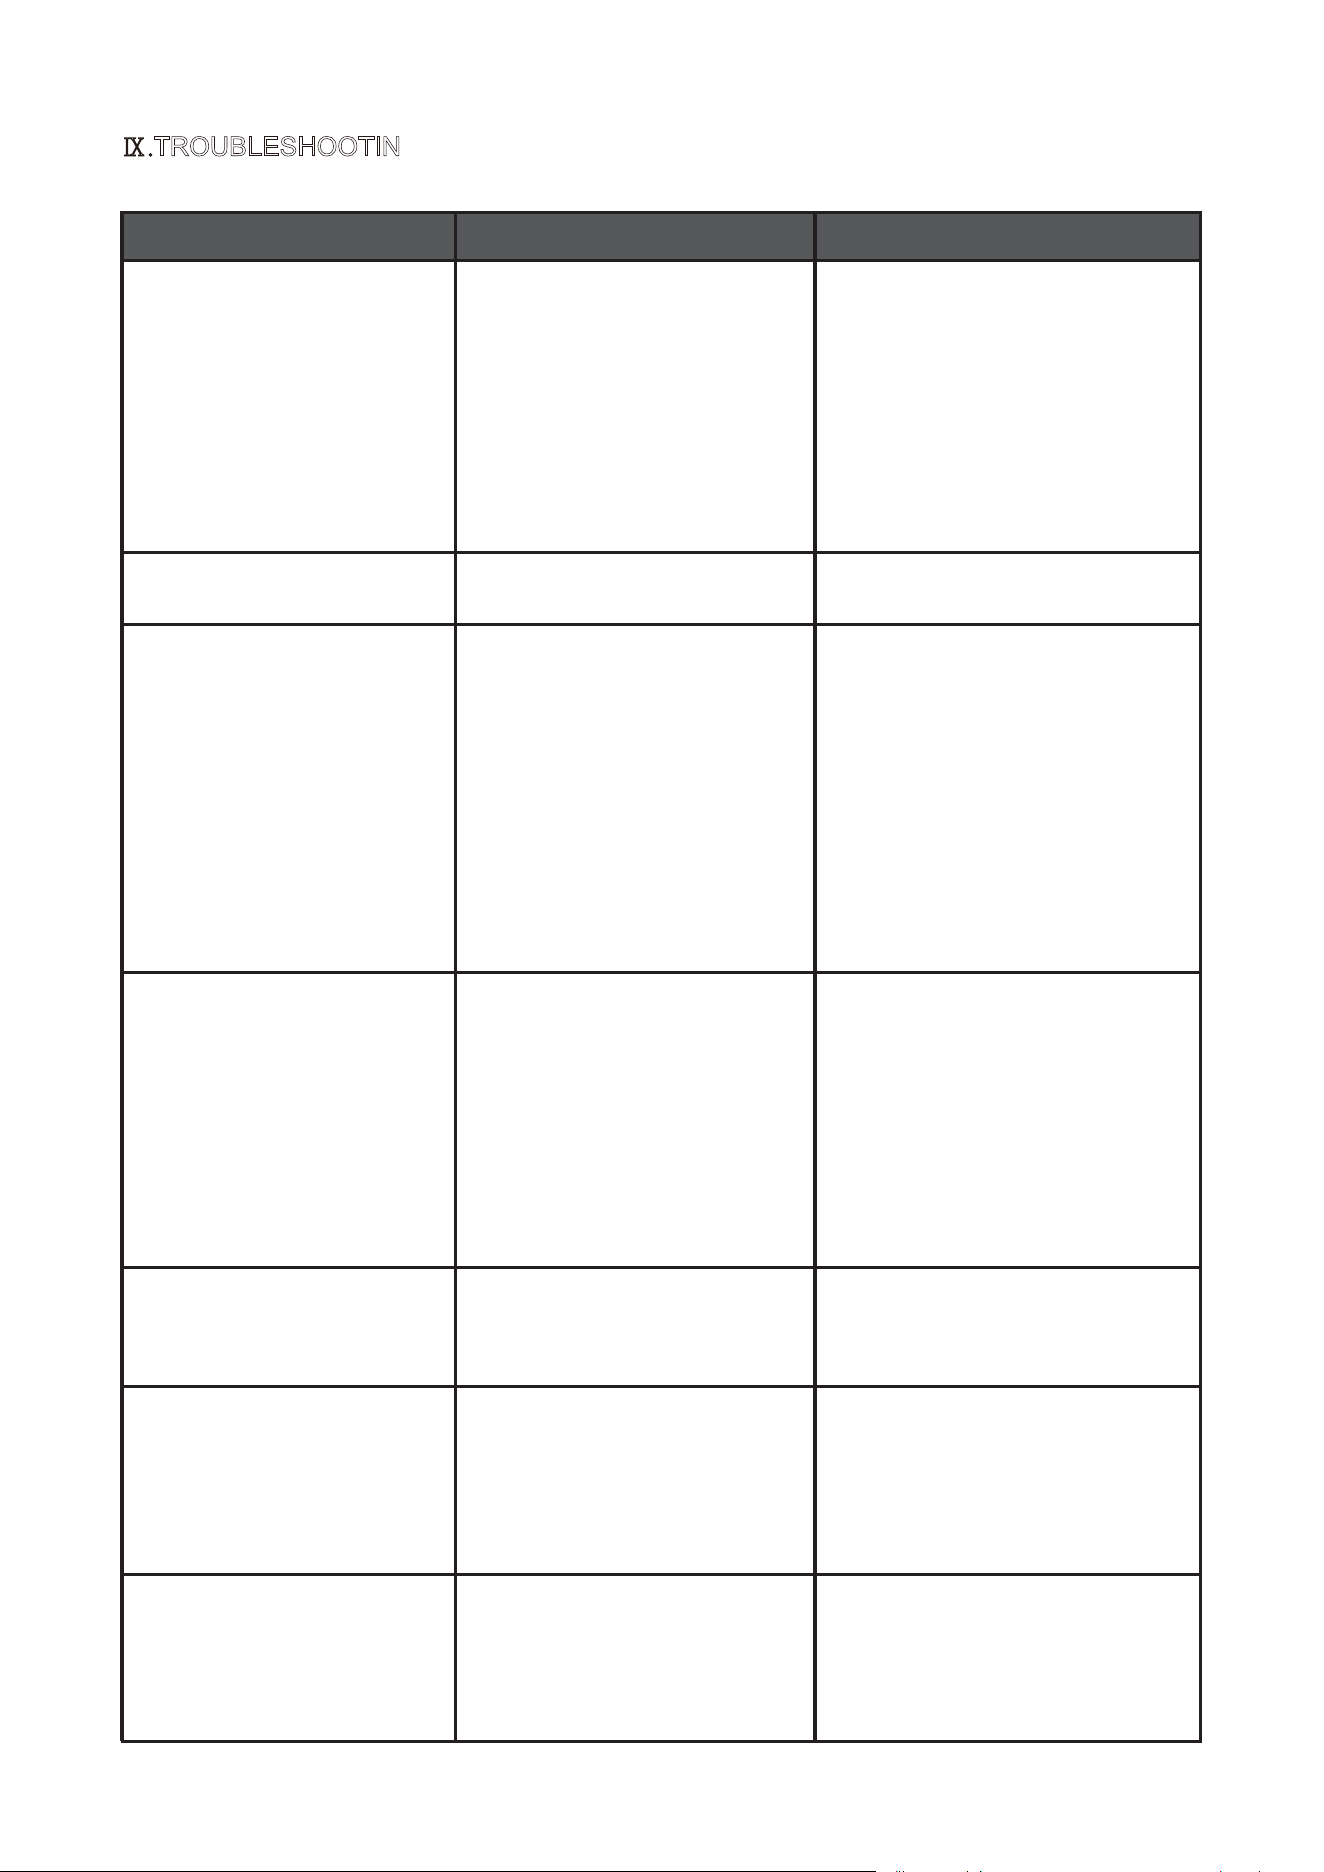
Ⅸ.TROUBLESHOOTIN
Refrigerator does not
work.
TROUBLE POSSIBLE CAUSE POSSIBLE REMEDY
A. Refrigerator is not
switched on.
B. Unit is not plugged in or
is loose.
C. A household fuse has
blown or circuit breaker
has tripped.
D. Wall power socket is
defective.
A. Turn on the temperaturecon-
trol dial. It may be in the OFF or
"0" position.
B. Plug in the refrigerator prop-
erly.
C. Replace the household fuse
or reset circuit breaker.
D. Have the wall socket inspect-
ed by a qualified electrician.
The food is too warm.
A. Temperature is not
properly adjusted.
A. Set the temperature control
dial to a warmer setting
A. Set the temperature control
dial to a warmer setting.
A. The refrigerator door is
not properly aligned.
B. Possible blockage from
food containers, shelves,
bins, etc.
Carefully warm the leaking
sections of the door gasket with
a hair dryer(on a cool setting).
At the same time, shape the
warmed gasket by hand to
ensure it sits correctly and
seals properly.
Heavy build-up of frost,
possibly also on the door
seal .
NOTE: This is normal
during high humidity
periods. Frequent door
openings will also cause
heavy frost build-up.
Door seaI is not airtight.
(possibly after door rever-
sal)
A. Set the temperature control
dial to a cooler setting.
B. Open the door only when
necessary,and check the door
gasket for proper sealing.
C. Set the temperature control
dial to a colder setting tempo-
rarily.
D. Refer to the "Temperature
Control" section for further
guidance.
Popping or cracking
sounds when compressor
comes on.
Refrigerator door does
not shut properly.
Refrigerator has an odor.
/
A. Foods not properly
sealed.
B. Interior needs cleaning.
A. Re-align the refrigerator
door. Refer to the "Door Align-
ment" section.
B. Ensure nothing is blocking
the door.
A. No action needed. This is a
normal sound of coolant flowing
through the condenser coils.
A. Remove any spoiled or
unsealed food items.
B. Clean the interior of the
refrigerator thoroughly with a
mild detergent.
A. Temperature is not prop-
erly adjusted.
B. Door was open for an
extended period.
C. A large quantity of warm
food was placed in the
refrigerator within the last
24 hours.
D. The refrigerator is near a
heat source.
The food is too cold.

LIMITED WARRANTY
For questions or concerns about this product, please contact our customer service.
We warrant to the original purchaser that this product is free from defects in material, parts, and
workmanship under normal use for a period of one (1) year
from the date of purchase.
This warranty does not cover the following:
1. Damage or defacement to the exterior or appearance of the product caused by mishandling,
accidents, or unauthorized modifications.
2. Products with altered, removed, or unreadable serial numbers.
3. Damage caused by power surges, misuse of the AC power cord, or connection to an improper
power source.
4. Damage resulting from misuse, accidents, or natural disasters.
5. Repairs made by unauthorized service providers, use of non-genuine parts, or parts from unau-
thorized sources.
6. Units transferred from the original purchaser.
7. Products purchased as refurbished, "like new," second-hand, or under "as-is" or "final sale"
conditions.
8. Products used for commercial or rental purposes.
9. Products not used for ordinary household purposes or not used in accordance with the instruc-
tions.
10. Damage resulting from improper installation.
11. Damage to glass parts and other accessories included with the product.
12. Loss of food or other contents due to product failure or delay in service, repair, or replacement.

We shall not be liable for any incidental or consequential damages resulting from the breach of any
express or implied warranty, except where prohibited by applicable law. Any implied warranties,
including those of merchantability or fitness for a particular purpose, are limited to the duration of
this limited warranty.
Some jurisdictions do not allow the exclusion or limitation of incidental or consequential damages,
or limitations on how long an implied warranty lasts. In such cases, these limitations may not apply
to you. This warranty gives you specific legal rights, and you may also have other rights that vary
by state or country.
Please make sure to provide the date of purchase, model number, and a brief description of the
issue. Our after-sales service will contact you.
We do not warrant that the appliance will function properly under all environmental conditions and
make no warranty or representation, either implied or expressed, regarding its quality, perfor-
mance, merchantability, or fitness for any purpose other than that specified in this user manual.
While we have made every effort to ensure the accuracy of this user manual, we disclaim any
liability for inaccuracies or omissions that may be present. The information contained in this
manual is subject to change without notice and does not constitute a commitment by the manufac-
turer.
The manufacturer reserves the right to improve this user manual and/or the products described
herein at any time without prior notice. If you identify any information in this manual that is inaccu-
rate, misleading, or incomplete, please contact our after-sales service department promptly.
Technical Support
Other Info
Thank you for choosing this product. We strive to provide you with the
best quality products and service in the industry. Should you have
any issues, please don't hesitate to contact us.
(909)637-7665 | (909)637-7593
HJ-Customer[email protected]