欢迎
欢迎来到飞利浦世界!您能选择和购买飞利浦的产品,我们非常高兴。您可在
我们的官方网站上获得飞利浦公司的全方位技术支持,如:使用手册、软件下载、
保修信息等。
www.philips.com/support
产品特点
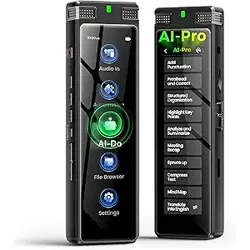
本产品是一款功能便捷的
AI
拾音设备。采用飞利浦音频处理技术,适用于节目
访谈、采访拾音、视频教学等领域,产品特点如下:
· 高清音质
· 高清降噪 2.0
· 边充边用
· 对码连接锁定
安全信息
1. 为了避免短路,切勿将产品放置在触水受潮处。
2. 不要将产品放在加热设备附近。
3.
请注意,切勿挤压电缆,特别是插头处。
注意
· 特别声明:使用本产品前请仔细阅读本说明书,如因人为操作或不可抗
力因素而导致数据丢失,损坏,本公司一概不予负责。特别提醒用户小
心操作,注意将资料另外备份。
· 显示图像仅作参考。飞利浦保留更改颜色
/
外观
/
设计
/
参数
/
产品功能的
权利,硬件、软件、
APP
如有更新,恕不另行通知。
使用须知
· 第一次使用前建议先对机器充电 2 小时,充电仓只支持充电,不作连接电脑
使用。
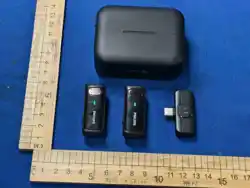
您的设备
设备包含
主机预览
1. 开/关机键
2.
指示灯
3.
充电触点
4. 背夹
5.
拾音麦
1. Type-C 充电口
2. 指示灯
3.
手机接口
使用说明
交互定义:(按键,指示灯)(按键,指示灯)
1,开关机说明
设备状态 功能 操作说明 指示灯
关机状态
开启
设备
发射器:
手动:长按电源键
1.5S
开机,自动回
连接收器
自动:从充电盒取
出发射器,自动开
机回连
接收器:
插入手机,自动回
连发射器
发射器
连接成功:绿灯常
亮
未连接:绿灯慢闪
接收器
连接成功:TX1,TX2
绿灯常亮
未连接:TX1 绿灯
慢闪,TX2 熄灭
开机默
认,降
噪模式
开机状态
关闭
设备
发射器:
手动:长按 1.5S
关机或者放入充
电盒
自动:5 分钟无连
接,自动关机
接收器:
拔出设备
发射器:
充电状态;红灯常
亮
关机状态;无
接收器:
拔出设备、灯灭
注:
发射器充电,自动关机并进入充电状态
未连接状态下,发射器不能开启静音,音效切换
2,回连说明
设备状态 功能 操作说明 指示灯 备注
开机状态
开机
回连
自动回连
发射器:
连接: 绿灯常亮
未连接:绿灯慢闪
接收器
连接成功:TX1,TX2
绿灯常亮
未连接:
TX1
绿灯
慢闪,TX2 熄灭
超距回连
超距
离断
开回
连
自动回连
注:
接收器在连接 TX1 后,对应的 Tx1 指示灯会绿灯常亮,Tx2 指示灯熄灭(但
在后台待配对中);当开启
TX2
时,可以自动连接并
Tx2
指示灯绿灯常亮
3,发射器按键操作
设备状态 功能 操作说明 指示灯 备注
电源键
开/
关
长按按键 1.5 秒
连接: 绿灯常亮
未连接:绿灯慢闪
连接状态
降噪
/原
声/
混响
/静
音
单击发射器按键
降噪- 绿灯常亮
原声
-
熄灭
混响
-
黄灯常亮
静音- 红灯常亮
循环切
换,开
机默认
降噪
混响模
式,开
30%
降
噪效果
连接
锁定
配对
三击按键
锁定- 红灯亮一下
连接
解除
锁定
配对
三击按键或断开
连接
解除锁定- 红灯亮
一下
注:
锁定配对状态应用,防止一拖一使用时,同款产品发射器串连过来(接收器有
一拖二功能),连接后操作才生效
发射器 TYPE-C 端口有耳机监听功能
静音模式,发射器/接收器指示灯状态显示同步
连接断开后即解除锁定状态,恢复默认状态
4
,接收器按键操作
设备状态 功能 操作说明 指示灯 备注
连接
连接
成功
TX 与 RX 连接上
连接:TX1/TX2 绿
灯常亮
连接
未连
接
RX 开机,TX 开机
或超距
未连接:TX1 绿灯
慢闪/TX2 熄灭
连接 静音
TX 切换静音模式
静音:对应
TX1/TX2
红灯常亮
注:
接收器支持转接充电功能
6
,充电
-
放电
-
低电
-
说明
充电
设备 功能 操作说明 指示灯 备注
发射器
充电
盒充
电
将发射器放入充
电盒
充电
-
红灯常亮
满电- 熄灭
TYP
E-C
充电
发射器接入
TYPE-C 充电
支持宽
压
接收器
转接
对手
机充
电
接收器插入手机,
接收器再接入
TYPE-C 充电
无特定义灯显
支持宽
压
电流
5V/1A
支持边
充边工
作
充电盒
对充
电盒
充电
充电盒插入
TYPE-C
充电
充电
-
数显个位数
显亮
满电- 数显 100 常
亮
注:
以上充电电压默认 5V
放电
设备 功能 操作说明 指示灯 备注
充电盒
充电
盒对
发射
器充
电中
发射器入仓充电
中
放电
-
数显常亮
充电
盒对
发射
器充
满电
发射器入仓充电
满电
停止放电-数显熄灭
注:
充电盒支持边充边放功能,显示为充电优先
低电
设备 功能 操作说明 指示灯 备注
发射器
发射
器低
电状
态
开机低电或使用
低电
低电
-
红灯闪亮
3.4V
以
下低电
模式,
3.2V 以
下关机
充电盒
充电
盒低
电状
态
充电盒对发射器
充电
低电- 数显
05--00,闪
注:指示灯优先级:充电>低电量>状态显示
APP 操作指南
1、安卓/苹果手机均可扫描此二维码,安装下载 APP,安装过程中弹出的
权限,请都点击“始终允许"项,否则不能使用,请知悉。
温馨提示:APP 应用会定期更新,恕不另行通知,说明书仅供参考,实际操作以
最新 APP 为准。
2
、安装下载成功后,打开
APP
输入机器的激活码捆绑使用。
3
、连接手机使用:按照说明书上设置说明部分的连接方式连接使用。
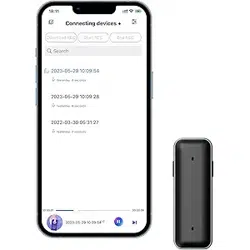
4、APP 支持录音,实时翻译,回放等。
保修卡
此产品是一件设计精良的高品质数码产品,在正确使用及保养下应能正确地表
现其优越性能。
自购买日期始,整机保修一年。关于主要部件保修期限,按照国家消费法规定
执行。
中国区总经销(深圳市京华数码科技有限公司)将按下列保用条款持卡用户提
供免费保修服务。
保用条例:
保用服务只限于一般正常使用下有效。一切人为损坏,例如接入不适当电源,
使用不适当配件,不依说明书使用,因运输及其他意外而造成之损坏,非经本
公司认可之维修和改装,用于商业及工业目的造成产品损坏,错误使用或疏忽
而造成损坏,不适当之安装或因天灾造成损坏等,保用服务立刻失效。此保用
服务并不包括附件,辅助装置,运输费。维修时请带上此卡及正本发票。
产品服务热线:400 800 7890
注册您的产品,并获得支持尽在
:
www.philips.com/voicetracer
Welcome
Welcome to the world of Philips! We are Philips products. You can have access to
full set of technical support on Philips official website, such as user manuals,
software downloads, and warranty information, etc.
www.philips.com/support
Product Features
This product is a Voice Recorder, easy to carry, with the following product
features:
· Real-time transcription.
· Real-time translation.
· Transcription while recording.
Safety Information
· To avoid short circuits, do not place the product in areas exposed to water or
moisture.
· Do not place the product near heating equipment.
· Please note that do not squeeze the cable, especially at the plug.
Attention
· Special Statement: Please read this manual carefully before using
this product. The company shall not be liable for any data loss or
damage caused by human operation or force majeure. Users are
specially reminded to operate with caution and back up data
separately.
· The displayed images are for reference only. Philips reserves the
right to change the
color/appearance/design/parameters/product functions. For any
updates to hardware, software, or APP, no p
rior notice will be
given.
Usage Notes
· It is recommended to charge the device with a compliant charger for
about 2 hours before first use.
Your device
The device includes
Host Preview
1. Power On/Off Button
2. Indicator Light
3. Charging Contacts
4. Back Clip
5. Microphone
1. Type-C Charging Port
2. Indicator Light
3. Mobile Phone Interface
Usage Instructions
Interaction Definition: (Buttons, Indicator Lights)
1.Power On/Off Instructions
Device
Status
Function
Operation
Instructions
Indicator Light
Power-
Off State
Turn On the
Device
Transmitter:
Manual: Press
and hold the
power button
for 1.5 seconds
to turn on, and it
will
automatically
reconnect to the
receiver.
Automatic: Take
the transmitter
out of the
charging case,
and it will
automatically
turn on and
Transmitter:
Connection
Successful: Green
light stays on
Not Connected: Green
light flashes slowly
Receiver:
Connection
Successful: TX1 and
TX2 green lights stay
on
Not Connected: TX1
green light flashes
slowly, TX2 turns off
Noise
Reduction
Mode is
enabled by
default
when
powered on
reconnect.
Receiver:
Insert it into the
mobile phone,
and it will
automatically
reconnect to the
transmitter.
Power
-on State
Turn Off the
Device
Transmitter
Manual: Press
and hold for 1.5
seconds to turn
off, or place it
into the
charging case.
Automatic:
Automatically
turns off after 5
minutes of no
connection.
Receiver
Unplug the
device (from the
mobile phone)
Transmitter
Charging State: Red
light stays on
Power-Off State: No
(indicator light)
Receiver
Unplug the device,
indica
tor light turns
off
Note:
When the transmitter is being charged, it will automatically power off and enter
the charging state.
In the disconnected state, the transmitter cannot enable mute or switch sound
effects.
2. Reconnection Instructions
Device
Status
Function
Operating
Instructions
Indicator Light Remarks
Power -
On State
Power - On
Reconnection
Automatic
Reconnection
Transmitter
Connected: Green
light stays on
Not Connected: Green
light flashes slowly
Rece
iver
Connection
Successful: TX1 and
TX2 green lights stay
on
Not Connected: TX1
green light flashes
slowly, TX2 turns off
Over -
distance
Reconne
ction
Reconnection
After
Disconnection
Due to Over -
distance
Automatic
Reconnection
Note:
After the receiver connects to TX1, the corresponding TX1 indicator light will stay
on green, and the TX2 indicator light will turn off (but remain in the background
pending pairing); when TX2 is turned on, it can connect automatically an
d the TX2
indicator light will stay on green.
3.Transmitter Key Operation
Device
Status
Function
Operating
Instructions
Indicator Light Remarks
Power
Button
On/Off
Press and hold
the button for
1.5 seconds
Connected: Green
light stays on
Not Connected: Green
light flashes slowly
Connec-
tion
Status
Noise Reduction /
Original Sound /
Reverb / Mute
Single-press the
transmitter
button
Noise Reduction -
Green light stays on
Original Sound - Light
turns off
Reverb - Yellow l
ight
stays on
Mute - Red light stays
on
Cycle
switching,
default to
Noise
Reduction
on startup
In Reverb
mode, 30%
noise
reduction
effect is
enabled
Connec-
tion
Pairing Lock
Triple-press the
button
Locked - Red light
flashes once
Connec-
tion
Pairing Unlock
Triple-press the
button or
disconnect the
connection
Unlocked - Red light
flashes once
Note:
The pairing lock function is used to prevent transmitters of the same product from
connecting inadvertently when using the o
ne-to-one mode (the receiver supports
one-to-two mode). Operations take effect only after connection.
The TYPE-C port of the transmitter has a headphone monitoring function.
In Mute mode, the indicator light status of the transmitter and receiver is
synchronized.
The pairing lock will be released and return to the default state immediately after
the connection is disconnected.
4. Receiver Button Operation
Device
Status
Function
Operating
Instructions
Indicator L
ight Remarks
Connecti
on
Connection
Successful
TX connects to
RX
Connected: TX1/TX2
green lights stay on
Connecti
on
Not Connected
RX is powered
on, TX is
powered on or
Not Connected: TX1
green light flashes
slowly / TX2 turns off
out of range
Connec-
tion
Mute
TX switches to
Mute mode
Mute: Corresponding
TX1/TX2 red lights
stay on
Note:
The receiver supports pass-through charging.
5. Charging - Discharging - Low Power - Instructions
Charging
Device Function
Operating
Instructions
Indicator Light Remarks
Trans-
mitter
Charging Case
Charging
Place the
transmitter into
the charging
case
Charging - Red light
stays on
Fully Charged - Light
turns off
Type-C Charging
Connect the
transmitter to
Type-C for
chargi
ng
Supports
Wide
Voltage
Range
Receiver
Pass-through
Charging for
Mobile Phones
Operation
Instruction:
Connect the
receiver to the
mobile phone
first, then
connect the
receiver to
Type-C for
charging
No specific light
indication
Supports
Wide
Voltage
Range
Current:
5V/1A
Supports
Working
While
Charging
Charging
Case
Charge the
Charging Case
Connect the
charging case to
Type-C for
charging
Charging -
Single-digit of the
digital display lights
up
Fully Charged - Digi
tal
display shows 100
and stays on
Note:
The default charging voltage for the above is 5V.
Discharging
Device Function
Operating
Instructions
Indicator Light Remarks
Charging
Case
Charging Case is
Discharging to
Charge the
Transmitter
Operation
Instruction: The
transmitter is
charging in the
case
Discharging - Digital
display stays on
The charging case
has fully charged
the transmitter
The transmitter
is fully charged
in the case
Stop discharging - The
digital displa
y turns
off
Note: The charging case supports the pass-through charging function, with
charging priority enabled.
Low Power
Device Function
Operating
Instructions
Indicator Light Remarks
Trans-
mitter
Transmitter Low
Power State
Low power at
startup or
during use
Low Power - Red light
flashes
Low power
mode when
below 3.4V,
auto power
off when
below 3.2V
Charging
Case
Charging Case
Low Power State
The charging
case charges the
transmitter
Low Power - Digital
display show
s 05--00
and flashes
Note: Indicator light priority: Charging > Low Power > Status Display
APP Operation Guide
1.Both Android and iOS mobile phones can scan this QR code to
download and instal l the APP. For all permission pop-ups during the
installation process, please select "Always Allow". Otherwise, th e APP
cannot be used. Please be advised.
Friendly Reminder: The APP will be updated regularly without further
notice. This manual is for reference only, an d the actual operation
shall be subject to the latest version of the APP.
2. After successful download and
installation, open the APP and enter the
device's activation code to bind for use.
3.Connection with mobile phone: Connect and use it according to the
connection method in the Settings section of this manual.
4.The APP supports recording, real-time translation, playback, and other
functions.。
Warranty Card
This product is made of high quality material and great care has been
taken in its manufacture. It is designed to give good performance provided
it is properly operated and maintained. The product is sold subject to the
understanding that if any defect in manufacture or material shall appear
within 12 months, the warranty period is subject to country Consumer Law,
Jingwah Digital Service will arrange for such defect to be rectified without
charge under the following warran
ty terms and conditions.
Warranty Terms and Conditions:
The defect is not due to use of the product for other than domestic
purposes, or an incorrect voltage, or use of improper accessories, or
contrary to operating instructions, or to accidental damage(whether in
transit or otherwise), misuse, neglect or inexpert repair, or incorrect
installation, or the product is excessively used for improper purposes other
than daily consumption, or accessories belonging to the p
roduct,
transportation.
Present this warranty card and sales invoice when demanding service from
Philips authorized service centres.
User's Name:
用户姓名..............................................................
Address:
地址......................................................................
Tel.No:
电话......................................................................
Post Code:
邮编......................................................................
Company Seal:
购买商品印章.....................................................
Date of Purchase:
购买日期....
..........................................................
Model No:
型号......................................................................
Serial No:
机身编号..............................................................
Product Place:
产地......................................................................
Shop name and address:
购买商号名称及地址........................................
Tel.No/Post Code:
电话/邮编............................................................
Invoice No:
发票号......
............................................................
Product Service Hotline:400 800 7890
Register your product and get support at:
www.philips.com/voicetracer
T
This device complies with Part 15 of the FCC Rules. Operation is subject to
the following two conditions:
(1) this device may not cause harmful interference, and
(2) this device must accept any interference received, including interference
that may cause undesired operation.
his device has been tested and found to comply with the limits for a Class
B digital device, pursuant to Part 15 of the FCC Rules. These limits are
designed to provide reasonable protection against harmful interference in
a residential installation. This device generates, uses and
can r
adiate radio frequency energy and, if not installed and used in
accordance with the instructions, may cause harmful interference to radio
communications.
However, there is no guarantee that interference will not occur in a
particular installation. If this device does cause harmful interference to
radio or television reception, which can be determined by turning the
device off and on, the user is encouraged to try to correct the interference
by one or more of the followin
g measures:
--Reorient or relocate the receiving antenna.
--Increase the separation between the device and receiver.
--Connect the device into an outlet on a circuit different from that to
which the receiver is connected.
--Consult the dealer or an experienced radio/TV technician for help
Changes or modifications not expressly approved by the party responsible
for compliance could void the user's authority to operate the equipment
© 2026 Speech Processing Solutions GmbH. All rights reserved.
This product has been manufactured by and is sold under the responsibility of
Speech Processing Solutions GmbH, and Speech Processing Solutions GmbH is the
warrantor in relation to this product.
Specifications are subject to change without notice. Philips and the Philips shield
emblem are registered trademarks of Koninklijke Philips N.V. and are used under
license.
Document version 1.0, 20/03/26
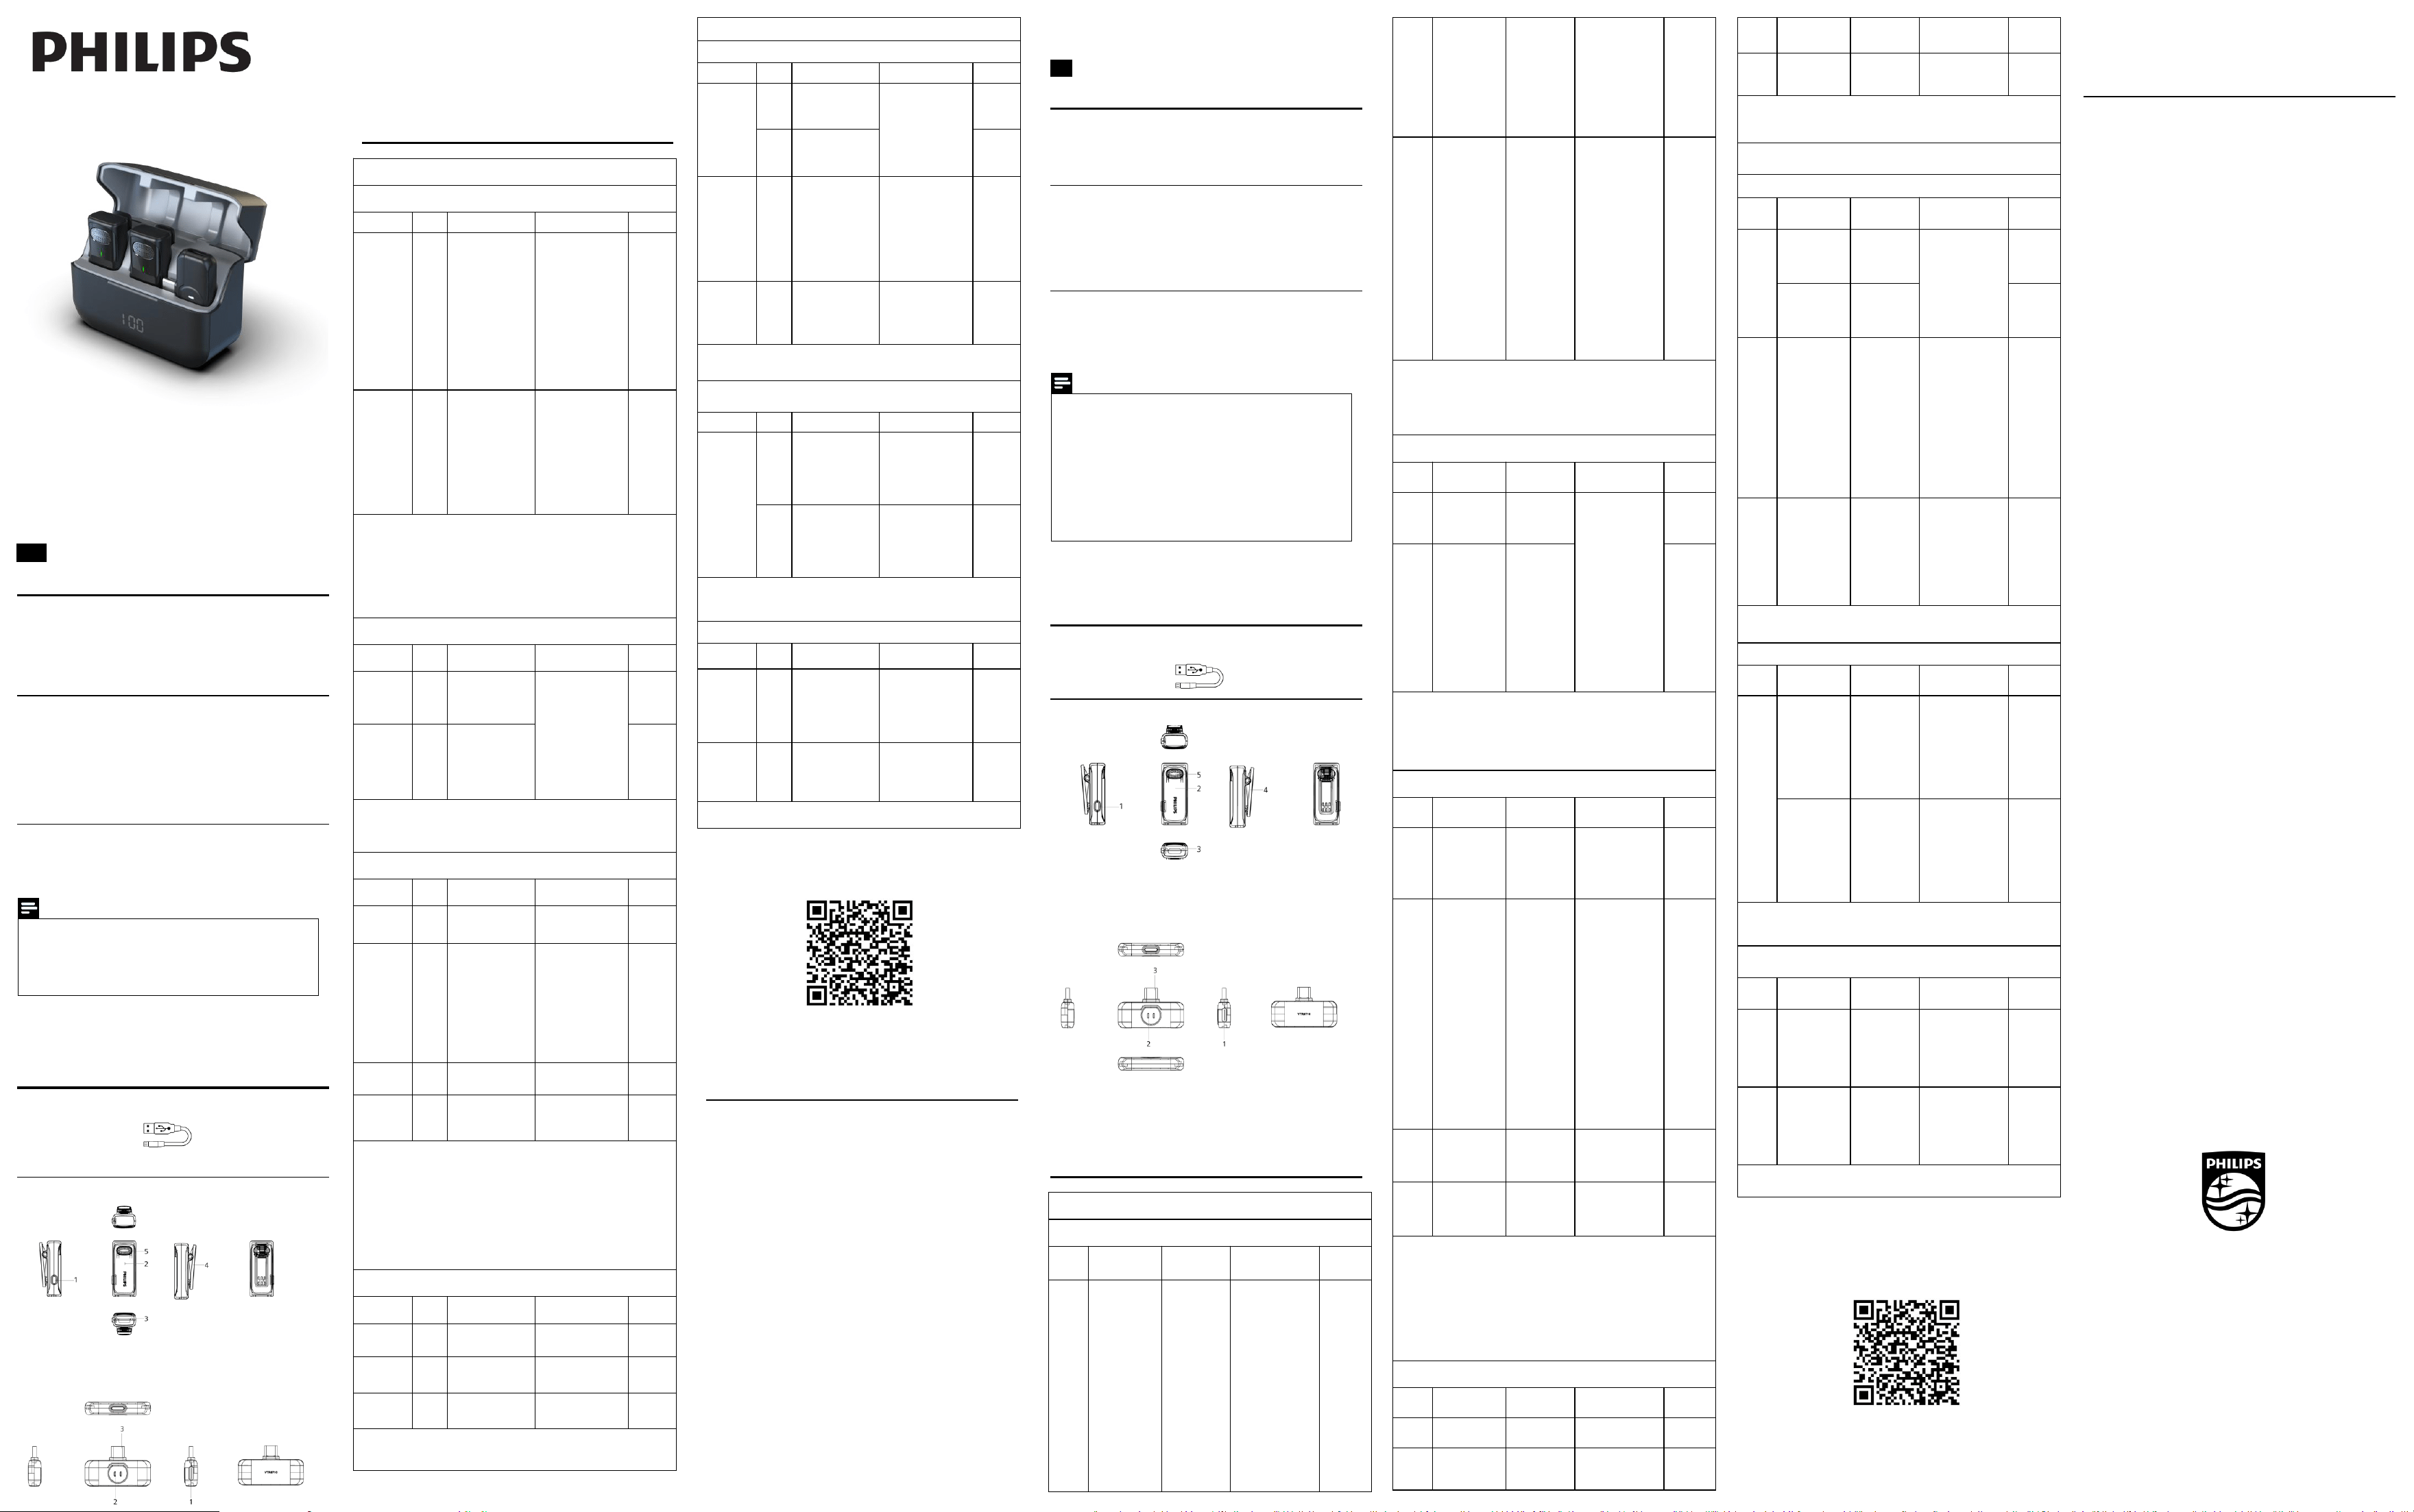
AI 拾音设备
VTR6710
User manual
使用手册
User's Name:
用户姓名..............................................................
Address:
地址......................................................................
Tel.No:
电话......................................................................
Post Code:
邮编......................................................................
Company Seal:
购买商品印章.....................................................
Date of Purchase:
购买日期....
..........................................................
Model No:
型号......................................................................
Serial No:
机身编号..............................................................
Product Place:
产地......................................................................
Shop name and address:
购买商号名称及地址........................................
Tel.No/Post Code:
电话/邮编............................................................
Invoice No:
发票号......
............................................................
中文
EN