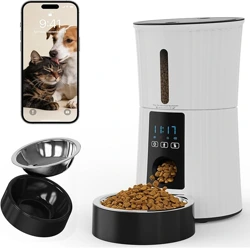
NEWBULIG PC-WSQ1WWF-4WT-PT Automatic Cat Feeder, 4L Timed Pet Feeders with 10s Voice Recorder, Dog Food Dispenser with APP Control, Dry Food, 10 Meals
Product's Documents
Below are documents related to this product, you can read online or download:
- User Manual - (English) Read Online | Download pdf