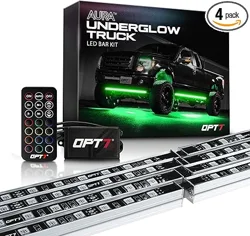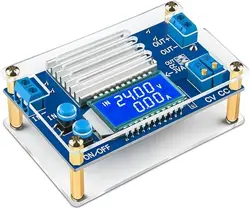
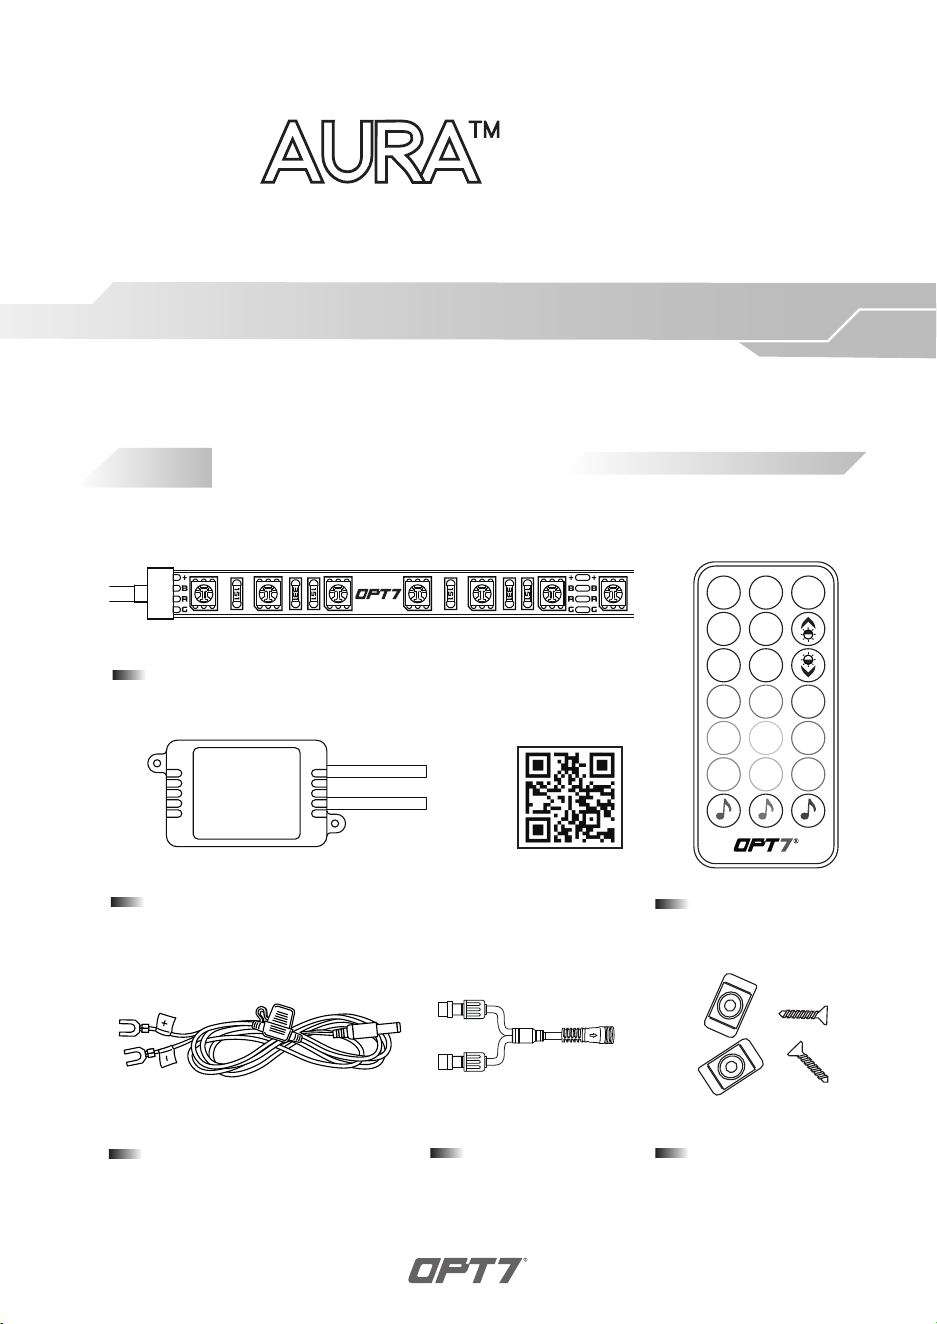
AURA CONTROL BOX (SCAN QR CODE FOR APP USER GUIDE)
LED LIGHT STRIPS WITH EXTENSION WIRE
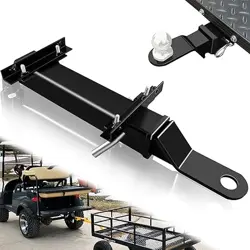
MOUNTING KIT
Y-SPLITTERS
HARDWIRE POWER HARNESS
HAND HELD REMOTE
Off
AUTO
On
S+
S-
M+
M-
321
GOLF
CART
COMPONENTS
INSTALLATION GUIDE
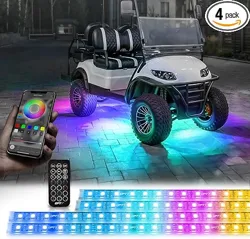
BLUETOOTH OPT7 GLOW APP & REMOTED CONTROLLED
DREAMCOLOR
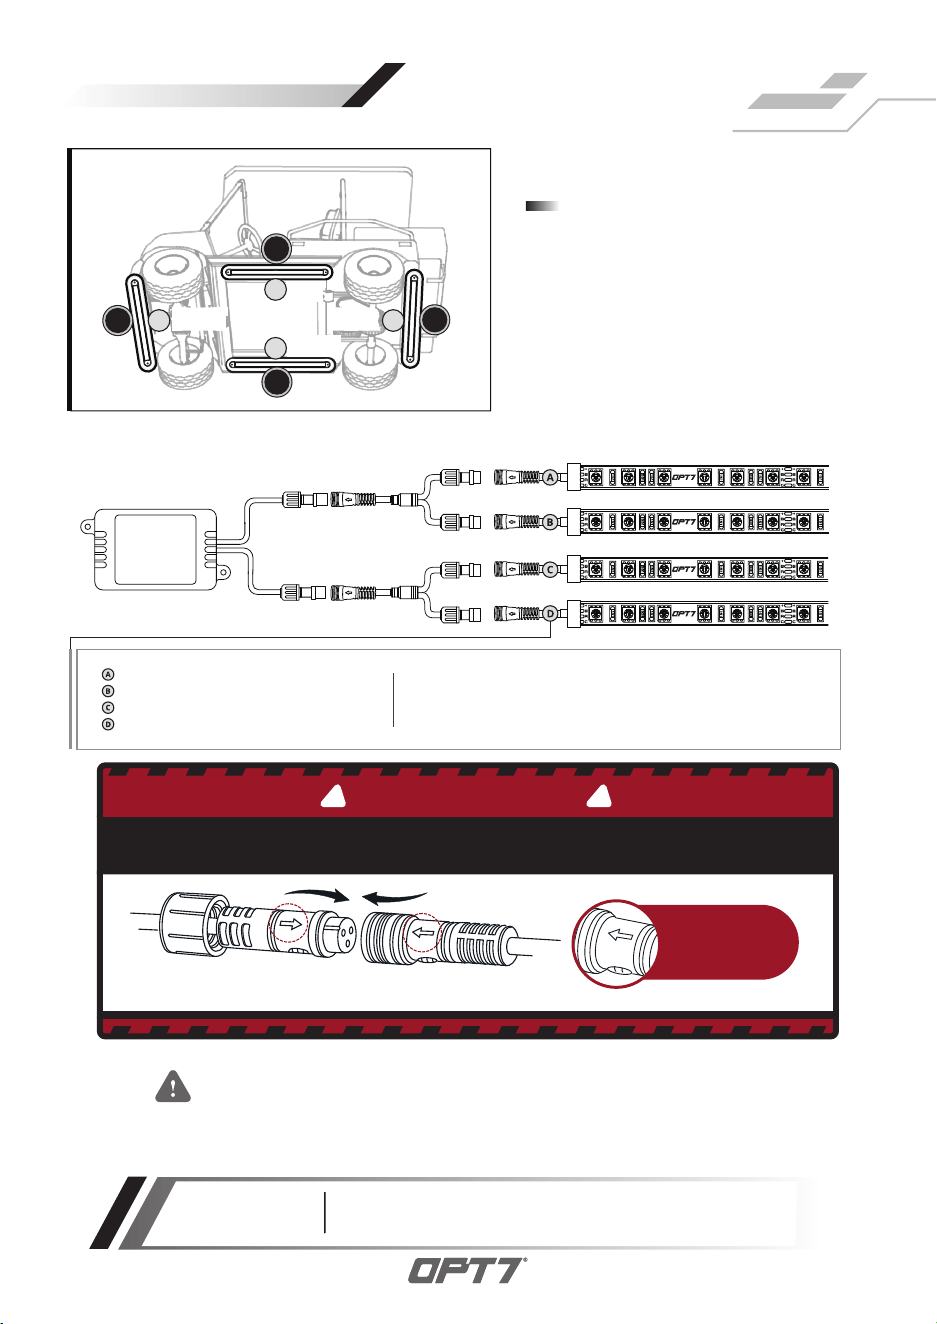
INSTALLATION
STEP 1
Decide where to locate the control
box and ensure wiring has enough
length for light strips to be installed
in desired location.
36
''
36
''
LEFTLEFT
RIGHT
RIGHT
FRONT
FRONT REAR
REAR
24
''
24
''
24
''
24
''
36
''
36
''
IMPORTANT :
The extension wires are on the led strips. Lay out the strips to
measure the length prior to install for a successful installation.
1 × 36” LED Strip + 8ft extension wire
1 × 36” LED Strip + 8ft extension wire
1 × 24” LED Strip + 8ft extension wire
1 × 24” LED Strip + 18ft extension wire
As shown below, connect all the LED strips to the control box.
WARNING
1.
2.
Please ensure that the LED bars or strips/control box/wiring all are mounted
in areas where will not exceed 85℃ or 185℉.
Connect only to a 12V battery. Using other voltages may cause overload and
serious safety risks.
*Turning off the OPT7 GLOW completely helps avoid excessive
battery consumption and extends the lifespan of the OPT7 light kits.
IMPORTANT
Note the
direction of
the arrows
BE SURE TO CONFIRM THE CORRECT DIRECTION OF THE ARROW!!
TO AVOID PRODUCT DAMAGE DUE TO INCORRECT INSTALLATION.
CORRECT INSTALLATION
IMPORTANT
! !
Flow direction
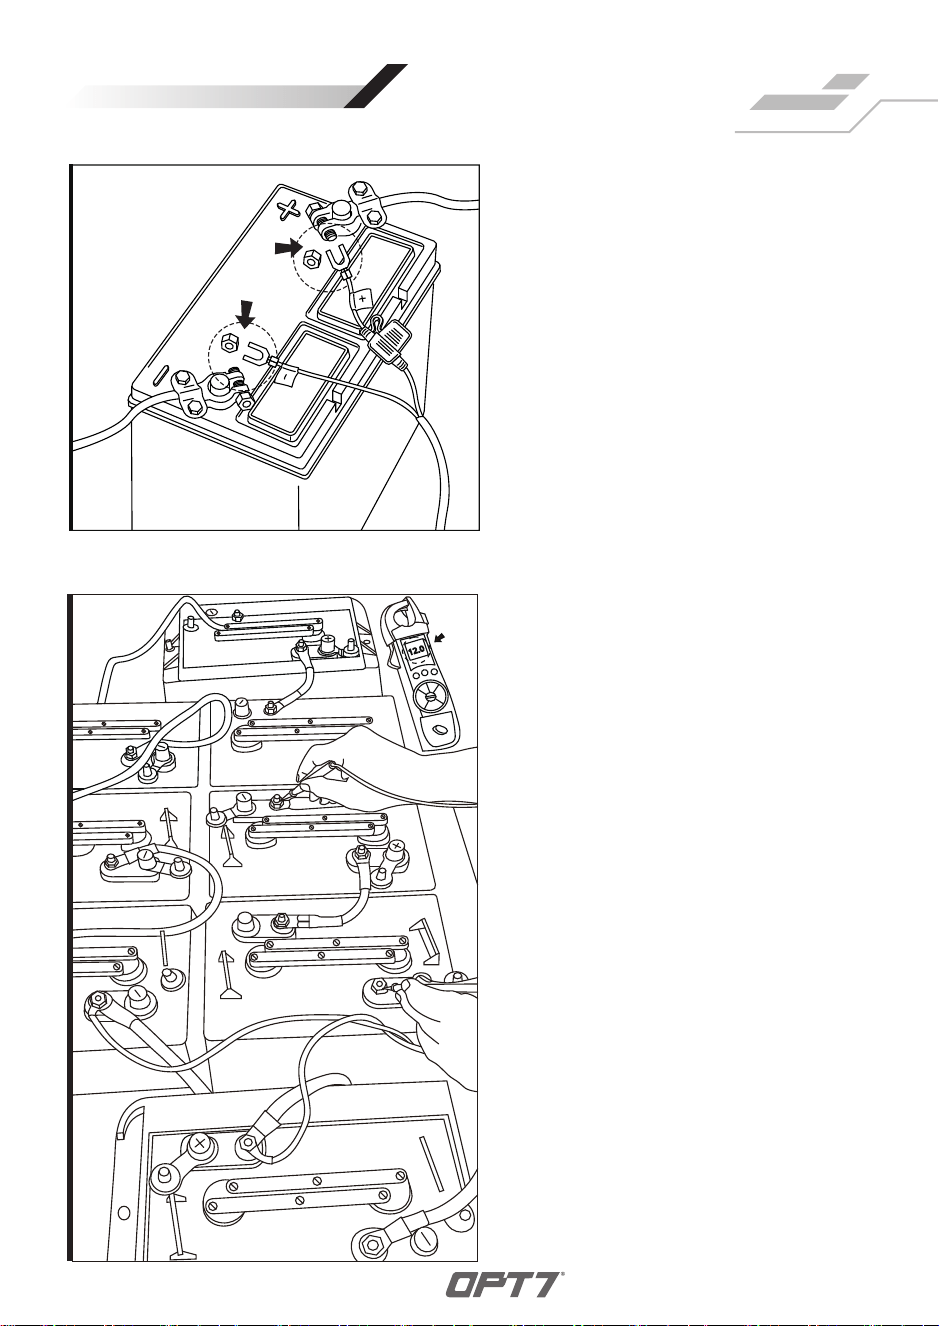
HOW TO CONNECT
POWER HARNESS TO
YOUR VEHICLE
Connect the Red wire (
+
) of power
harness to the vehicle battery's
positive terminal.
Connect the Black wire (-) of power
harness to the vehicle battery's
negative terminal or an unpainted
area on your vehicle's frame.
-
-
BATTERY
12V
If it is a 12V battery, you can install it
according to this diagram.
-
AND/OR
Connect the Red wire (
+
) of power
harness to the vehicle battery's
positive terminal.
Connect the Black wire (-) of power
harness to the vehicle battery's
negative terminal or an unpainted
area on your vehicle's frame.
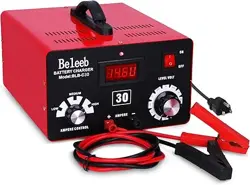
For example, there are a total of 8
6V batteries in the picture. Use the
meter to measure and confirm 12V.
12.0
12V
-
-
-
INSTALLATION
INSTALLATION
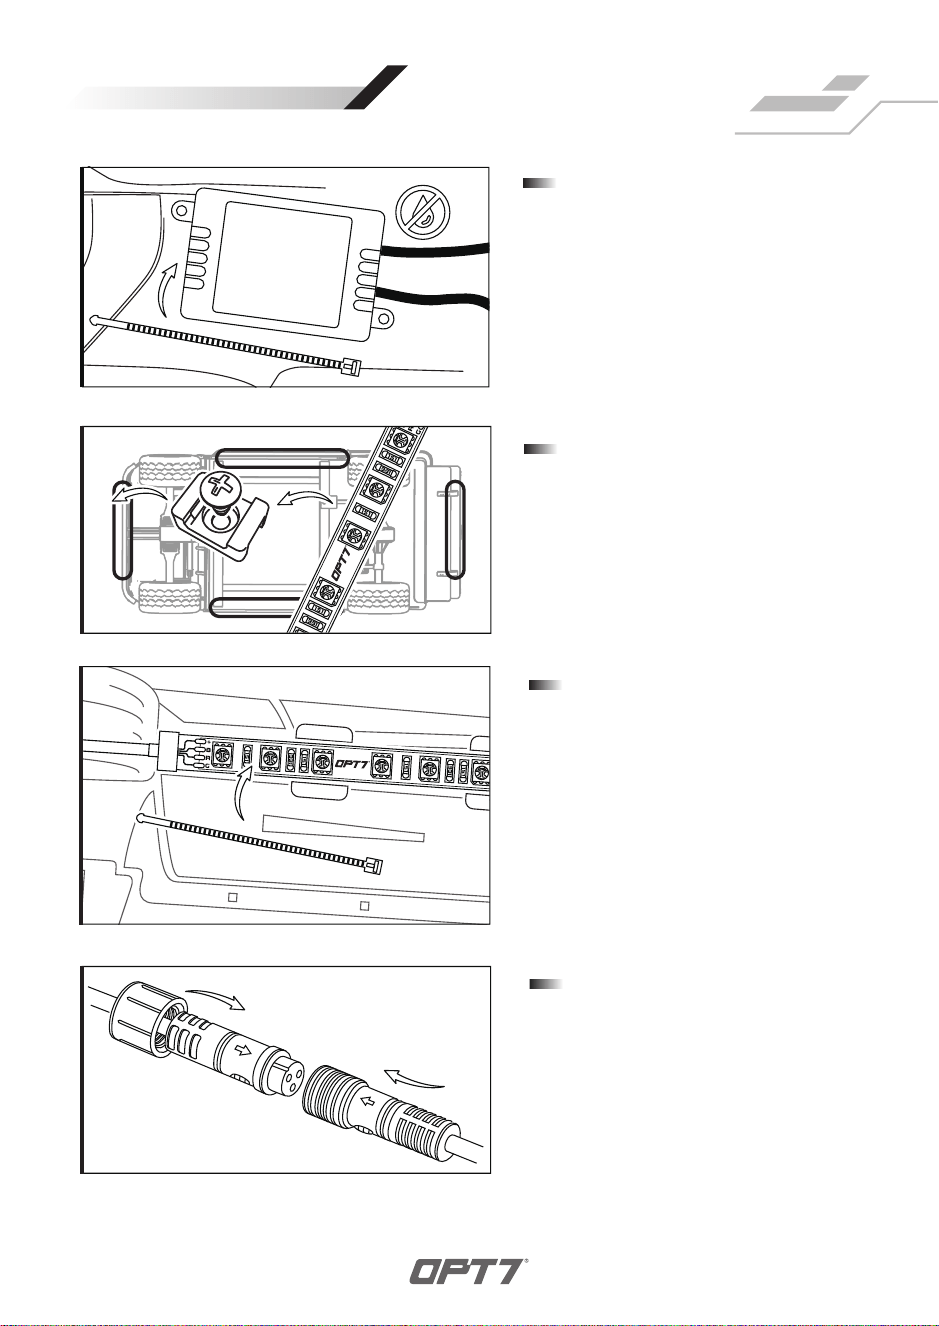
STEP 2
Secure Control box in desired location
with Velcro or zip ties.
* CONTROL BOX NOT WATERPROOF
Ensure the control box is safely and securely hidden
from exposing elements of moisture.
STEP 3
Mount brackets to secure the
strip first.
FLOW DIRECTION
INSTALL CORRECTLY
STEP 4
Secure the light strips using the
zip ties to tie all the wiring away
from the moving components.
STEP 5
Connect the round connector from
the light strips to the control box
and ensure that each component
is properly installed and tightened.
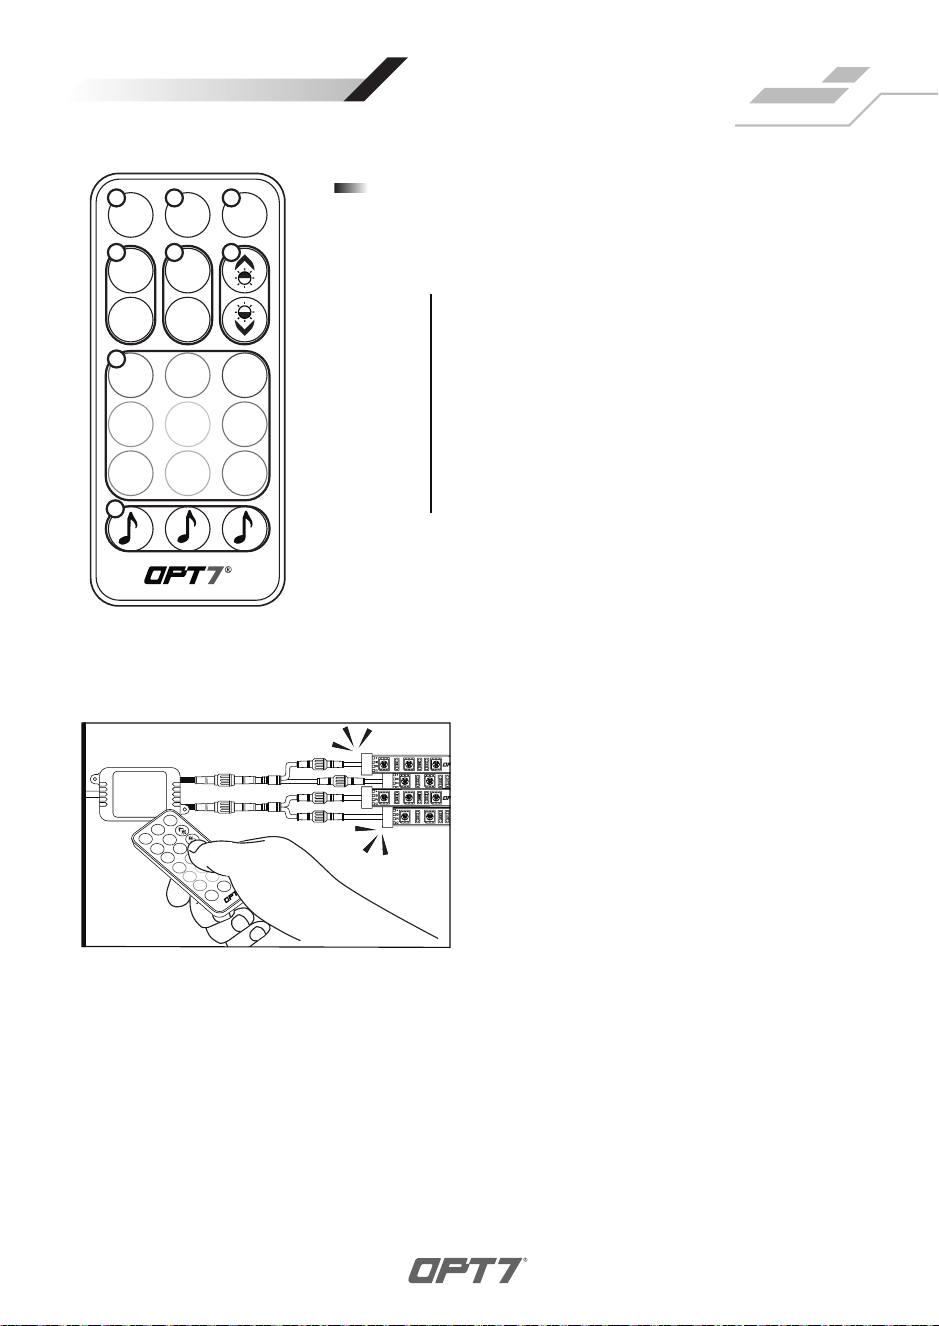
STEP 6
Using the included 21Key E-Z Remote, select your desired
color or pattern.
NOTE: When you use this product, keep it within 10m/33ft
as much as possible.
Off
AUTO
On
S+
S-
M+
M-
1 2 3
4
7
5 6
8
Power-ON
Automatic Color Change
Power-OFF
Speed +/- 10 Levels
Mode +/- 24 Mode
Dimmer 10 Levels
Color Selection 9 Colors
Sound Sync Color Selection 3 Colors
1
2
3
4
5
6
7
8
1
2
3
HOW TO PAIR THE REMOTE?
Off
AUTO
On
S+
S-
M+
M-
Pair the Device:
To pair the remote, reconnect the
power, then aim the remote at the
control box and hold the ON button
until the LED strips flash white.
INSTALLATION
OPT7 Lighting is not liable for damages or personal injuries while installing
this product. The Installation Guide is intended as assistance to reduce setup
time. OPT7 Lighting assumes no responsibility for improper installation.
If you are unfamiliar with your vehicle or inexperienced with aftermarket
upgrades, please seek professional assistance.
DISCLAIMER
OPT7 recommends installation for safety and guidance.
Modified installations or installation recommendations not specified by
OPT7 Lighting will void product warranty.
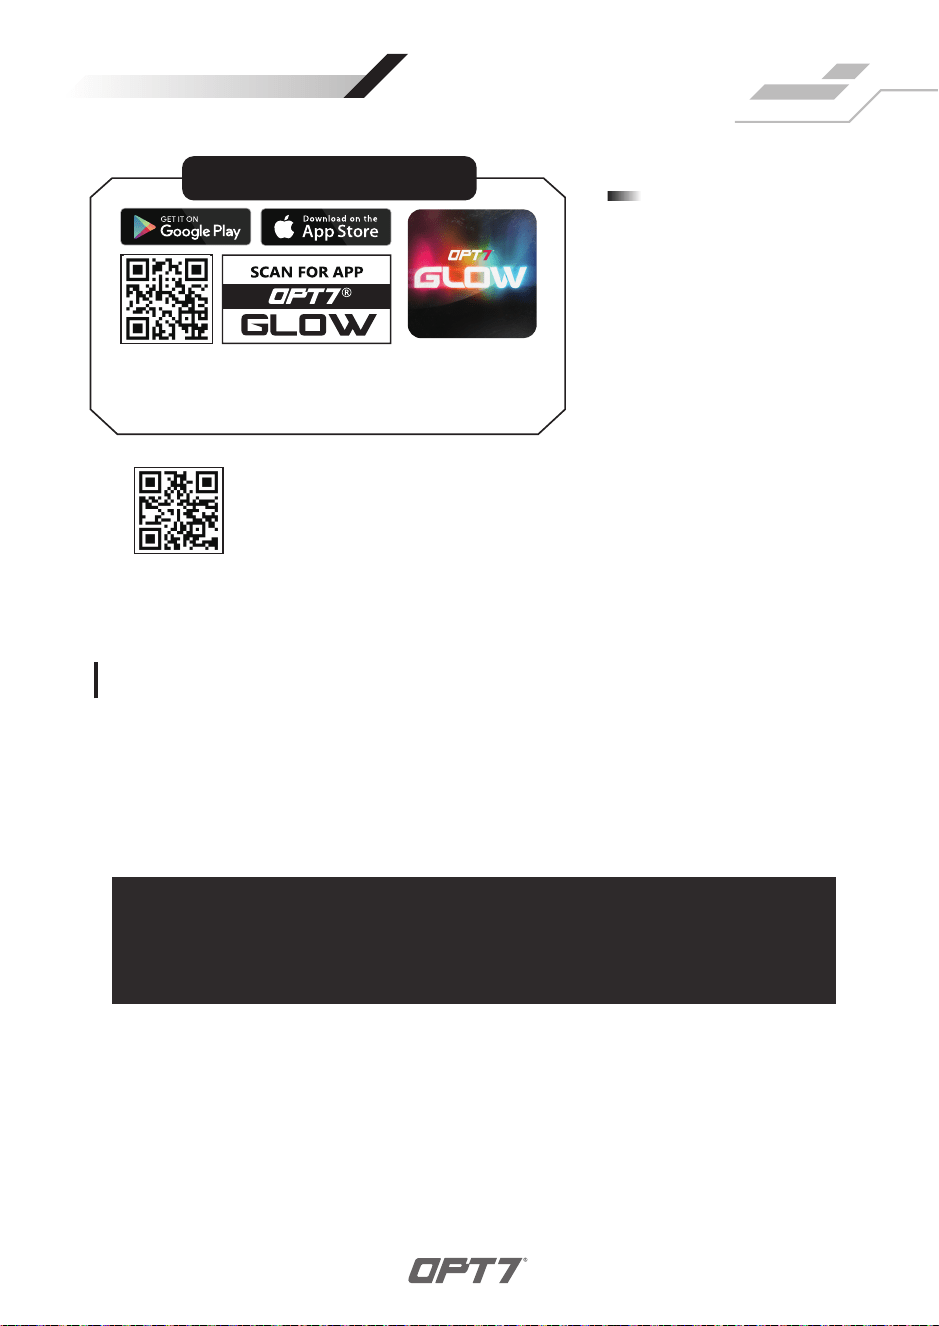
Download the OPT7 GLOW
to have the best experience.
STEP 7
QR CODE TO DOWNLOAD
Download the free “OPT7 GLOW” App
• App iOS (12+) available on App Store
• Android (8+) available on Google Play
Please scan to see the OPT7 GLOW user guide.
https://wintis.ladesk.com/362302-OPT7-AURA-Glow-Application-User-Guide
INSTALLATION