1
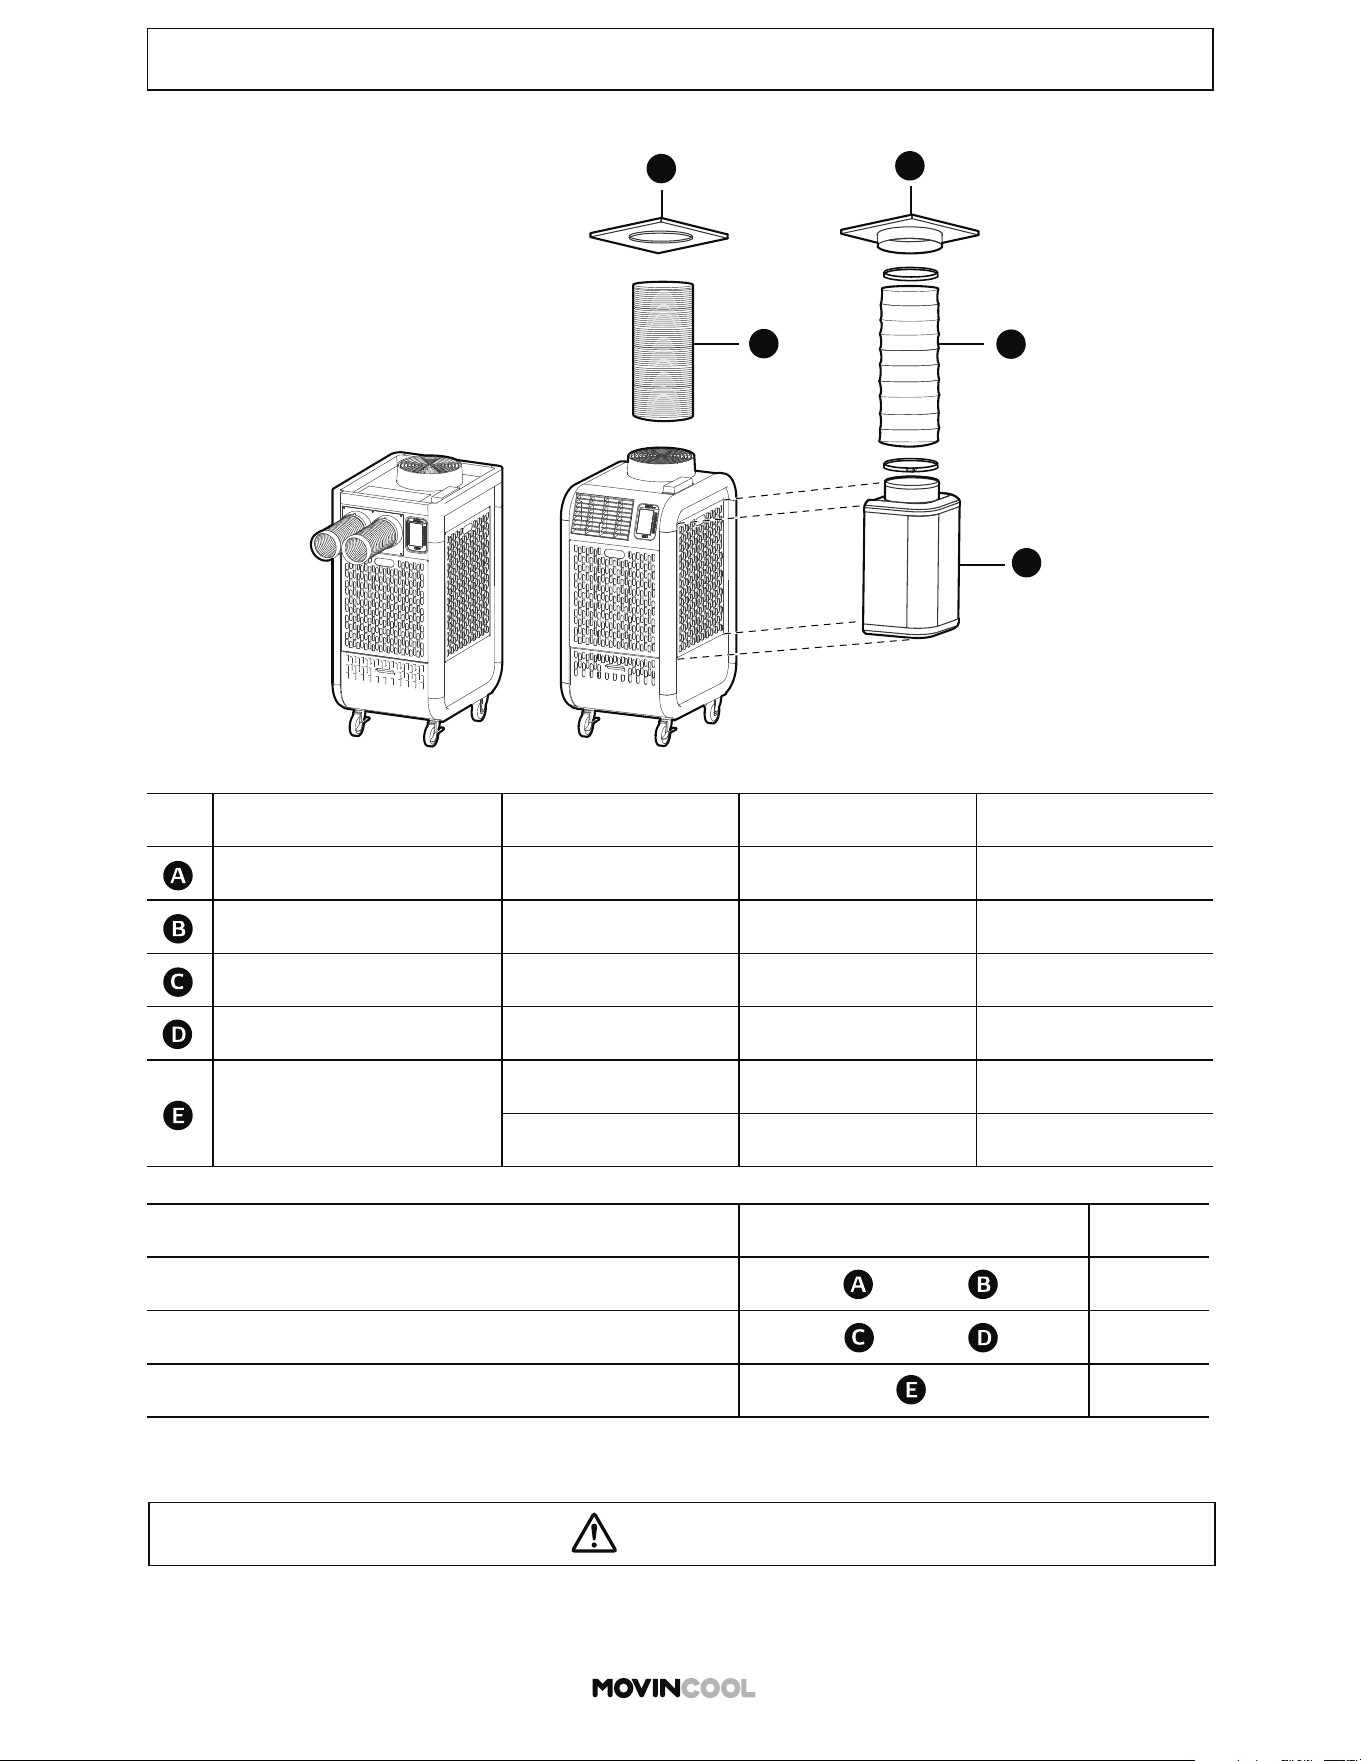
No. Part Name Climate Pro X14/20/26 Climate Pro K12/18/24 Climate Pro D12/18
Warm Air Self-supported Duct
481744-0062 481744-0062 481744-0062
Ceiling Tile LA146373-8280 LA146373-8280 LA146373-8280
Ceiling Tile Kit 484490-1030 484490-1030 484490-1030
Warm Air Flexible Duct LAY45771-0060 LAY45771-0060 LAY45771-0060
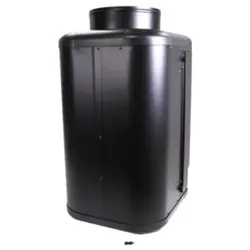
Condenser Air Plenum
484350-1160 (X14/20) 484350-1160 (K12/18) 484350-1340 (D12)
484350-1180 (X26) 484350-1170 (K24) 484350-1350 (D18)
Accessory Installation Manual
484007-5020
WARNING
Disconnect power before installation. Beware that some residual voltage may remain in the unit
after the power is disconnected. There is a risk of electric shock.
Application Required Accessories Page No.
Aachment of Warm Air Self-supported Duct
2
Aachment of Warm Air Flexible Duct
2
Aachment of Condenser Air Plenum
3 - 4
B
C
D
E
A
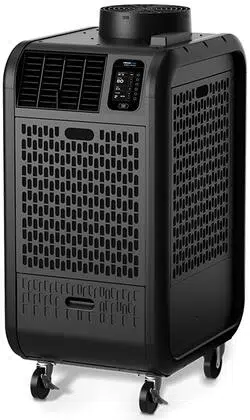
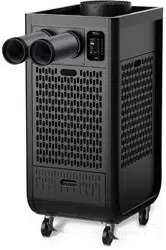
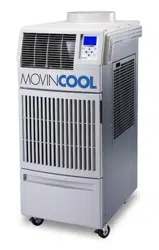
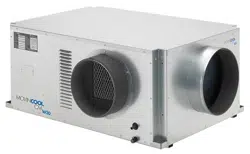
All models listed in this manual have the same installation procedure.

2
1. Remove the original ceiling tile and install the
accessory ceiling tile.
ATTACHMENT OF WARM AIR SELF-SUPPORTED DUCT
4. Increase the other end of duct diameter as
illustrated and place the duct over the flange
on top of the unit or plenum. Decrease the duct
diameter until it fits exactly over the flange.
2. Hold the warm air self-supported duct
approximately 1 foot away from the end and
decrease its diameter as shown until it can be
passed through the hole in the ceiling tile.
3. Pass the duct through the hole in the ceiling tile.
ATTACHMENT OF WARM AIR FLEXIBLE DUCT
Decrease the diameter
Increase the diameter
1. Place the warm air flexible duct over the
accessory ceiling tile flange and secure the duct
with the clamp.
3. Place the other duct end over the flange on top
of the unit or plenum. Secure the duct with the
clamp.
2. Remove the original ceiling tile and install the
ceiling tile with duct. Use the tabs with holes to
secure the tile in place in case ceiling T-bar is too
narrow or weak.
Flexible Duct
Ceiling Tile
Clamp
Flange
Flexible Duct
Ceiling Tile
Flange
Clamp
Clamp
Self-suppported Duct
Ceiling Tile
Flange
Tab
3
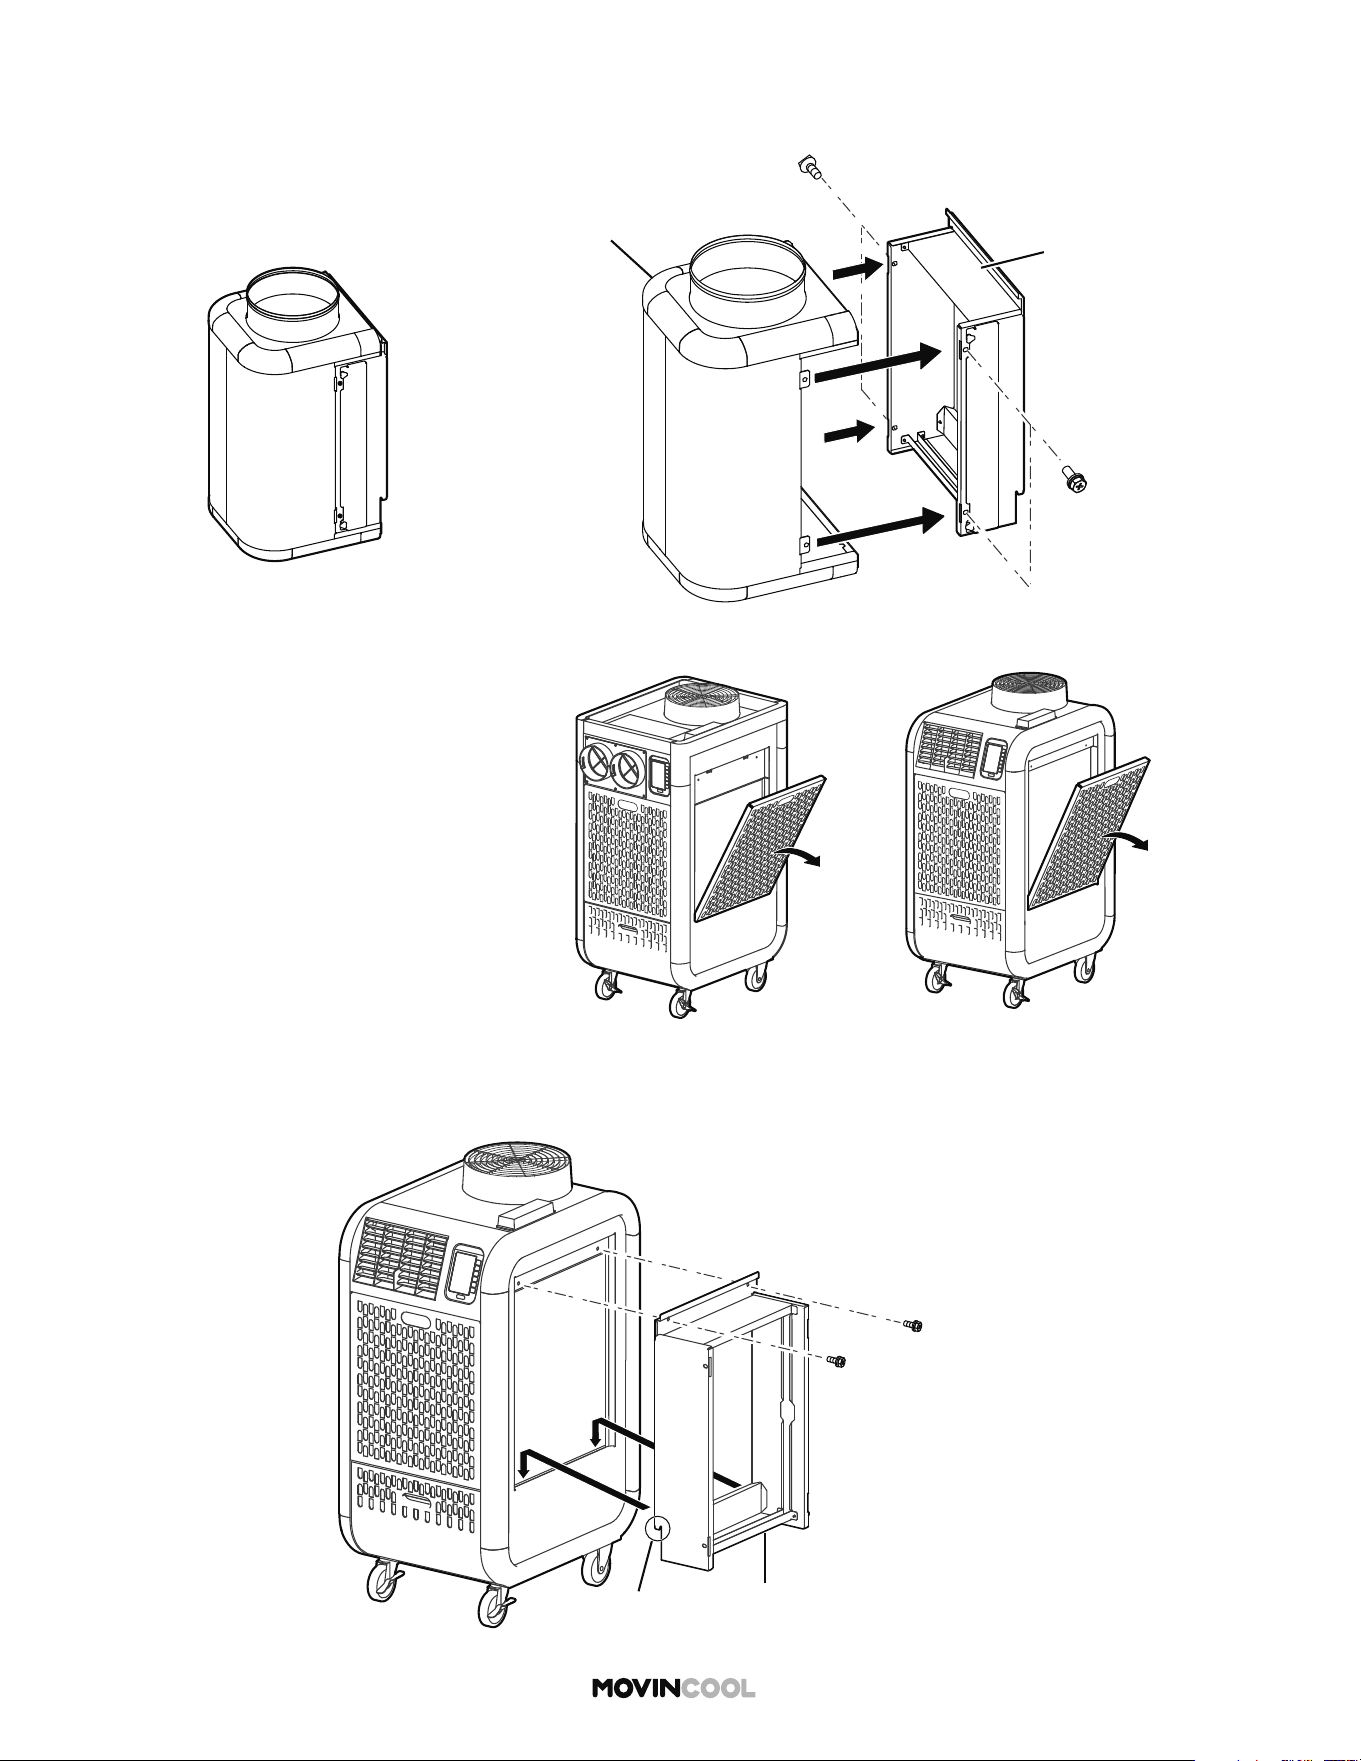
ATTACHMENT OF CONDENSER AIR PLENUM
2. Remove the side filter panel.
1. Separate the frame and plenum by removing the four (4) bolts.
3. Aach the frame to the side of the unit by placing the tabs to the edge of the lower opening and
secure the frame with the two (2) bolts supplied with the plenum.
Tab
Bolt (2)
Frame
Plenum
Frame
Plenum with Frame
Bolt (4)
4
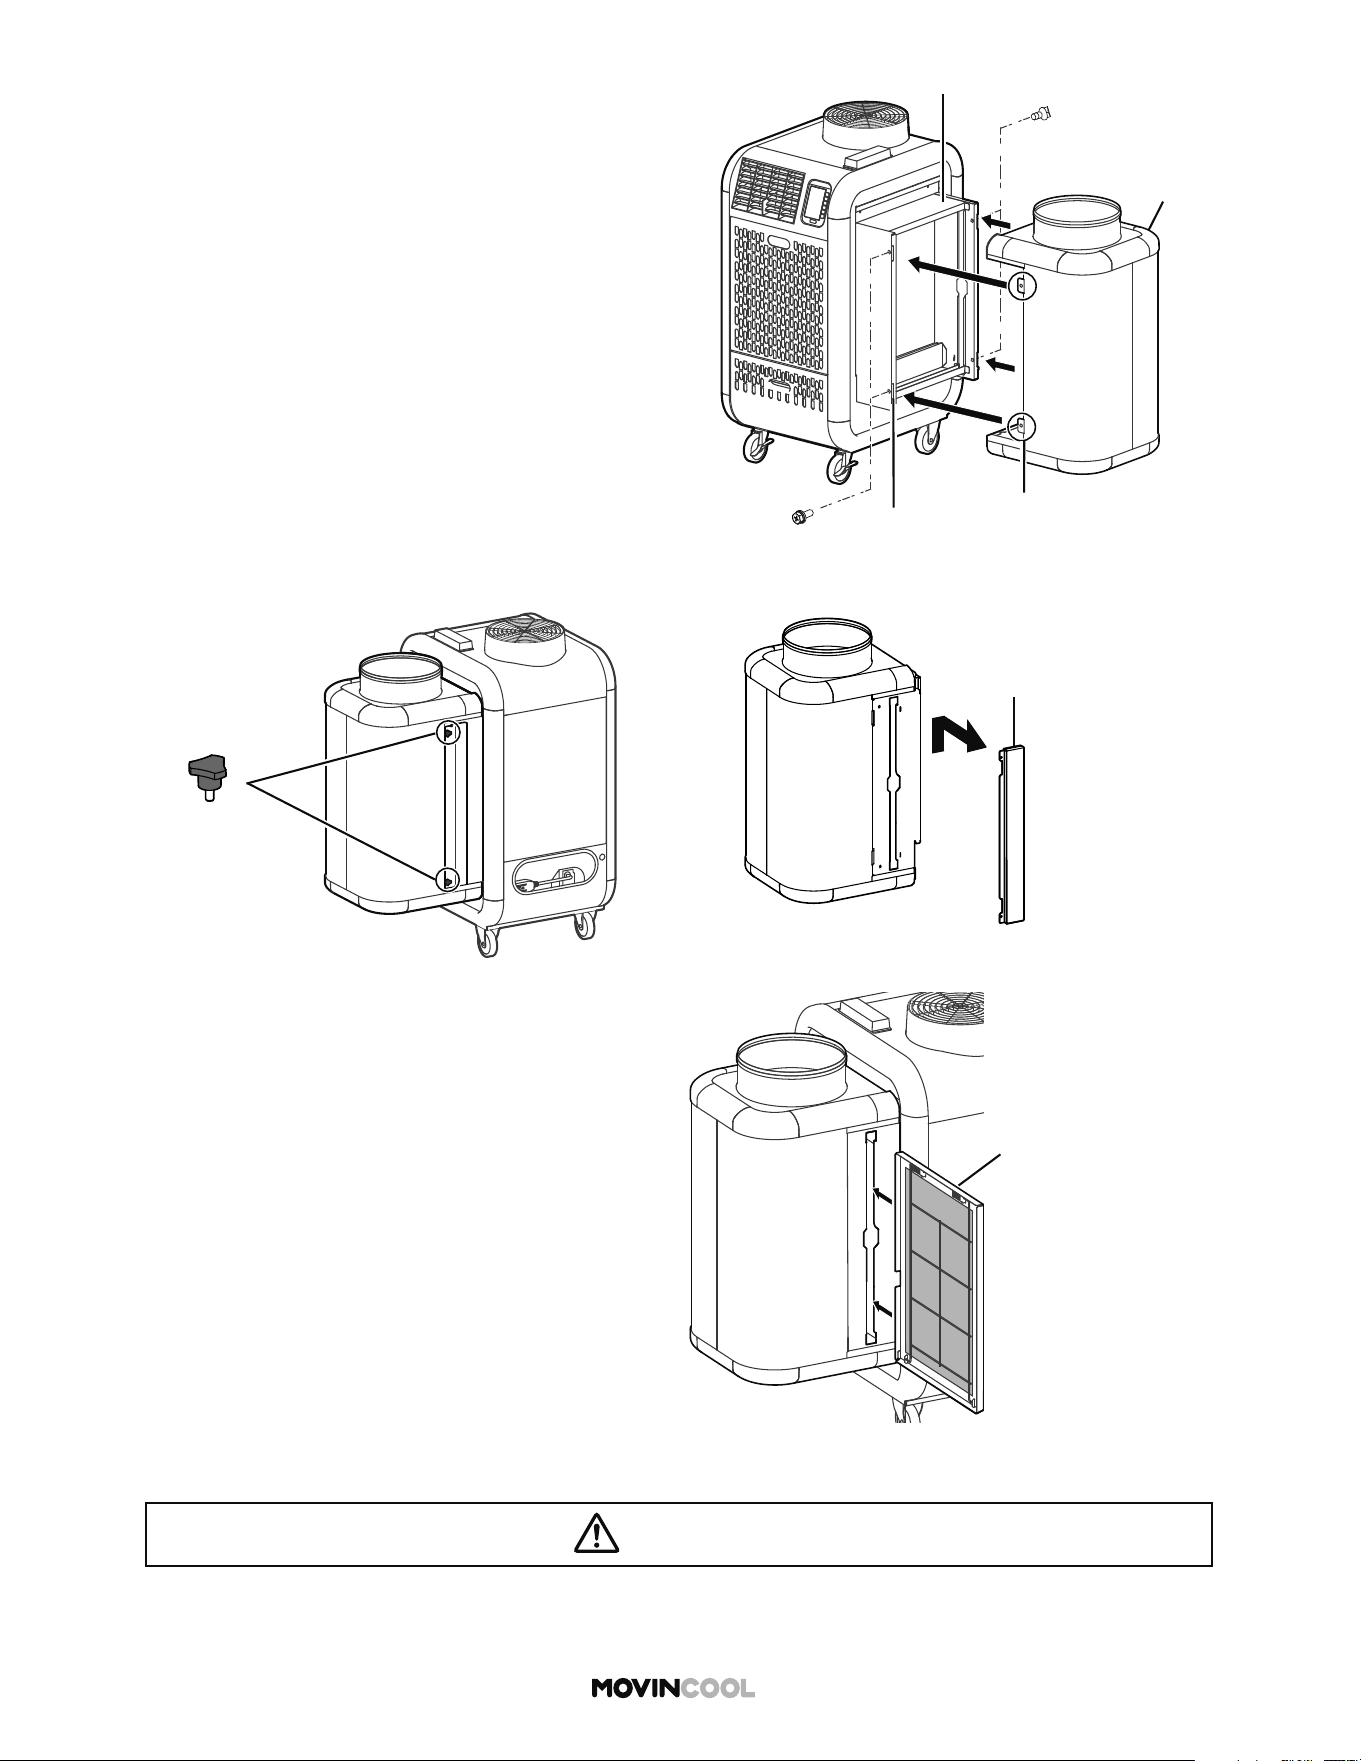
5. Remove the two (2) knob bolts and remove the plate from the plenum by liing upward.
6. Insert the filter panel into the plenum as shown.
7. Reinstall the plate and secure it with the two (2) knob bolts.
4. Insert the four (4) brackets of the plenum into the
slots of the frame and secure the plenum to the
frame with the four (4) bolts, which were removed
in step 1 on page 3.
CAUTION
Do not lean on the unit or move the unit when attaching the air plenum. This may cause injury or
damage to the unit due to toppling.
Bolt (4)
Frame
Plenum
Bracket (4)
Slot
Knob bolt (2)
Plate
Filter Panel