....
1
2
....
3
4
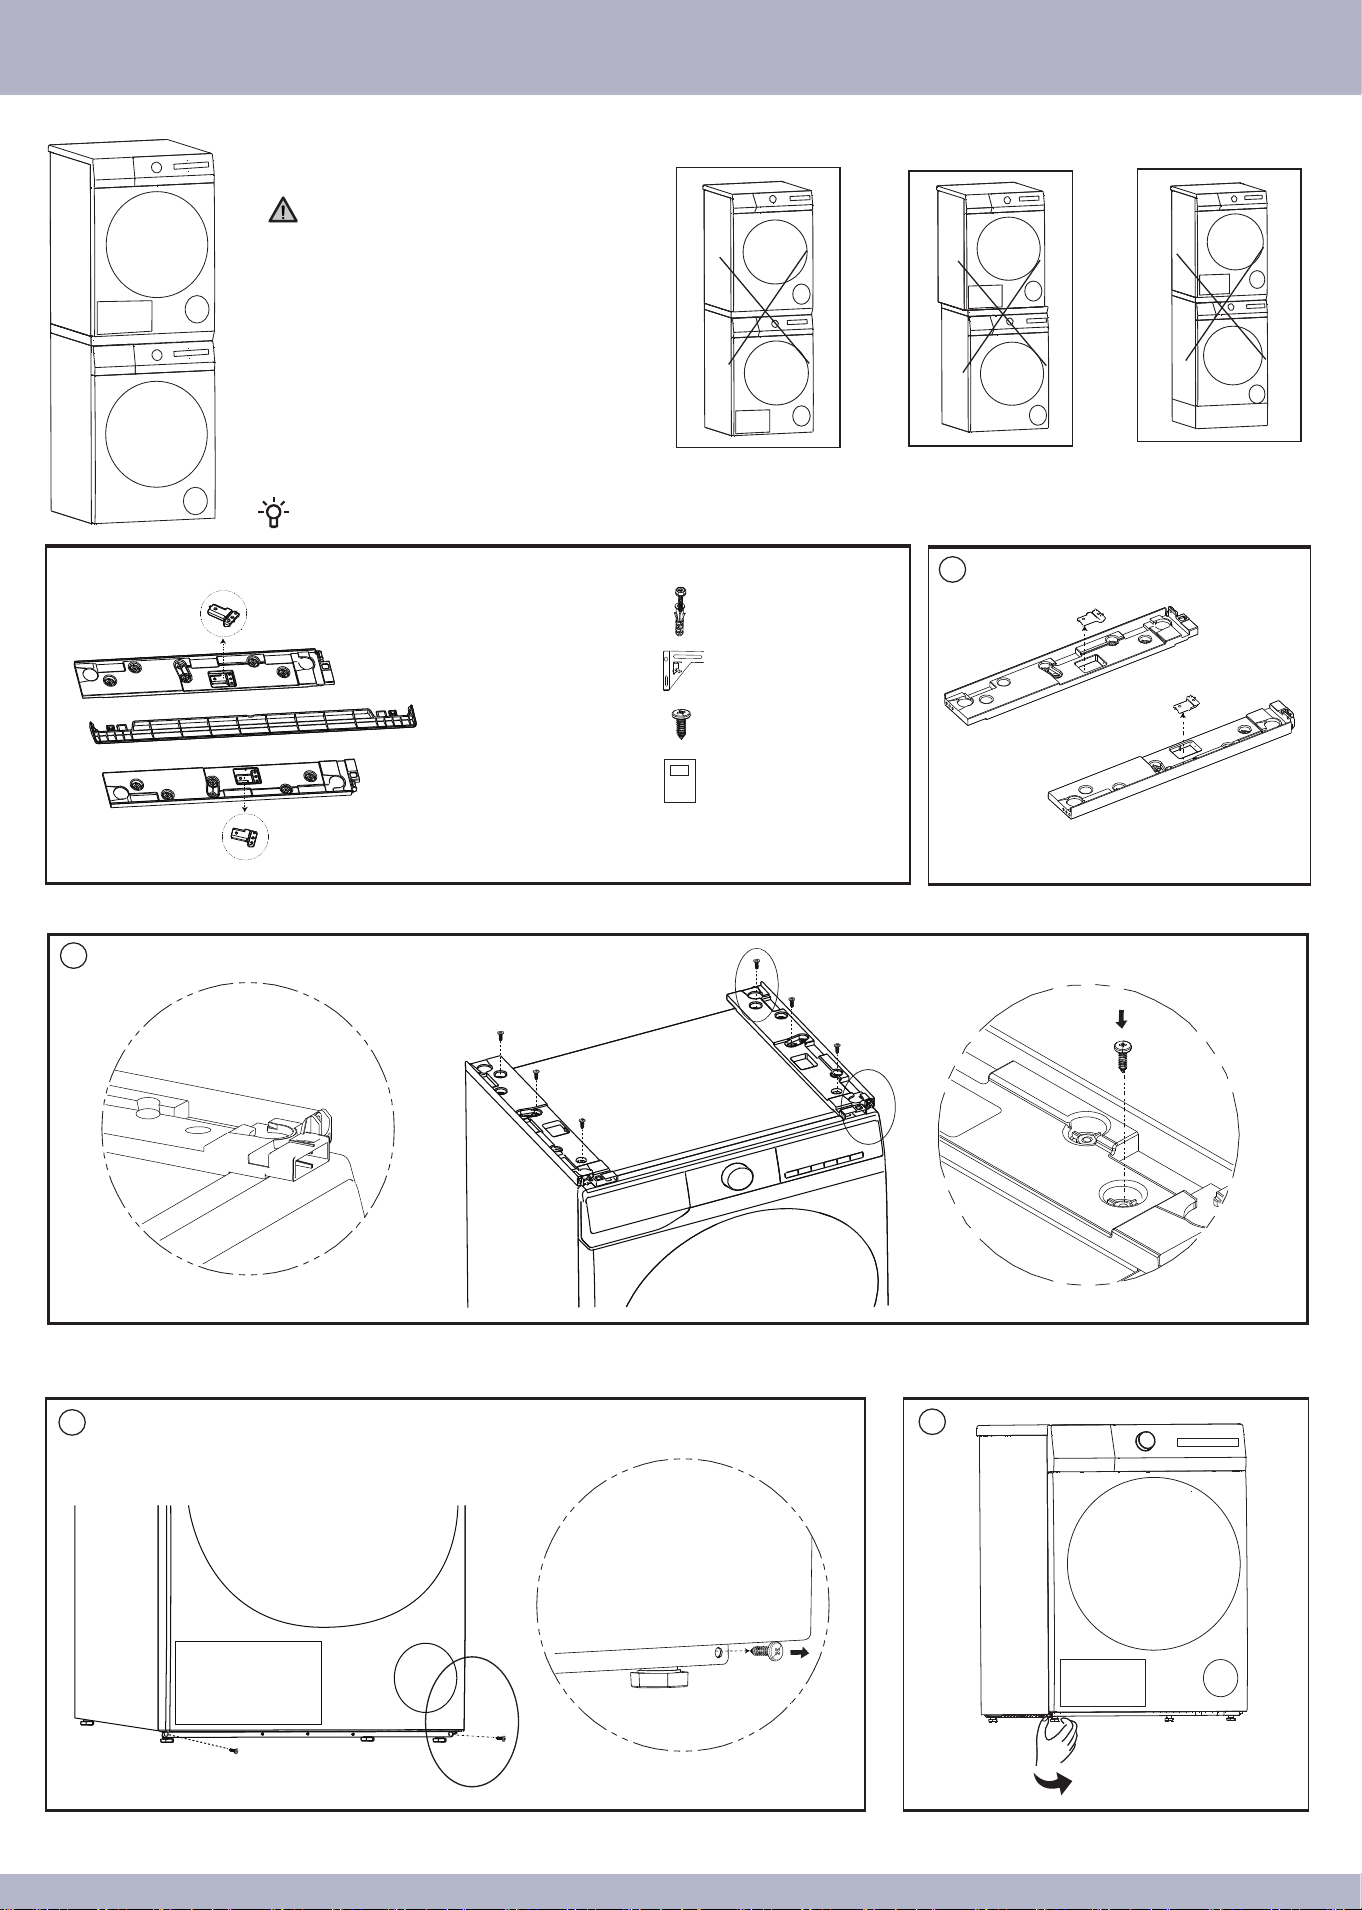
Installation Guide for Stacking Bracket
1. This product must be installed by authorized after-sales
service personnel only.
2. When stacking, do not place the washing machine on a
platform higher than the ground to prevent it from tipping
over or falling.
3. When tightening screws, prevent screw stripping.
4. Stacking installation requires at least two people.
Leave a certain distance between the machine and the
wall.
5. Use only the screws provided in the accessories.
All illustrations in this guide are for reference only. Due to product improvements and expansion, the appearance, color, and functional
components of your product may differ from the illustrations.
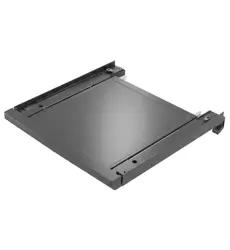
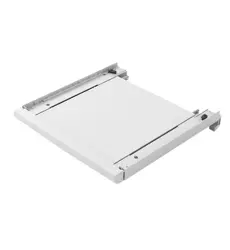
1. Separate the left and right fixing pieces from the left
and right brackets.
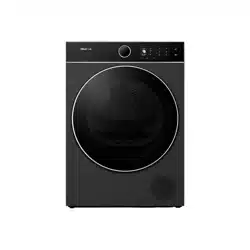
Do not place the washing
machine on top of the dryer.
Do not misalign the dryer
during installation.
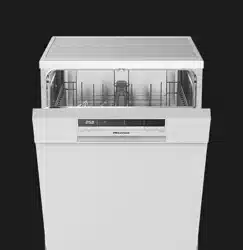
Do not use a base for the
washing machine.
Installation Guide:
Left Fixing Piece × 1
Packing List:
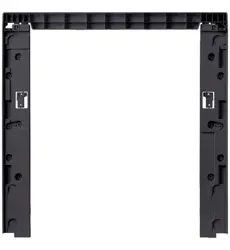
Left Bracket × 1
Front Handle × 1
Right Bracket × 1
Right Fixing Piece × 1
......
......
......
......
......
......
......
......
......
Expansion Bolts × 4
Angle Irons × 2
Screws × 12
Installation Guide × 1
2. Place the left and right brackets flat on the top cover of the washing machine. According to the enlarged view on the left, position the left and right brackets at the front and side steps
of the washing machine top cover. Fix the left and right brackets with 3 screws each through the inner screw holes, as shown in the enlarged view on the right.
3. Remove the 2 screws at the bottom of the dryer’s front panel.
4. Tighten the 4 feet at the bottom of the dryer.
8
7
5
6
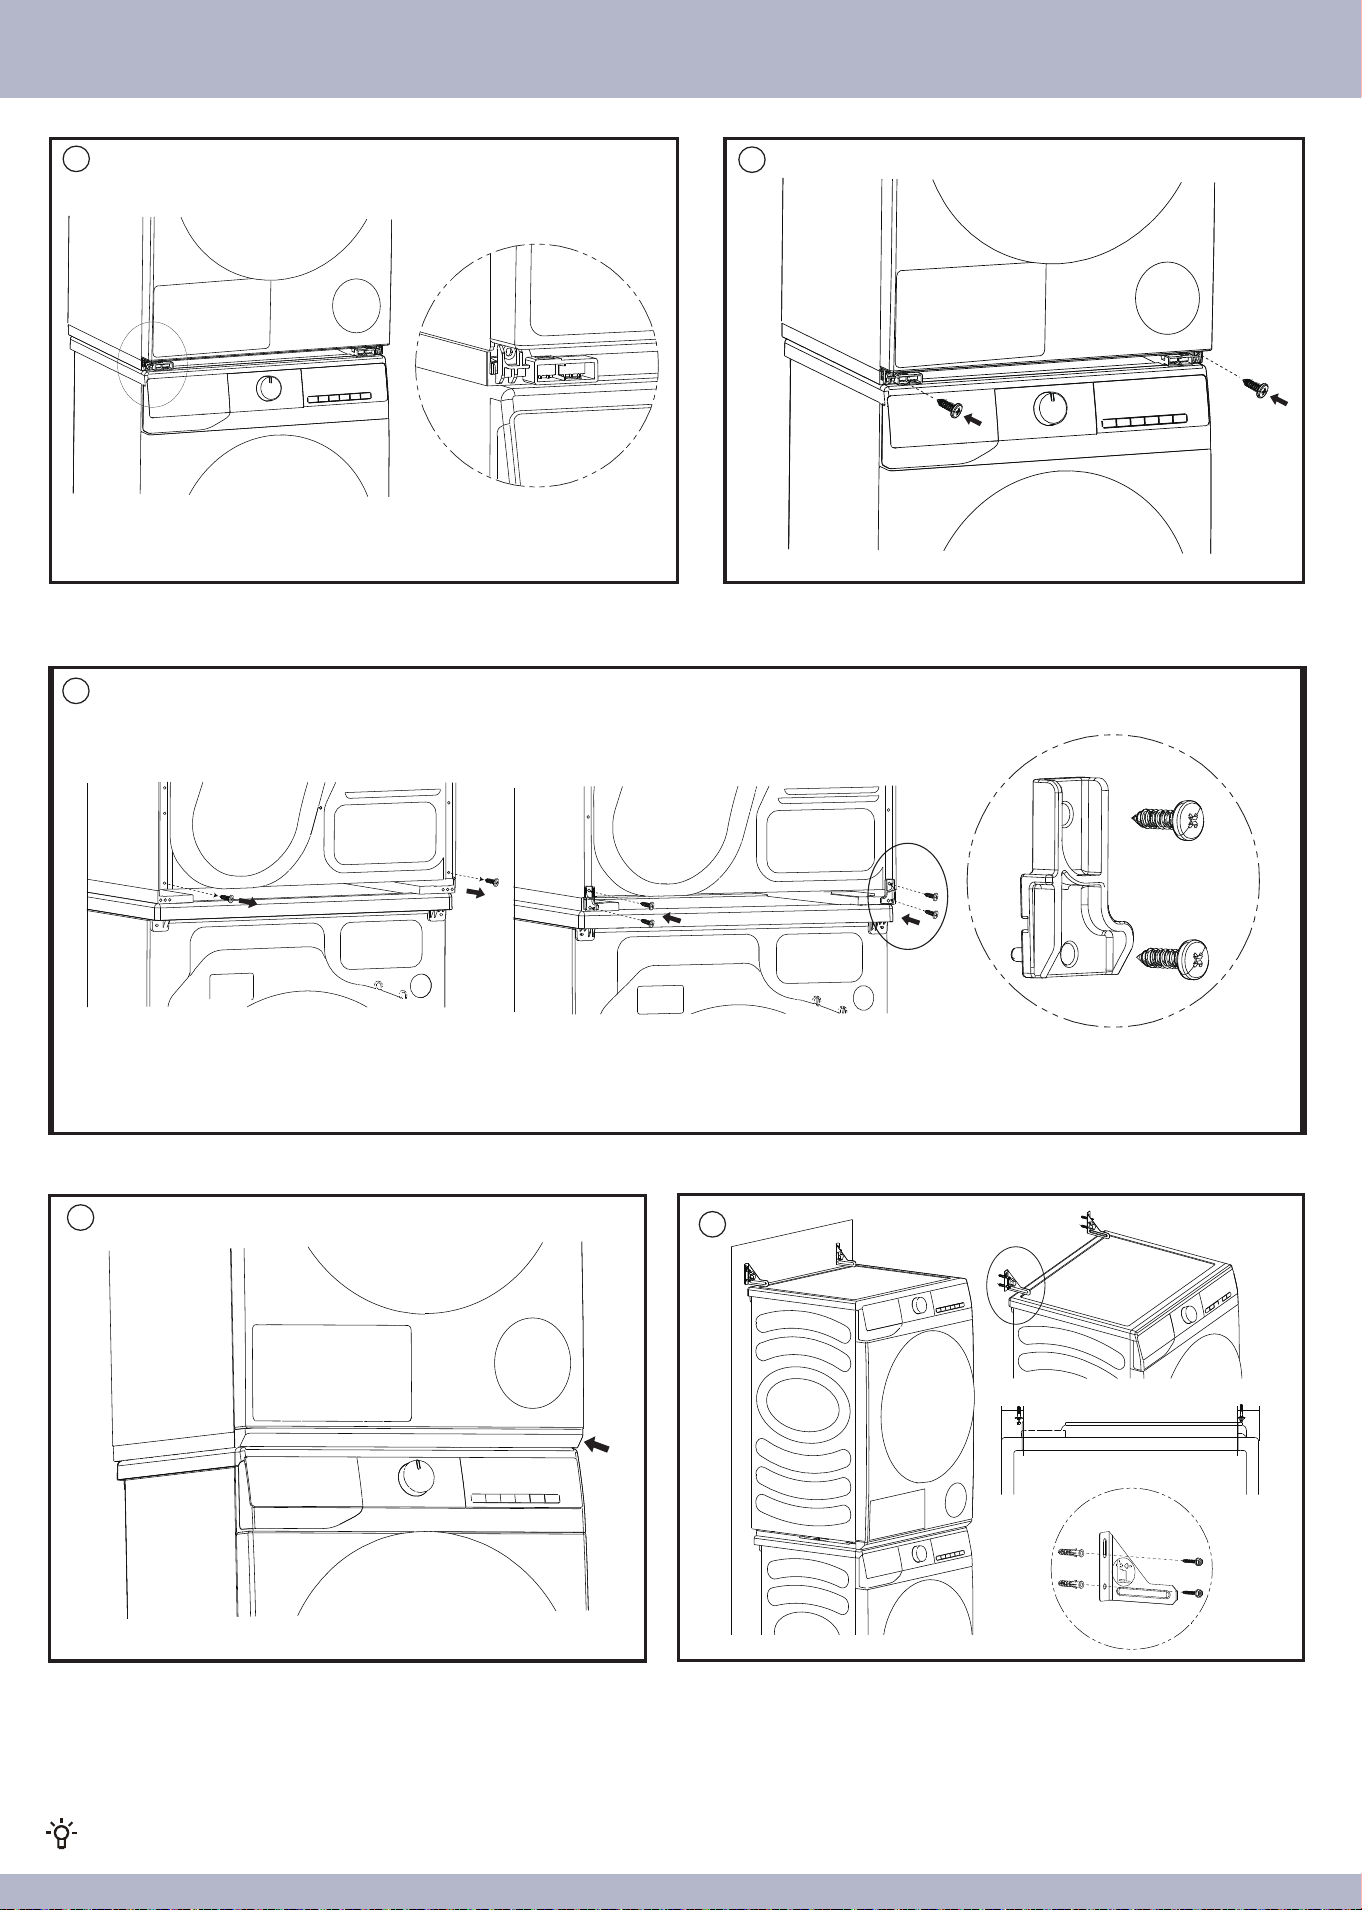
5. Lift the dryer and place it on the brackets. Slowly move it forward from the back, ensuring
the dryer’s four feet fit precisely into the brackets’ positioning pits as illustrated.
6. Use the provided screws to secure the brackets to the dryer.
7. Remove the 2 screws at the bottom of the dryer’s back panel. Connect the left and right brackets to the dryer using the left/right fixing piece, as shown in the enlarged view on
the right, and fix them with 4 screws each.
8. Push the front handle into the bottom of the dryer, ensuring it clicks into place with the
left and right brackets. Check that the front handle and brackets are securely engaged
with even gaps around.
After installation, you can use the dryer’s drain pipe (a floor drain adapter must be self-provided) or use a water collection box to collect water.
9. Fix the two angle irons to the wall using expansion bolts as illustrated, to prevent the
dryer from tipping due to external forces.
Installation Guide for Stacking Bracket
9
5cm 5cm
2414982-X08063174A