
Technical Support and E-Warranty Certificate https://www.vevor.com/support
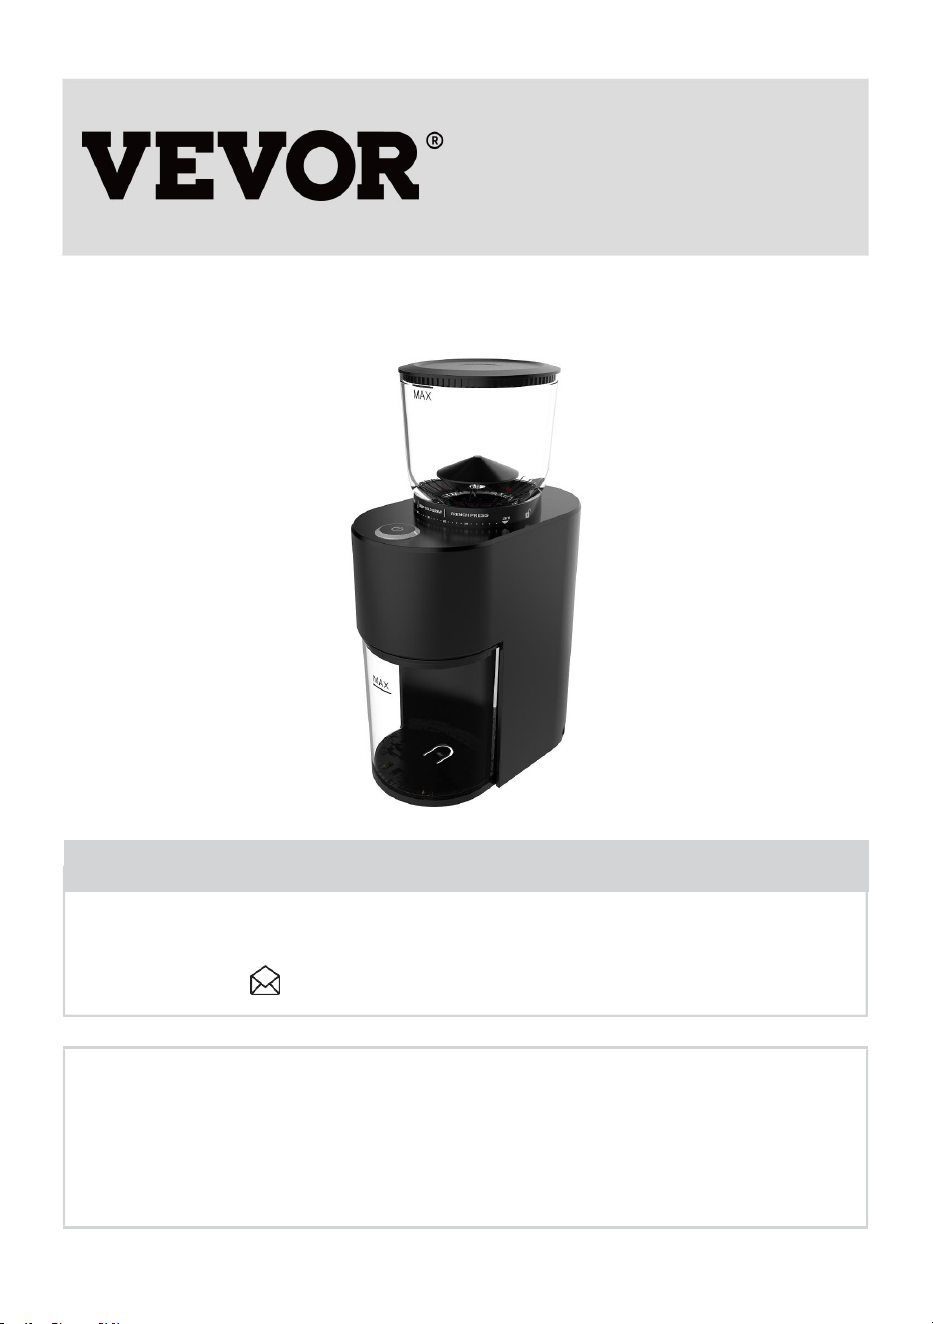
COFFEE GRINDER
USER MANUAL
MODEL: BD-CG011A
We continue to be committed to provide you tools with competitive price.
"Save Half", "Half Price" or any other similar expressions used by us only represents an
estimate of savings you might benefit from buying certain tools with us compared to the major
top brands and doses not necessarily mean to cover all categories of tools offered by us. You
are kindly reminded to verify carefully when you are placing an order with us if you are
actually saving half in comparison with the top major brands.

- 1 -
BD-CG011A
Have product questions? Need technical support? Please feel free to
contact us:
CustomerService@vevor.com
NEED HELP? CONTACT US!
This is the original instruction, please read all manual instructions
carefully before operating. VEVOR reserves a clear interpretation of our
user manual. The appearance of the product shall be subject to the
product you received. Please forgive us that we won't inform you again if
there are any technology or software updates on our product.
Coffee Grinder
BD-CG011A
- 2 -
IMPORTANT SAFEGUARDS
When using electrical appliances, basic safety precautions should always be
followed:
Warning - To reduce the risk of injury, user must read instructions manual
carefully.
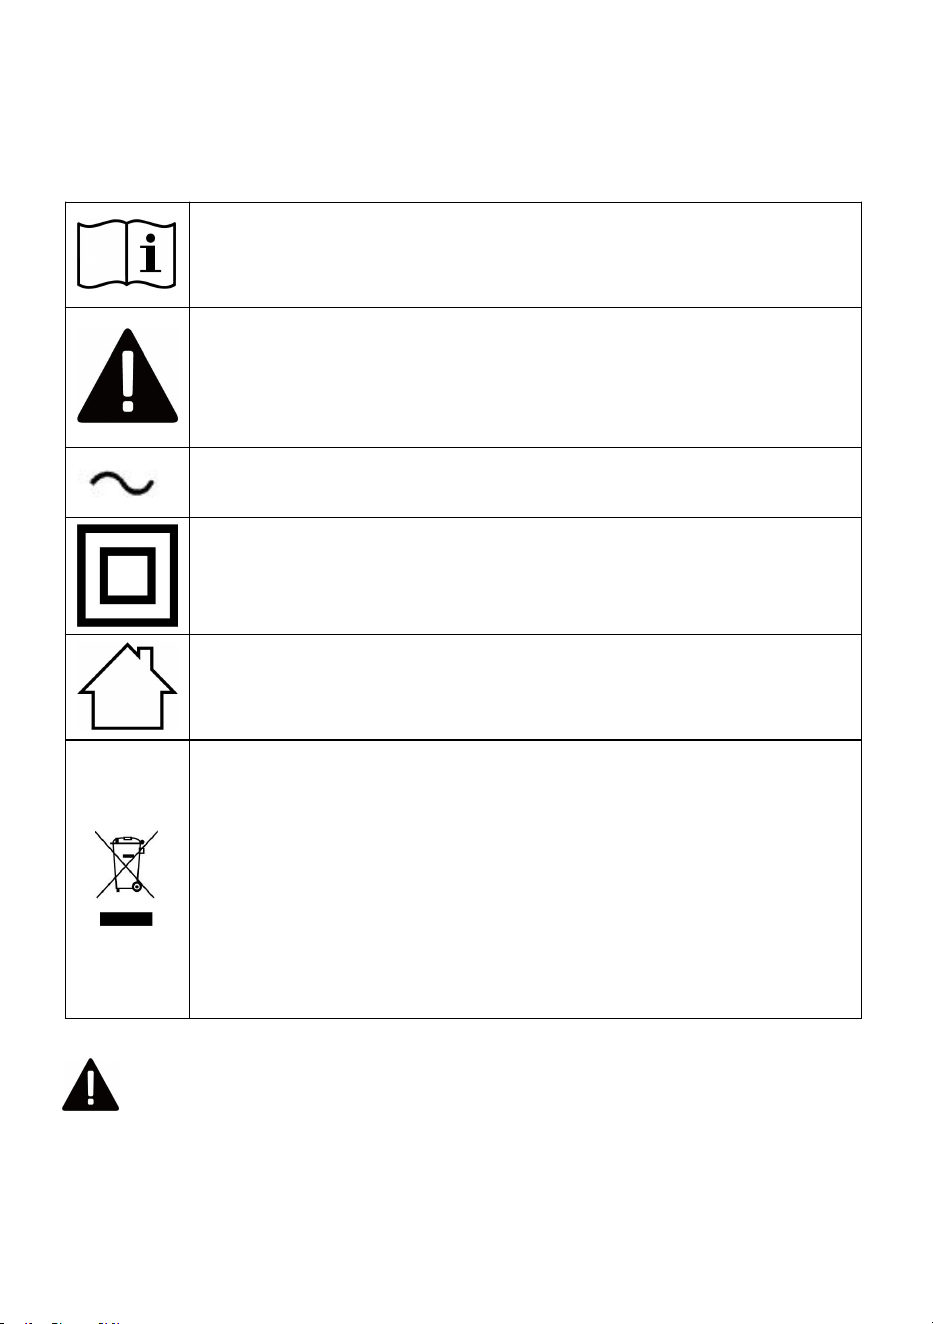
This symbol, placed before a safety comment, indicates a kind of
precaution, warning, or danger. Ignoring this warning may lead to an
accident. To reduce the risk of injury, fire, or electrocution, please always
follow the recommendation shown below.
Alternating current
This product is of protection class II. That means it is equipped with
enhanced or double insulation.
FOR HOUSEHOLD USE ONLY
Correct Disposal of this product:
This marking indicates that this product should not be disposed with other
household wastes throughout the EU. To prevent possible harm to the
environment or human health from uncontrolled waste disposal, recycle it
responsibly to promote the sustainable reuse of material resources. To
return your used device, please use the return and collection systems or
contact the retailer where the product was purchased. They can take this
product for environmental safe recycling.
WARNING:Read all safety warnings, instructions, illustrations and specifications
provided with this electrical appliances. Failure to follow all instructions listed below may
result in electric shock, fire and/or serious injury.
Save all warnings and instructions for future reference.

- 3 -
WARNING:
1. Read all instructions.
2. To prevent from fire, electric shock and injury to persons, do not immerse cord, plugs or
units in water or other liquids.
3. Children or people with mobility impairments should not operate this product; except
under the close supervision of adults and to ensure that they can operate it safely(Note:
This appliance can be used by children aged from 8 years and above and persons with
reduced physical, sensory or mental capabilities or lack of experience and knowledge if
they have been given supervision or instruction concerning use of the appliance in a safe
way and understand the hazards involved. Children shall not play with the appliance.
Cleaning and user maintenance shall not be made by children without supervision).
4. The plug must be unplugged from the outlet when not in use, before installing or
removing parts, and before cleaning the unit. To unplug, grasp the plug and pull it out of the
electrical outlet, do not pull the power cord.
5. Do not operate the product if the power cord or plug is damaged, or if the equipment
malfunctions, and return the equipment to an approved service center for inspection and
repair.
6. The use of non-original approved parts may result in fire, electric shock or injury.
7. Do not use the product outdoors, on moving vehicles, boats, or airplanes; do not use the
product on an inclined table.
8. Do not let the power cord hang over the edge of a table or cabinet, or connect to the
surface of any object with a heat source, or let the power cord get tangled.
9. Check if there are any foreign objects in the bean hopper before use.
10. Always operate the product with the bean hopper lid covered.
11. The machine should not be placed on or near a gas or electric burner, or in a heated
oven.
12. This product is designed for home use only. Any commercial use, improper use or
failure to follow instructions will void the warranty.
13. Avoid touching moving parts and do not attempt to break any safety interlock
mechanism.
14. Use this product only for coffee beans that have been roasted, do not use the unit for
other purposes (e.g. hard seeds, herbs, nuts, etc.) to avoid damage to the machine.
15. All machines are rigorously tested before leaving the factory and tested with coffee

- 4 -
beans for actual grinding, which may result in slight usage marks or coffee residue.
16. When using, coffee powder should not exceed the maximum "MAX" scale line of the
receiving cup.
17. Type Y attachment: If the supply cord is damaged, it must be replaced by the
manufacturer, its service agent or similarly qualified persons in order to avoid a hazard.
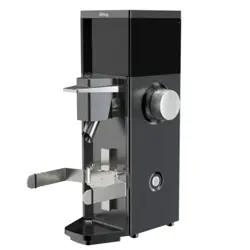
Operating Instructions
Before first use
Before using the coffee bean grinder
for the first time, please check that all
parts are complete.
A.Bean hopper lid
B.Bean hopper
C.Removable upper burr
D.Coarseness adjusting ring
E.Main housing
F.On/off button
G.Decoration ring
H.Cleaning brush
I.Ground cup lid
J.Ground cup
How to remove the coffee bean cup
Ensure the coffee grinder is unplugged
Make sure the coffee bean box is free of coffee beans
3. Turn the coffee bean cup counterclockwise until the arrow on the cup aligh with
,Then just remove the bean cup upwards
- 5 -
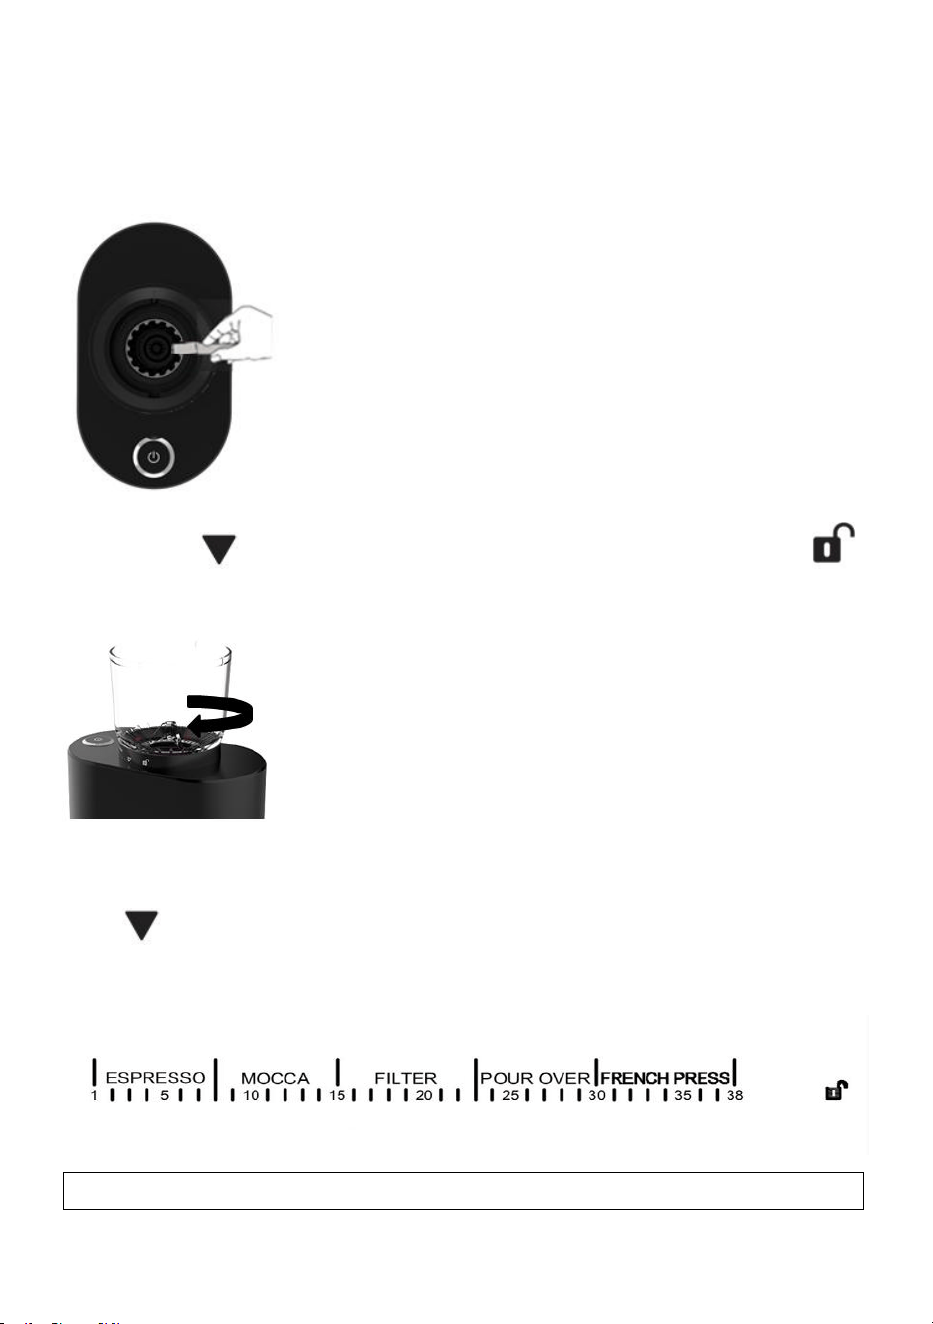
How to assemble coffee bean hopper
1. Make sure that there is no coffee grounds residue on the top of the upper burr. If there is
residue, clean it with the cleaning brush provided.
2. Align arrow on the bottom of the coffee bean hopper with the unlock symbol
on the grinding scale ring
3. Press the coffee bean hopper slightly, and rotate the bean hopper clockwise, align the
arrow on the bottom of bean hopper with your desired coffee type on grinding scale
ring.
Note: If the coffee bean hopper is not rotated within the grinding scale range, the
- 6 -
machine will not start.
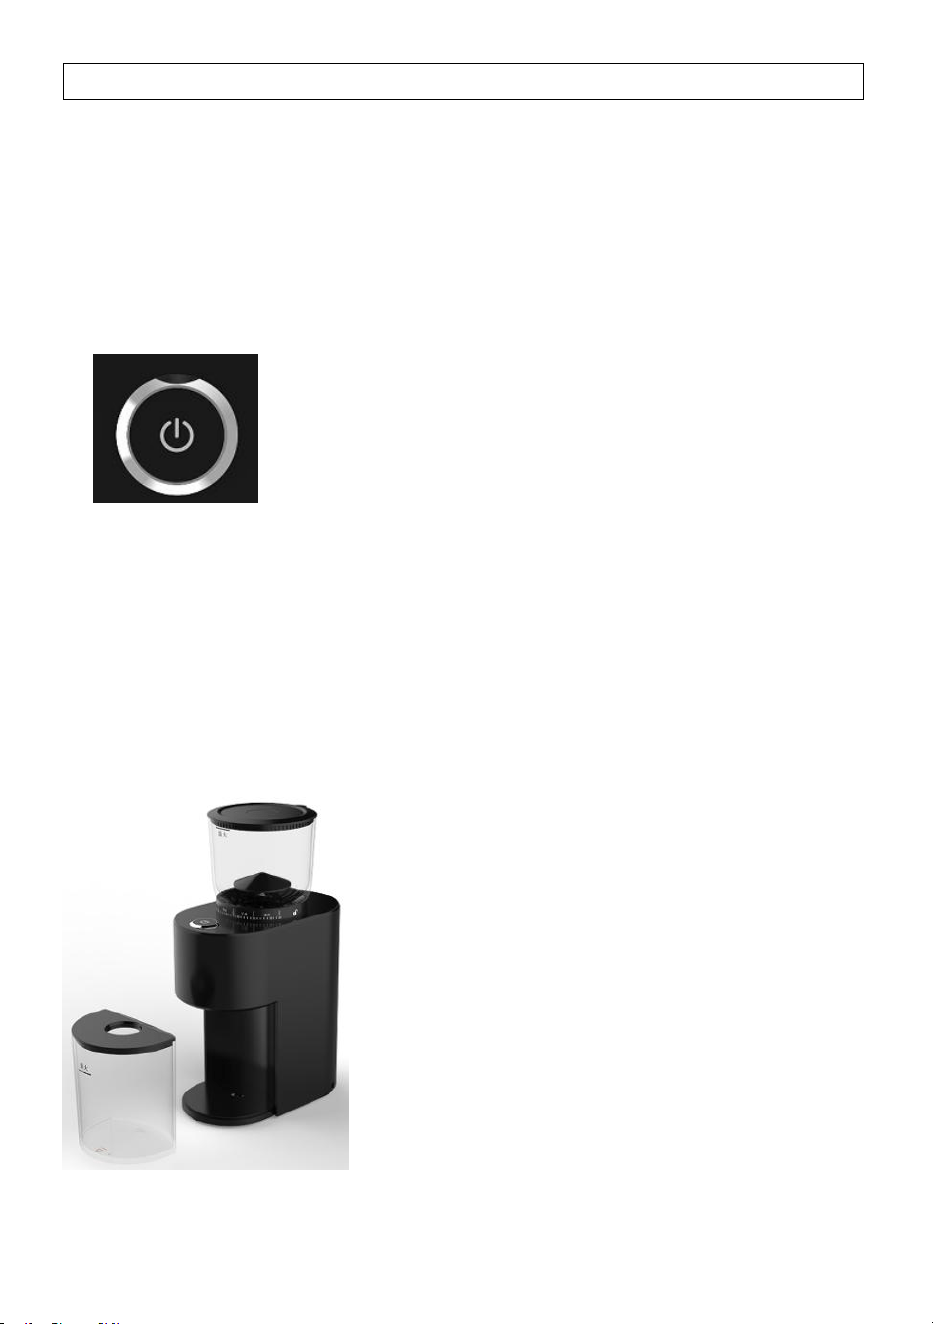
Button instruction
1. Rotate the coarse and fine scale ring to choose the right fineness of coffee bean grind;
2. Add the right amount of coffee beans to the bean cup;
3. Press Start/Stop button;
Short press "Start/Stop button" for manual working mode, stop grinding when un-touch;
Press the "Start/Stop button" and you will hear a "Ta" sound, which is the automatic
working mode;
If you need to stop during grinding process, just press the "Start/Stop " button.
Coffee grounds coarseness adjustment
1. Put the ground cup in place.

- 7 -
2. Open the lid of the coffee bean hopper and fill in the hopper with coffee beans. Cover
the hopper, you can now adjust the coffee powder coarseness.
3. The coffee grinder has 38 grind settings to adjust the coarseness. To adjust the
coarseness, rotate the bean hopper and adjust from fine to coarse depending on the type
of coffee you are brewing;
Note: In order to adjust the coarseness of the ground coffee powder more precisely, it is
recommended to rotate the coffee bean hopper while the machine is working to adjust
- 8 -
the coarseness.
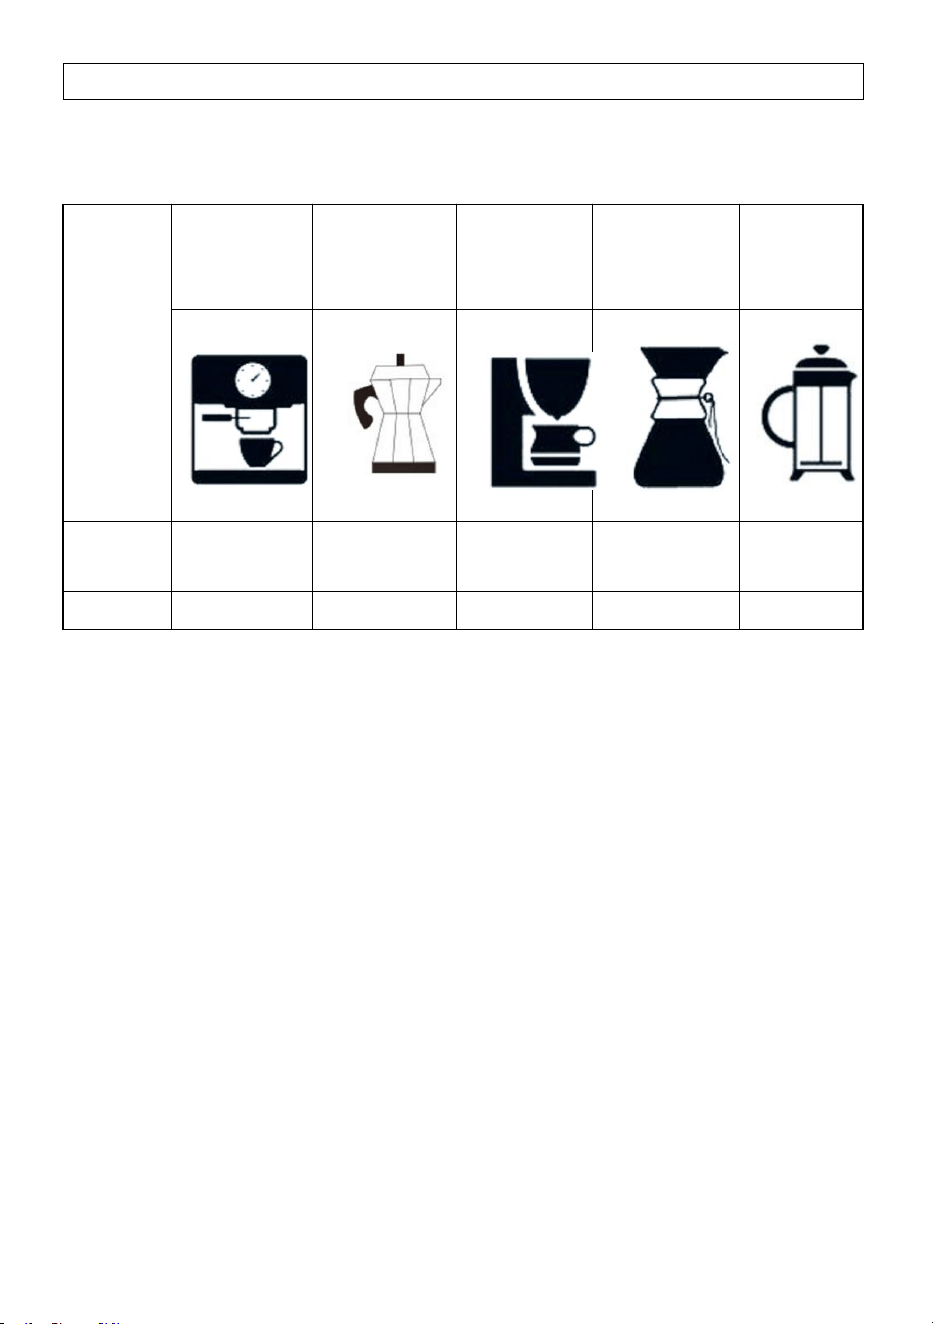
Coffee grounds coarseness chart:
Coffee
type
Espresso
Mocca
Filter Coffee
Pour Over
French
Press
Grinding
size
Fine
Micro fine
Middle
coarseness
Micro
coarseness
Coarsenes
s
Gear
1-8
9-15
16-23
24-30
30-38
Precautions for use
■ Fresh coffee powder is a key factor in making delicious coffee.
■ The flavor and strength of coffee can be adjusted according to your personal preference,
and you can vary the type of coffee beans, the amount of coffee and the fineness of the
grind to achieve the desired taste.
■ It is best to use fresh coffee beans with the roast date.
■ Store coffee beans in a light, cool and dry environment.
■ If possible, try to use vacuum packaging.
■ Buy coffee beans in small batches to reduce storage time, preferably less than a week at
a time.
■ Once ground into coffee powder, coffee beans will quickly lose their aromatic flavor. For
the best brewing results, make coffee immediately after grinding the coffee powder.
■ Do not store coffee beans in the bean cup for a long time.
- 9 -
■ When storing the machine after use, run the machine to finish grinding the remaining
coffee beans and clean it.
■ Clean the coffee bean cup and powder cup regularly.
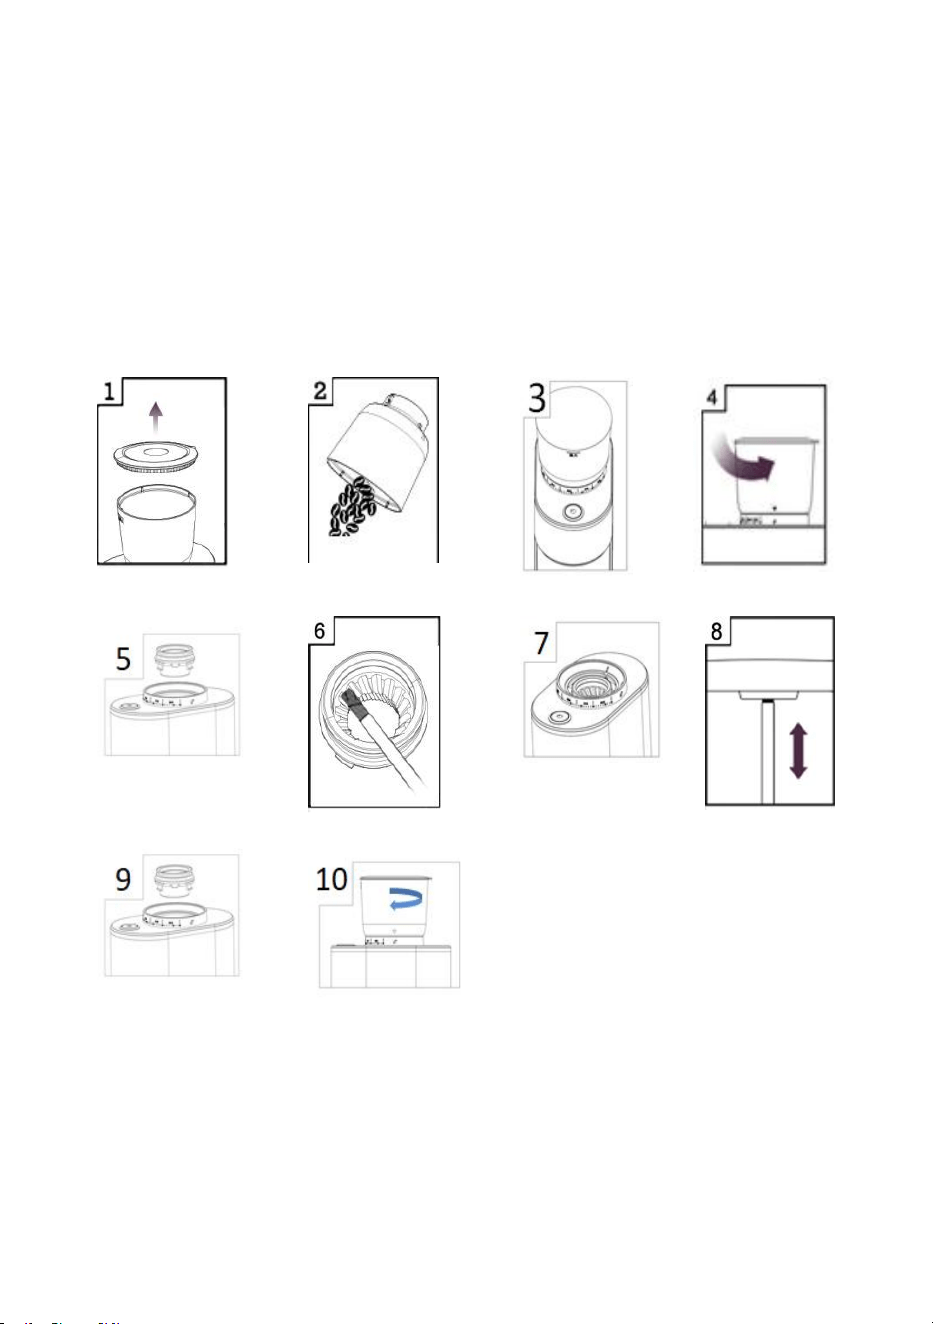
Clean
Regular cleaning of the cone grinding wheel, in addition to maintaining food hygiene, can
also extend the life of the cone grinding wheel.
1.Take out the bean hopper lid.
2.Add the coffee bean.
3.Run the grinder until there is no coffee bean residue.
4.Remove the bean hopper by rotating counterclockwise.
5.Take out the upper burr.
6.Clean the upper burr by cleaning brush.

- 10 -
7.Clean the lower burr by cleaning brush.
8.Clean the powder outlet by cleaning brush.
9.Put the upper burr in correct position.
10.Rotate clockwise to lock the bean hopper.
Maintenance
■ To maintain the aroma of the coffee and to avoid spoilage of the coffee grounds, empty
the bean hopper after each use.
■ Be sure to unplug the power outlet before cleaning.
■ Do not immerse the grinder, power cord or plug into water.
■ To disassemble the upper burl, please remove the bean box by rotating clockwise first,
and then lift the upper cutter plate vertically.
■ Clean the upper burr by cleaning brush.
■ Carefully clean the inside of the coffee bean hopper with a damp cloth.
Put the upper burr in correct position and rotate clockwise to fit the bean hopper to the
desired scale, the installation is complete, Wipe the housing of the device with a slightly
damp cloth and then dry it with a soft, lint-free cloth.
Note: In order to install the upper burr in place, it is necessary to remove any coffee
grounds residual and coffee grounds from the lower burr before installation.
Troubleshooting Guide
Failure
Cause of failure
Troubleshooting
No coffee powder
Upper burr is not put or not put in
correct position
Re-assemble the burr
Unit not working
Not plugged
Plugged into the correct
spec of power supply
- 11 -
Unit not working
No bean hopper or not rotated in
working scale range
Assemble the bean
hopper correctly
Unit not working
Motor PTC activated because of
long time grinding
Unplug and wait for
30min. to enable unit to
cool down
TECHNICAL PARAMETER
MODEL: BD-CG011A
VOLTAGE: 220V
〜
240V, 50-60HZ
(
EC&UK
)
120V~ 60HZ (US)
POWER: 200W
Importer: WAITCHX
Address: 250 bis boulevard Saint-Germain 75007 Paris
Importer: FREE MOOD LTD
Address: 2 Holywell Lane, London, England, EC2A 3ET
Manufacturer: Zhongshan Dippers Electric Co., Ltd.
Address: 3rd&4th floor, building #7. No.109 Liyu mountain, Longtang, Wuguishan town,
Zhongshan City, Guangdong Province, China.
MADE IN CHINA
REP
UK
EUREP UK LTD
UNIT 2264, 100 OCK STREET, ABINGDON
OXFORDSHIRE ENGLAND OX14 5DH
REP
EC
EUREP GmbH
Unterlettenweg 1a, 85051
Ingolstadt, Germany