
INSTRUCTION MANUAL
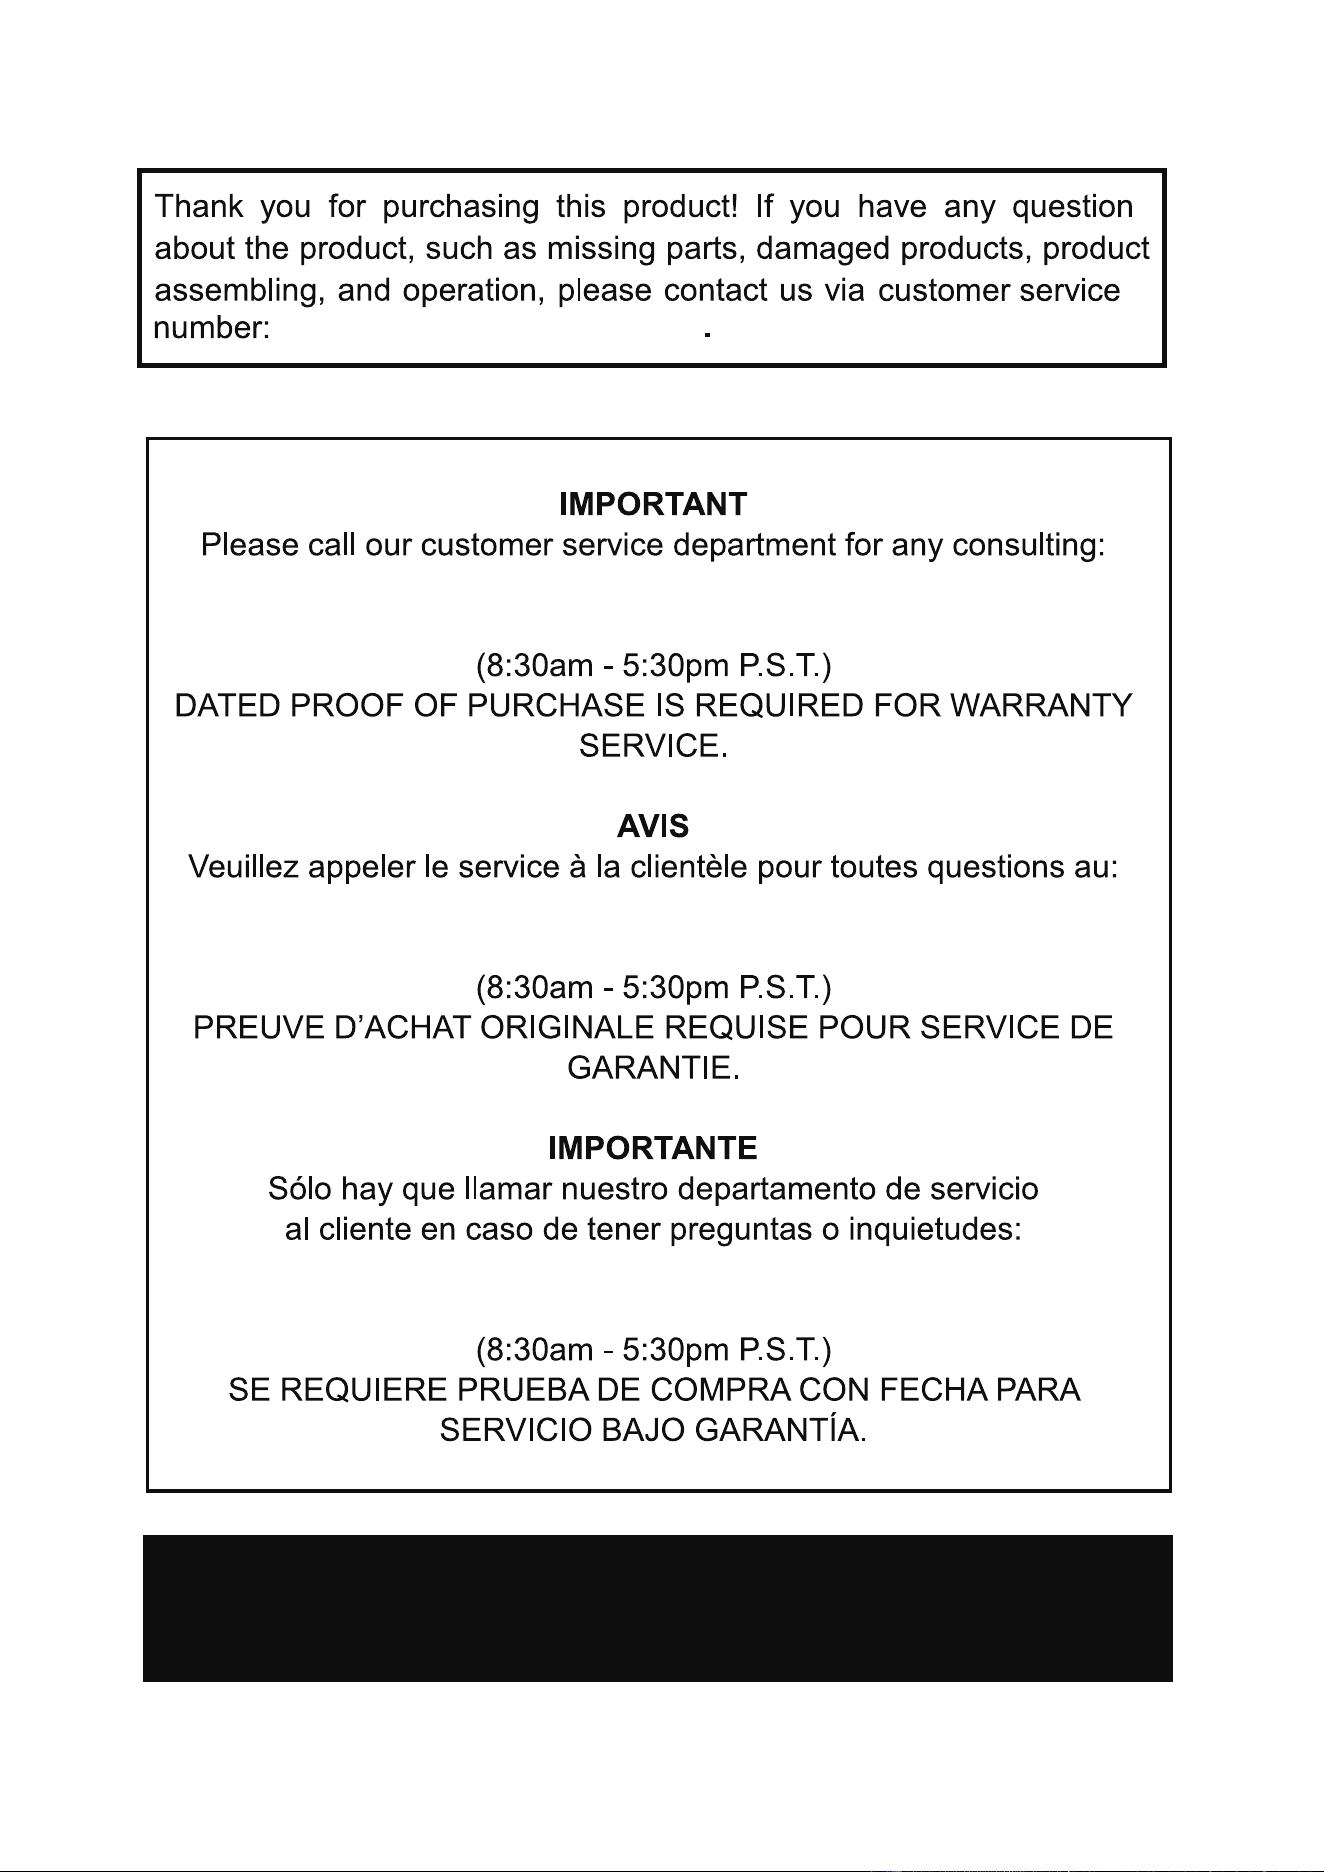
Thank you for purchasing this product!
If you have any question about the product such as missing parts, damaged products, product
assembling and operation, please contact us via our customer service phone:
STEAM
HOT WATER
CLEAN
DESCALE
���-���-���� or ���-���-����.
Please read all the owner's instruction booklet before use.
Item No.: CM���� / CM����H
ModeI NO.: CM����B-UL
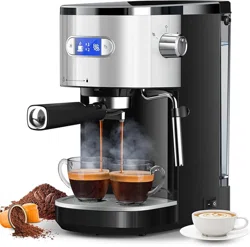
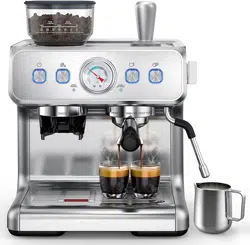
Espresso Machine


IMPORTANT SAFEGUARDS
KNOWING YOUR COFFEE MACHINE
Control Panel
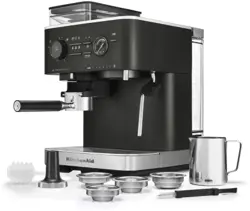
Accessories
Accessories Instructions
OPERATING INSTRUCTIONS
Before the First Use
Make Espresso Coffee
Make Frothing Milk
SLEEP MODE
CLEANING AND MAINTENANCE
Descaling Instructions
Daily Maintenance of the Grinder
How to Clean the Grinder
Environmental Protection
TROUBLESHOOTING
�
�
�
�
�
�
�
�
�
�
��
��
��
��
��
��
……………………………………………………
……………………………………………………
…………………………………………………………
………………………………………
………………………………………………………………………
…………………………………………………………………………
………………………………………………………………
………………………………………………………………
………………………………………………………………………
…………………………………………………………
………………………………………………………
………………………………………………………
…..…………………………………………………………
…………………………………………
…..………………………………………
……………………………………………………………
CONTENTS
818-468-1528 or 661-435-8826.
�
IMPORTANT SAFEGUARDS
818-468-1528 or 661-435-8826.
Espresso Machine
Before using the electrical appliance, the following basic precautions should always be followed:
32
℉
��. Do not use appliance for the use other than its intended use and place it in a dry environment.
field or moist air.
.
�
32
℉
��. Do not use appliance for the use other than its intended use and place it in a dry environment.
field or moist air.
.
�
��℉.
.
818-468-1528 or 661-435-8826.
01
tube.
hotels, motels and other residential type environments;
pressure funnel cannot be
Save the instruction.
�
818-468-1528 or 661-435-8826.
Espresso Machine
02
Warning: Pressure
High Temperature
818-468-1528 or 661-435-8826.
02
hopper and cleaning.
SAVE THESE INSTRUCTIONS

� cup single wall filter Bean hopper lid
Bean hopper
Button
� cup single wall filter
gauge
� cup double wall filter
� cup double wall filter
818-468-1528 or 661-435-8826.
Espresso Machine
03
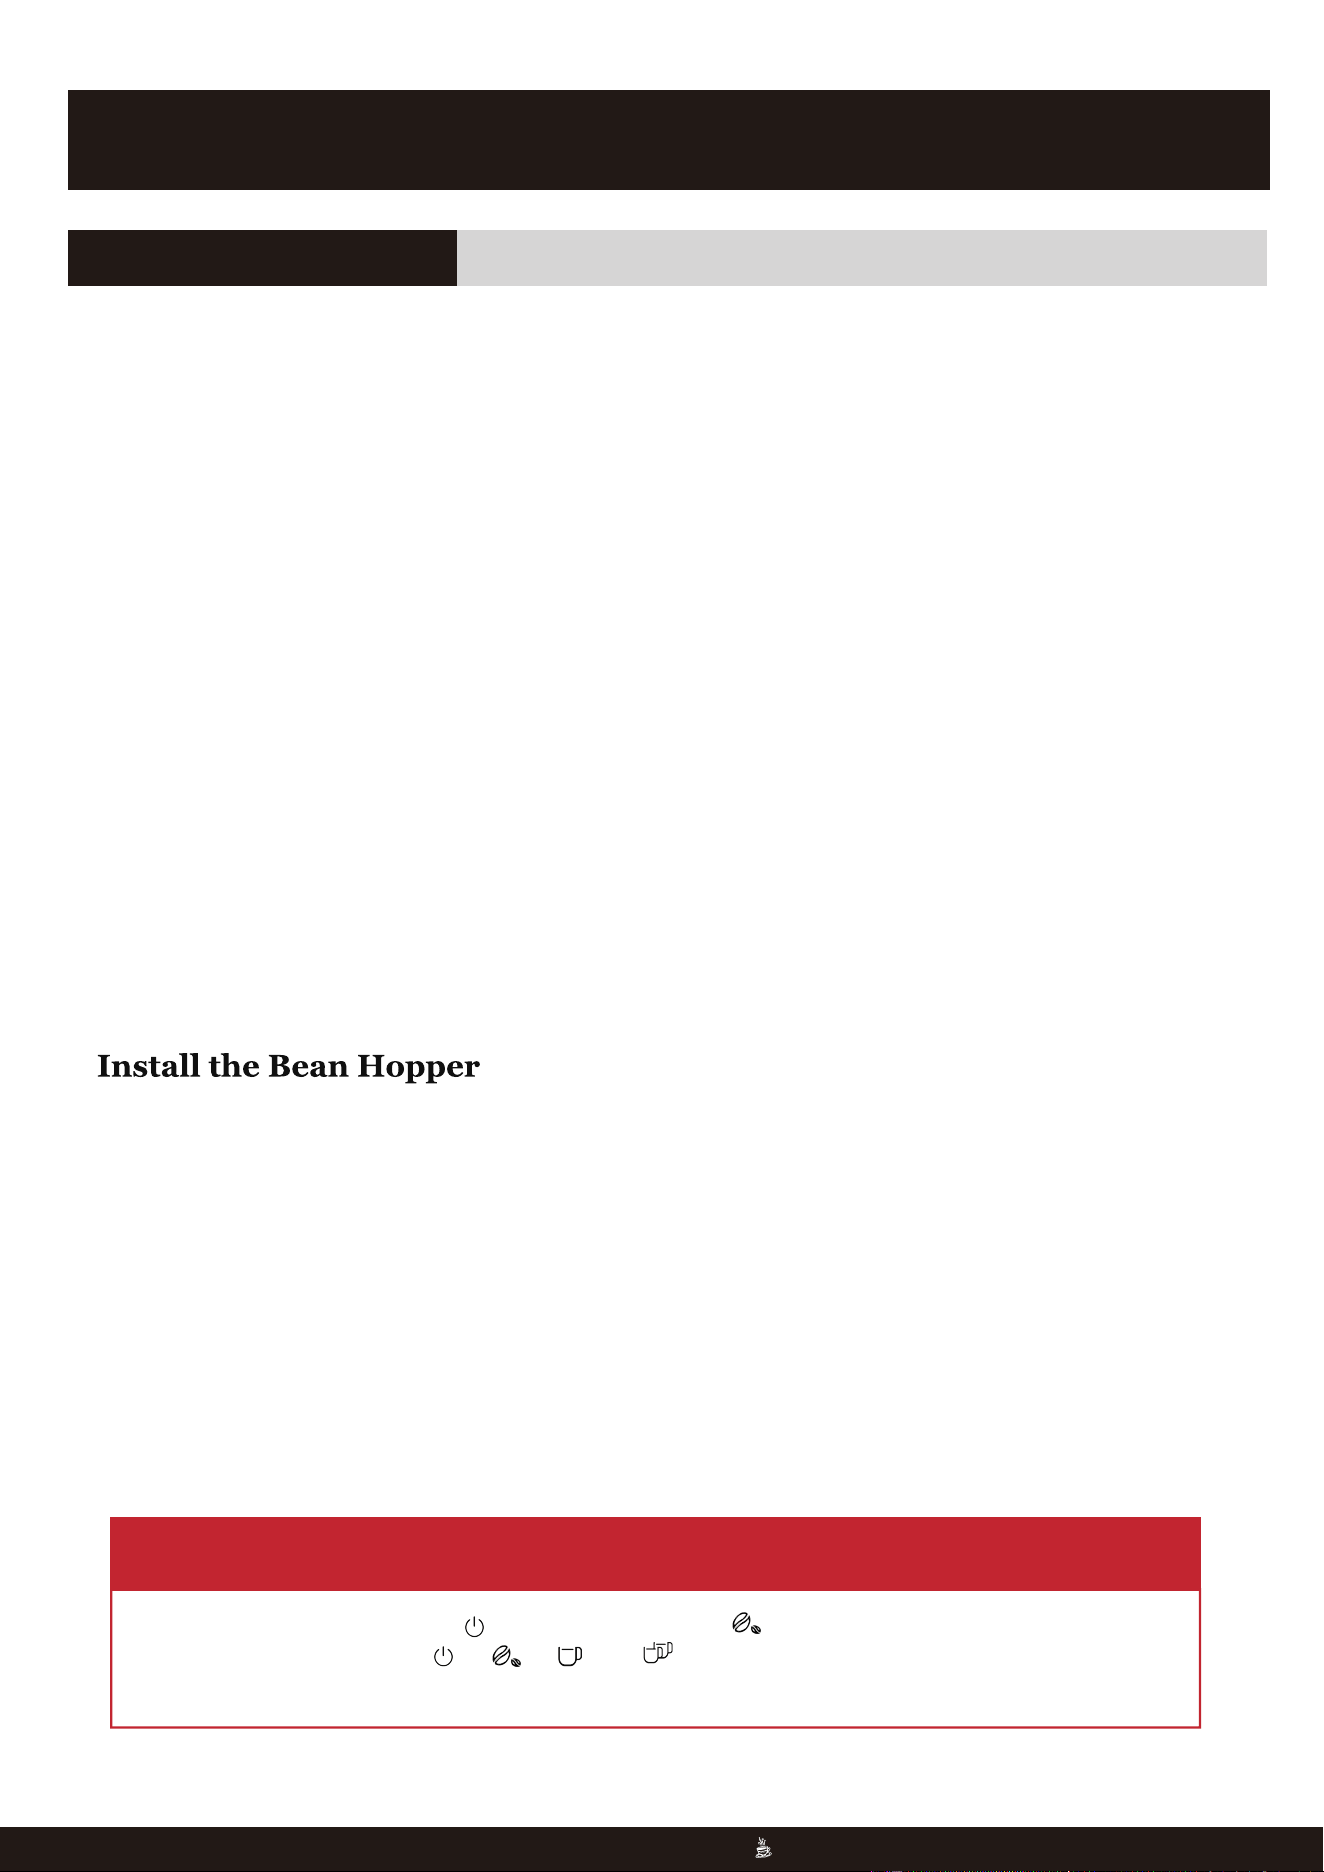
KNOWING YOUR COFFEE MACHINE
818-468-1528 or 661-435-8826.
03

Knob
Clean/Descale indicator Steam/Hot water indicator
pin,cleaning brush,
Cleaning pin
Cleaning Pin
cleaning pin can be used
filters.
�
nozzle. The
STEAM
HOT WATER
CLEAN
DESCALE
�
818-468-1528 or 661-435-8826.
Espresso Machine
04
Control Panel
Accessories
Accessories Instructions
818-468-1528 or 661-435-8826.
04
or double cup filter can also be placed in the tool

Mainly used to clean
the grinding system.
You can use it to clean
the grinder and the
powder chamber.
You can clean the
grinder by cleaning
the plasma and the
powder outlet.
After removing the bean
hopper and the grinding
wheel, you can clean the
grinding chamber and the
powder- dispensing channel.
The other end of the cleaning
brush can be used to detach the
filter from the funnel.
Tamp the ground coffee downwards
When the edge of the tamper
is flush with the filter, it means
the most suitable amount of
powder
Double Wall Filters
Use double wall filters if using
pre-ground coffee. If you are new to coffee
making,we recommend using a double wall
filter.
Double wall filters regulate the pressure and help
to optimize the extraction regardless of the grind,
dose, tamp pressure or freshness.
Single Wall Filters
Use single wall filters if grinding
fresh whole coffee beans.
Single wall filters allow you to
experiment with grind, dose and tamp to
create a more balanced espresso.
NOTE: If the coffee powder exceed the
MAX line after being tamped, you
can continue to tamp. If the powder
are too firm to tamp down, take
some powder out and then re-tamp.
If the handle cannot be installed on the brewing head,
it may be that the powder exceeds the MAX line.
�
818-468-1528 or 661-435-8826.
Espresso Machine
05
818-468-1528 or 661-435-8826.
05
�
818-468-1528 or 661-435-8826.
Espresso Machine
06
Before the First Use
Install the Water Tank
OPERATING INSTRUCTIONS
OPERATING INSTRUCTIONS
Before the First Use
Remove all labels and packaging materials attached to the coffee machine and make sure all
accessories are present and undamaged.
Use warm water and mild dish detergent to clean accessories (water tank, handle, filters and drip tray)
and rinse thoroughly with clean water. Use a soft, damp cloth to dry the outer casing and the bean hopper
thoroughly.
Remove the red
sealant from the
bottom of the
water tank
Pour into the pure
drinking watcr
The water level
should not exceed
the "max" position
Install the water
tank
Install the bean
box
Press down the
bean box and
turn it clockwise
to load it
Align with the
red circle in the
picture
Water Shortage Reminder
flash and the machine buzzes � times.
818-468-1528 or 661-435-8826.
06
NOTE
�. In the preheating mode, the indicator flashes and indicator lights up at the same time.
�. In the standby mode, the , , and indicators light solidly, and the coffee machine
can be used normally.
OPERATING INSTRUCTIONS
Before the First Use
Remove all labels and packaging materials attached to the coffee machine and make sure al
accessories are present and undamaged
Use warm water and mild dish detergent to clean accessories (water tank, handle, filters and drip tray)
and rinse thoroughly with clean water. Use a soft, damp cloth to dry the outer casing and the bean box
thoroughly.
Remove the red
sealant from the
bottom of the
water tank
Pour into the pure
drinking watcr
The water level
should not exceed
the "max" position
Install the water
tank
Install the bean
box
Press down the
bean box and
turn it clockwise
to load it
Align with the
red circle in the
picture
Water Shortage Reminder
Press down the
bean hopper and
turn it clockwise
to load it
Install the bean
hopper
OPERATING INSTRUCTIONS
Before the First Use
Remove all labels and packaging materials attached to the coffee machine and make sure all;
accessories are present and undamaged.
Use warm water and mild dish detergent to clean accessories (water tank, handle, filters and drip tray)
and rinse thoroughly with clean water. Use a soft, damp cloth to dry the outer casing and the bean box
thoroughly.
Remove the red
sealant from the
bottom of the
water tank
Pour into the pure
drinking water
The water level
should not exceed
the "max" position
Install the water
tank
Install the bean
box
Press down the
bean box and
turn it clockwise
to load it
Align with the
red circle in the
picture
Water Shortage Reminder
flash and the machine buzzes � times.

�
Place a coffee cup. Choose single or
double cup
espresso.
Turn the funnel
into the brewing
head.
Choose single or
double wall filter
first.
Install the filter
into the funnel.
“
”
Turn the knob to
the
Use a cup to
collect a little bit
of hot water.
Turn off hot water
knob and the
cleaning is
finished.
.
818-468-1528 or 661-435-8826.
Espresso Machine
07
Place a coffee cup. Choose single or
double cup
espresso.
Place the funnel
into the grinder.
It automatically stops
after outputting the
set powder output
amount.
Make Espresso Coffee
818-468-1528 or 661-435-8826.
07
Coffee powder instructions
Customized coffee dose setting
To brew a single-cup coffee, it is recommended to load about �.�oz of coffee powder and tamp the
powder with a force of about ��.�kg. When the set coffee dose reaches about �oz, the machine
will stop working.
To brew a double-cup coffee, it is recommended to load about �.�oz of coffee powder and tamp the
powder with a force of about ��.�kg. When the set coffee dose reaches about �oz, the machine
will stop working.
As for brewed coffee, you can adjust the specific coffee dose of single-cup and double-cup
according to your needs as follows:
Long press the or button to enter the customized flow setting. The or button
will flash slowly and the machine will dispense coffee normally. When the required amount is
reached (adjustable coffee amount ranges from �.�oz (��ml) to ��.�oz (���ml), short press the
button, the machine returns to standby mode and the current brewing setting will be saved.
To restore the coffee dose to factory settings, long press the , , and
buttons.
�
�
818-468-1528 or 661-435-8826.
Espresso Machine
08
WARNING
WARNING
�. The reminder will also appear when coffee powder is too fine and the
machine cannot brew coffee.
�. At the same time, the machine buzzes five times and will not sound for
a long time.
�. If there is no operation one minute after reminding, the machine will
enter the standby mode.
818-468-1528 or 661-435-8826.
08
When the water tank is short of water, the machine will remind the user
to refill the tank. The four buttons flash and the machine buzzes five
times.

�
�. The steam function will generate high-temperature steam, please pay
attention to avoid scalding when using it.
�. After milk frothing, please turn the knob to the“ ”position in time.
If is not turned back, the Steam indicator will flash as an alarm.
818-468-1528 or 661-435-8826.
Espresso Machine
09
Make Frothing Milk
WARNING
Hold the bottom
of the milk cup
with left hand and
hold the handle
of the milk cup
with right hand.
Position the steam
tube arm and the
outlet as shown.
Turn off the steam
knob when the
milk cup is hot
enough.
Wipe the steam
tube and turn to
the steam knob
again to drain the
milk. Then turn
off the knob.
Milk froth finished.
Pour the frothing
milk into the
espresso prepared.
�
Pour in �/� cup of
fresh iced milk and
turn to the steam
knob to preheat the
steam.
Preheat for around
�s until the steam
releases stably, then
turn off the steam
knob.
Put the steam tube
into the milk cup,
soak �mm-�mm
of the steam tube
outlet into the milk.
Turn the knob to
the steam position.
�
�
�
�
�
� �
SLEEP MODE
818-468-1528 or 661-435-8826.
09

This machine has a descaling reminder function and descaling program. When the system detects that
the flow amount of the whole machine reaches �� liter, the descaling reminder function will be activated.
It is recommended to descale every �-� months. When in descaling mode, the machine runs at maximum
power and the entire program is expected to take about �� minutes to run.
��
:
:
Winter Storage Care
:
:
Winter Storage Care
818-468-1528 or 661-435-8826.
Espresso Machine
10
Descaling Instructions
IMPORTANT
NOTE
NOTE
CLEANING AND MAINTENANCE
818-468-1528 or 661-435-8826.
10
To avoid damage, use and store your Espresso Machine where it will not freeze.
Because some water remains inside the appliance,freezing can damage the product.
If storing or moving during freezing weather,purge your Espresso Machine.
If the coffee machine is placed in a low temperature environment for a long time,
please follow below steps:
Stepl: Remove the water tank
Step2: Turn on the coffee function or hot water for 10 seconds, completely release the
water, and ensure that the machine is completely thawed.
Winter Storage Care

�. In standby mode, keep pressing the and buttons, the machine will start the descaling process. The
indicators of and button keep on, and the CLEAN/DESCALE indicator flashes slowly.
��
A.
Descaling Preparation
After the descaling reminder is activated or before the user starts the descaling program independently,
please complete the following preparation before running the descaling program:
�. There is at least � liter of water in the water tank;
�. Empty the water tray and install it in place;
�. Turn on the appliance and put it in standby mode;
�. Insert the water tank into place, place a � liter container under the brewing head and another � liter
container under the steam tube.
Descaling Operation
818-468-1528 or 661-435-8826.
Espresso Machine
11
�. The cleaning function can be exited at any time by pressing the power button;
�. If the descaling cycle below is not started within � minute, the appliance will exit the
descaling cycle and return to standby mode.
NOTE
Descaling Methods
A. Fill the water tank with l liter of water. Add the descaling tablets and wait for the descaling tablets to
dissolve.
B. Add half a cup of liquid descaling agent into the water tank, then add � liter warm water to allow the
solution to mix thoroughly.
C. Add �.� scoops of white vinegar into the water tank, then add � liter warm water to allow the solution
to mix thoroughly.
818-468-1528 or 661-435-8826.
11
�. Start the descaling cycle.
● Turn the knob to position, the indicators of the and button keep on, and the Clean/Descale
and Steam/Hot water indicators flash slowly. The pump starts to work and the machine makes different
noises, and the hot water dispenses from the brewing head and the steam tube.
● The hot water will stop coming out from the brewing head and the steam tube within � minutes.
● Turn the knob to “●” position in � minutes or the machine will automatically exit from the descaling cycle.
The STEAM/HOT WATER indicator goes out while the CLEAN/DESCALE indicator keeps flashing slowly,
and the indicators of the and button keep on.
�. The steam tube and the brewing head need to be cleaned with fresh water to clear the descaling
solution inside.
● Clean the water tank and fill the water tank with water.
● Empty the containers and put them back.
● Turn the knob to the position. The indicator of the button flashes quickly while the indicator of
the button keeps on, and the CLEAN/DESCALE indicator flashes slowly.
● The pump starts to work and the machine makes different noises, and the hot water dispenses from the
brewing head and the steam tube.
�. The descaling cycle completed.
● The hot water will stop coming out within � minutes. The buzzer beeps once, the indicators of the
and button keep on, the CLEAN/DESCALE indicator goes out and the STEAM/HOT WATER indicator
flashes quickly.
● Turn the knob to the ● position, the machine returns to standby mode.
��
818-468-1528 or 661-435-8826.
Espresso Machine
12
A maximum of � minutes is allowed before completing Step � before
exiting from the descaling cycle.
Important
818-468-1528 or 661-435-8826.
12

��
Figure �: Cleaning channel location Figure �: Cleaning grinder wheel location
818-468-1528 or 661-435-8826.
Espresso Machine
13
Daily Maintenance of the Grinder
818-468-1528 or 661-435-8826.
13
How to Clean the Grinder
Clean the powder
channel with the brush.
Reinstall the empty
bean box but do not
install the grinding
wheel at this time .
Press the grind button. Let the grinder run to
sweep out the remaining
(If it is not cleaned, please repeat
steps �, and �)
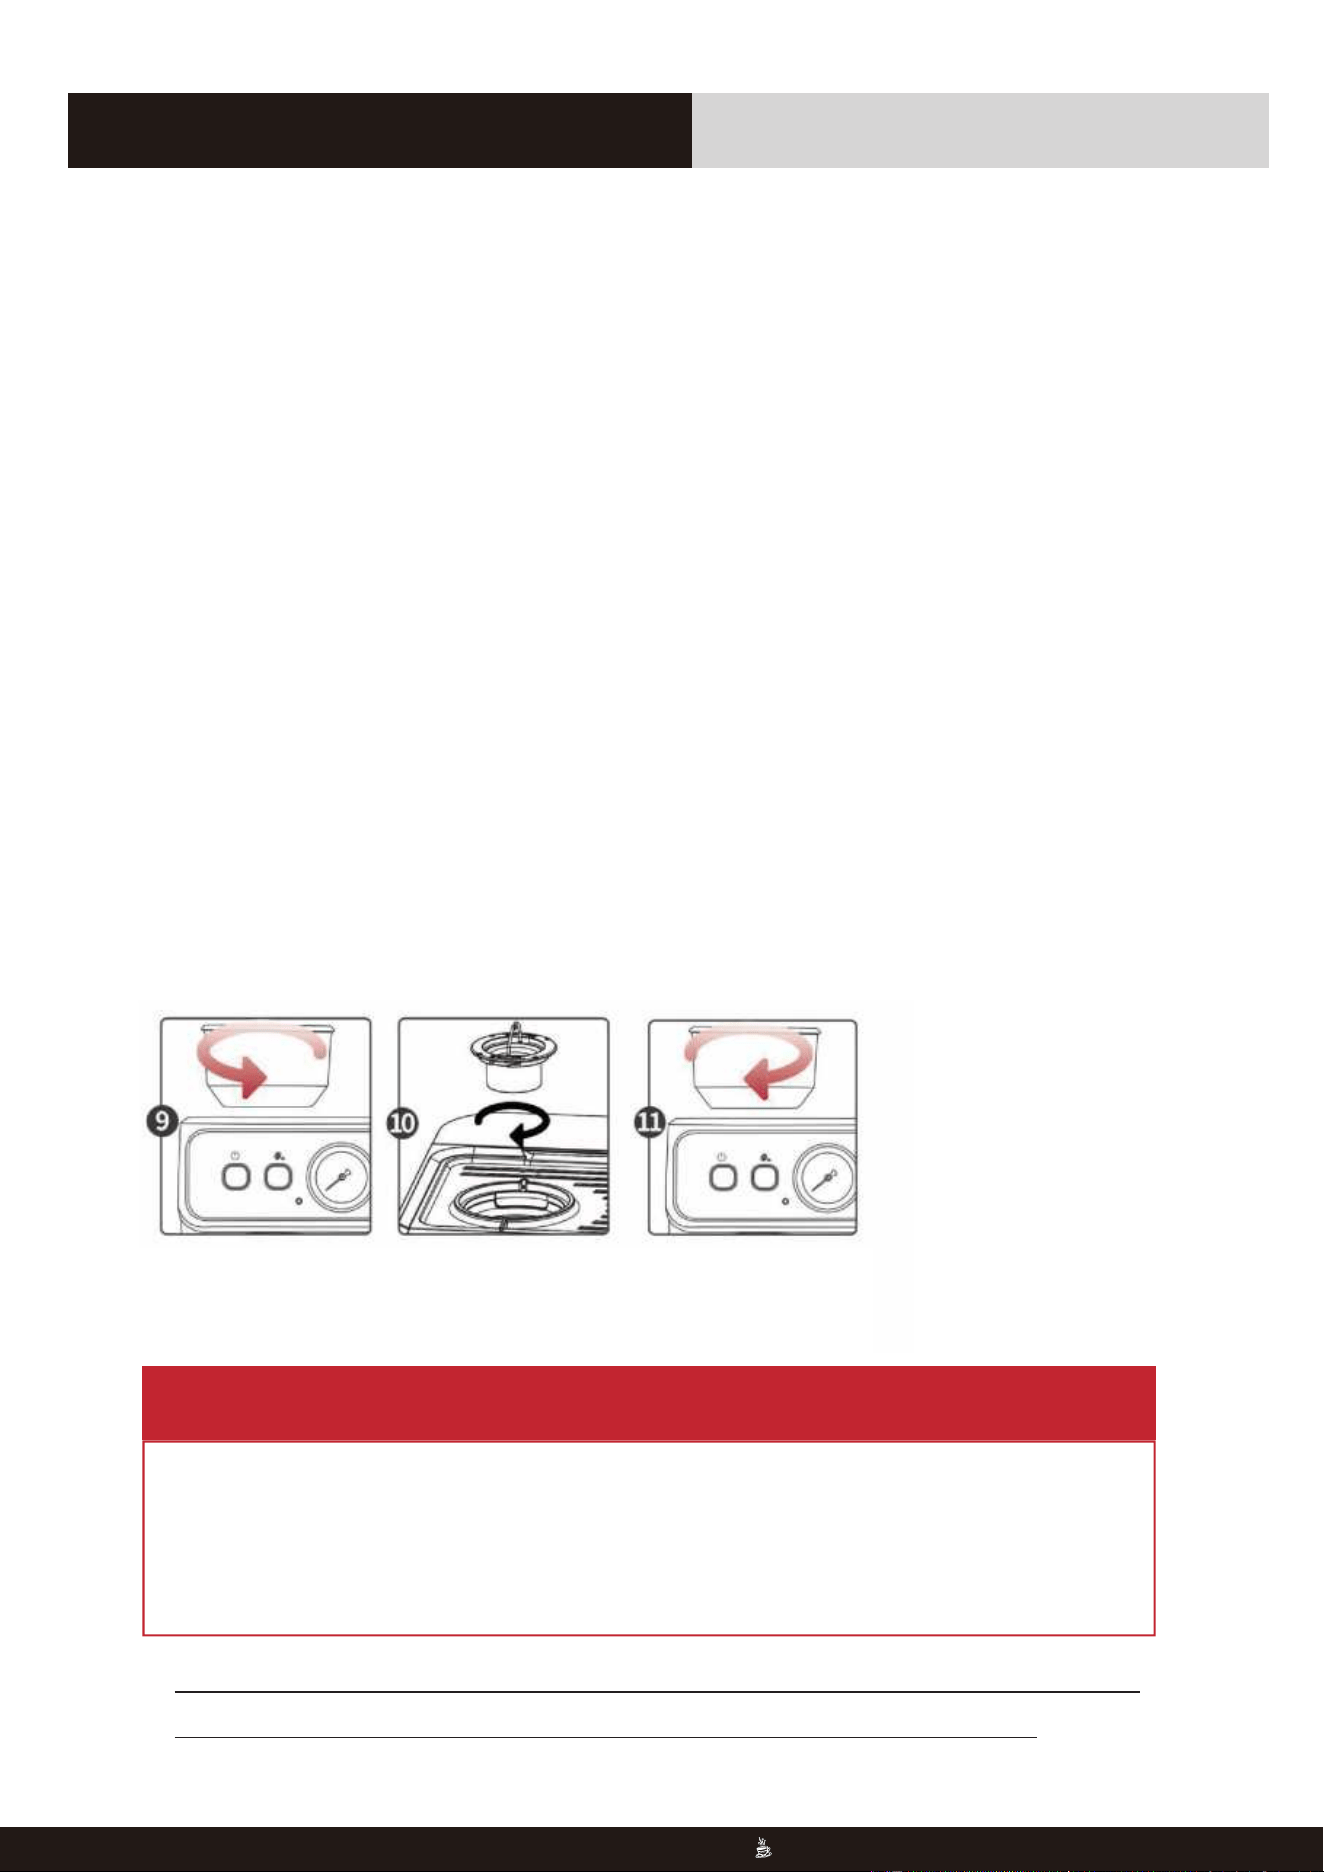
Turn the bean hopper
counterclockwise and
take out it.
Unscrew the internal
grinding wheel
counterclockwise.
After taking it out,
clean the grinding
wheel with a cleaning
brush.
Clean the grinding
chamber with a cleaning
brush.
Remove the bean hopper
by rotating it
counterclockwise.
Install the grinding
wheel clockwise.
Install the bean box by
rotating it clockwise.
��
818-468-1528 or 661-435-8826.
Espresso Machine
14
How to Clean the Grinder
NOTE
If you do not find the cause of the problem, please do not disassemble the
machine and you should contact your local maintenance agency.
�. When cleaning the bean grinder, please confirm that there are no beans in the
bean hopper, and when pressing the grinding button, the bean grinder can operate
normally and no coffee powder flows out of the powder outlet.
�. The grinding wheel cannot be washed directly with water.
818-468-1528 or 661-435-8826.
14
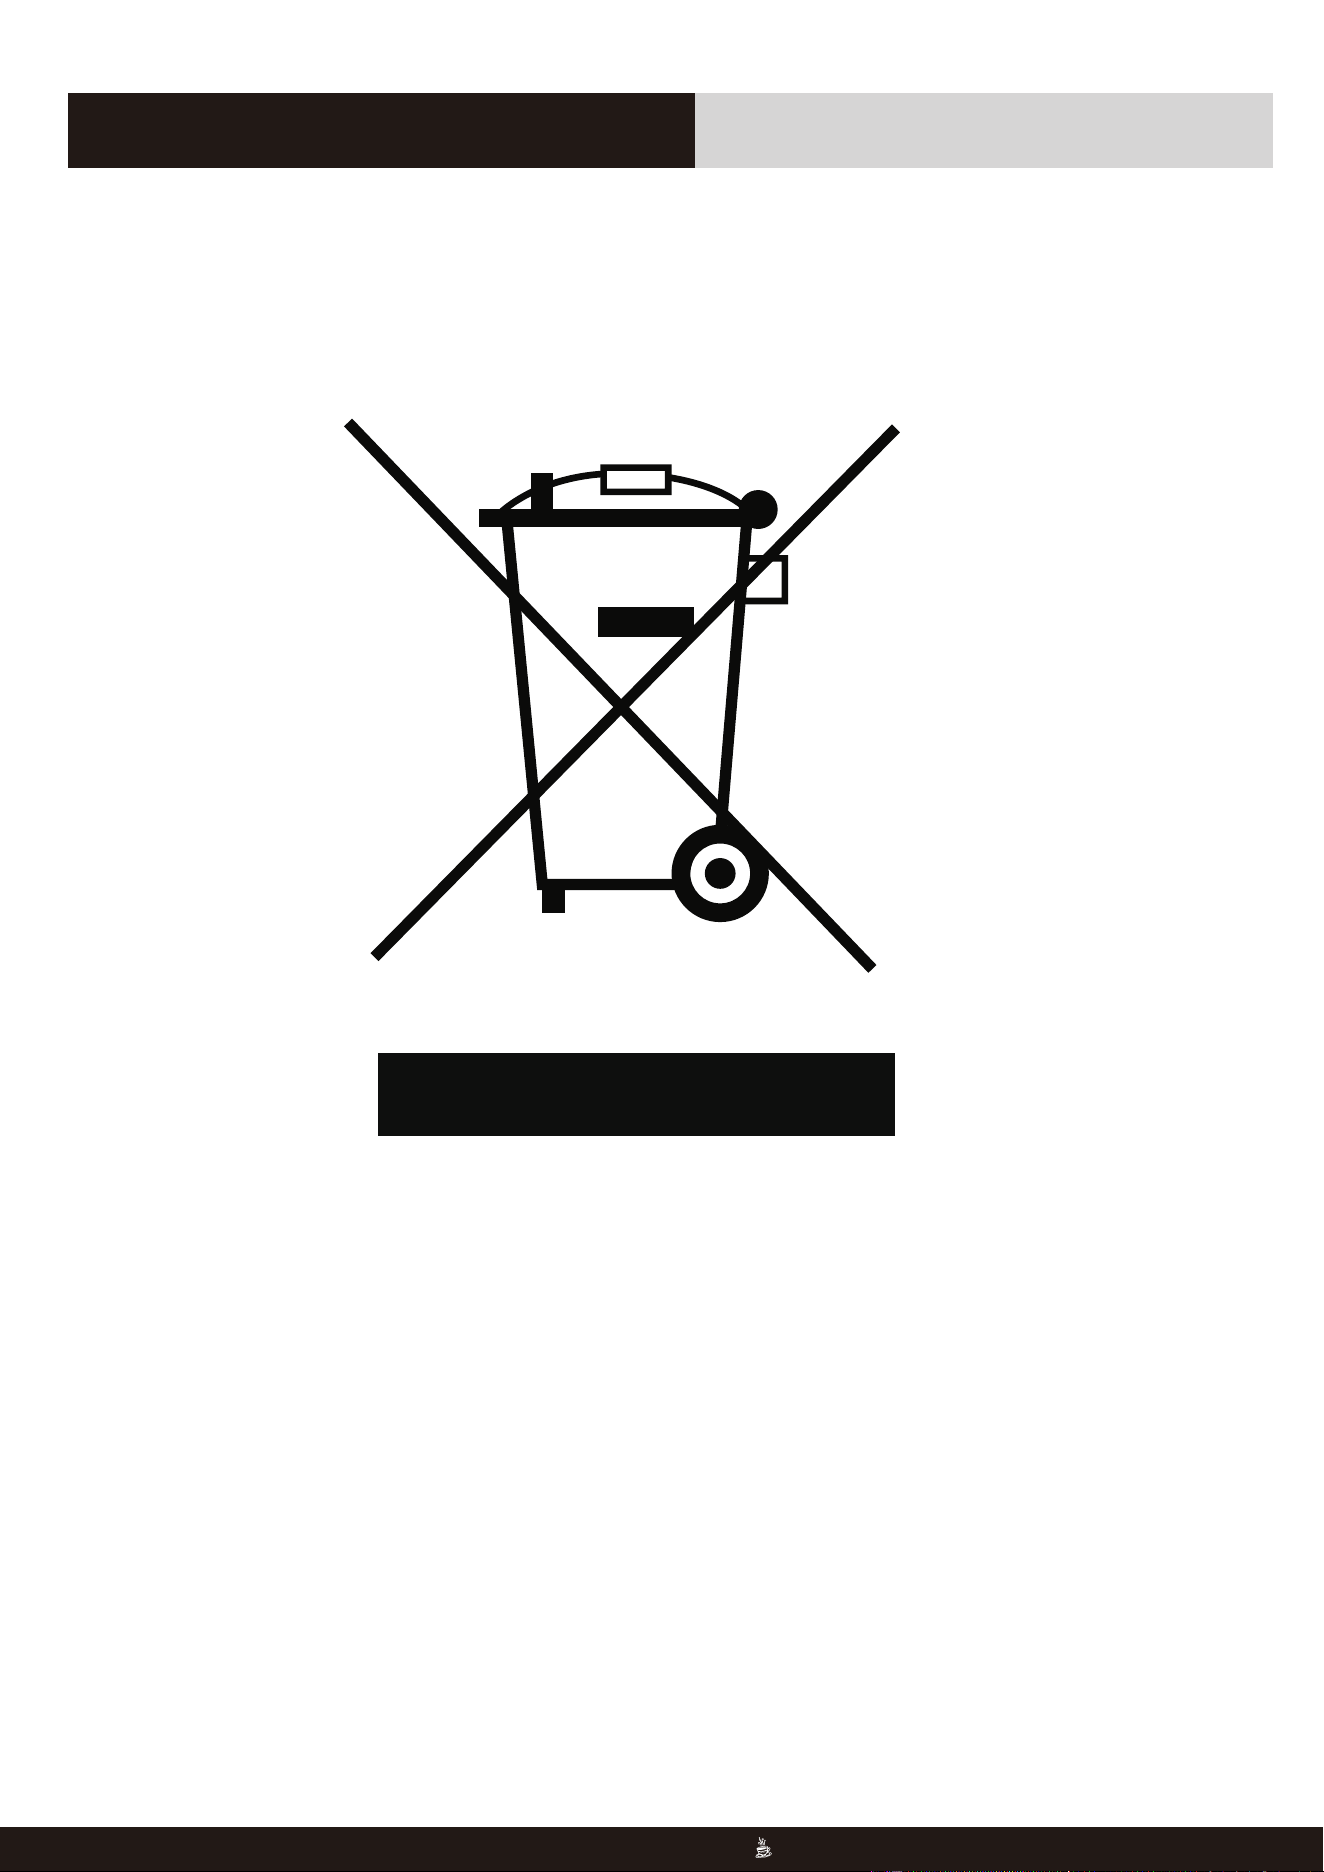
You can help protect the environment!
Strictly abide by the regulations: Please put the discarded electrical equipment
into the corresponding waste station for disposal.
��
818-468-1528 or 661-435-8826.
Espresso Machine
15
Environmental Protection
818-468-1528 or 661-435-8826.
15
��
818-468-1528 or 661-435-8826.
Espresso Machine
16
TROUBLESHOOTING
Malfunction
Reason
Solution
No display Check that the plug is in place
and Power button is pressed.
Insert the power plug, make sure
you press the Power button.
Install the bean hopper.
Make sure that the water tank and
the drip tray are installed in place,
and the drip tray is empty.
If the issue is not solved, please don't
disassemble the machine on your
own, but send it to local authorized
maintenance center for reparation.
The amount of powder should not
exceed the standard amount.
Adjust the grinding setting of the
grinder appropriately until it is
suitable. It should not be pressed
repeatedly with excessive force
when pressing the powder.
Choose fresh coffee beans and powder
with moderate grinding thickness to
make coffee.
The machine can only produce steam
after the machine is preheated in
steam mode.
The machine needs to be descaled
and use a cleaning needle to clean
the steam nozzle.
The machine can only produce
steam after the machine is
preheated in steam mode.
The machine needs to be descaled
and use a cleaning needle to clean
the steam nozzle.
The bean hopper is not installed.
The water tank or the water tray
is not installed in place.
The drip tray is full.
This is a normal phenomenon
and the sound is produced by
the normal operation of the
pressure control valve.
Excessive amount of coffee
powder, too fine coffee powder
or excessive pressure.
The coffee beans are damp
or the coffee powder is too
coarse.
The steam function is not
preheated. The steam nozzle
is blocked.
After steaming is completed,
the pressure needs to be
released to reduce the
temperature. At this time, other
operations cannot be performed.
The water pumping is used for
cooling down the heating
element quickly.
The indicator on the front panel
of the machine is red.
There are water marks on the
bottom of the machine.
You will hear a ticking sound after
starting the machine and a hissing
sound after the coffee is dispensed.
No coffee comes out from funnel,
or coffee does not come out from
funnel smoothly, or the funnel
cannot be installed in funnel
bracket properly.
Coffee without cream.
No steam.
Can't make coffee or hot water
immediately after the steam
comes out and the machine will
automatically pump water.
818-468-1528 or 661-435-8826.
16
ROWAN ELECTRIC APPLIANCE LLC
Phone: ���-���-���� or ���-���-����
���-���-���� or ���-���-����
���-���-����
���-���-����
���-���-����
���-���-����
���-���-����
���-���-����