Questions, problems, missing parts?
Before returning to your retailer, call our customer service at 1-800-887-6326.
Monday – Friday 9:00 a.m. – 5:00 p.m. CST
SKU Number: 343-4150
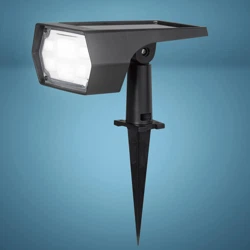
Low Voltage LED Path Light
Model Number: LV6011
221025
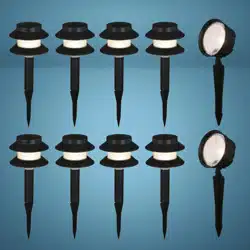
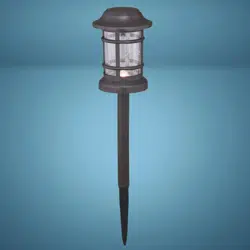
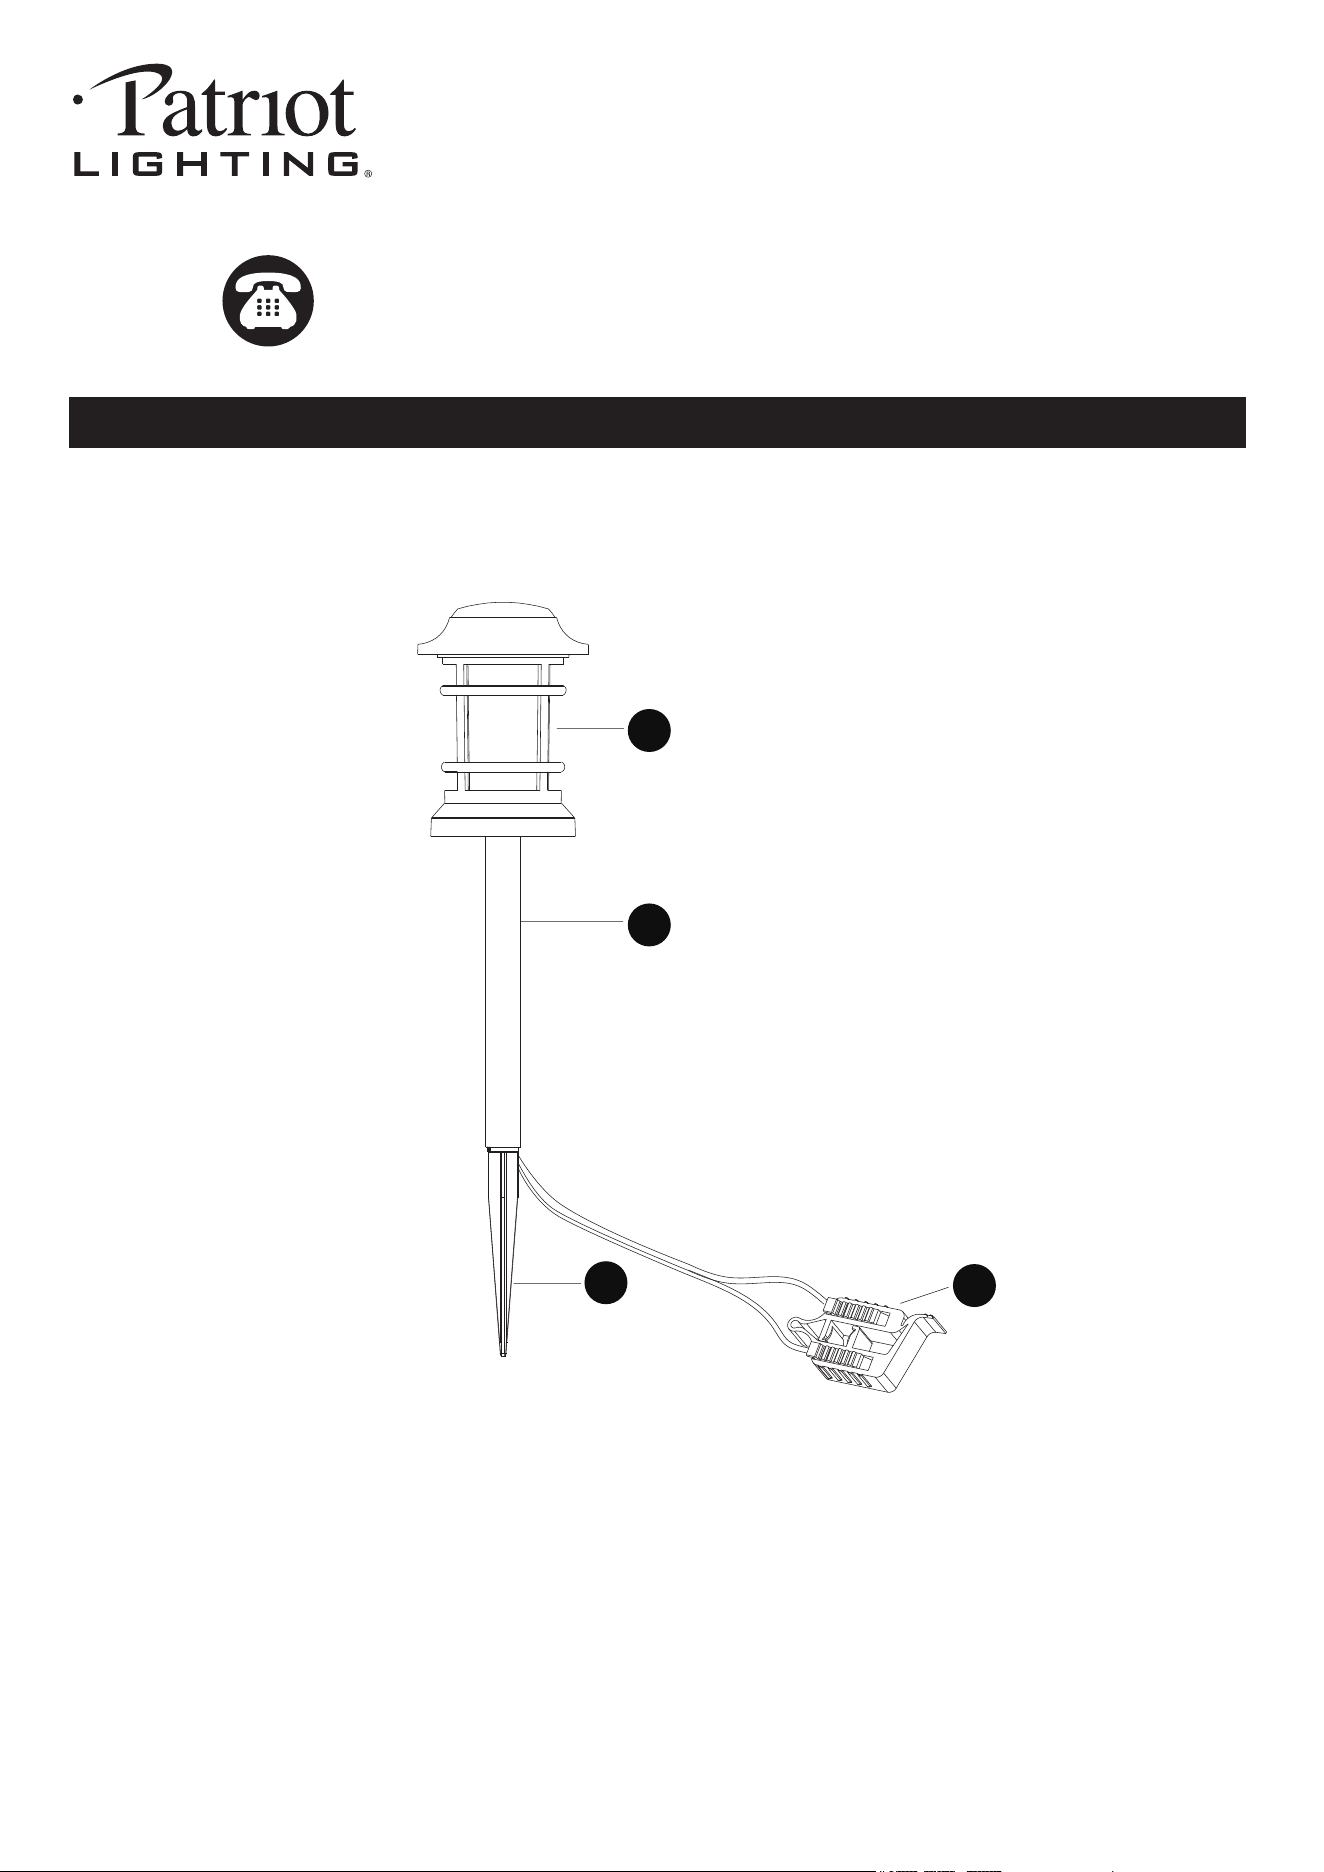
PACKAGE CONTENTS
A
B
C
D
Before beginning assembly, installation or operation of product, make sure all parts are present. Compare parts with
package contents list and diagram on previous page. If any part is missing or damaged, do not attempt to assemble,
install or operate the product. Contact customer service for replacement parts.
Tools Required for Assembly (not included): Phillips Screwdriver, Electrical Tape and Wire Cutters.
Page 2 of 3
SAFETY INFORMATION
PREPARATION
221025
ASSEMBLY INSTRUCTIONS
1
Please read and understand this entire manual before attempting to assemble, operate or install the product.
A
B
C
D
D
CAUTION
WARNING
Ground
This lighting fixture is only suitable for a 12V power supply.
This LED lamp is a highly efficient, extremely low wattage, energy saving product.
Use shielded cable for outdoor use in the following sizes: 18 AWG, 16 AWG, 14 AWG, 12 AWG.
Do not submerge in water.
Do not repair or modify this product.
The maximum power of the LED module is 1.7W.
15.2 cm
12"(30cm)
10 ft. (3m)
GFCI
Transformer
4
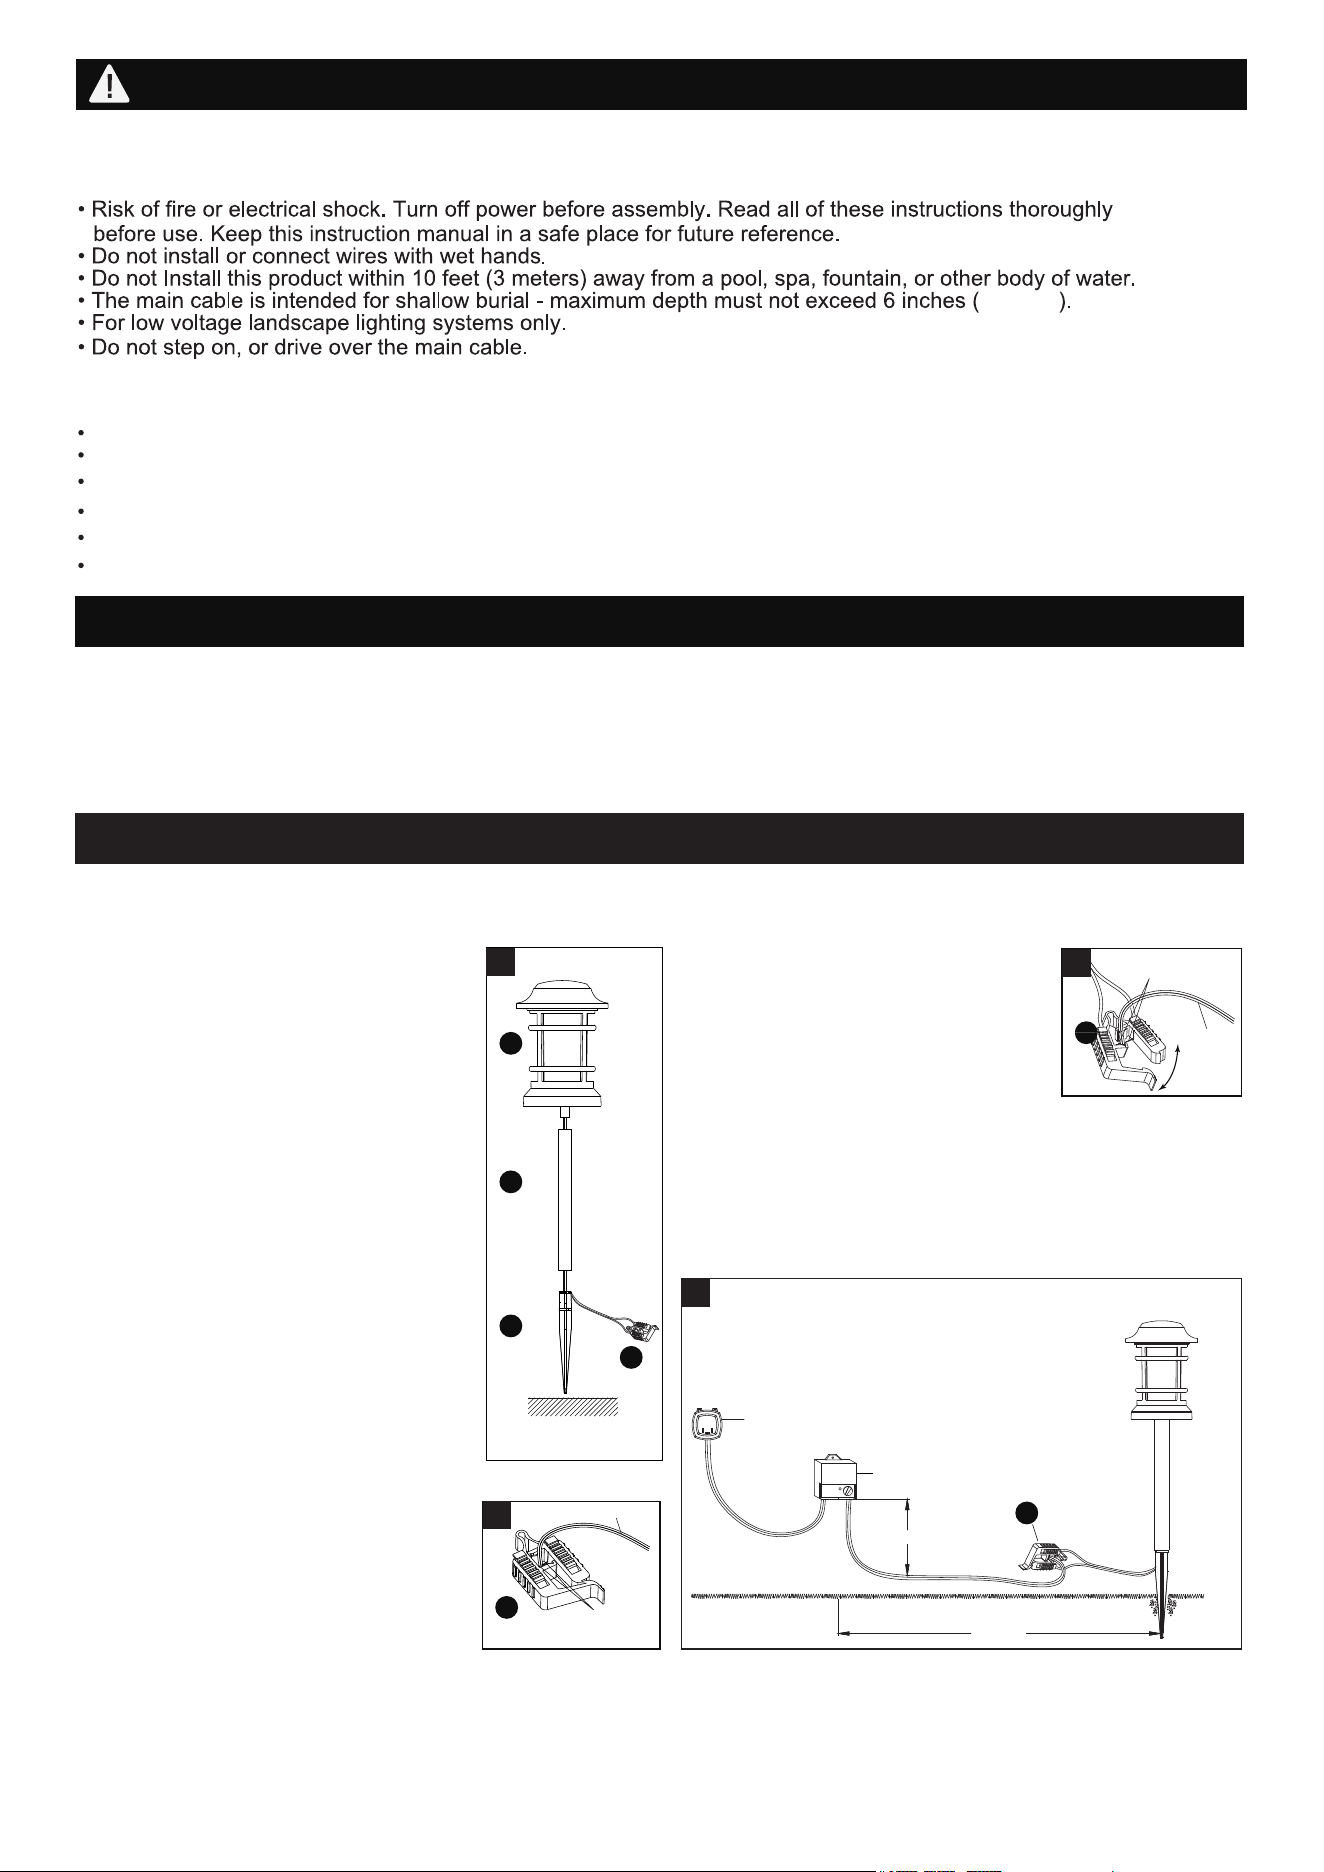
Fixture installation
1. Secure the tube (B) into the light
body (A), then secure the ground
stake (C) into the tube (B). Then gently
insert the ground stake (C) into the
ground.
Never push the fixture into the
ground by the fixture head.
Note: In compacted, clay, or
hard soils, moisten the ground
with water before inserting the
stake into the ground to avoid
breakage.
Fixture Assembly
Quick Connector
The connector (D) is intended for use
with 18 AWG, 16 AWG, 14 AWG or
12 AWG outdoor cables.
2. Open the connector (D) from the fixture wires and
insert the power cable from the transformer
(not included) into the connector (D). (Fig.2)
Contact Pin
Power Cable
2
D
3. Align the power cable with the contact
pins inside the connector (D) and
close the connector (D) (Fig.3),
making sure the contact pins pierce
the power cable.
Contact Pin
Power Cable
3
D
4. Attach the fixture to the power cable with the
connector (D). To insure uniform brightness the
first fixture should be a minimum of 10 feet
(3 meters) from the transformer (not included). (Fig.4)
TROUBLESHOOTING
CARE AND MAINTENANCE
Clean the glass with a non-abrasive cleaner. Do not use any cleaners with chemicals, solvents or harsh abrasives.
Use only a soft dry cloth to dust or wipe the lens area.
Page 3 of 3
221025
FIVE-YEAR LIMITED WARRANTY: If, during normal use, this PATRIOT LIGHTING lighting fixture breaks or fails
due to a defect in material workmanship within five (5) years from the date of original purchase, simply bring this
lighting fixture with the original sales receipt back to your nearest MENARDS retail store. At its discretion, PATRIOT
LIGHTING agrees to have the product or any defective part(s) repaired or replaced with the same or similar PATRIOT
LIGHTING product or part free of charge, within the stated warranty period, when returned by the original purchaser
with original sales receipt. This warranty; (1) excludes expendable parts including but not limited to light bulbs; (2) does
not cover damage that has resulted from abuse or misuse; and (3) does not cover any losses, labor, injuries to
persons/property or costs. This warranty does give you specific legal rights and you may have other rights, which vary
from state to state.
R
R
R
R
Questions, problems, missing parts?
Before returning to your retailer, call our customer service at 1-800-887-6326
Monday – Friday 9:00 a.m. – 5:00 p.m. CST
If the light does not work.
1. Make sure the switch and circuit breaker are on.
2. Make sure the wiring connection is correct.
3. Make sure the photocell is not exposed to light (if have photocell).
4. Make sure the connections between contact pins of connector and wires from power adaptor are in good condition.
If unable to fix any of the above issues, please consult a certified electrician.
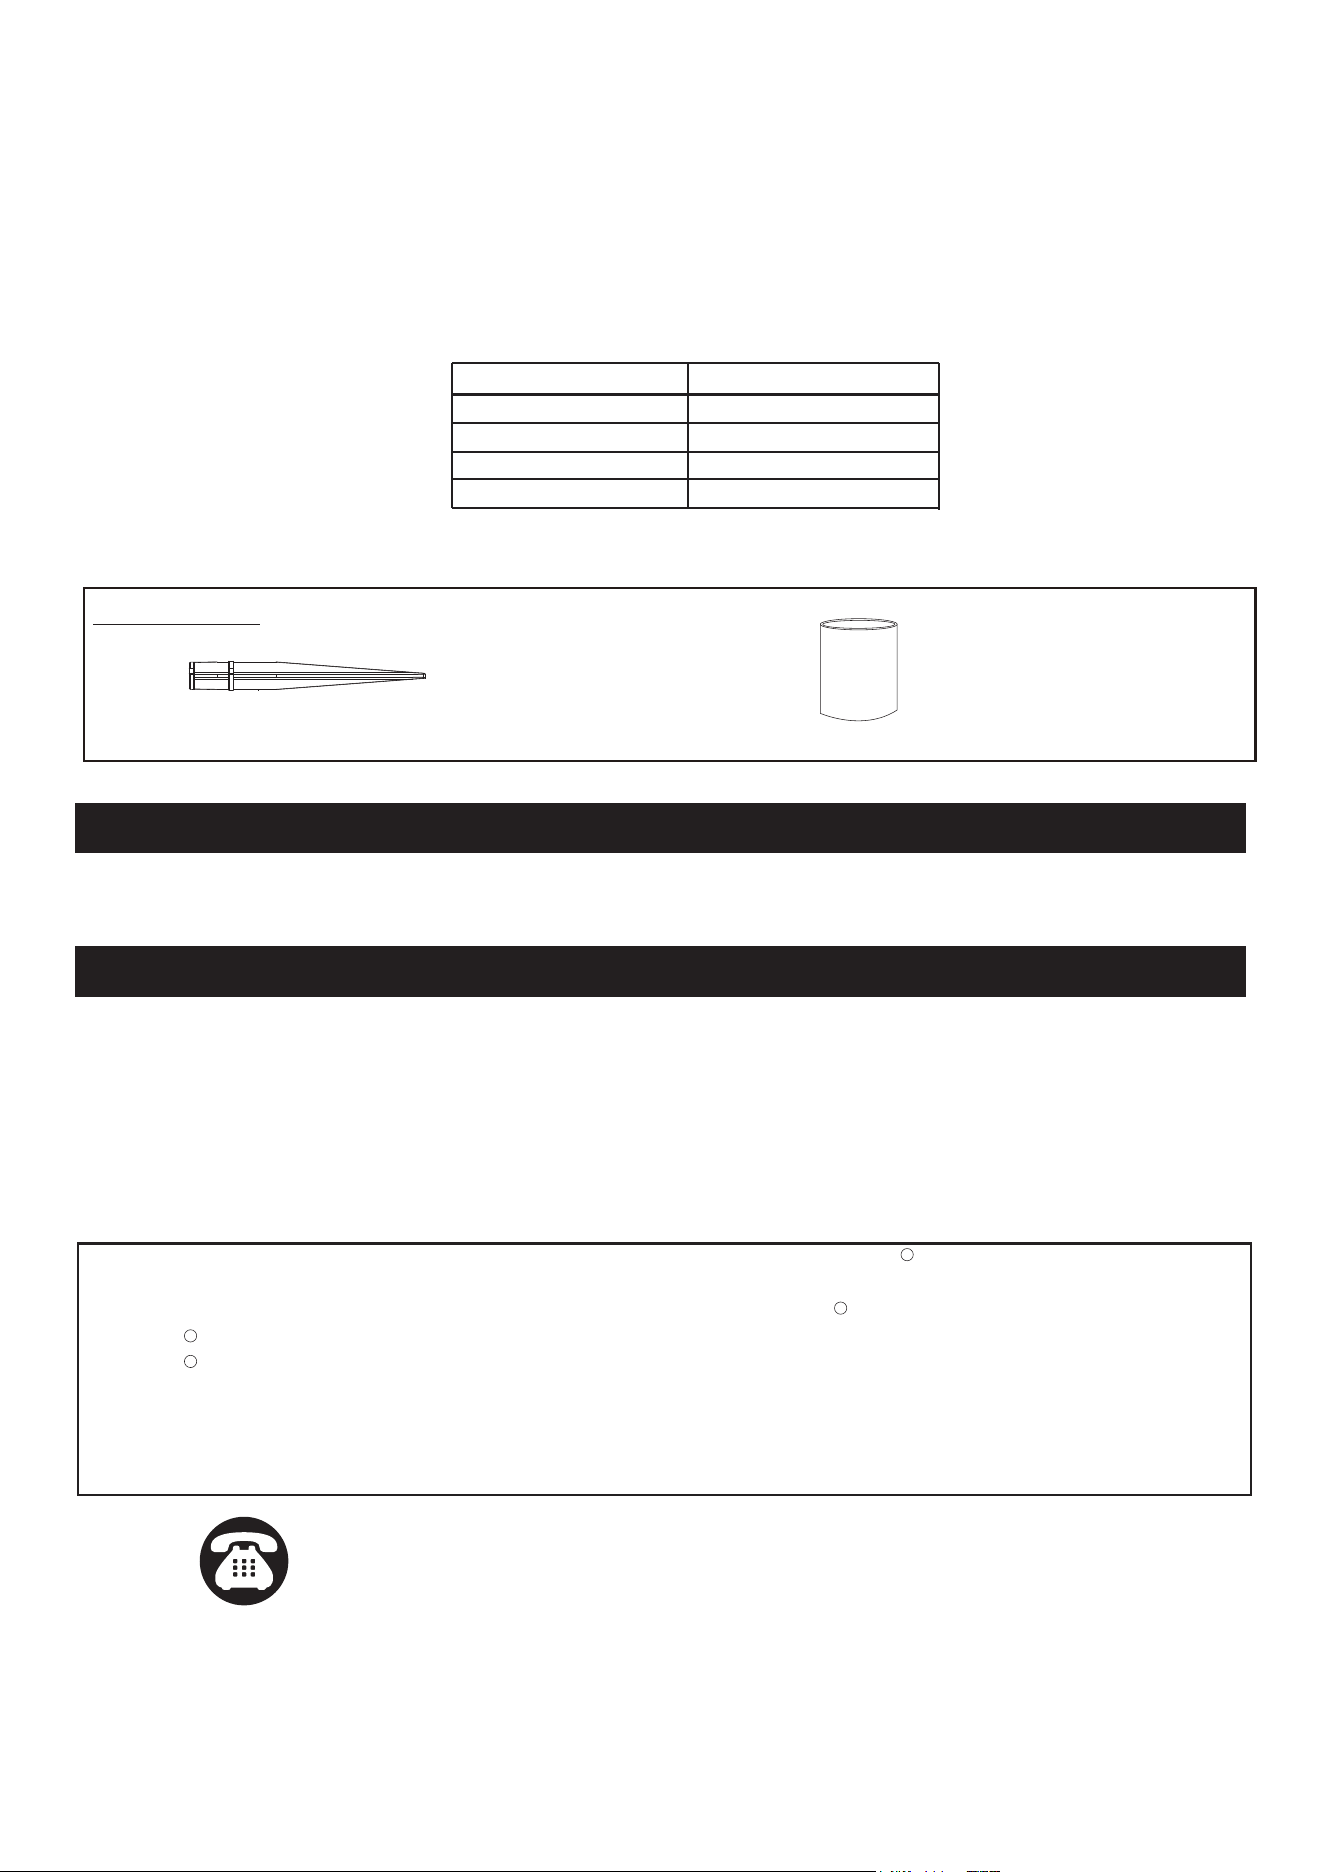
Ground Stake
X1
1084GS
Glass Shade
X1
9875CS
Spare Parts List:
Caution:
a. The included connector is to be used only on low voltage power cable with 18 AWG, 16 AWG, 14 AWG or
12 AWG cable.
b. The fixture's cable and connector shall:
● Be protected by routing in close proximity to the light fixture, or next to a building structure such as a house or deck.
● Not be buried except for a maximum 6 inches (15.2 cm) to connect to the main low voltage cable.
● Have a length such that the connector is within 6 inches (15.2 cm) from the light fixture or a building structure.
c. Do not use cable smaller than listed in chart below.
SELECT CABLE. Use the chart below to determine the MINIMUM gauge cable to be used, depending on the wattage
of the power pack. Using large cable will ensure maximum light output.
Power Pack Wattage
240-300 12
14-12
16-14-12
18-16-14-12
120-240
60-120
0-60
Minimum Gauge Cable
The following parts are available for reorder if damaged or missing. Call our toll-free at 1-800-887-6326.