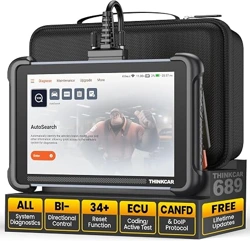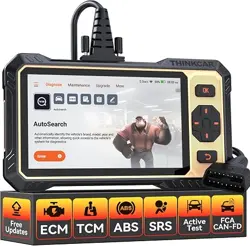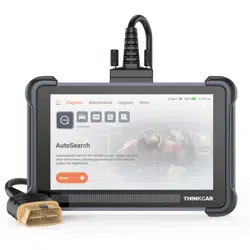
1. Charging & Turning On
There are two charging methods available:
Via Charging Cable: Plug one end of the included charging cable into the DC-IN port
of the tool, and the other end to the external DC power.
Via Diagnostic Cable: Insert one end of the diagnostic cable into the DB-15
connector of the tool, and the other end to the vehicle's DLC.
Once the charging LED illuminates solid green, it indicates that the battery is fully
charged. Press [POWER] to turn the tool on.
2. Register & Update
If this is your first time using this tool, you need to complete the following settings.
1. Initial Use
1. Email: Manages the email address for receiving diagnostic reports. Multiple email
addresses can be set and saved.
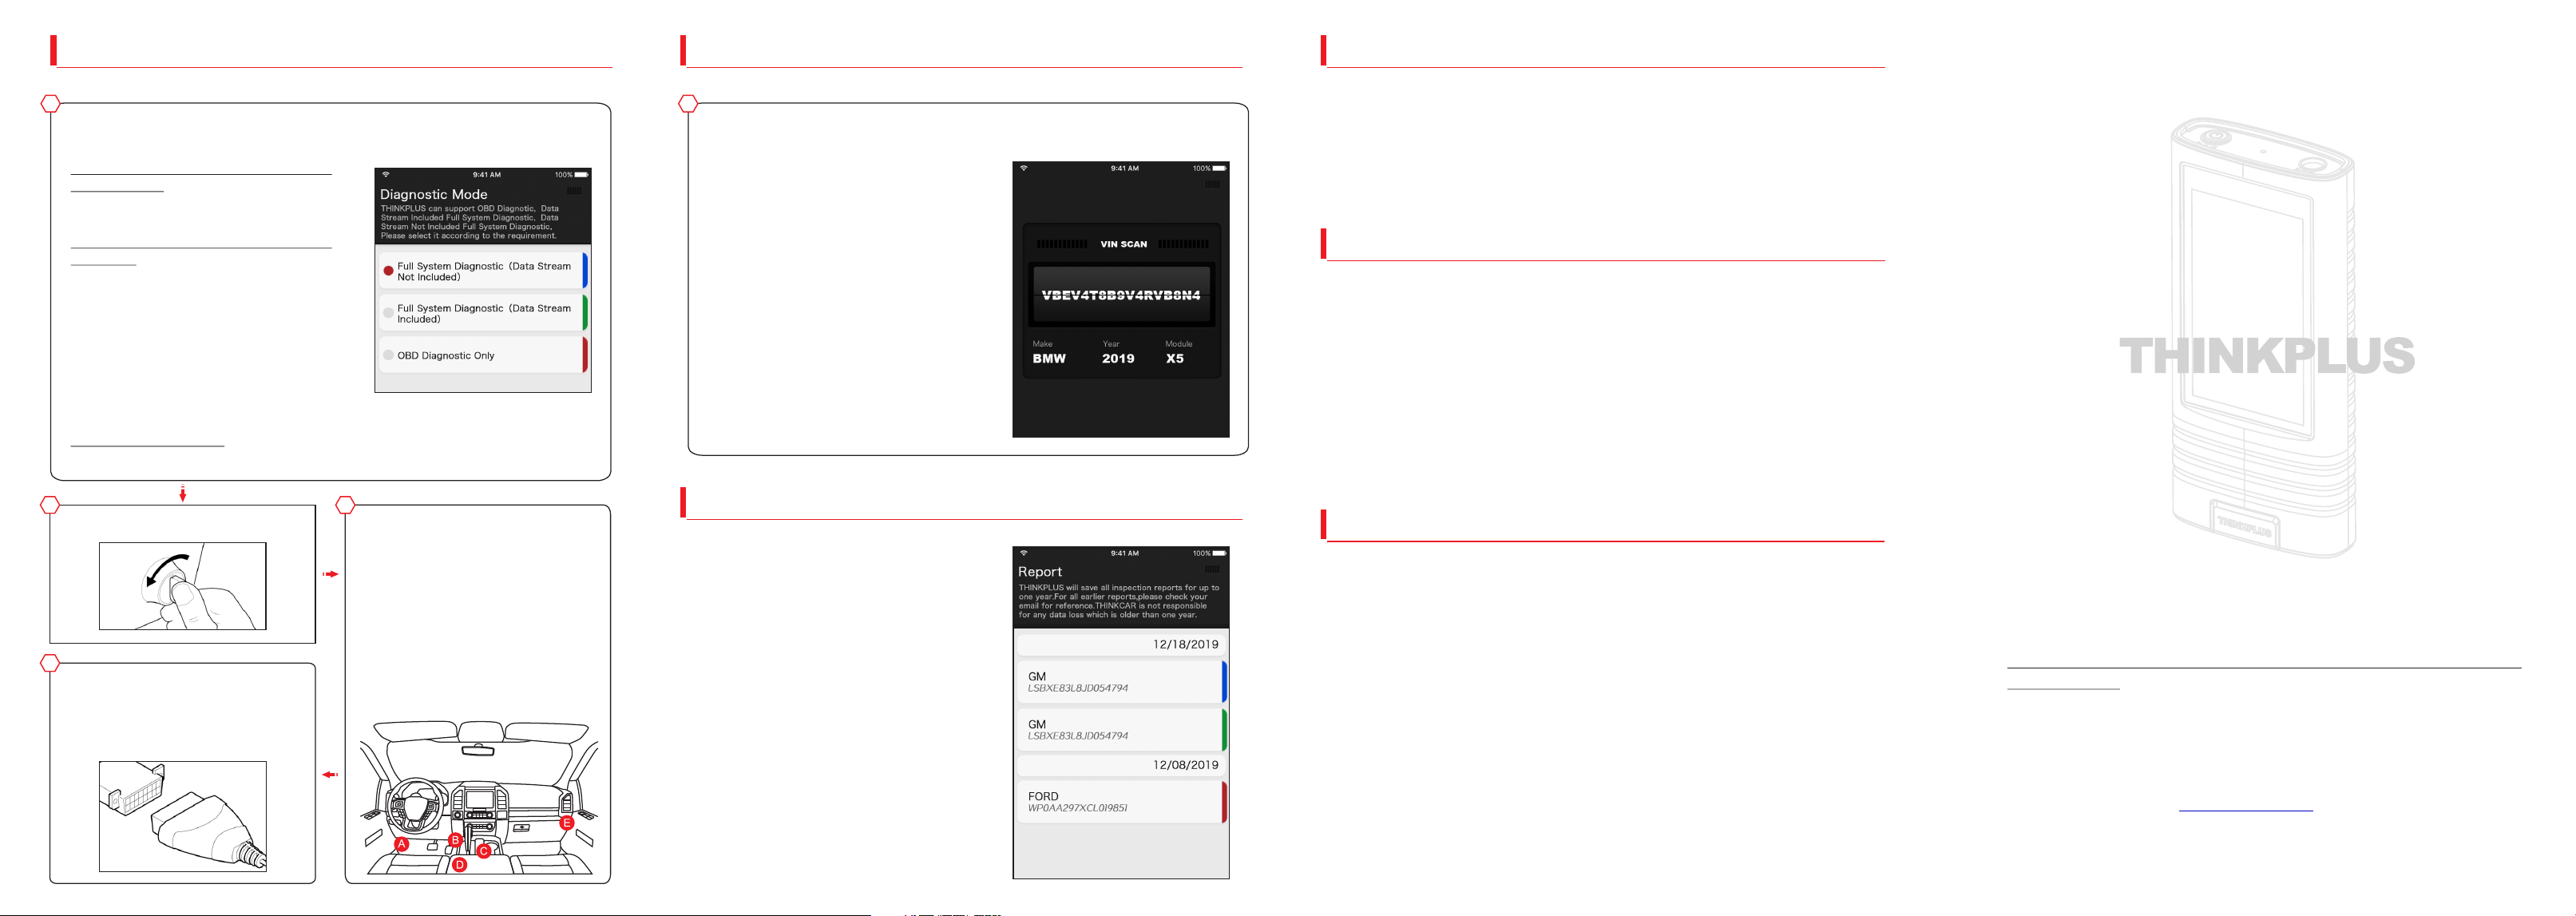
2. Diagnostic Mode: Use this item to assign the tool to execute the specific diagnostic
operation according to the application requirement.
,
and
3. Account Information: Allows you to modify the workshop information filled in the
registration process. Once you saved the information, it will be automatically appended
as a personalized "tag" on the diagnostic report each time the report is saved.
4. Diagnostic Software Upda
te: U
se this option to keep it synchronized with the latest
available software version.
5. Expiration Date: This item enables you to check the expiration date and renew your
subscription.
If the service period expires, tap "Renewal" to go to the renewal page. Follow the on-
screen instructions to finish the software subscription renewal.
6. Wi-Fi: Configures/change the Wi-Fi network.
7. Time Zone: This item lets ThinkPlus to automatically configure the system time
according to the selected time zone.
8. Feedback: This item is designed for you to feedback on y
our diagnostic problems to us
for analysis and troubleshooting.
9. Help: F
irmware Fix, Clean-up Cache, and Recovery are included (*
Be careful to
perform the Recovery operation since it will restore the
tool to the default factory
setting and clear all user data
).
10.System Version: Allows you to make an OTA update of the system.
11.ThinkPlus S/N: A unique ID (12-digits) is assigned for each ThinkPlus tool. It may be
required when enjoying the after-sales service in the future.
There are three diagnostic modes
available for your opt: OBD Diagnostic Full Syst
em
Diagnostic(Data Stream Included)
Full System Diagnostic(Data Stream Not Included).
To view all reports generated by
ThinkPlus.
* In general, ThinkPlus only saves all diagnostic reports for one year from the date the
report was created.
There are two function modules available on the Job Menu.
2. Job Menu
Reports
Settings
ThinkPlus is an evolutionary smart plug & play solution which is specialized in
automotive diagnostics. Users can achieve full vehicle system diagnosis without
any operation, just simply plug the device into the vehicle's DLC(Data Link
Connector) directly and then keep the vehicle ignition key on.
After diagnosis is completed, a diagnostic report will be generated on the
ThinkPlus tool and sent to the registered email address automatically (if bound).
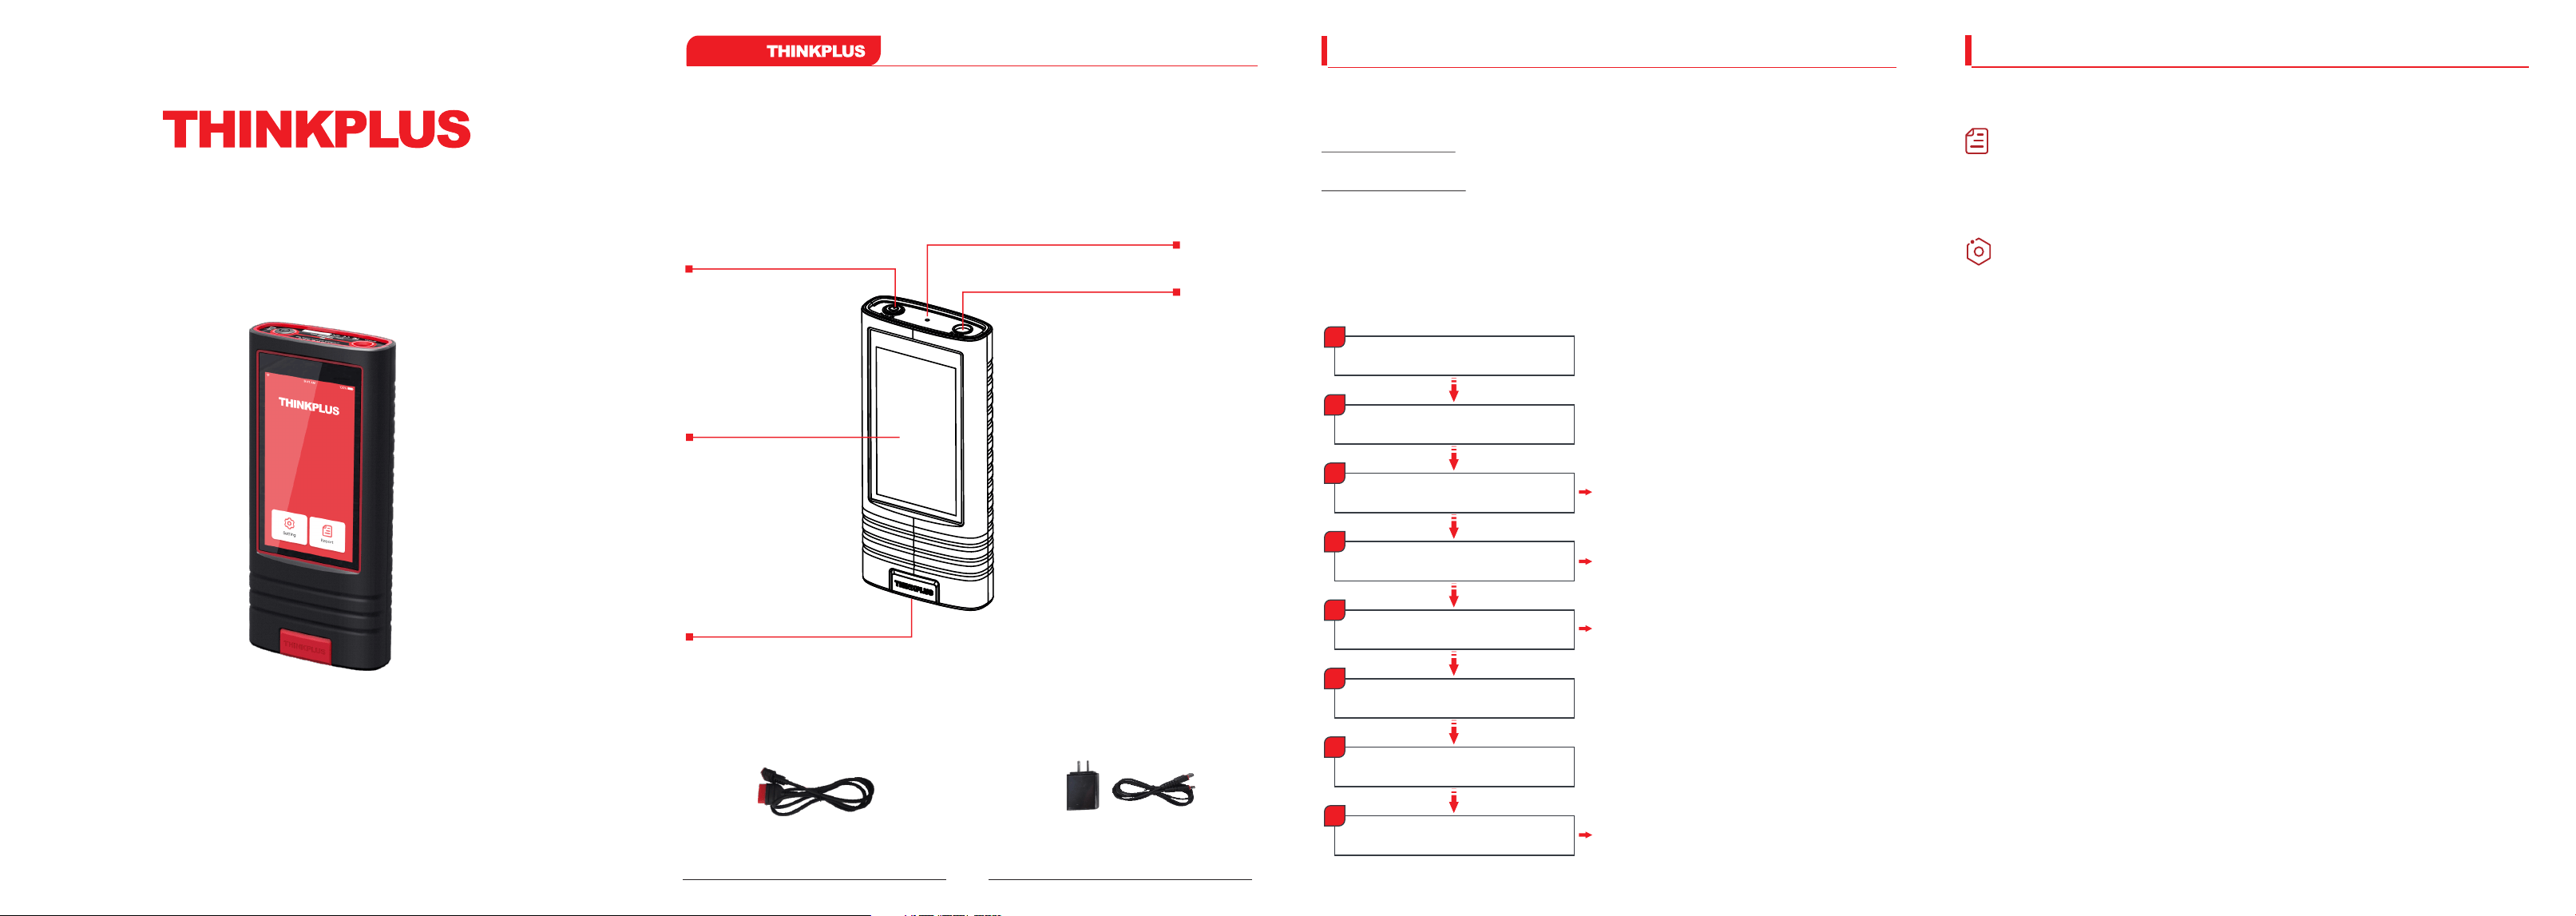
5 inch touch screen
Power/Screen lock key
DB-15 connector
DC-IN charging port
Power/Communication LED
Diagnostic cable Power adaptor
(Connects the tool to the vehicle's DLC) (To charge the tool via AC outlet)
Technical Parameters:
Screen: 5 inch touch screen OBD II voltage input range: 9V-18V
Working temperature: 14 F~122 F Storage temperature: -4 F~140 F
o o o o
Features:
Smart(Auto-Detect) Diagnosis:
Once the tool and the vehicle are
properly connected, the system
starts the auto-detect process.
Intelligent audio prompt all
through whole diagnosis session
Support email address set up and
report review
Support subscription renewal for
unlimited service
Different diagnostic modes
available to meet particular needs.
Update via Wi-Fi
Support auto sign-up
Tap [NEXT] on Welcome Screen
Select Time Zone
WiFi Setup
Input Email Address
Fill in Workshop Information
Agree User Agreement
Finish Registration
Check for Updates
1
2
3
4
5
6
7
8
*The Wi-Fi setup is mandatory. If there is no
available Wi-Fi network nearby, you can enable
a personal hotspot.
*After you configured it, the system will
automatically send the diagnostic report to the
email box every time a complete Auto-Detect
process is successfully finished.
*Once you saved the information, it will be
automatically appended as a personalized "tag"
on the diagnostic report each time the report is
saved.
*Updating to the latest diagnostic software can
help ThinkPlus obtain more accurate test
results. It is recommended to chec k for updates
on a regular basis to keep current with the latest
available software.
To make some system settings. It includes the following options:
Quick Start Guide
(Model: TKP01)
All information, illustrations, and specifications contained in this manual are based on the
latest information available at the time of publication. The right is reserved to make change
at any time without notice.
About
5. Renew Software Subscription
6. Precautions
If the service period is due, follow the steps below to renew the software
subscription:
1. Tap “Setting ”
2. Tap “Expiration Date ”
3. Tap “Renewal ” follow the on-screen prompts to finish the transaction.
.
.
,
1. Please use the DC 5V power adaptor to charge this tool. No responsibility can
be assumed for any damage or loss caused as a result of using power adaptors
other than the right one.
2. This tool is only compatible with the 12V
3. Don't connect or disconnect any test equipment while the ignition is on or the
engine is running.
4. Remember to remove the tool from the vehicle’s DLC after use.
5. Keep this tool dry, clean, free from oil/water, or grease. Use a mild detergent on
a clean cloth to clean the outside of the tool, when necessary.
passenger vehicles equipped with OBD
II diagnostic socket.
1. What to do if the system fails to start auto VIN detection?
Please check the tool is properly connected to the vehicle's DLC.
2. How to upgrade the system software?
1). Switch the tool on and ensure a stable internet connection.
2). Go to "Settings" -> "System Version " tap "Check version" to enter the system
upgrading page.
3). Follow the on-screen instructions step by step to finish the process. It may take
several minutes depending on the internet speed. Please be patient. After the
upgrade is successfully finished, the tool will automatically restart and enters
the Job menu.
3. What to do if the tool failed to communicate with the ECU?
In this case, please fix the firmware (“Setting” -> “Help” -> “Firmware Fix”) first,
and then have another try. If it still can not solve the problem, please feedback it to
us for analysis and troubleshooting using “Feedback” feature or call “1-833-692-
2766 ”
,
.
7. FAQ
3. Connection & Diagnostics
Go to "Settings" -> "Diagnostic Mode" to assign ThinkPlus to execute the
specific diagnostic operation according to different requirements.
Turn the ignition off.
Plug one end of the diagnostic
cable into the DB-15 connector of
the tool, and tighten the captive
screws. Connect the other end to
the vehicle's DLC.
Locate vehicle's DLC socket: It
provides standard 16 pins and is
generally located about 12 inches
away from the center of the
instrument panel, under or around
the driver’s side for most vehicles.
For some vehicles with special
designs, the DLC location may
vary.
Refer to the following figure for its
location.
Full System Diagnostics (Data Stream
Not Included): Make a full system diagnosis,
including reading ECU version information
and DTCs (Diagnostic Trouble Codes).
Full System Diagnostics (Data Stream
Included): Except for reading ECU version
information and DTCs, this option also allows
ThinkPlus to capture real-time vehicle Live
Data. This data, including operating
information (values/status) for each sensor,
actuator, switch etc. can provide insight on
overall vehicle performance. It can also be
used to guide vehicle repair. In this mod e, it
may take more time to finish the whole
process.
OBD Diagnostics Only: Only makes EOBD
diagnosis and checks for I/M Readiness.
*Note: Different kinds of reports are
labeled with different colors. It can be
easily identified in the Reports module.
1
2
4
3
3. Connection & Diagnostics
4. View Reports
After connection, turn the ignition key on, and the system enters the auto-
detect mode.
1. After the system successfully obtains
the VIN (Vehicle Identification
Number) information of the currently
identified vehicle, it will continue
scanning the vehicle systems. After
the scanning is complete, a diagnostic
report will be automatically generated
and sent to your email box (if bound).
2. If the tool failed to access the VIN
information, the system would
navigate to the Job Menu (*the tested
vehicle model is not supported on this
tool).
*CAUTION: Don't connect or disconnect any
test equipment with the ignition on or engine
running.
5
Tap "Report" on the Job Menu to check all
diagnostic reports.
All reports are listed in date sequence. Tap a
certain report to view its details.
Generally, a report consists of the following
parts:
1. Report name and issuer
2. Vehicle information (Including VIN,
Brand/model and Year etc.)
3. Inspection organization (The shop name and
address preset in process of the sign-up are
stamped here.)
4. Contents of the professional diagnostic
report (If DTCs are present in certain system, it
will highlighted in Red. Otherwise it will be
displayed in Black.)
5. Discla
imer
Thinkcar Tech Inc.
720 S Rochester Ave Unit B,
Ontario, CA 91761, USA
Tel: 1-833-692-2766
www.mythinkcar.com
If you have any questions on the operation of the unit, please contact local dealer or
Thinkcar Tech Inc: