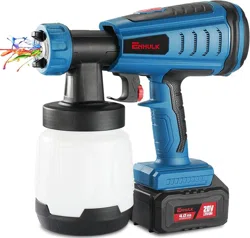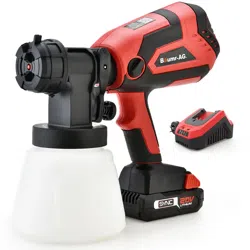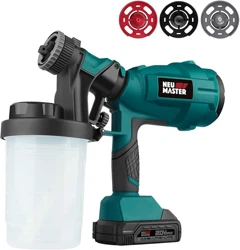

NSG0060-18
Cordless Spray Gun
Technical Data
Max. Viscosity 60 DIN-s
Rated Voltage 20V, DC Max.
Rated Power 243W
Flow Rate 700ml/min
Weight 1.45Kg
1
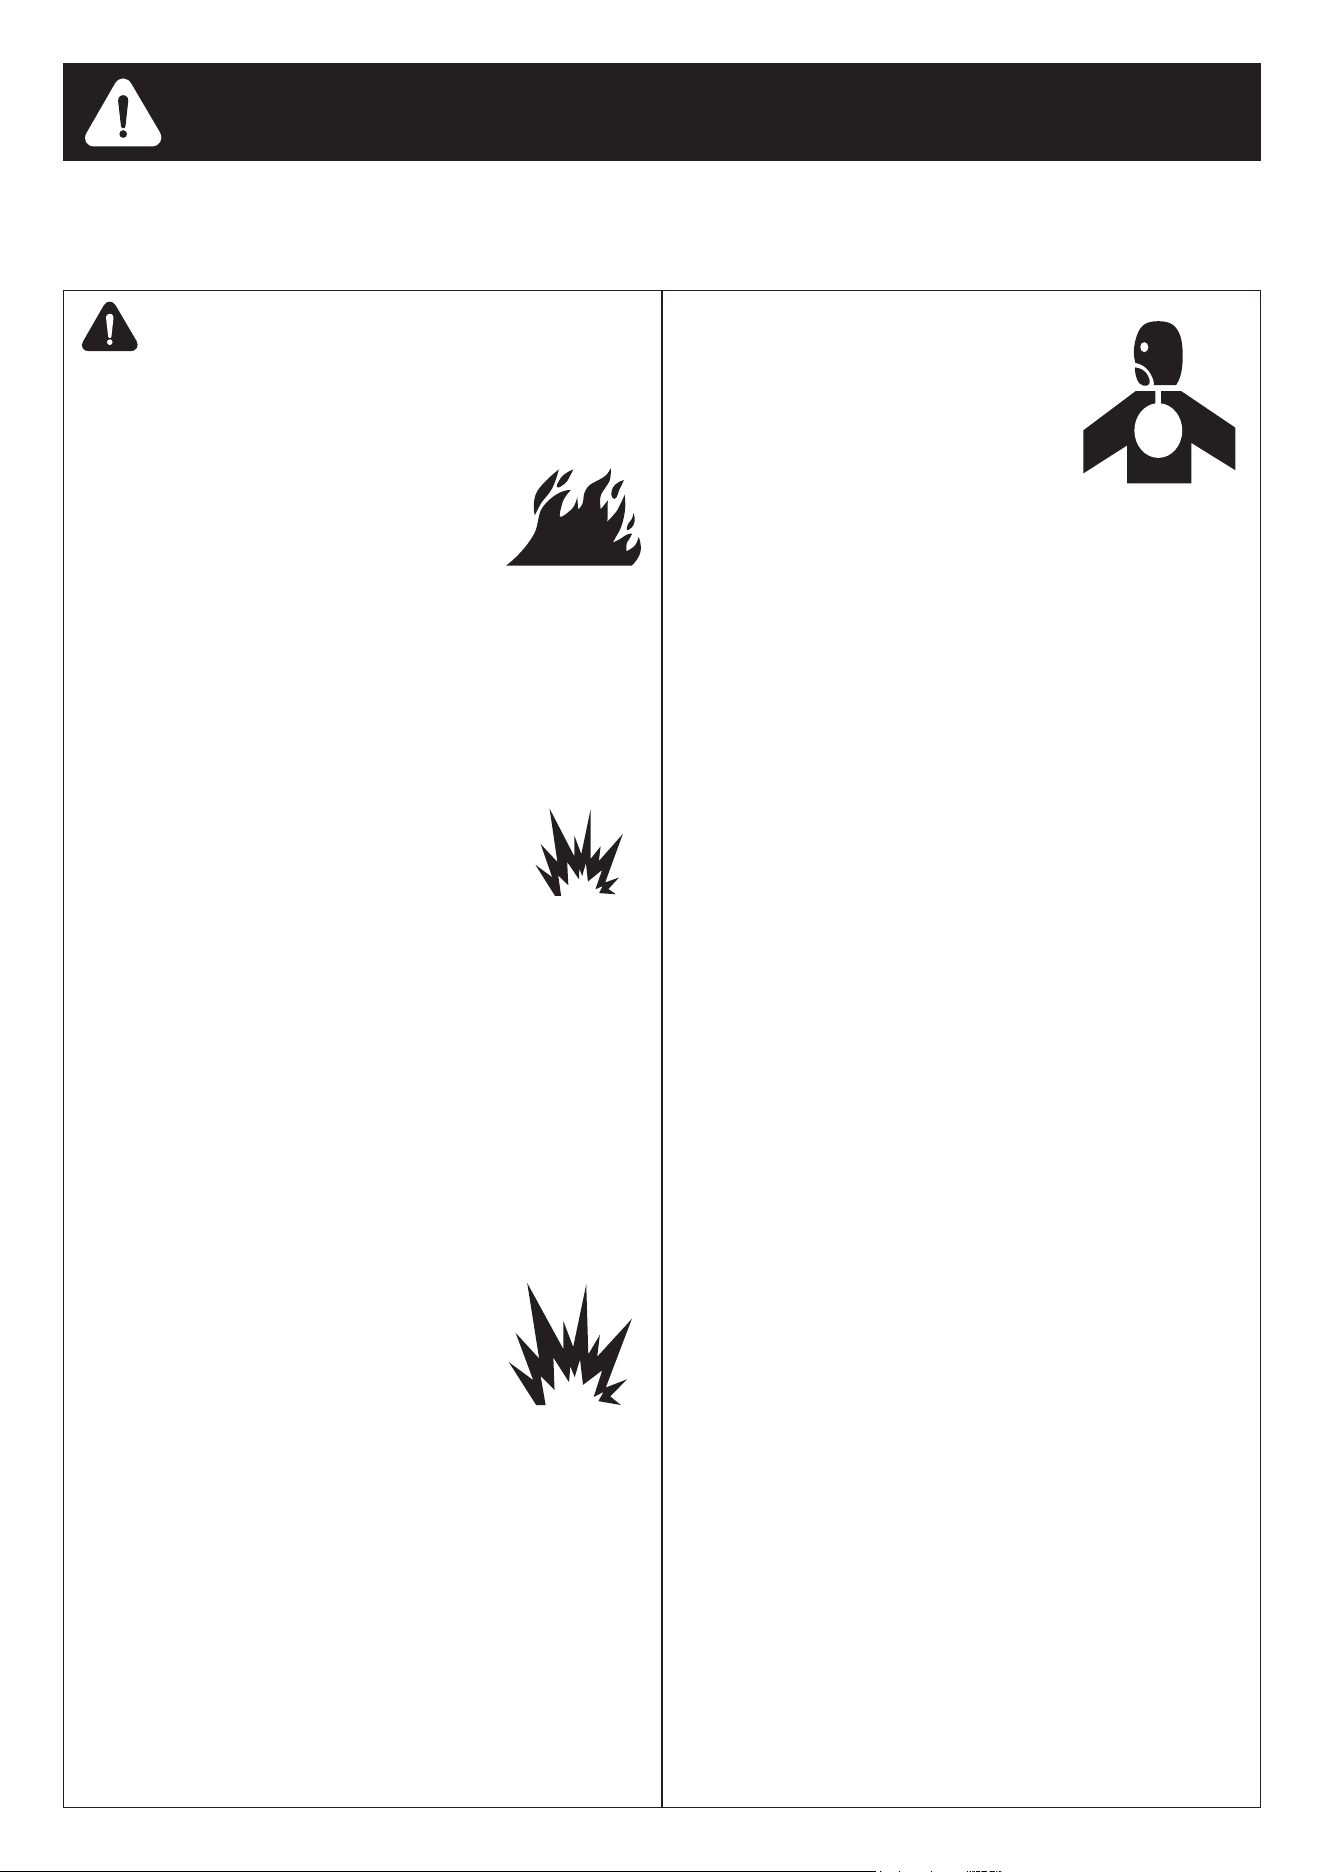
Danger: re and explosion
Gases volatilized by paint and its solvents can cause
explosions and res. This can lead to property
damage and serious injuries.
Precautions:
• In the work area, exhaust and fresh air must circulate
to prevent ammable gases from accumulating.
• Avoid all ignition sources such as static sparks, open
ames, beacons, hot objects, cigarettes, etc. If you
plug in or unplug the power cord and operatethe
work light switch, it may generate electrical sparks.
• Smoking is prohibited in the spray area.
• Fire extinguishers must be prepared on site
and the re extinguishers are good and effective.
• When working indoors, ensure good ventilation so
that ammable gases can be exhausted timely.
Then the ignition of the combustible gas is avoided by
sparks, which can be generated by the motor of the tool
• When preparing and cleaning components, must follow
the manufacturer's precautions for spraying materials,
solvents, and detergents.
• Do not spray ammable liquids.
• Plastic products are easy to generate static electricity and
it is forbidden toenclose the spray area with plastic products.
Danger: Using unsuitable solvents
can cause an explosion.
The explosion can cause property damage
and serious injury.
Precautions:
• Do not use bleach.
• Do not use halogenated hydrocarbon diluents such
as methylene chloride and 1,1,1-trichlorethylene.
They can react with aluminum and can cause an explosion.
If you are unsure about the material used and the reaction
with the aluminum, contact the supplier of enamel paint.
【
Important safety information
】
Please read all safety instructions before using appliance. Save these instructions.
Read all safety instructions in the manual to avoid hazards of re, explosion, electric shock, and personal
injury. Familiarize yourself with the correct use of the tool.
This symbol indicates that this may result in death or
serious injury. All related security measures are followed.
Danger: Harmful gases
Paints, solvents, pesticides, and
materials containing toxic substances
volatilize to produce toxic gases that
may be inhaled into the body to cause
nausea, fainting, and poisoning.
Precautions:
• Wear respiratory protection when spraying.
The operator must wear a respirator.
• Wear safety glasses (goggle).
• Protective clothing, gloves and, if necessary, skin protection
creams are required to protect the skin.
Danger: General
It can cause property damage and serious injuries.
Precautions:
• Read the operating instructions carefully and follow the
relevant instructions to avoid danger.
• Observe all local safety instructions, pay attention to
ventilation, re protection and operating instructions.
• Use only manufacturer-approved equipment and
components. Otherwise, it can cause danger.
• Do not use the tool in outdoor on rainy day.
• Wear protective equipment such as goggle, helmet,
clothing etc.
• Never direct the spray gun to people or animals.
2

【
Important safety information
】
Please read all safety instructions before using appliance. Save these instructions.
Safety instructions of battery pack and charging
1. Prevent unintentional starting. Ensure the switch is in the off-position before connecting to battery pack, picking up or
carrying the appliance.
2. Disconnect the battery pack from the appliance before making any adjustments, changing accessories, or storing appliance.
Such preventive safety measures reduce the risk of starting the appliance accidentally
3. Do not open the battery pack, it can cause short circuit of battery.
4. Do not expose battery pack to high temperature (such as sunlight, etc.), re, water and moisture condition. These may
cause explosion. Do not expose a battery pack or appliance to re or excessive temperature. Exposure to re or temperature
above 130°C may cause explosion.
5. When battery pack is not in use, keep it away from other metal objects, like paper clips, coins, keys, nails, screws
or other small metal objects, that can make a connection from one terminal to another. Shorting the battery
terminals together may cause burns or a re.
6. Under abusive conditions, liquid may be ejected from the battery; avoid contact. If contact accidentally occurs, ush with water.
If liquid contacts eyes, additionally seek medical help. Liquid ejected from the battery may cause irritation or burns
.
7. Use appliances only with specically designated battery packs. Use of any other battery packs may create a risk of injury and re.
8. Do not use a battery pack or appliance that is damaged or modied. Damaged or modied batteries may exhibit
unpredictable behavior resulting in re, explosion or risk of injury.
9. Recharge only with the charger specied by the manufacturer. A charger that is suitable for one type of battery pack may
create a risk of re when used with another battery pack.
10. Follow all charging instructions and do not charge the battery pack or appliance outside of the temperature range
specied in the instructions. Charging improperly or at temperatures outside of the specied range may damage
the battery and increase the risk of re.
11. Do not modify or attempt to repair the appliance or the battery pack (as applicable) except as indicated in the instructions
for use and care.
12. Have servicing performed by a qualied repair person using only identical replacement parts. This will ensure that the safety of
the product is maintained.
3

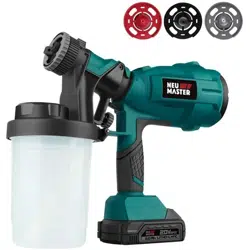
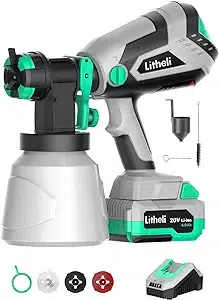
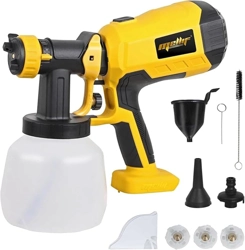
Packing List & Components
Battery
pack
Handle
Lock of
tank
Trigger
Gun
assembly
Seal ring Nozzle
guard
Nozzle Pattern size
adjust knob
Pattern
Adjusting
knob
Nozzle + Sealing
Wrench Nozzle
unclogging
needle
Brush
Charger
Nut
Viscosity
cup
Flow
regulator
Tank
Air filter
Fanassembly
ring
NO. Name Quantity
1 Gun assembly 1
2 Fan assembly 1
3 Battery pack 1
4 Viscosity cup 1
5 Nozzle + Sealing ring 2 set (ɸ2, 0mm, ɸ3 0mm)
6 Wrench 1
7 Nozzle unclogging needle 1
8 Brush 1
9 Charger 1
4
Assembly
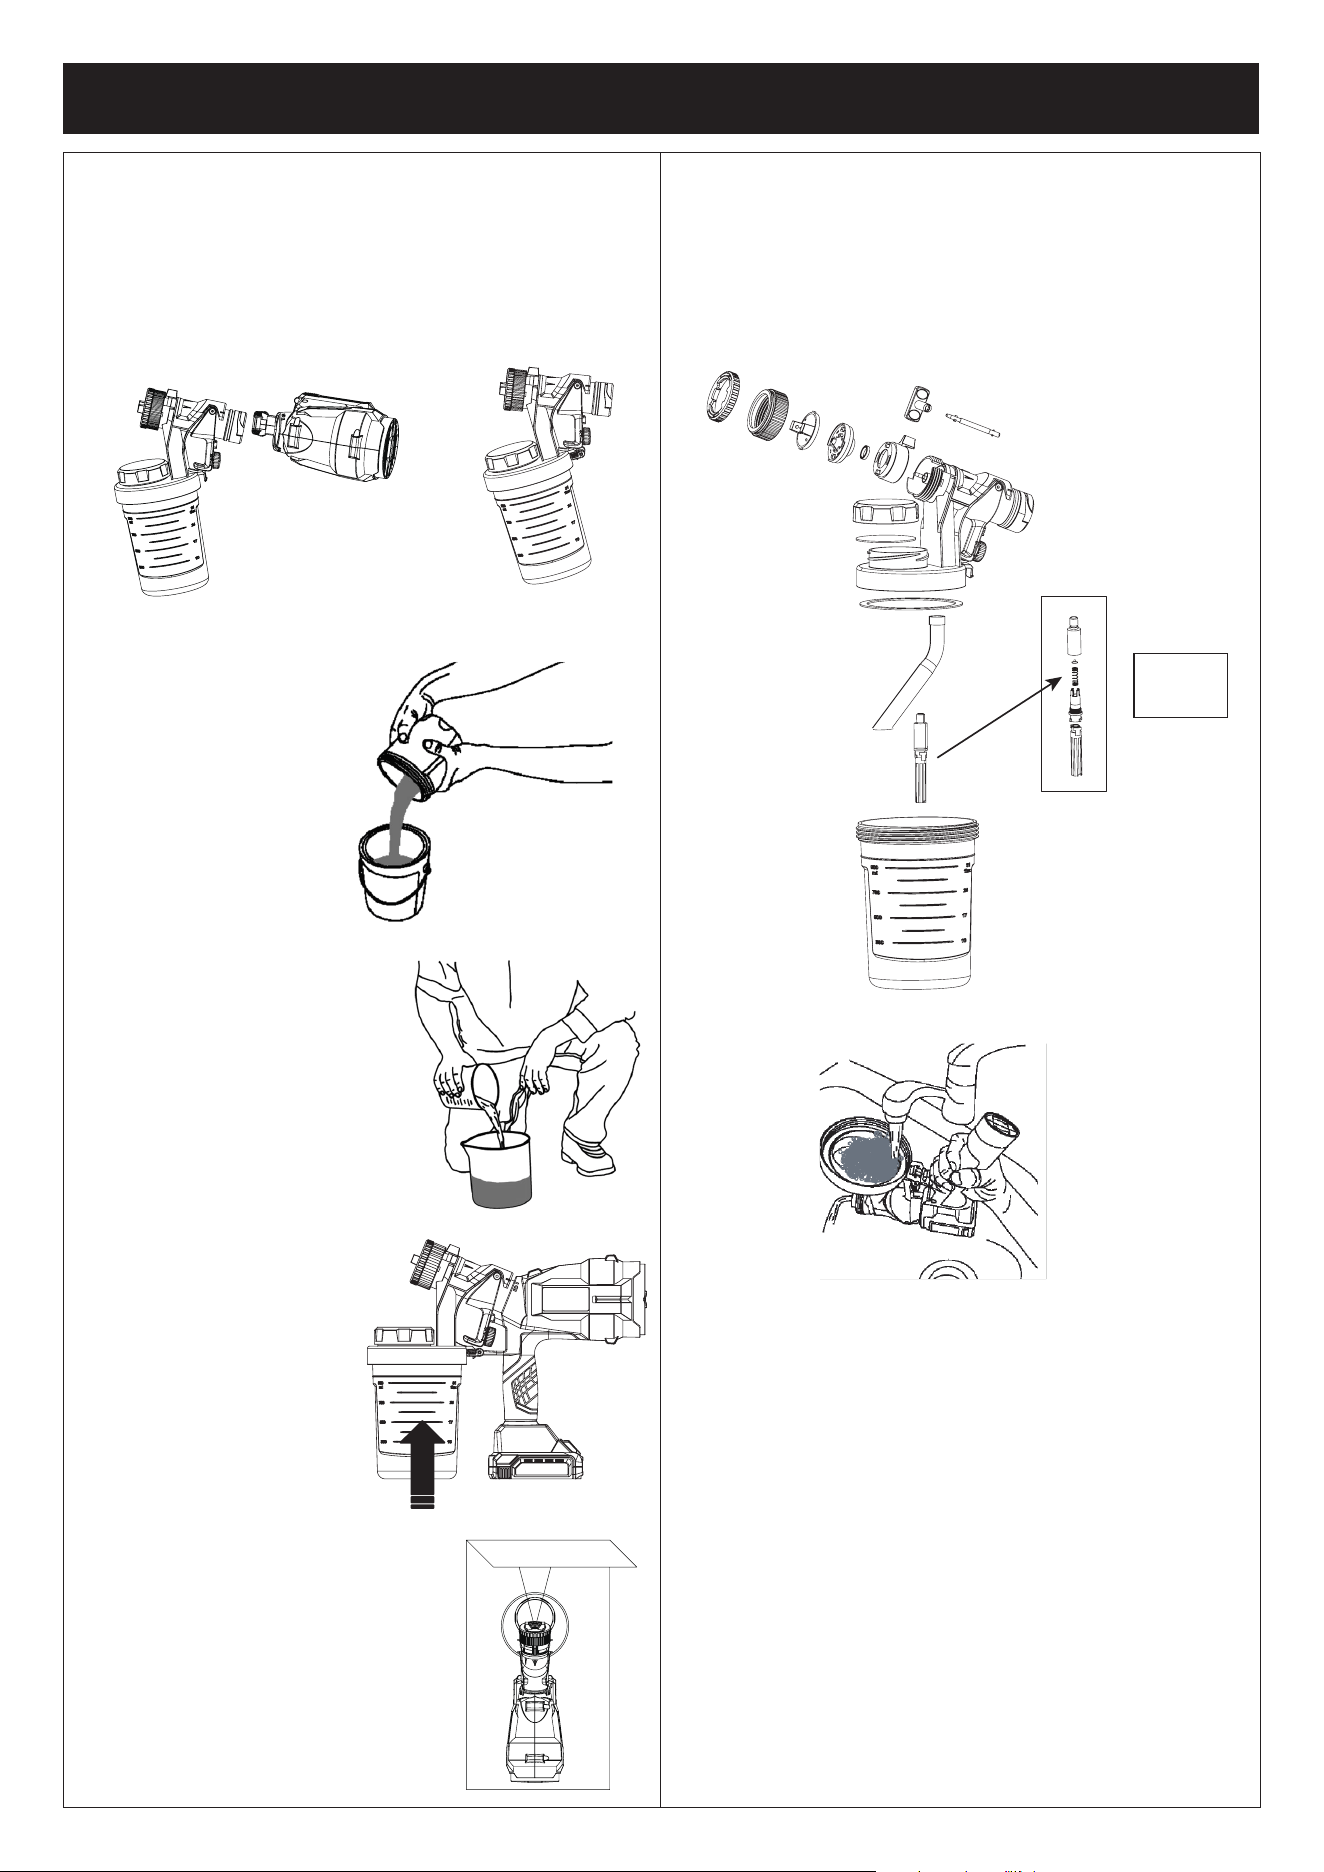
Assembly of spray gun
1. Attach fan assembly to gun head rear part as below g
shown and clockwise rotate fan assembly to lock position.
2. Pull the lock of tank up t with hook as shown below.
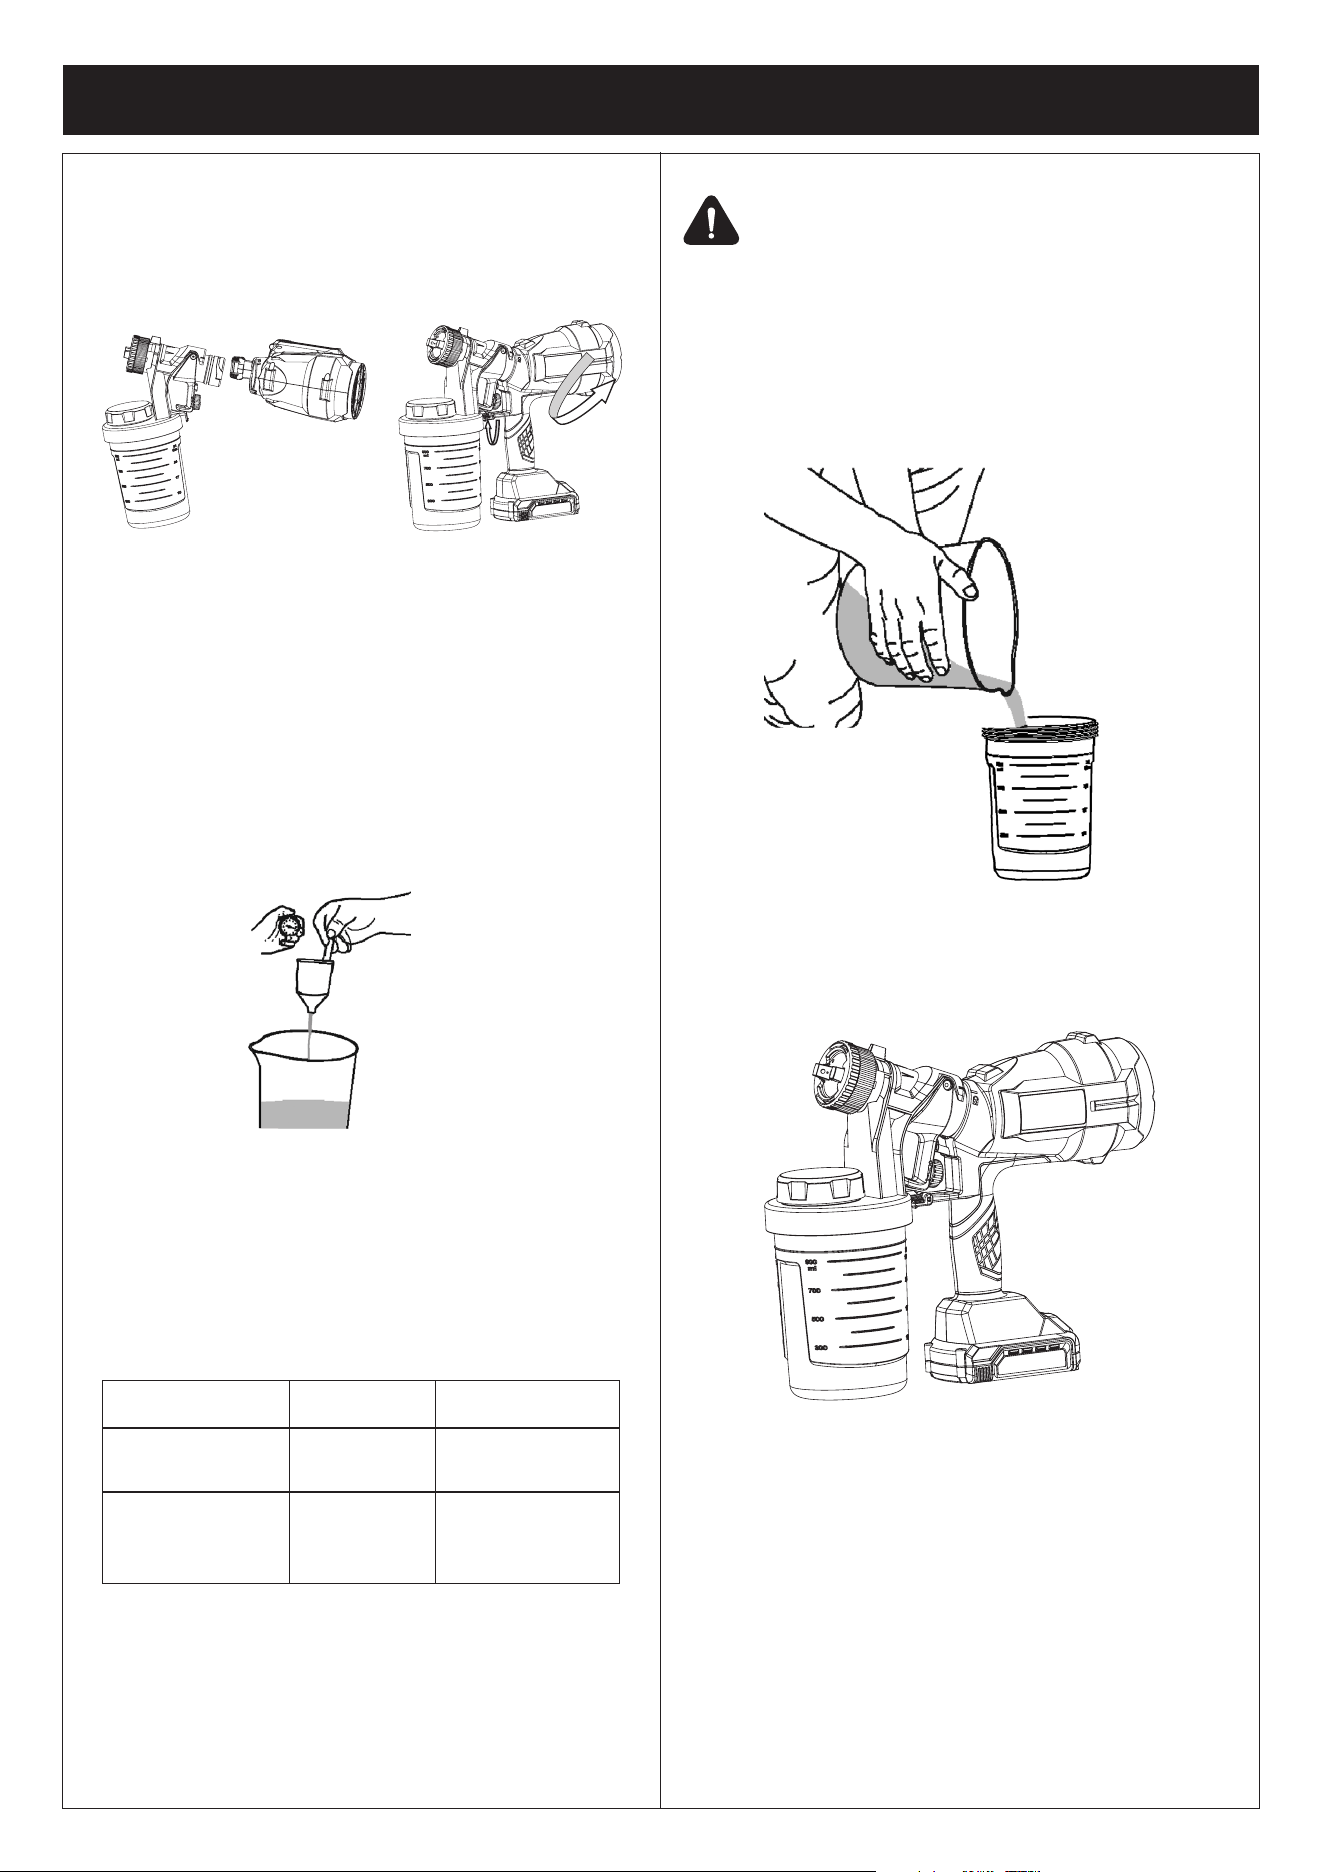
Spraying material preparation
Before spraying, the spray material is diluted with the solvent
specified by the material manufacturer. Do not use spray
material that exceeds the specied maximum viscosity.
Follow the below instructions:
1. Thoroughly mix the spray material before checking
the viscosity.
2. Completely immerse the viscosity cup into the spray
material except for the hook part.
3. Lift the viscosity cup and record the time start from cup
up-surface left liquid, in seconds, until the liquid in the
viscous cup has owed. This dripping times are
recommended by materials’ manufacturers.
Below is the viscosity dilute guidline of our tool with
manufature specied viscosity.
4. The spray material need to be ltered with a appropriate
wire mesh before ll in tank to prevent large particle
contaminants get nozzle clogged.
Do not spray ammable liquids.
Filling the spraying material
1. Remove the tank from appliance.
2. Pour the diluted ltered spraying material into the tank.
The liquid level does not exceed the the scale line of
the tank.
3. Carefully screw back the liquid-lled tank onto the gun
and tighten. Make sure both tank and rell cap all
tighten enough.
5
Viscosity/ActionViscosity/Action ≥ 60 DIN-s < 60 DIN-s
Material Manufacture
Specied Min Viscosity
Can’t use with our
NSG0060
Dilute to desired and less
than 60 DIN-s viscosity
Material Manufacture
Specied Max Viscosity
Dilute to desired and
less than 60 DIN-s
viscosity
Dilute to desired and less
than 60 DIN-s viscosity

1. By turning the nozzle adjusting knob to get various pattern
in between horizontal oval, vertical oval, round. Users can
adjust accordingly to achieve the ideal spraying results.
2. Users can adjust the spraying size by adjusting the pattern
size control knob.
3. Combine above two steps to achieve the ideal spraying
result, as shown below.
Note: When adjusting the trigger must be released
to avoid danger!
Adjusting ow rate
The flow rate of spray can be adjusted by turning the knob
behind the trigger, clockwise turn ow rate up "+" for thick paint,
counter clockwise turn ow rate down "-" for thin paint as the
mark shown on trigger.
Spraying
The HVLP spray gun (High Volume and Low Pressure) is
a brand new spray system for users. Before first spraying,
the user must do some exercises on the discarded wood or
cardboard to conform.
Spraying
Pretreat the surface to be sprayed
The splash result depends on how smooth and clean the
surface is before spraying. Therefore, pretreat the surface
carefully and keep it dust-free. Cover non-spraying areas.
Correct spraying method
• The spray gun be perpendicular to surface when spraying.
Users can choose a distance of nozzle to surface 2-12 inches
depending on the size of the spray pattern. In general, the
longer distance, the bigger spray pattern.
• Gently press trigger by around 4mm for 1~2 second to
blow air ow rst to build up pressure within the
gun. Then press trigger further to generate paint spray.
• Move the spray gun evenly parallel along the application
surface. A consistent spray gun movements result in
a consistent painting quality.
• Generally, spray twice, the rst spraying may be
slightly thinner, and the second spraying should be
slightly thicker.
• At the end of spraying, hold the spray gun far from the
surface to avoid overspray.
Move the spray gun evenly
• Press and hold the trigger while spraying, and release
the trigger when spraying is nished. When spraying the
next layer, align the nozzle with the bottom edge of the
previous sprayed and allow the edges to slightly
overlap for better spray.
6
Even paint application
✔
50-300mm/2-12in
Thin layer Thin layer
✗
Thick layer
Do not move the spray gun unevenly as shown above.
Horizontal
oval
Vertical
oval
Round
Big
Middle
Small
Cleaning
Cleaning the spray gun
Note: Do not immerse the gun in the detergent!
1. Unlock the fan assembly and remove it from the gun
assembly. Align the release latch and pull out the gun.
Press the trigger so that the spray material remaining
the gun ows back into tank.
2. Rotate and remove the tank, empty the residual spraying
material in the tank.
3. For clearing, pour a small
amount of the appropriate
cleaning solution into the
tank (warm soft water for
latex materials; mineral spirits
for oil-based materials)
4. Screw back the tank with the
cleaning solution onto the
spray gun. Attach and lock
fan assembly as per
instruction in page 5.
Attach battery pack back on.
5. Spray cleaning solution for a few
seconds
(2-5s) in safety area,
spray for a few seconds again. Then
remove the tank and press the trigger.
6. Wipe and clean the outside of the tank.
7. Turn nut to remove the pattern adjust knob, nut, nozzle
guard, nozzle (sealing ring inside). These are must clean
components after each paint project: nozzle, nozzle sealing
ring, tank sealing ring, suction tube, tank. Other parts need
clear just in case it has paint on them.
8. Washing all these parts with appropriate cleaning solution.
9. Install the removed parts back. Always utilize the
direction/positioning rib.
Note: Never use sharp metal needle or similar to clean the nozzles!
Never use silicone-containing solvent or lubricant to clean the nozzles!
Do not miss the nozzle seal.
10. Check if there is paint on check valve housing. No need
clear it if no paint there. If yes pull the check valve out (Note:
Pull not turn!) for cleaning from tank seat. Turn check valve to
teardown to ve pieces. If user happened turned check valve
and left valve head remain in tank seat, please easily return
valve back in and pull it out as whole. Make sure the rubber
valve put back in right direction with its nipple goes into the see
through hole which can seen from top of the check valve.
7
Check
valve

Charging of battery pack
1.
Recharge only with the charger specied by the manufacture.
2. Note: Battery is partially charged by shipping from factory,
User must fully charge the battery pack to ensure the
performance of the spray gun. Battery must remove from
the gun before charging.
3. The lithium-Ion battery pack can be charged at any
percentage of power left without shortening its lifecycle.
Accidently power off charging won’t damage battery pack.
4. Battery pack is equipped with "Electric Cell Protection"
(ECP) to avoid over-discharging. Spray gun will be turn
off once the battery pack is fully discharged.
Do not keep pressing the trigger when the tools
was automatically turned off. This kind of trying press
might damage battery pack.
5. The battery pack is equipped with NTC temperature monitor.
Charging temperature range 0°C to 45°C. Tools can only
work in temperature range from -10°C to 70°C .
Better get battery pack rest for 30 minutes right after
working for the cell to cool down before re-charge.
6. Remove the battery off spray gun if it will not be used
for long time. Remove the battery pack as shown below,
press the release button and pull the battery pack
backward off the spray gun. Do not use excessive
force during this operation.
Transportation
1. Lithium-ion battery packs supplied with the appliance
must be subject to the Dangerous Goods regulations.
Users can not transport the battery pack without
additional protective packaging.
2. However, special packaging and markings are necessary
for handing over to third parties (eg. by air freight or freight
forwarder). So that you must ask the dangerous goods
expert about the delivery of dangerous goods.
3. Make sure that the battery pack is not damaged before
transportation. Guard the exposed terminals and
package the battery pack to avoid electric shock
in the package box.
4. If necessary, consider the relevant national regulations.
Follow the disposal instructions.
Disposal
Environmentally friendly recycling of spray gun,
Battery pack, accessories and package.
Do not disposal spray gun and battery pack into
the household waste!
Battery pack
Li-Ion
Pay attention to the notes in the section
"Transportation"
Battery Pack
8
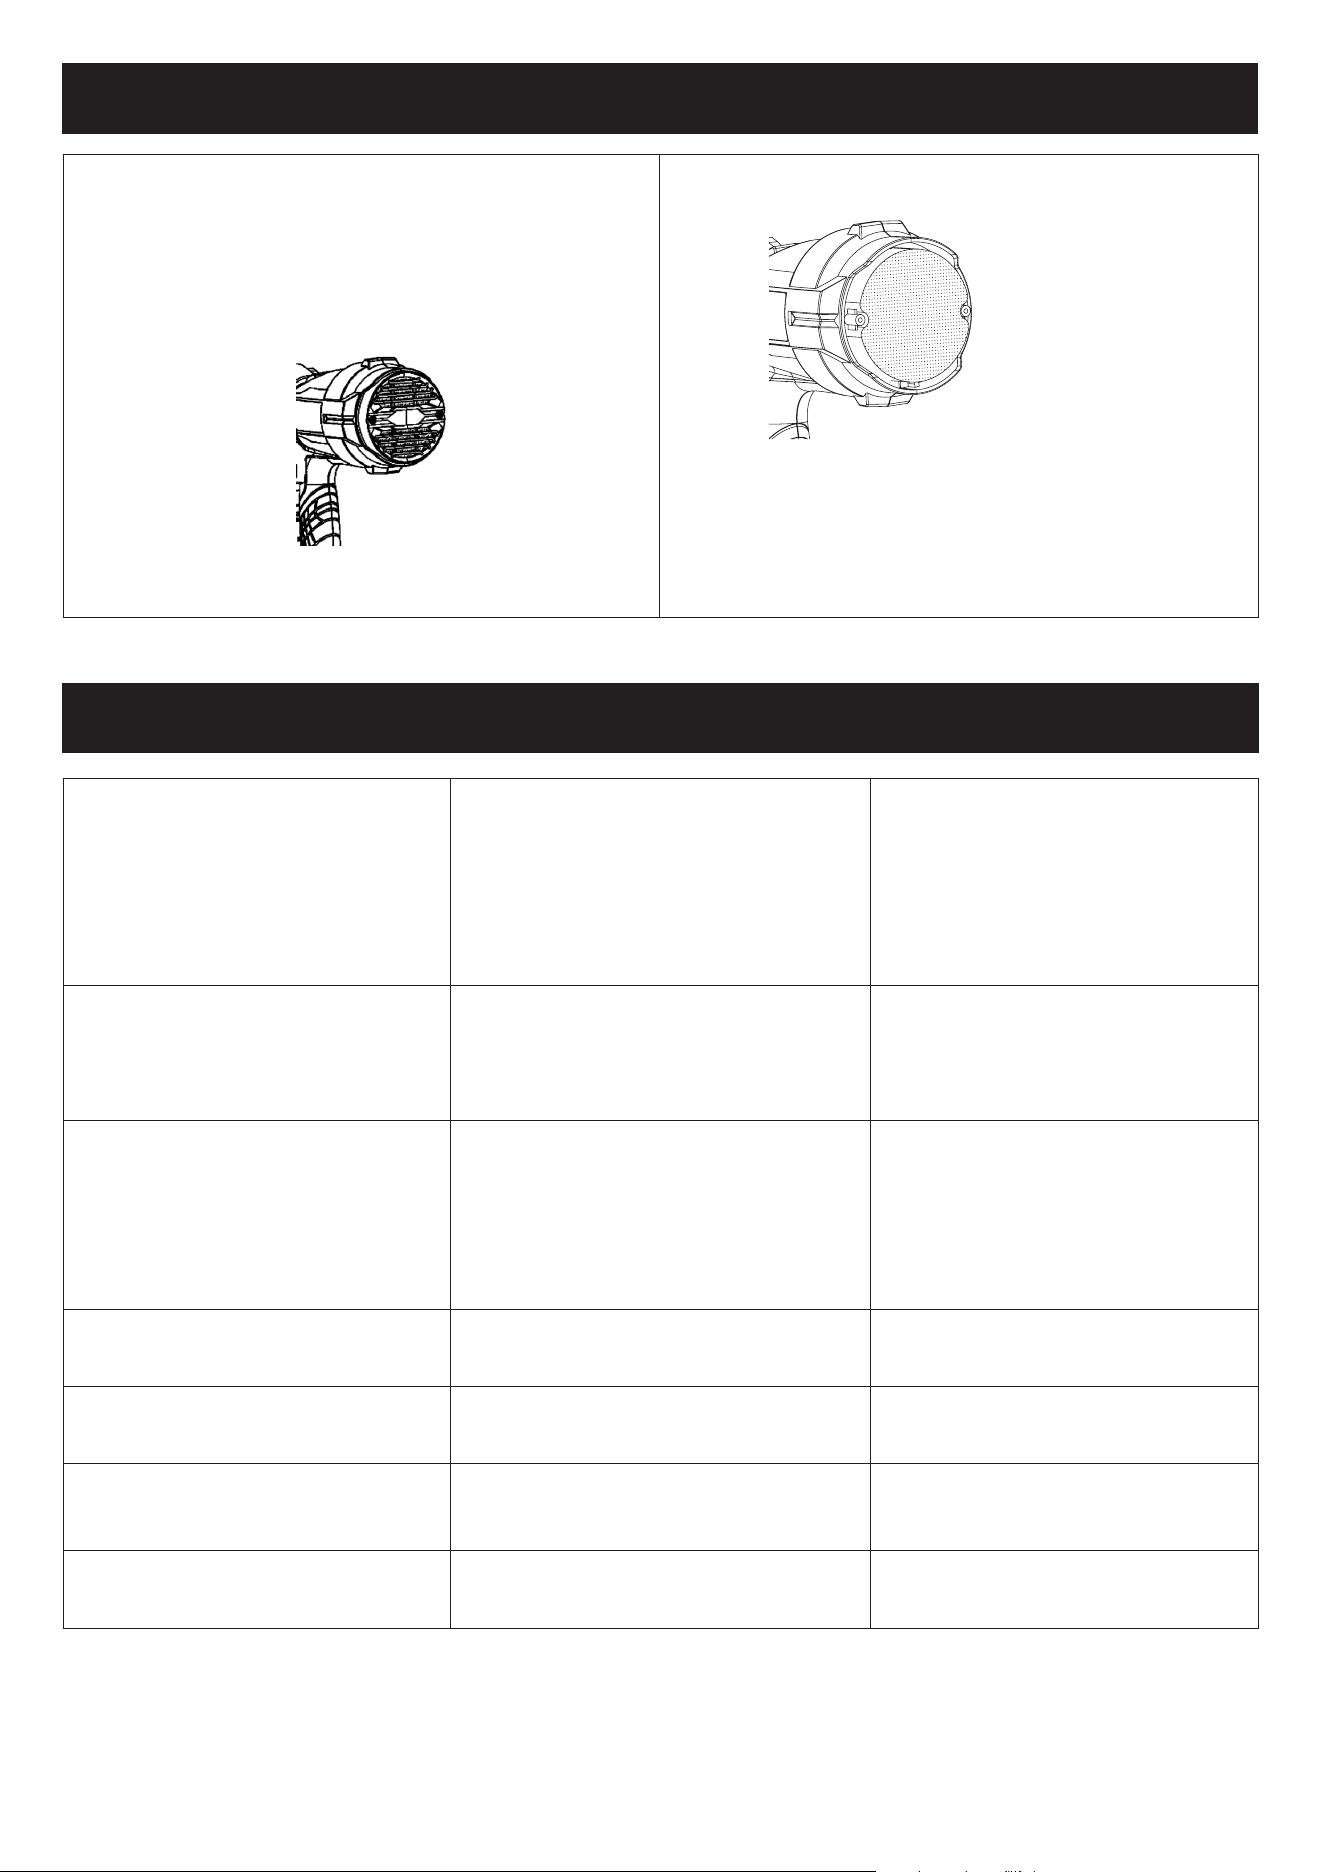
Maintenance
Trouble Shooting
After using for a period of time, you should check if the
lter is dirty or not. If it is excessively dirty, you need to
replace the lter with the following steps.
1. Remove the battery off the spray gun, and then remove the
lter guard with screw driver.
Problem description
A. Spray with low ow rate or no spray
B. Spraying material drips
C. Bad atomization
D. Spraying uctuation
E. Hanging phenomenon of spray material
F. Over spraying
G. Spray pattern too thin
2. Remove the dirty lter and replace it with a new one.
3. Reinstall the lter guard.
Never operate the spray gun without a lter! The dirt will
be sucked into the appliance and cause a damage.
Reasons
1. Nozzle clogged
2. Suction tube clogged
3. Flow regulator set in low position
4. Suction tube loose
5. Tank loose
6. Filter clogged
1. Nozzle loose
2. Nozzle damaged
3. Nozzle seal damaged
4. Spraying material accumulated in nozzle
1. High viscosity of spray material
2. Highow rate of spray material
3. Flow regulatorset high position
4. Nozzle clogged
5. Filter clogged
6. Low pressure build-up in the tank
1. Spray material is not enough in tank
2. Filter clogged
1. Spray too much material
1.
Short distance between spray gun and surface
2. High ow rate of spray material
1. Move the spray gun too fast
Solutions
1. Clean the nozzle
2. Clean the suction tube
3. Adjust the ow regulator
4. Tighten the suction tube
5. Tighten the tank
6. Replace the lter
1. Tighten the nozzle
2. Replace the nozzle
3. Replace the nozzle
4. Clean the nozzle
1. Dilute the spray material
2. Increase the ow rate
3. Adjust the ow regulator
4. Clean the nozzle
5. Replace the lter
6. Tighten the tank
1. Rell the spray material
2. Replace the lter
1. Increase the ow rate or move the spray
gun faster
1. Increase the distance
2. Decrease the ow rate
1. Increase the ow rate or move the spray
gun slower
9
Filter