MB08 MP3 Player User Manual
WARNING
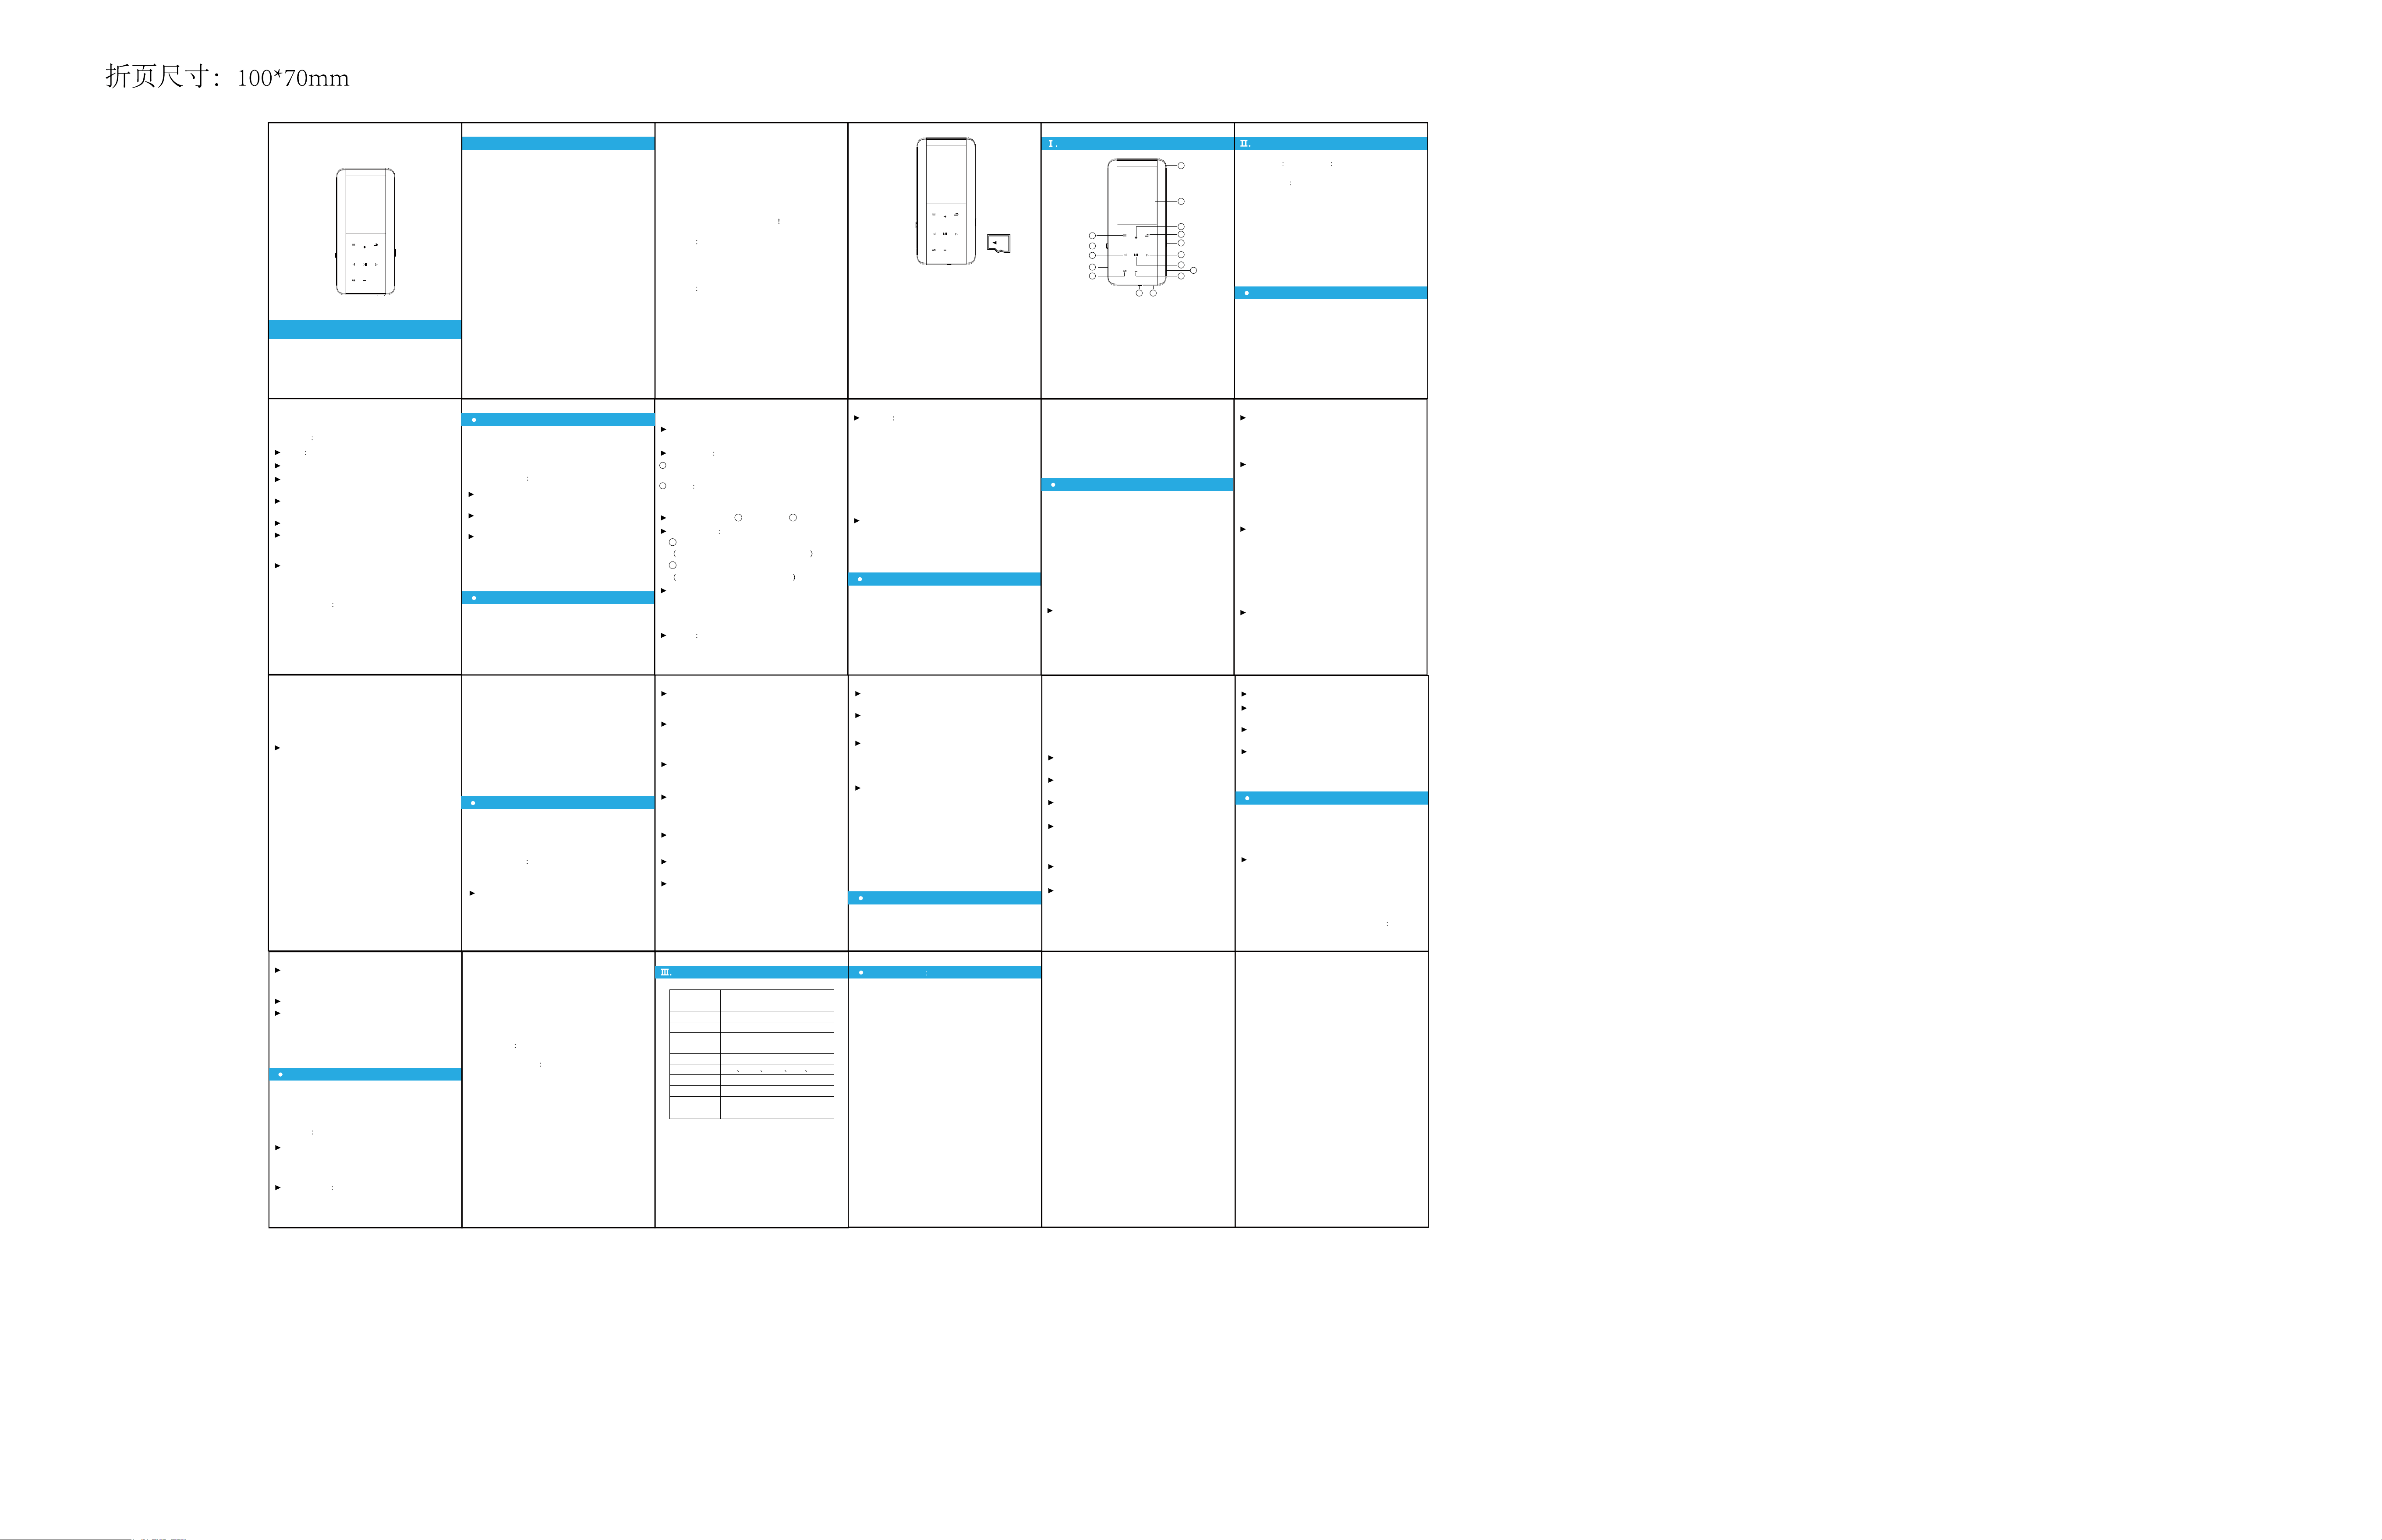
Product key diagram
Key definition
1. Lanyard hole
2. Screen 3. Volume +
4. Back
5. Turn on/off 6. Next
7. Play/Pause
8. TF Slot 9. Volume -
10. Headphone Jack
11. USB port
13. REC
14. Previous
15. Speaker
16. A/B Repeat
12. Menu
Instructions
FM Radio
Technical specifications
Tips 1
Tips 2
It is forbidden for children to play the machine
alone, please do not drop it and rub it with hard
objects, otherwise it may cause loss of data or
other hardware damage.
1.
It is recommended not to use the headphones
continuously at high volume, please adjust the
volume to an appropriate volume, and control
the use time to avoid damage to your hearing.
2.
Do not use chemical reagents or cleaning
reagents to clean the machine, this will damage
the machine surface corrosion.
3.
It is recommended not to use this machine
when driving a motor vehicle or riding a bicycle,
please ensure driving safety.
4.
Please back up the files and data stored in the
machine in time. Our company does not
guarantee the internal information. If there is
data loss, our company will not be responsible.
5.
It is forbidden to use overloaded power supply,
bend it forcibly, or squeeze the power cord with
heavy objects to avoid causing heat and fire.
Note: When "VOR" is turned on, the machine
will automatically detecting the surrounding
sounds in the recording state. When the
surrounding sounds reach a certain standard,
the machine will automatically record. If it is
lower than the standard, the recording will be
automatically paused. In important environ-
ments, It is recommended not to use this
feature.
Note: The higher the level of AVR, the higher
the sensitivity, the higher VOR automatically
record standard.
In the main interface of the system, click the
"Previous/Next" button to select the "Folder"
icon, and then click the "Play" button to enter
the main interface of the folder.
When you need to delete a file, go to the folder
list to select a file, click the "Menu" button,
select the delete option, click the "Play" button
to enter the delete file dialog box, click the
"Previous/Next" button to select "Yes/No" ",
click the "play" button to delete the file.
In the main interface of the system, click the
"Previous/Next" button to select the "Music"
icon, and then click the "Play" button to enter
the main interface of the music mode. The
following menu pops up:
All songs, Last play, Artist, Album, Genres, Play
lists, Update play list.
Click "All Songs", it will display all the audio files
of this machine, select the music you need to
play, click "Play" button to play the music file.
Play the recording file or music file, click the
"play" button to start playing, during playback,
click the "play" button to pause playback.
When the file is playing or pausing, click the "+"
button to increase the volume, click the "-"
button to decrease the volume.
In the state of playing, click the "Previous"
button to be the previous song, click the "Next"
button to be the next song, long press the
"Previous" button to rewind, long press the
"Next" button Fast forward.
In the power-on state, short press the "power"
key to turn off the screen backlight and lock the
touch key, the touch key will not work, short
press the "power" key to turn on the screen
backlight to release the touch key (to prevent
mis-operation, Please set the key lock to on
during recording)
On the interface for playing recordings or
music, click the "A-B" button once, and the
screen displays the "A-B" and character "B"
flashing, indicating the starting point of
repetition. Click the "A-B" button again to
repeat the end of the paragraph and repeat the
playback in the A-B interval. Click the "AB"
button again to exit the repeat mode and
resume normal playback.
On the interface for playing music, click the
"Menu" button to enter the main menu, the
following sub-menu options shows up:
all/Preview(Note: Preview is that each audio file
only plays for 10 seconds of browsing
playback, from the current file to the last file in
the recorder until the end, without looping.)
6.
Recordings library
View all the recordings.
1.
Key Function
1.
Video playback settings
1.
Function Description
2.
Submenu description
3.
Recording settings
512kbps/768kbps/1024kbps/1536kbps
32kbps/64kbps/128kbps/192kbps
Microphone : select this option when using the
built-in microphone.
2.
Do not pull out the power supply with wet
hands to prevent electric shock.
Definition Long press Hold press for 3
seconds
Short press Click once
First of all,turn On/Off the device
7.
When the machine is in sleep state, long press
the "power" button to turn on.
1.
Home: Back to the main interface of the system.
1.
Shuffle: Shuffle playing On/Off.
2.
Delete: delete current file
8.
Add to playlist: add current song to your playlist
9.
Remove from playlist:remove current song from
current playlist.
Play music from:you can set play music from all
songs or this artist or this album.
In the system main interface, click the
"Previous/Next" button to select the "Settings"
icon, and then click the "Play" button to enter
the main interface of the tool. The following
menu pops up
10.
11.
Language
1.
Display settings
3.
Sound settings
4.
Button lights
5.
Shutdown settings
6.
Information
7.
Format internal memory
8.
Factory Settings
9.
Date and time
Dimensions 108*80*9MM
Screen 2.4inch/320*240 Resolution TFT
Storage 32GB(Subject to the actual product)
Weight 72g
Video format AMV AVI
Resolution
Picture format
320*240
BMP JPEG
2.
Repeat: Repeat off/Repeat 1/Repeat.
3.
Equalizer: select rock, pop, soft, jazz, classical,
electronic music, a total of 6 modes, the default
sound effect is off.
4.
Bookmarks: Add bookmark/Go to
bookmark/Delete Bookmark.
5.
Variable Speed playback:Adjust playing speed.
6.
Repeat Settings: Repeat mode/Replay times(Set
the A-B repeat play times)/Replay interval(Set
the adjacent time of two A-B repeat play cycle)
7.
Home Back to the main interface of the system.
When the machine is turned on, long press the
"power" button to shut down.
On the main interface of the FM radio, click the
"Menu" button to enter, the following submenu
pops up
2.
FM Settings
1.
FM Recording Click the "play" button to enter
the FM recording library, if there is no recording,
it will prompt "no voice recording found", if the
file has been recorded, select the recorded file
to play, or delete all the recorded files.
2.
After 2 minutes without any operation, the
machine will automatically save power and shut
down.
You need to use the earphone as an antenna.
In the main interface of the system, click the
"Previous/Next" button to select the "FM Radio"
icon, and click the "Play" button to enter the
main interface of the FM radio.
In the system main interface, click the
"Previous/Next" button to select the "Bluetooth"
icon, and then click the "Play" button to enter
the Bluetooth main interface. The following
menu pops up
Note: The Bluetooth of this machine can only
be connected to the Bluetooth speaker/Blue-
tooth headset, not the Bluetooth in the phone.
In the main interface of the system, click the
"Previous/Next" button to select the "Recording"
icon, you can select the "Recording Library" and
recording settings" options, and then click the
"Play" button to enter.
3.
Changes due to the performance and functions
of this product may be notified without further
notice, please understand.
If the machine is not used for a long time,
please charge and discharge the product
every 3 months.
We are always here to help you and you have
our guarantee to get brand new replacement
and refund.
Please insert the TF card in the correct
direction as shown in the figure.
32GB TF card has been inserted by default.
Any question you meet,please get contact with
8.
If the actual settings and usage of this product
are inconsistent with this manual due to
firmware program upgrade, please contact us.
Thank you for your cooperation
9.
13
12
3
2
1
4
5
6
7
8
9
10
11
14
15
16
Folder
Delete files
Delete Ebook
Videos
Tools
Music
Settings
Bluetooth
Recordings
Ebook
FCC warning
Start Fm radio recording:Recording the FM radio.
Station list: displays preset radio frequency
points, and can save up to 30 frequency points.
Save to preset: Save current frequency points,
up to 30 frequency points can be saved.
Auto tune: click the "play" button to enter
auto-tuning, the player starts searching for
radio stations automatically.
Tuner region: select common frequency
band(PM frequency band), Japanese frequency
band(AM frequency band).
1. Bluetooth switch control: turn on/off
Bluetooth (turn off Bluetooth by default)
2. Search for Device: Search for Bluetooth
devices.
3. Device list: List of paired Bluetooth devices.
Record from
Recording format: WAV format,
WAV format
MP3 forma
Set rec bitrate
Record sensitivity: select low, medium and high
VOR set Choose "VOR ON/OFF".
Play/Pause
Volume adjustment
Previous/Next Fast Forward/Rewind
Touch key lock
A-B Repeat
Play settings
The machine supports multi-language settings,
simplified Chinese, English, Spanish, French
and other 30 languages can be selected.
Set the date and time.
Option to turn on/off button light.
Can set the brightness of the screen, backlight
timer, screen saver.
Equalizer: select rock, pop, soft, jazz, classical,
electronic music, a total of 6 modes, the default
sound effect is off.
Volume limit: adjustable to limit the maximum
volume.
Power Off: can be set for 1~5 minutes without any
operating system will automatically shut down.
Sleep timer: Sleep timer is a forced shutdown in
playback or recording state. After setting the
shutdown time, the system will be forced to shut
down after the time expires.
1. This device complies with part 15 of the FCC
Rules. Operation is subject to the
following two conditions:
2. Changes or modifications not expressly
approved by the party responsible for
compliance could void the user's authority to
operate the equipment.
3. This equipment has been tested and found to
comply with the limits for a Class B
digital device, pursuant to part 15 of the FCC
Rules. These limits are designed to
provide reasonable protection against harmful
interference in a residential
installation. This equipment generates, uses
and can radiate radio frequency energy and, if
not installed and used in accordance with the
(1) This device may not cause harmful interfer-
ence, and
(2) This device must accept any interference
received, including interference that
may cause undesired operation.
Player information: View the information and
software version of this machine.
Please back up the data in the machine in
advance, after formatting will delete all files in
the device.
In the main interface of the system, click the
"Previous/Next" button to select the "eBook"
instructions, may cause harmful
interference to radio communications.
However, there is no guarantee that
interference will not occur in a particular
installation. If this equipment does cause
harmful interference to radio or television
reception, which can be determined by
turning the equipment off and on, the user
is encouraged to try to correct the
interference by one or more of the following
measures:
—Reorient or relocate the receiving antenna.
—Increase the separation between the
equipment and receiver.
—Connect the equipment into an outlet on a
circuit different from that to which the
receiver is connected.
—Consult the dealer or an experienced
radio/TV technician for help.
4. The devices must be installed and used in
strict accordance with the
manufacturer's instructions as described in the
user documentation that comes with
the product.
Factory reset, machine restart, select appropri-
ate language.
After selecting this menu, click the "Play"
button to enter, the screen will prompt "Yes/No"
to restore to the factory settings, and then click
the "Previous" or "Next" button to choose
between "Yes" or "No", If you want to restore
the factory settings, select "Yes" and press
"Play" button to confirm, click "Back" button to
stop canceling the selection.
Disk space: View disk space information.
AVR level: select "Grade1 to Grade5".
Monitor You can select "Turn on/off monitor".
When "monitor(on)" is selected, you can listen to
the content being recorded by inserting
headphones.
In the main interface of the system, click the
"Previous/Next" button to select the "eBook"
icon, and then click the "Play" button to enter the
main interface of e-book reading, listing all TXT
format e-books on this machine file.
When the file is selected, click the "play" button
to enter the e-book reading interface.
Auto play time setting: 0-30 available.
Page selection: select the number of pages in
the e-book.
Bookmark selection: add bookmark, delete
bookmark.
Background color: classic black, cowhide
yellow, elegant blue, light pink available.
In the main interface of the system, click the
"Previous/Next" button to select the "Video"
icon, and then click the "Play" button to enter
the main interface of the video mode.
In the list of video files, click the "Menu" button
to enter the following sub-menu options
1. Calendar: Click the "Menu" button to switch
the year, month and day options, click the
"Previous/Next" button to adjust the year,
month and day.
2. Stop watch Click the "Play" button to start
timing (maximum timing is 99 hours: 59
minutes: 59 seconds. 99 milliseconds), and
4. Pictures In the state of browsing pictures,
click the "Menu" button to enter the following
sub-menu options
then click the "Play" button to pause timing.
Click the "Volume Down" button to count, and
support up to 5 counts (recording a certain
point in time as a count). Click the "Menu"
button to stop the timing and clear it. Click the
"Back" button to exit the stopwatch.
3. Alarm: turn on/off the alarm and set the alarm.
a. Brightness
b. Backlight timer
c. Slideshow settings
d. Delete picture
Repeat play: Short press "play" button to enter
repeat play, you can select "repeat play, repeat
play off, single repeat, repeat all".
Note: This machine needs to convert the format
through the conversion tool to play the video,
supports the movie format AMV/AVI, the
resolution is 320*240.
In the main interface of the system, click the
"Previous/Next" button to select the "Tool" icon,
and then click the "Play" button to enter the
main interface of the tool. The following menu
pops up
Delete video: delete the currently playing video.
Brightness: press +/- key to adjust.
Click the "Play" button to enter the video file
list, then click the "Previous/Next" button to
select the video file to be played, and click the
"Play" button to play.
Click the "Previous/Next" button to select the
e-book file.
Click the "Menu" button to pop up the e-book
settings menu.
Click the "Back" button to return to the e-book file
list of the previous directory.
Click the "Previous/Next" button to manually turn
pages.
Click the "Play" button to switch between manual
page turning and automatic page turning. Click
the "Menu" button to enter the sub-menu options,
click the "Back" button to exit.
Clear preset: Delete save preset.
1
1
1
MP3 format
2
2
Line in Recording output sound of the external
audio source device (either MP3 or other audio
devices) via connected the line in cable.
Note: The higher the recording sensitivity level,
the greater the background sound of the
recording, please adjust it appropriately.
2
Music format
MP3 WMA FLAC APE OGG
Recording format
WAV /MP3
Recording source
Built-in MIC
Power supply
Built-in rechargeable lithium battery
Battery capacity
560MAH
1V2 2 3 4 5
6
87 9 10 11
12 13
1514 16 17
18 19 20
21 22 23
