JOLIKE M2 Music Player
User Manual
Thank you for purchasing our JOLIKE Music Player.
Please read the manual carefully before using the device.
If you have any question, please contact our customer
Service: joli[email protected]m

User Guide
Quick Guide
.....................................................................
1
Basic Operations
............................................................
2
1.Charge the Player
..................................................
3
2.Power On/Off
..........................................................
3
3.Date Transfer
..........................................................
3
4.Lock Screen
............................................................
4
5.Return
.......................................................................
4
6.Volume Adjustment
................................................
4
Music
.................................................................................
5
1. Play mode
...............................................................
6
1.1. Play music from...
.........................................
6
1.2. Repeat
............................................................
6
1.3. Shuffle
.............................................................
7
1.4. Repeat settings
.............................................
7
2. Sound settings
.......................................................
8
3. Delete
......................................................................
8
4. Bookmarks
..............................................................
8
5. Add to playlist
.........................................................
8
6. Remove from Playlist
...........................................
8
Movie
.................................................................................
9

Fadio
...............................................................................
10
Record
............................................................................
12
Bluetooth
........................................................................
13
Photo
...............................................................................
15
Ebook
..............................................................................
16
Settings
...........................................................................
17
1. Tools
......................................................................
17
1.1.Step
................................................................
17
1.2.Calendar
........................................................
17
1.3.Stopwatch
.....................................................
18
1.4.Alarm
..............................................................
18
2. Language
..............................................................
18
3. Display settings
...................................................
18
4. Power off
...............................................................
18
5. Touch light mode
................................................
19
6. Sound settings
.....................................................
19
7. Date and time
......................................................
19
8. Format device
......................................................
19
9. Information
...........................................................
19
10.Factory settings
..................................................
19
Browse
............................................................................
20
1. Expandable Card
................................................
20


1
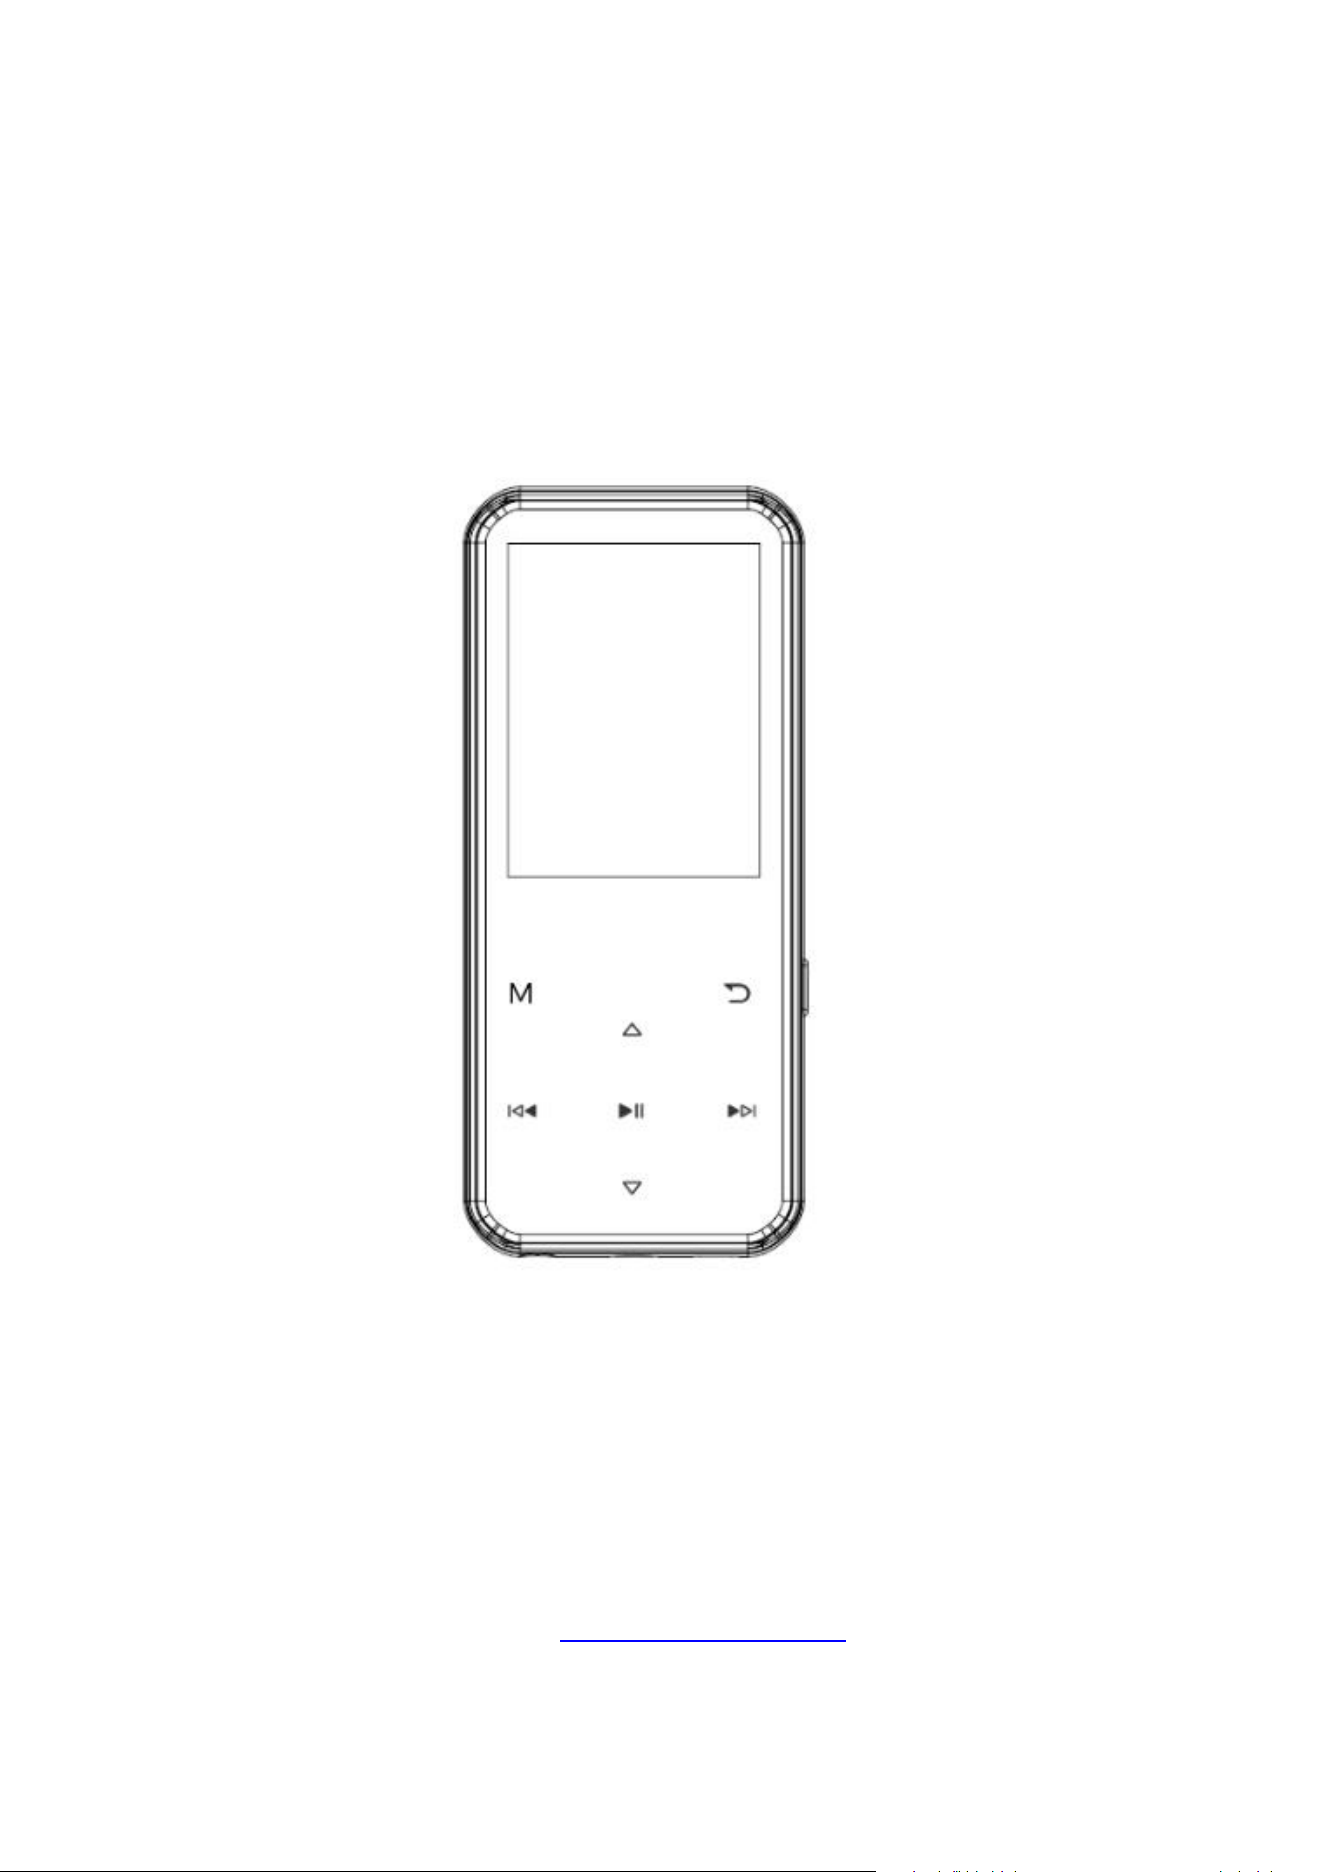
Quick Guide
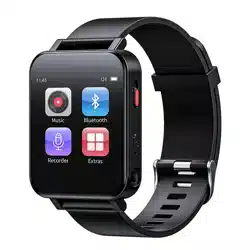
While the player is powered on, touch direction
buttons to access to its 9 different functions,
including,Music,Movie,Radio,Record,Bluetooth,
Photo,E-book,Setting,Browse.Touch button to
enter.
Plug your earphone into the jack to enjoy the music
and radio you like.
2
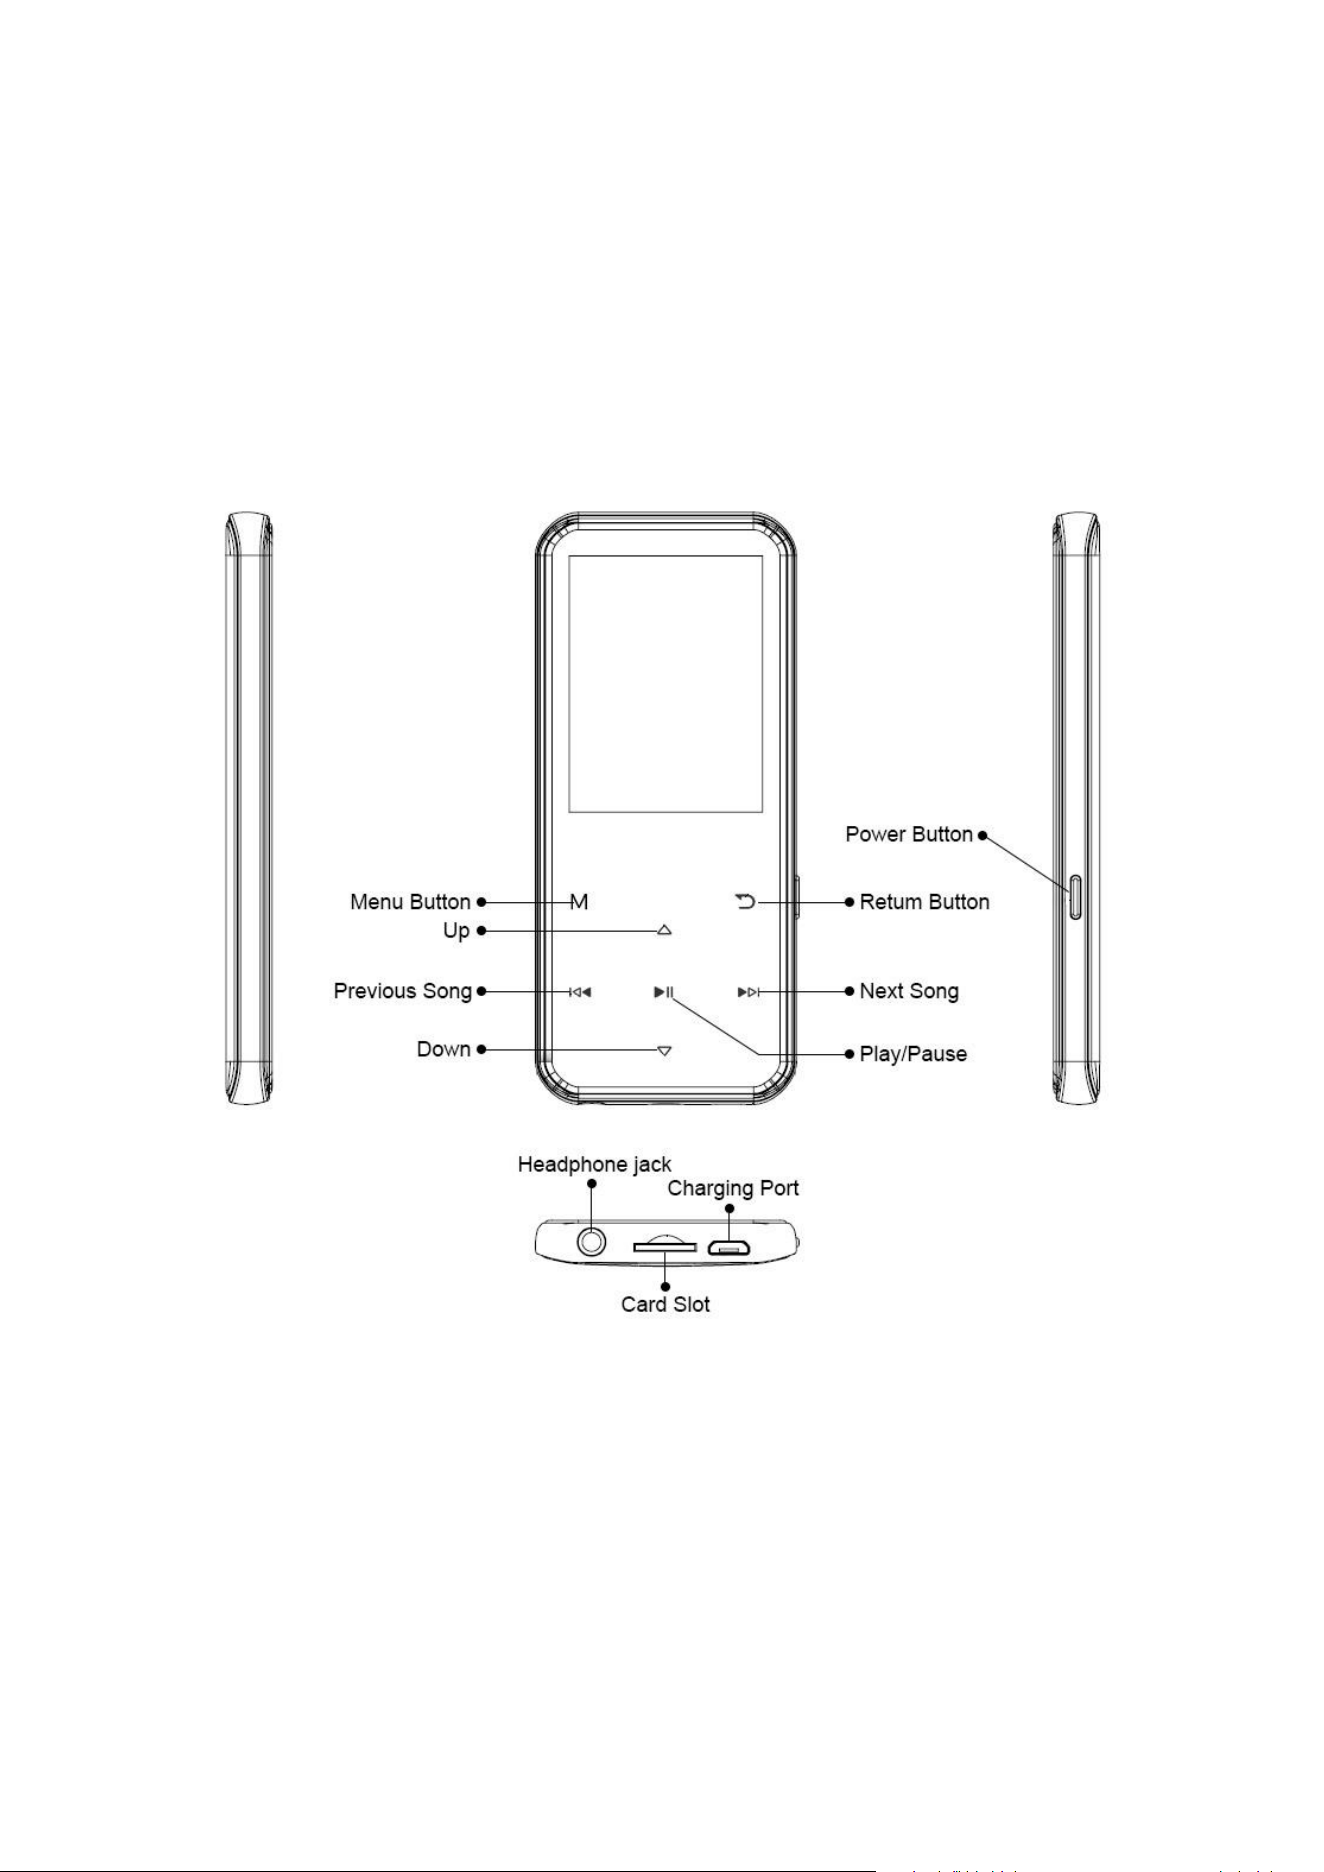
Basic Operations

3
1.Charge the Player
1. Plug the attached USB cable into the USB port of
a computer to charge the player. When you start
charging, it will show two options: “Charge &
Transfer” and “Charge & Play”. An indicate on the
top right will show the charging statue.
2. Use only the 5V/500mA charger for charging or it
may lead to product failure.
2.Power On/Off
Hold the Power button 3 seconds on the right to turn
on/off the player.
3.Date Transfer
Plug it into your computer and copy over media files
with the attached USB cable as if it was a flash
driver or use music management software such as
Windows Media Player to transfer the files.(Not
supported for iTune)
Note: if your computer cannot detect the MP3 Player,
try to update your USB driver or use another cable.

4
If it still can’t work for you. Ask RUIZU Customer
Service for additional help. (See Cover)
4.Lock Screen
Hold the Menu button(“M”button) to lock the screen.
Repeat to unlock it.
5.Return
While on playing interface, touch the button to
exit.
6.Volume Adjustment
While on Music/Radio/Movie playing interface,touch
the button to turn up/down the volume.

5
Music
Touch button with “Music” on main interface to
access to its function. A related list will show as
follows:
All songs: View the songs list.
Artists: Play songs from Artist you like.
Albums: Play songs from Album you like.
Genres: Play songs from Genres you like.
Playlists: Play songs from 1 of 3 playlists.
Update Playlist: Refresh the playlist you just edit.
Options when SD card inserted:
Local folder: View songs in MP3’s memory.
Card folder: View songs in SD card’s memory.
JOLIKE M2 Music Player supports MP3, WMA, APE,
WAV, FLAC format audio files. (Maximum 4001
songs supported)
Rewind/Forward
While it’s on music playing interface, touch button /
to go to the previous/next song.
Hold button / for fast rewind/ forward.

6
Sorting
Audio files in the “Music” section will be sorted by
alphabetic order automatically. If you’re trying to
use numerical order, you need to rename files and
add 0 before 0-9 such as 00, 01, 02, 03...08, 09.
If you don’t want to rename the file, or want to sort
files by your own order. Please go to “Browse”.
Settings
While it’s on music playing interface, touch Menu
button to access its sub-menu. The related list will
show:
1. Play mode
1.1. Play music from...
...All song: Play all songs in your mp3 player.
...this artists: Play songs by certain artist.
...this album: Play songs by certain album.
...this genre: Play songs by certain genre.
1.2. Repeat
Repeat off: Turn off repeat function.
Repeat 1: Repeat play the audio currently playing.
Repeat all: Play all of your audios and repeat.

7
View Playing: Test Play mode, audio will auto play
for a few seconds and skip. Select Repeat 1 to quit
this mode.
1.3. Shuffle
Turn on/off shuffle play.
JOLIKE MP3 player can shuffle up to 4001 songs.
1.4. Repeat settings
Repeat mode:
1) Play music as A-B loop. Enter Replay Mode, an
“A” on the bottom left will flash. touch button to
set a start time.
2) The “B” on the bottom left will flash once you
touch button . Touch button again to set an end
time and begin A-B loop, or touch button to reset a
start time.
3) Touch button again to end the A-B loop.
Replay Times:
Set how many times will A-B loop play.
Replay Interval:
Set how many seconds interval at beginning of A-B
loop play.

8
2. Sound settings
Equalizer: Choose from the 6 sound effects, or
choose "off" to turn off equalizer.
Variable speed playback: Adjust play speed from
-8 (Slowest) to +8 (Fastest). MP3 and WAV format
only.
Volume limit: Adjust the maximum sound volume.
3. Delete
Delete the currently playing song from Mp3 player.
4. Bookmarks
Add bookmark: Add a bookmark in the audio.
Go to bookmark: Go to your saved bookmark.
Delete bookmark: Delete saved bookmark
5. Add to playlist
Add the currently playing song to 1 of 3 playlists.
6. Remove from Playlist
Remove the song from 1 of 3 playlists.

9
Movie
Touch button with “Movie” on main interface to
access to its function.
JOLIKE M2 MP3 Player Support Converted AMV
format videos. Please go and visit JOLIKE website
http://www.jolike.com.cn/ to get the converter tool.
Settings
While it’s on video playing interface, touch Menu
button(“M”button) to access to its sub-menu. The
related list will show.
Brightness:
Adjust Screen brightness.
Repeat:
Repeat off: Turn off repeat function.
Repeat 1: Repeat play the audio currently playing.
Repeat all: Play all of your audios and repeat.
Delete video:
Delete the currently playing video.
Create Playlist:
Refresh the playlist you just edit.

10
Fadio
Touch button with “FM radio” on main interface to
access to its function. .
Note: Wired headphones are required as antenna
for FM radio function. FM frequency range 87.50 -
107.00 HZ.
Stations: Search and Save channels to preset.
Manual tune: Manual Search FM signal.
Auto tune: Auto Search FM signal.
FM Recording: View recorded FM radio.
Settings
While on radio playing, touch Menu button go to its
sub-menu. A related list will show:
Start FM radio recording:
Record current playing FM radio.
Radio background:
Enable FM radio play even quit “FM radio” section.

11
Save:
Save current FM Channel to “Presets”.
Clear station:
Clear one of saved FM Channel from “Presets”.
Auto tune:
Auto Searching FM signal and save to “Presets”.
Tuner Region:
Select among Common Band, Japan Band,
European Band
FM Recording:
View recorded FM radio.

12
Record
Touch button with “Record” on main interface to
access to its function. A related list will show up:
Start voice recording: Start recording.
Recordings library: View the recordings.
Record Format: Select a recording format.
Record Settings:Select a bit rate.
Options when SD card inserted:
Storage: Select saved in mp3 or SD card.

13
Bluetooth
Touch button with “Bluetooth” on main interface
to access to its function. And then a related list will
show as follows:
Bluetooth switch control:
Turn on/off Bluetooth function.
Search for device:
Searching nearby Bluetooth device.
Device List:
View paired Bluetooth devices.
How to pair this mp3 player with Bluetooth speaker
or Bluetooth headset?
1. Make sure the bluetooth speaker or bluetooth
headset power on and open the bluetooth mode
2. Turn on the bluetooth mode on mp3 player, and
start to search for the bluetooth device around.
3.After find the bluetooth device then choose the
bluetooth device to start to pair with bluetooth
speaker or bluetooth headset.

14
Remark:
1.Under Bluetooth playing mode only support
following formats:
Mp3, WMA, WAVE, FLAC, APE. This mp3 player
can not pair with smart phone.
2.Plug in wired headphones when play FM radio in
Bluetooth Mode. Videos, Photo, Record, can not be
used during Bluetooth Mode.
3.If you still have trouble to pair with your
headphones or speaker,
please contact us by our customer service.(See
Cover)

15
Photo
Touch button with “Photo” on main interface to
access to its function.
Slide Show Mode
While viewing a picture, touch button to enter
Slide Mode.
Settings
While viewing a picture, touch Menu button to
access to its sub-menu. The related list will show:
Brightness: Adjust screen brightness.
Backlight timer: Set time for backlight turn off.
Slide show settings:
Time per slide: Set time gap between slides.
Repeat: Turn on/off repeat mode.
Shuffle: Turn on/off shuffle mode.
Delete picture: Delete the currently viewing picture.
Update Playlist: Update the Playlist you just edited.

16
Ebook
Touch button with ”Ebook” on main interface to
access to its function. And then a related list will
show as follows:
Auto Play
While reading the text, touch button to start auto
play mode, touch again to back to normal play.
Settings
While on text reading scene, touch Menu button to
go to its sub-menu. A related list will show:
Play setting: Set time for auto play.
Font Size: Set the size of the word
Page color: Set Ebook page color.
Delete ebook: Delete an Ebook.
Bookmark Select: Select a bookmark.
Delete bookmark: Delete a bookmark.
Add bookmark: Add a bookmark on a page.
Select page: Go to a selected page.

17
Settings
Touch button with “Settings” on main interface to
access to its function. And then a related list will
show as follows:
1.Tools
1.1.Step:
Pedometer: Choose “pedometer” to start record
your steps, click Button to stop or click this button
again to continue, When stop “pedometer”
Click button and choose "Yes"/"No" to save or
deleted this record.
Personal info: set your step length.
History: View up to 7 history records.
Clear history: Clear one of your history records.
1.2.Calendar
Choose "Calendar", touch button to access this
function and view the date and time.Touch button
to go back.

18
1.3.Stopwatch
Choose "Stopwatch", touch button to access this
function. Touch again to start the timer, then
touch again to stop/resume. Touch to start a new
one. Touch to go back.
Please note: the maximum Stopwatch list is 4.
1.4.Alarm
Choose "Alarm", touch button to access this
function and set the alarm On and Off /time /cycle
/music /volume you want.
2.Language
Select among 1 of 27 languages.
3.Display:
Brightness: Set screen brightness.
Backlight Time: Set time of screen backlight.
Screensaver: Turn on/off screen saver.
4.Power off
Sleep timer: Set time into sleep mode.
Power OFF: Set time for auto shutdown.

19
5.Touch light mode
Turn on/off the button lights.
6.Sound settings
Equalizer: Choose from the 6 sound effects,
or choose "off" to turn off equalizer.
Speaker on\off: Turn on/off speaker.(There is no
speaker built-in M2)
Volume limit: Adjust the maximum sound volume.
7.Date and time
Set Date and time on the MP3 player.
8. Format device
Delete all data in Mp3 system.
9.Information
View system info and memory space on the device.
10.Factory settings
Reset system to factory setting.

20
Browse
Touch button with “Browse”on main interface to
access to its function.
1.Expandable Card
When you insert a card into the MP3 Player, 2 new
options will show in “Browse”.
Local folder: View files in MP3’s memory.
Card folder: View files in SD card’s memory.
JOLIKE MP3 player works with any brand SD card
up to 128 GB. If SD card can’t be read, please make
sure the card can be read by other device first. If you
believe the card is fine, please contact us for further
help.(See Cover)
2.Create your own Playlists
When you connect mp3 player to PC, you can create
folders in the mp3 player or SD Card. These folders can
be used as Playlists.
If you drop some musics in one folder, and then unplug
and go to “Folder view” icon on MP3, you can only play
and shuffle these musics in the folder.

21
3.Sorting as same as on PC
Audio Book lovers usually need to make sure all
files in the order they want. Unfortunately MP3 or
SD Card’s memory designed different from PC’s
storage. Thus you need some trick to sort files as
same as on PC.
Here’s the steps:
1, Prepare the audio files and sort them on PC.
2, Select all files, but do not copy (Important).
3, Move your mouse cursor to the first file, and copy.
4, Paste files to mp3.
5, Unplug mp3 and go to “Folder view”, all files will
be sorted exactly as same as on PC.
MP3 and SD card’s memory will sort file by edit time,
the first file be dropped in will be list as first edited
file. If you change the file name or do some other
modification, it’ll go the last of the list. This trick only
works on “Folder view” icon, not on “Music” icon.
Don’t forget add a bookmark when you use audio
book.

22
Support and Troubleshooting
Q: How to transfer music to the mp3 player?
A: Download music to your computer first, and then
connect mp3 player with your computer thru
charging cable. A new disk will pop on as flash
driver, and drop all your musics to the disk.
You can create folders in the disk to sort your music.
Q: Why my computer can’t detect mp3 player?
A: JOLIKE Mp3 player can be paired for all
computer system with latest USB driver. Please
update your USB driver before plug in Mp3 player or
try another charging cable. It you still can’t connect
the Mp3 Player to you computer, please contact
customer service team for additional help(See
Cover).
Q: How can I continue audio play after turn the
player off?

23
A: You can not continue your play after turn off the
player. However, if the player is in sleep mode, you
can continue your play by wake it up.
Q: Why buttons on the player can’t work?
A: Sometime customer will accidentally active lock
screen function which prevent button been used.
Please see”Lock Screen” to unlock the button. If it
still won’t work for you, please contact Customer
Service to claim your warranty. See Cove
24
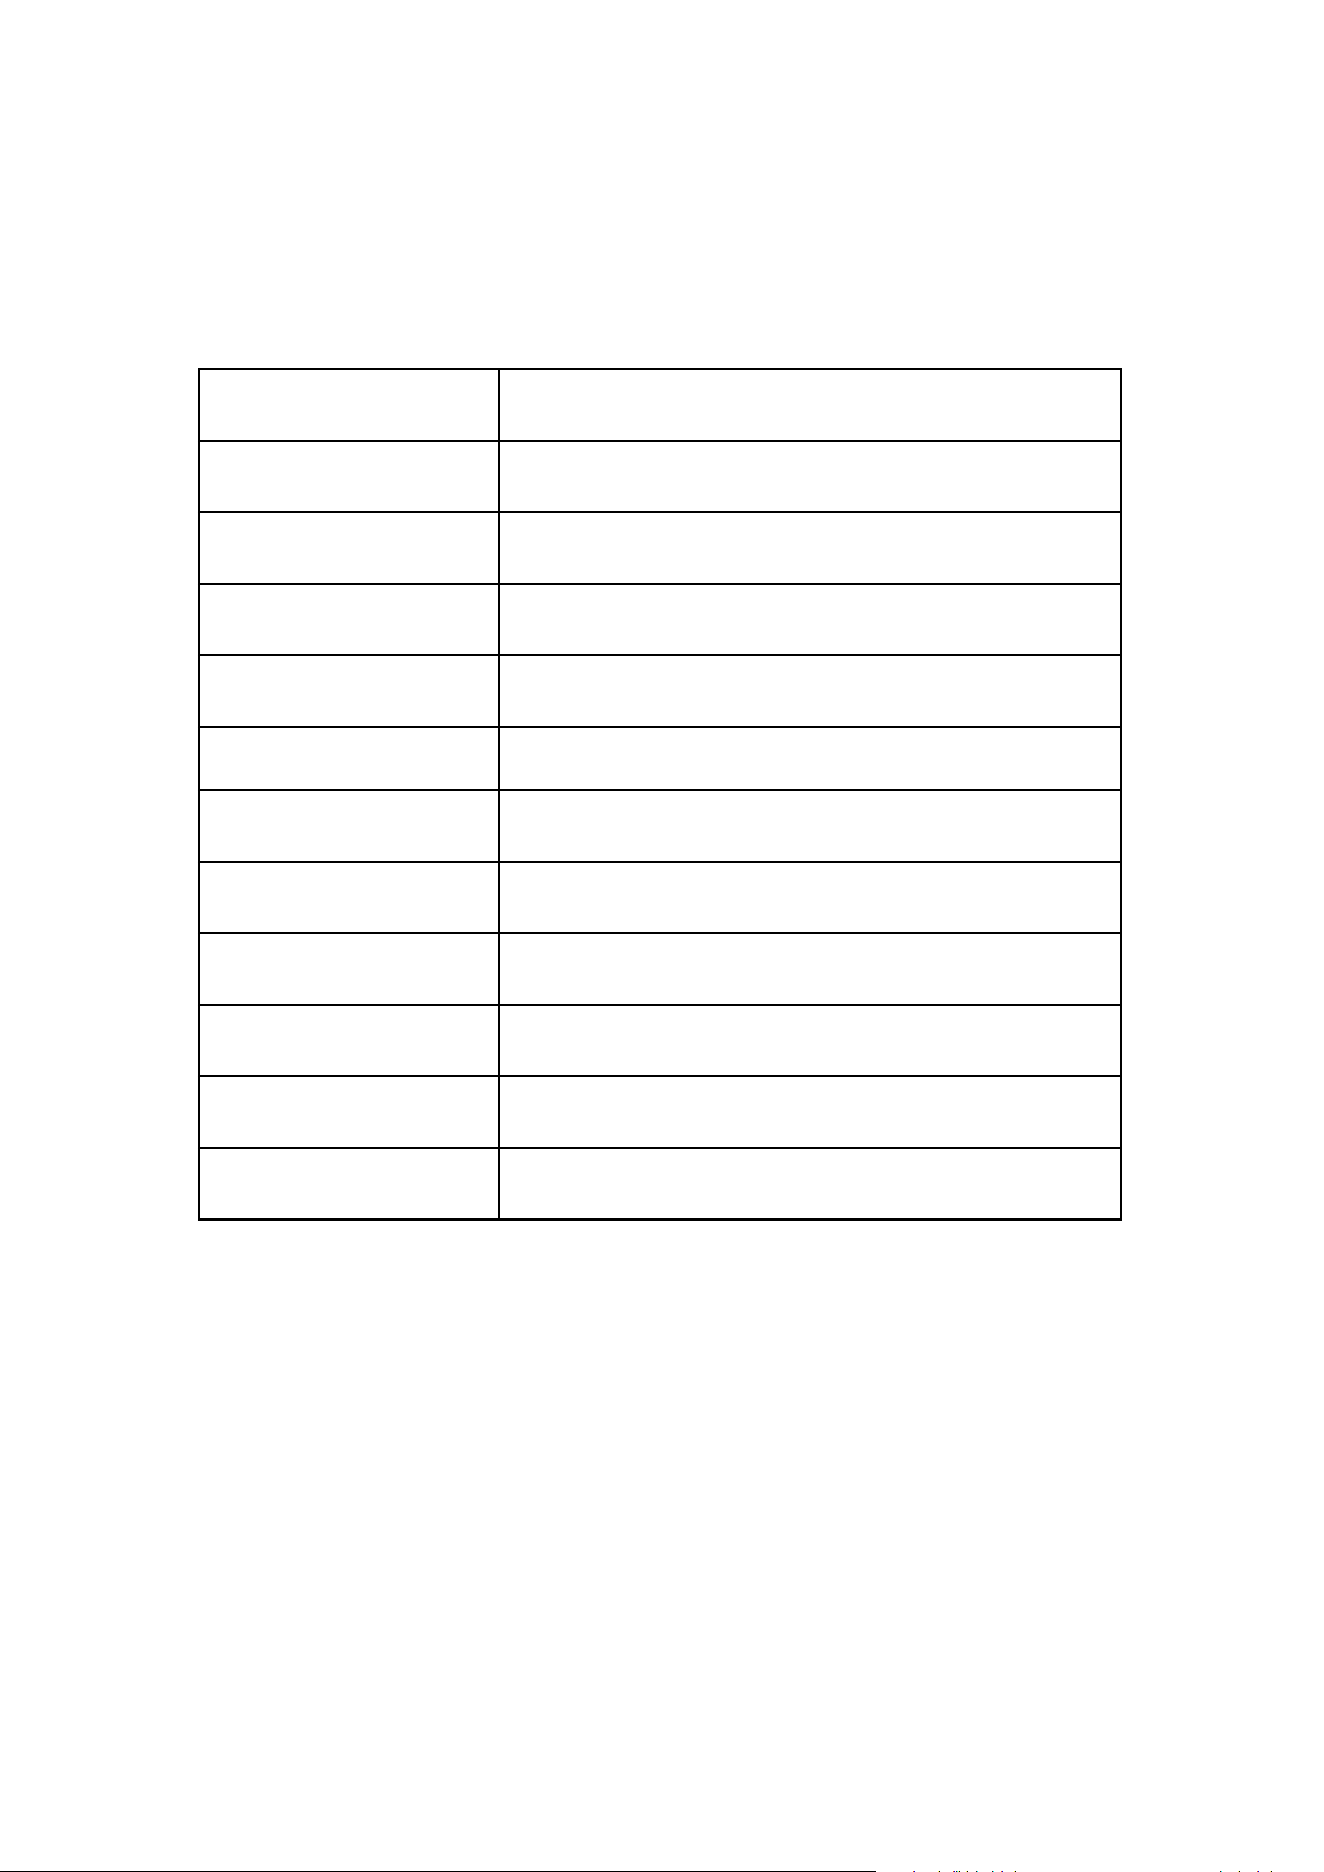
Specifications
Screen
2.4" 240 x 320 LCD screen
Weight
116g
Dimension
110*48.5*8.5 mm
Flash memory
16GB
Audio format
MP3/WAV/APE/WMA/FLAC etc.
Video format
AMV
Recording format
MP3/WAV
Recording range
5-8 meters
Battery
3.7 V/560mAh
Charging time
1-3 hours
SD card expansion
Up to 128G
Lyric Format
LRC