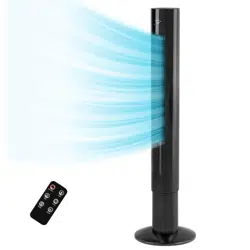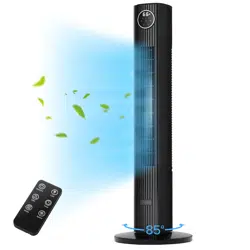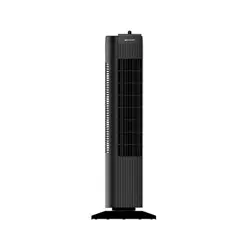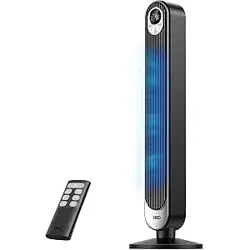
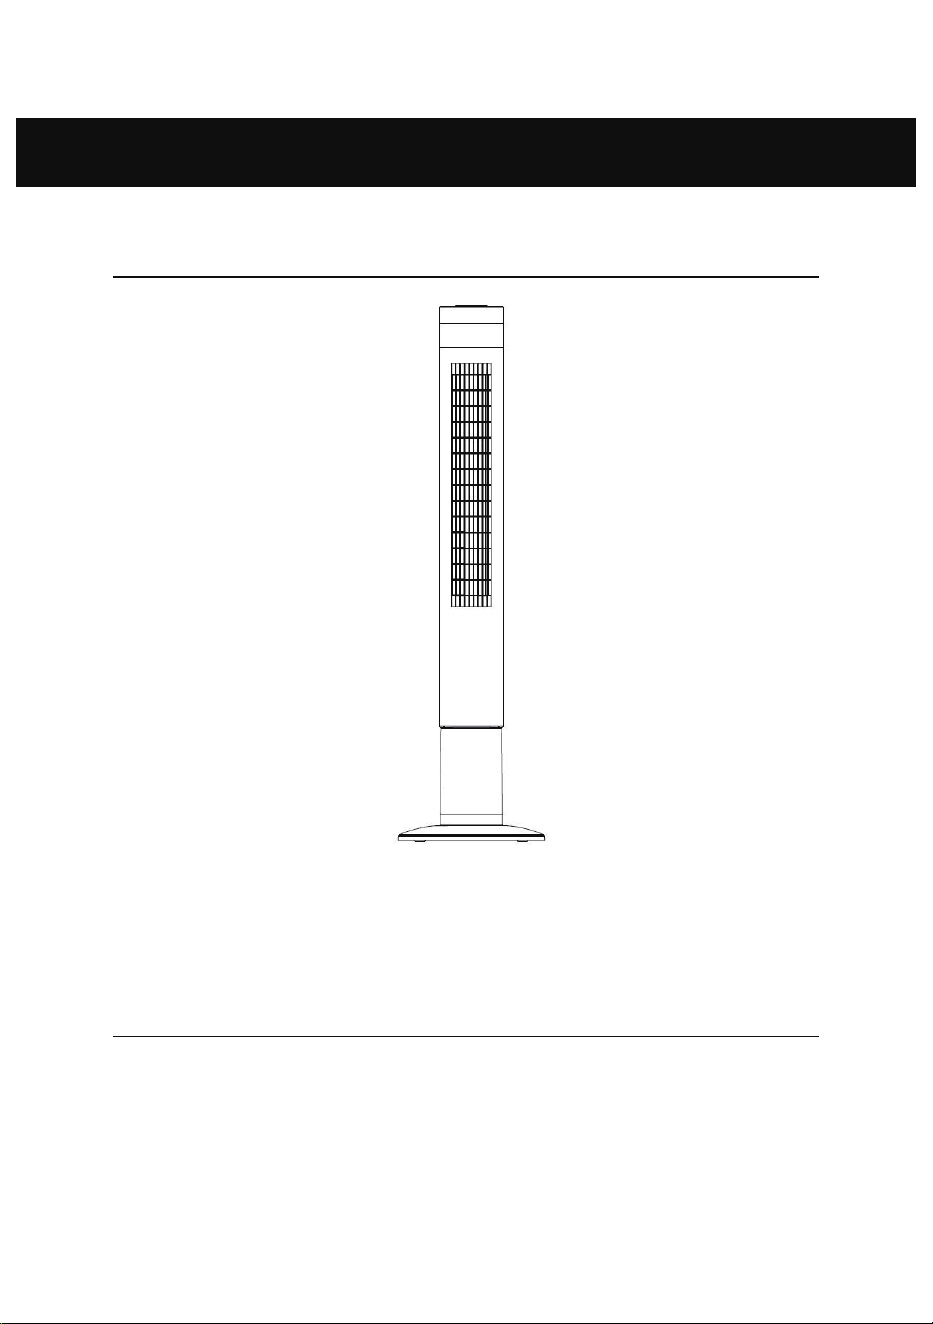
Tower Fan
Model No.: NDTFT14RH
Thank you for purchasing this product! Please read this manual carefully before operating
this product. If you have any questions about the product, such as missing parts, product
damage, product assembly and operation etc., please contact us via
customer service
phone: 213-4467172
Instruction Manual


Part 1 IMPORTANT SAFEGUARDS
When using an electrical appliance, basic safety precautions should
always be obeyed, including the following:
READ ALL INSTRUCTIONS BEFORE USING
WARNING: To reduce the risk of fire, electric shock, or
personal injuries:
1. This fan is for household use only.
2. Before first use, chec k whether your voltage corresponds to the
product nameplate requirements.
3. For safety reasons, please check the status of the power cord and
plug before use.
4
. When not in use, be sure to turn off the fan an d unplug it from the
power socket.
5. Be careful when using this equipment near children.
6. Do not run the power cord under carpets and, do not cover the
cord with throw rugs. Do not put a cord under furniture or appliances.
Arrange cord away from traffic areas so that people will not be
tripped over by it.
7. Do not operate any fan with the damaged cord or plug. Discard
the fan or return it to an authorized service facility for examinatio n
a
nd repair.
8. If the fan’s power supply cord is damaged, it must be replaced by
the manufacturer or its service agent to avoid potential safety
hazards.
9. Use the fan in well-ventilated areas. Place the fan at least 8 inches
from any walls to ensure the proper airflow during use. The fan
cannot be loca ted directly under or close to the curtain.
10. Do not obstruct the airflow with any objects or place anything in
the opening of the fan.
11. Do not use the f an in areas where curtain s ma
y be sucked in.
12. Only place the fan on a hard, flat, dry floor.
13.Do not use the product in extreme temperatures, humidity, or

dusty environments.
14.Do not put heavy objects on the fan.
15. D o not place the fan below the power outlet that will suck the
cord inside to cause damage.
16.When the fan is osc illating, do not touch the fan manually to avoid
damage.
17. Be sure to turn off the power supply before unplugging the power
cord from the power outlet to avoid a short circuit, fire, or electric
shock.
18. Do not twist or pull the power cord out.
19. In ord er to avoid the danger of electric shock, do not un plug
the
fan when your hands are wet.
20. Children un der 8 years old should not operate the fan.
21. This appliance is not suitable for people (inclu ding c hildren) with
reduced physical/sensory/mental abilities or people who lack
experience and k nowledge. Unless the above-mentioned people are
supervised or instructed by a person who is responsible for their
safety.
22. C hildren should be supervised to ensure that they do not play
with the appliance.
23. Ensure that the fan is s
witched off and unplugged from the power
supply before removing the guard.
24. To reduce the risk of fire or electric s hock, do not use this fan with
any solid-state speed control device.
25. Please unplug or disconnect the appliance from the power
supply before the repair work is carried out.
26. This product has overload protection (fuse). A blown fuse
indicates an overload or short circuit. If the fuse is blown, unplug the
product from the socket. Replace the fuse (select th
e appropriate
fuse rating according to the product label) by following the user
maintenance instructions and checking the prod uct. If the
replacemen t fuse is blown, there may be a short circuit, and the
product should be discarded or returned to an authorized service
facility for examination/repair.
Warning:
This applianc e has a polarized plug (one blade is wider than the
other). In order to reduce the risk of electric shock, the plug can only
be inserted into the electrical outlet/receptacle one way. If the plug
cannot be fully inserted into the power ou tlet, reverse the plug. If it is
still not suitable, please contact a qualified electrician. Do not
attempt to destroy thi s safety function alone.
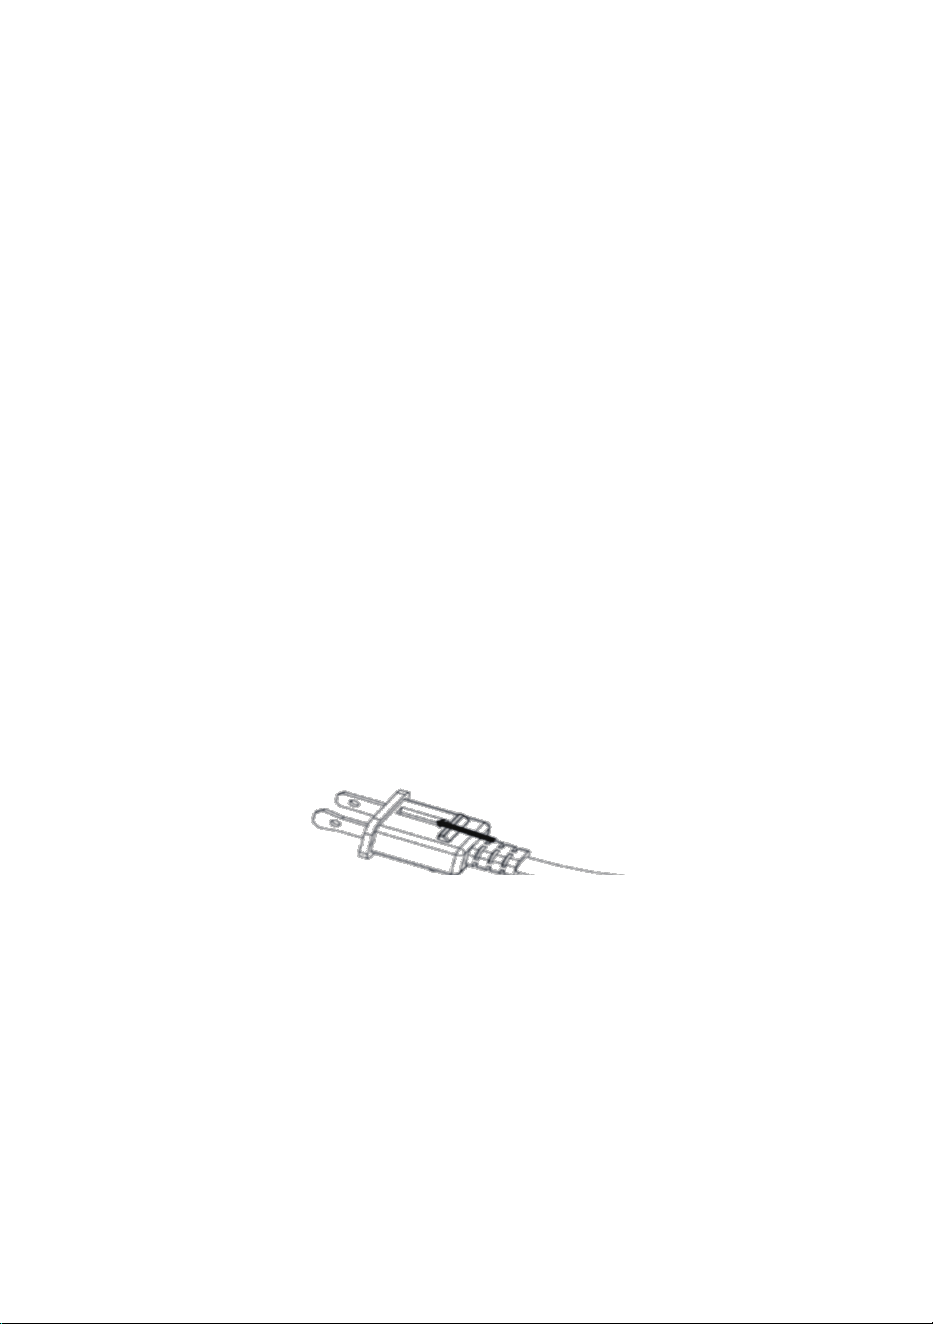
To Change the fuse
The following should ONLY be conducted by qualified
pro
fessionals:
1. Grasp the plug and remove it from the electric receptacle.
Do not unplug by pulling on the cord.
2. As shown in the figure below, slide the fuse access cover
on the top of the plug towards the blade and open the fuse
cover.
3. Remove the fuse carefully. Push the fuse from the other
side or turn the fuse holder upside down to remove the
fuse.
4. Fire risk. Replace the fuse only with a 5-amp 125-volt fuse.
5. Close the fuse cover by sliding the fuse access cover on
the top of th
e plug away from the blades.
6. Fire risk. Do not replace the polarized plug as it ha s a
safety device that should not be removed.
Discard the product if its polarized plug is damaged.
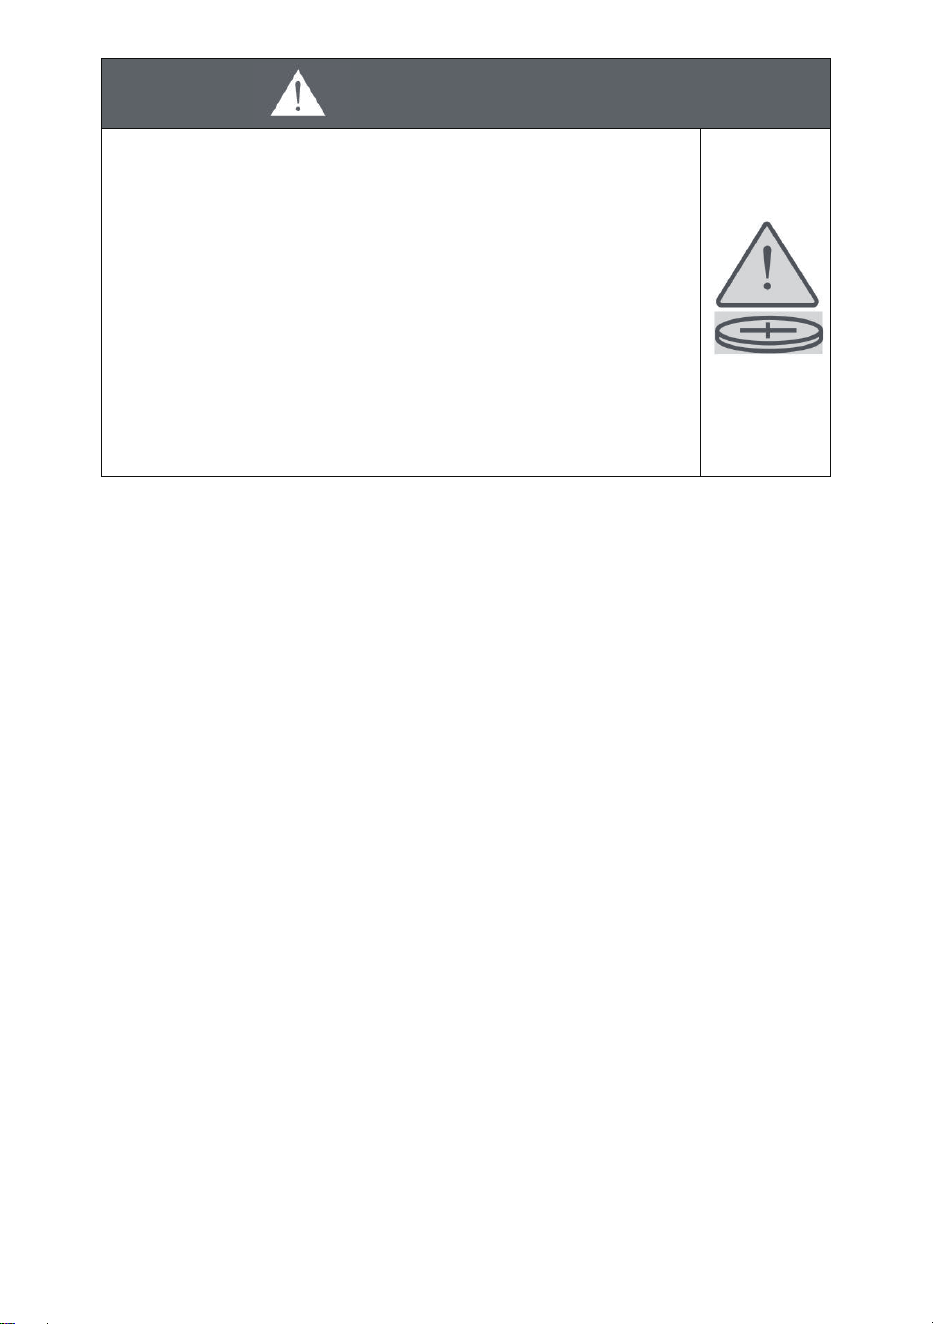
WARNING
INGESTION HAZARD:This product c ontains a button
cell or coin battery.
DEATH or serious injury can occur if ingested.
A swallowed button cell or coin battery can cause
Internal Chemical Burns in as lit tle as 2 hours.
KEEP new and used batteries OUT OF REACH of
CHILDREN
a)Remove and immediately recycle or dispose of used batteries
according to local regulations and keep them away from children. DO NOT
dispose of batteries in househ old trash or incinerate.
b)Even used batteries may cause severe injury or death.
c)Call a local poison control center for treatment information.
d)Compatible batte ry type: CR2025.
e)Battery nominal voltage:3.0 Vdc
f)Non-rechar geable batteries are not to be recharged.
g)Do not force discharge, recharge
, disassemble, heat above (rated
temperature:140 F), or incinerate. Doing so may result in injury due to
venting, leakage, or explosion resulting in c hemical burns.
h)Ensure the batteri es are installed correctly according to polarity (+ and-).
i)Do not mix old and new batteries, different brands, or types of batteries,
such as alkaline,c arbon-zinc, or rechargeable batteri es.
j)Remove and immediately recycle or dispose of batteries from equipment
not used for an ext
ended period according to local regulations.
k)Always completely secure the battery compartment. If the battery
compartmen t does not close securel y, stop usin g the product, remove the
batteries, and keep them away from children.
SAVE THESE INSTRUCTIONS
if a battery is
suspected to be swallowed or inserted inside any
part of the body.
Seek immediate medical attention
Part 2 Brief introduction
This tower fan is equipped with multiple functions, such as 3 speeds, 3
modes, 85-degree oscillation, 12-hour timer, remote control. With the
above functions, the tower fan can provide a cool, healthy, and luxurious
lifestyle.
Part 3 Specification
MODEL NO. RATED
POWER
NDTFT14RH 120V, 60Hz
50W
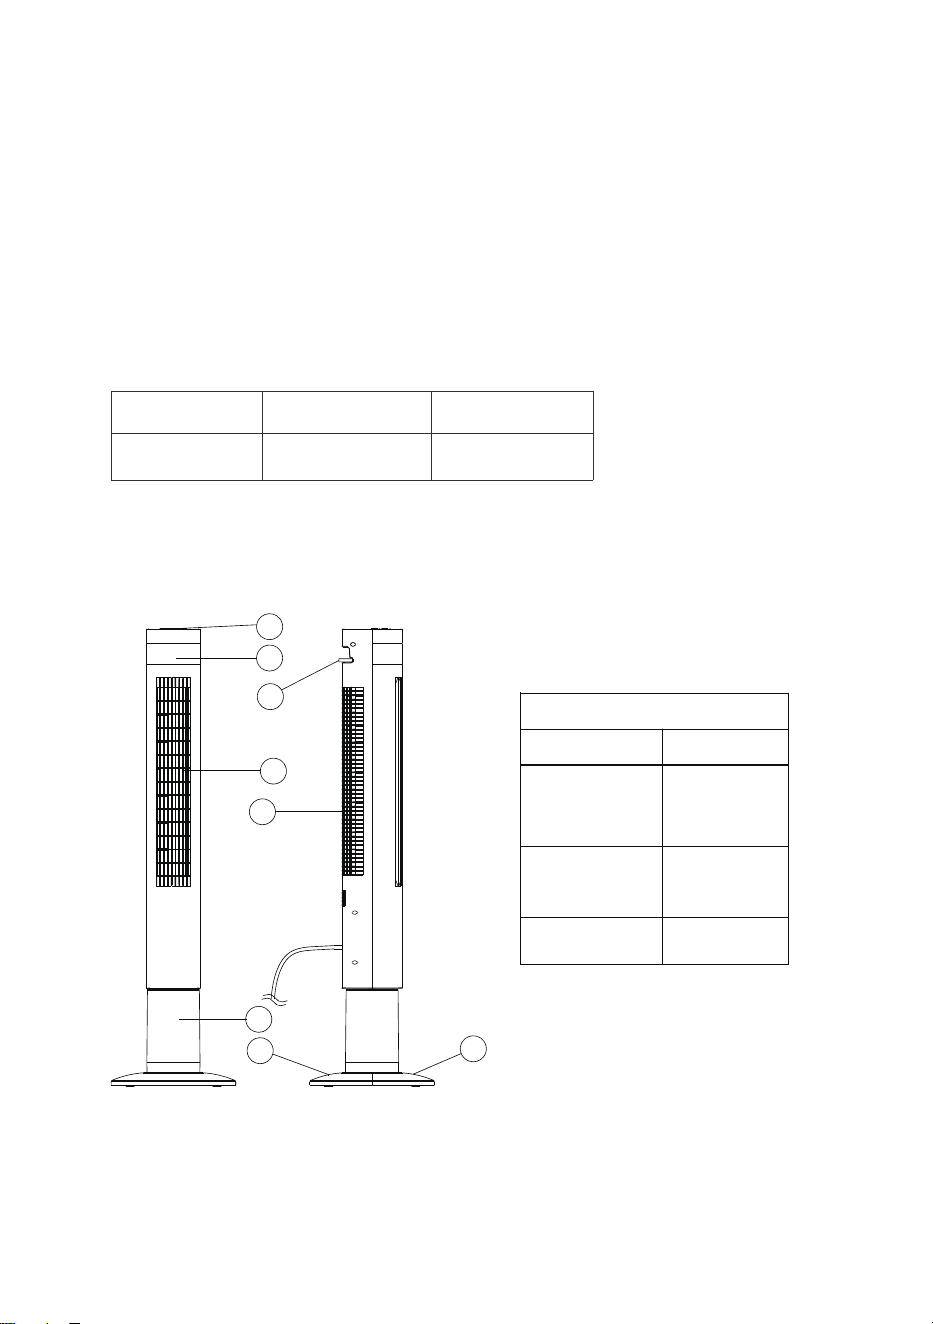
Part 4 Structure and parts
1. Head 2. Display 3. Remote control 4. Air outlet
5. Air inlet 6. Support 7. Base A 8. Base B
Parts list
Description Quantity
Remote
Control
1
Manual
1
Base 2
8
7
6
5
4
3
2
1
Instruction
Part 5 Installation
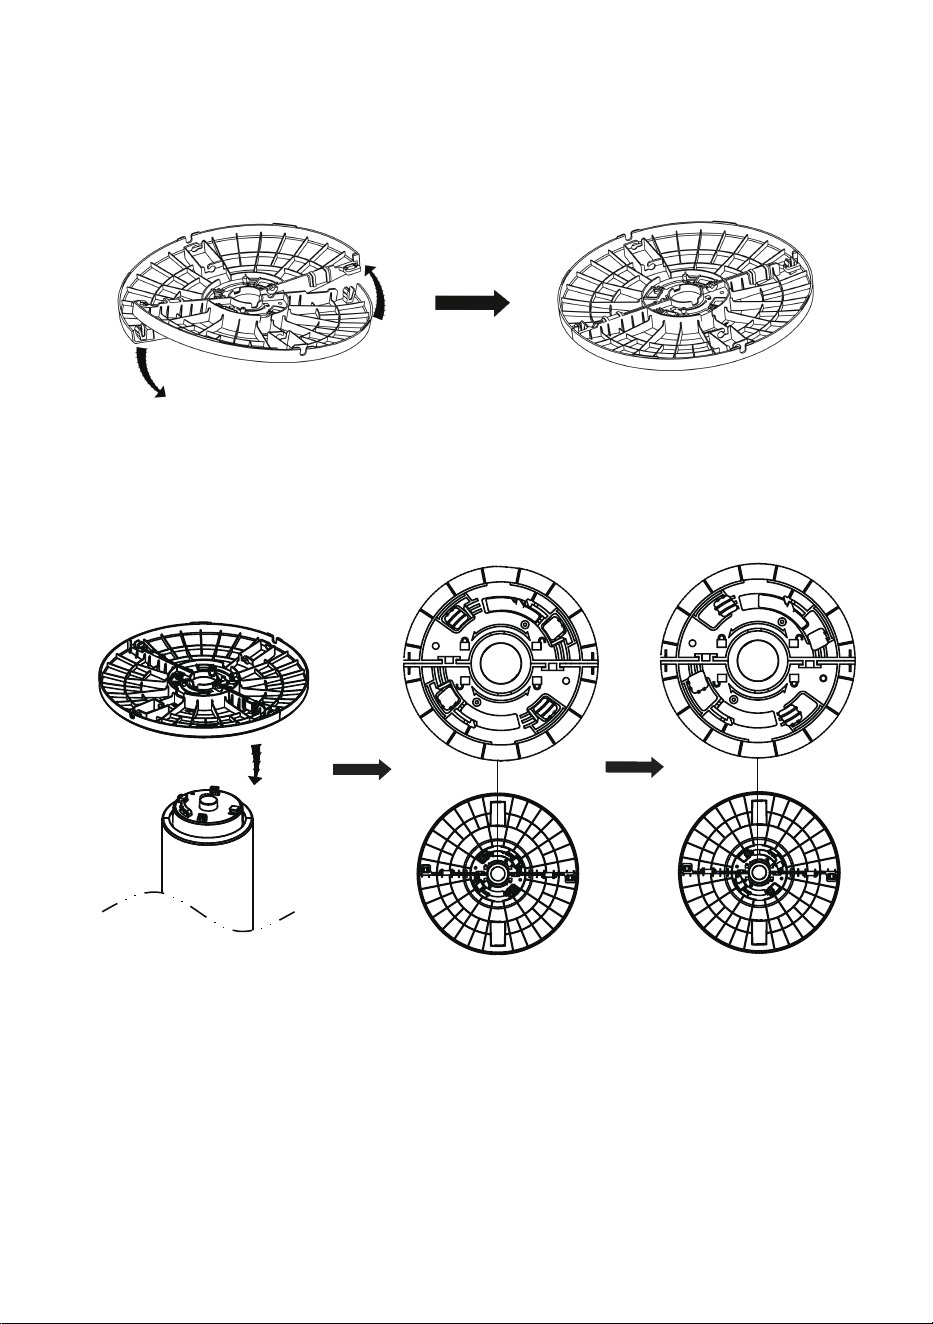
1. Take out the two bases from the package. Connect them together. (As
shown below)
2. Fit the base onto the bottom of the fan, then rotate the base
anticlockwise to lock in plac e. (As shown below)
Part 6 Function
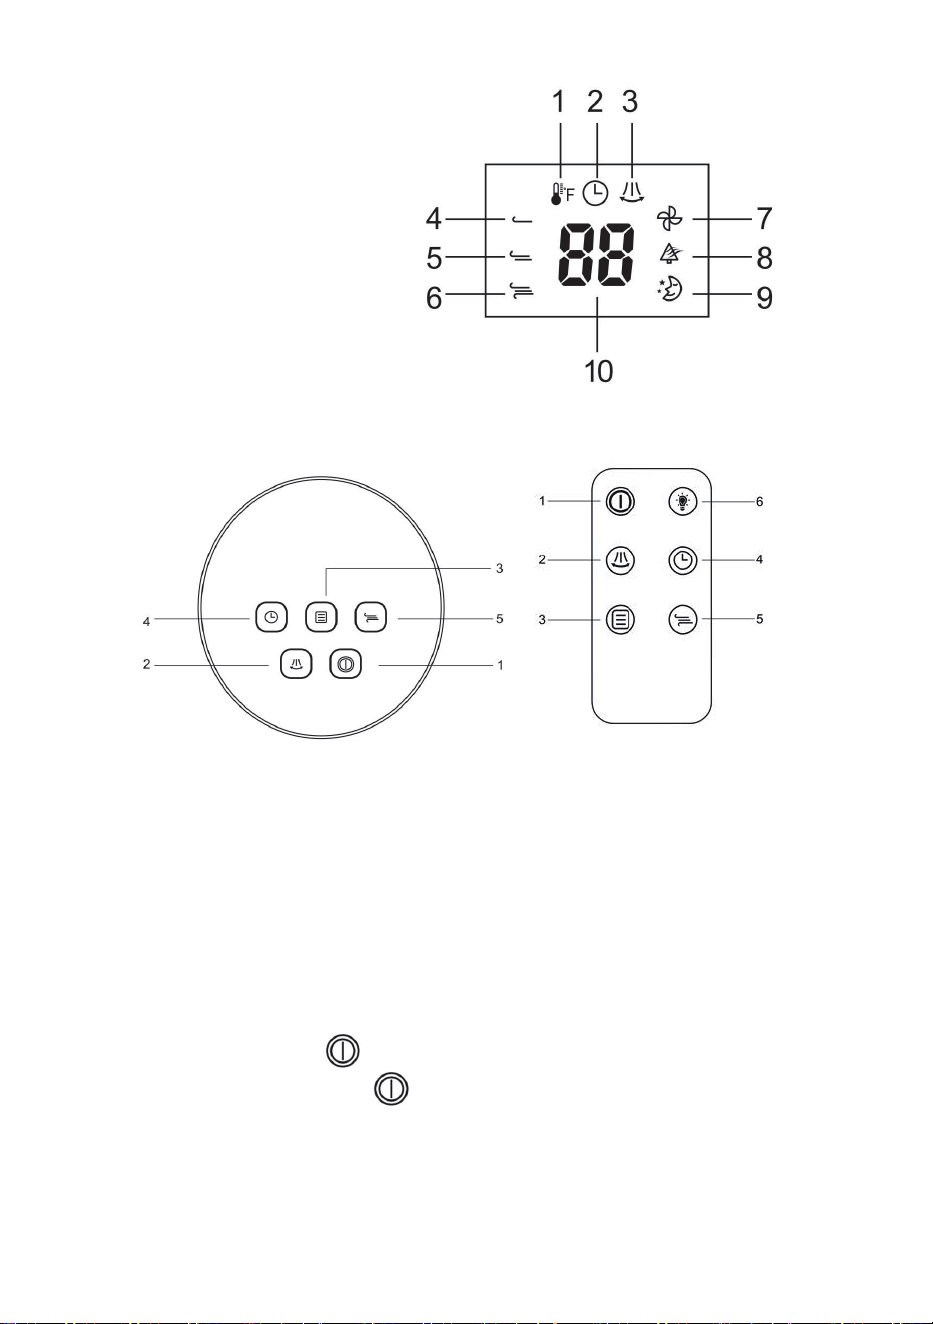
1. Temperature indicator
2. Timer indica tor
3. Oscillation indicator
4. Low fan speed
5. Mediu m fan speed
6. High fan speed
7. Normal fan mode
8. Natural fan mode
9. Sleeping fan mode
10. Display ambient temperature a nd timer hours.
1. Power button
2. Oscillation button
3. Fan mode button
4. Timer button
5. Fan speed button
6. Light go out button
1. ON/OFF
Press power button to turn the fan ON/O FF. Pr ess once, the fan
will start operation. Press button again to stop the fan
.
2. Mode
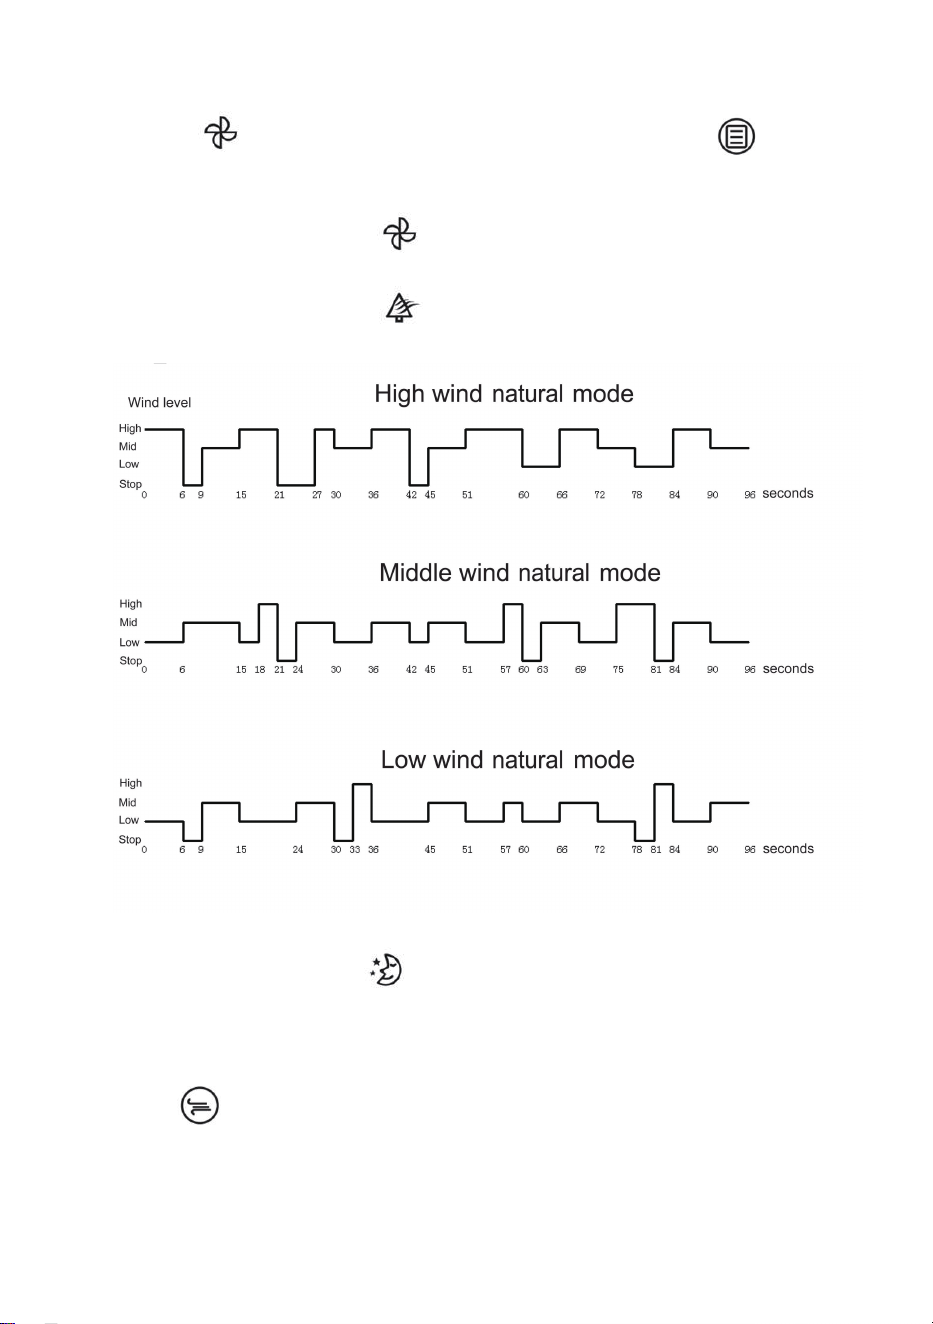
The model has three modes: Normal/ Natural/ Sleeping. When you turn
on the fan, the default mode is Normal wind mode, the LED screen will
indicate . If you want to change the mode, please press , and
choose the mode you want.
Normal wind mode:
The Normal light indicator will display when this mode is selected.
Natural wind mode:
The Natural light indicator will display when this mode is selected.
The fan will run cyclically, as shown in the figure below:
Sleep wind mode:
The Sleep l
ight indicator will display when this mode is selected,
the fan will run into the Min normal wind and the buzzer will be turned off
immediately. 5 sec onds after the cessation of the manual operati on, the
light will dim and then go out. If you want to change the wind speed, just
Press to choose the wind speed ranging from 1-3. In this mode, the
wind speed will be reduced by one level every half an hour, and the level
1 wind speed will be maintained until it is turned off.
3. Oscillation
Press this button, the fan will oscillate from the left to the right
automatically.
4. Timer
Press the timer, and then press to choose the duration of time.
The timer is 12 hours. To cancel the setting, press the “Timer” button
again and press button to set it as 00 Hr.
5. Wind Speed
Press to choose the wind speed ranging from 1-3.
6. Light
When you turn on the light, press and hold the button for 3 seconds
on the control panel or press the button on the remote c ontrol, the
light on the screen will go out. If you w ant to turn on the light on the
screen, press any button except the power button.
When the fan is in the stand-by mode, press and hold the for 3
seconds on the control panel or press the button on the remote
control, the light on the screen will go out. If you want to turn on the light
on the s creen, press and hold the button for 3 seconds on the
control panel or press the button on the remote control.
Part 7 Maintenance and Storage
1. Always remove the plug from the sock et-outlet and allow the fan to
stop before c leaning it.
2. Clean the external surfaces of the fan with a soft damp cloth (not
dripping wet cloth).

WARNING:
Do not immerse the fan into the water.
Do not use any cleaning chemicals such as detergent or abrasive.
Do not allow the interior to get wet as this could cause dangerous
consequences.
3. When the unit is not in use, make sure that it is unplugged from the
wall s ocket. To store the fan, you may pack it in the original carton and
store it in a cool and dry place.
4. In case of malfunction or doubt, do not try to repair the fan by yourself;
otherwise it may result in a fire hazard or el
ectric shock.