
INSTRUCTION
MANUAL
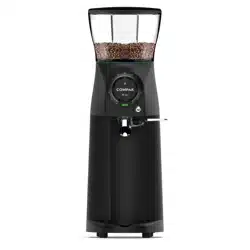
COFFEE GRINDER
PK 100
SHOP
LAB

ORIGINAL INSTRUCTIONS | Quality process Ref. 002/03 | v. 31/05/2022 | K07179H06
2

ORIGINAL INSTRUCTIONS | Quality process Ref. 002/03 | v. 31/05/2022 | K07179H06
3
CONTENTS
COFFEE GRINDER
SAFETY 4
DESCRIPTION 6
INSTRUCTIONS 7
IDENTIFICATION 8
TECHNICAL CHARACTERISTICS 9
EXTERNAL COMPONENTS 11
INSTALLATION 12
OPERATION 16
CLEANING 20
MAINTENANCE 22
EC DECLARATION OF CONFORMITY 25
PK 100
SHOP / LAB
ORIGINAL INSTRUCTIONS | Quality process Ref. 002/03 | v. 31/05/2022 | K07179H06
4
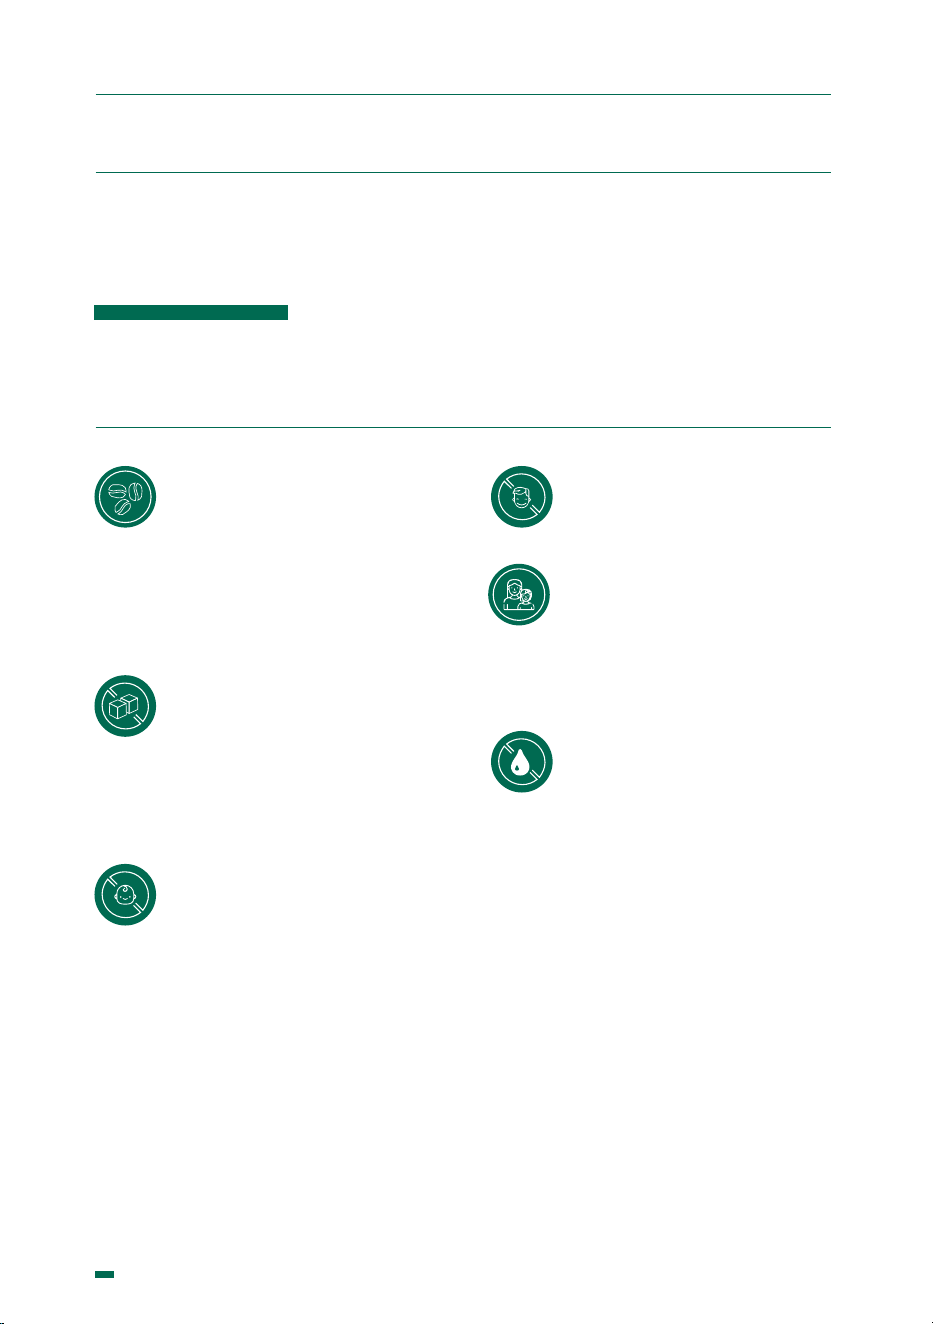
1. SAFETY
This coffee grinder
should be used
exclusively for the
functions for which it has
been designed: to grind
coffee beans.
Do not use the mill to
grind other types of
foods such as nuts
or to grind ner granulated
foods such as sugar and
others
This device may be
used by children
aged 8 years and
over, by people with reduced
physical, sensory or mental
capacities and by people
without prior experience/
knowledge, provided they
have received supervision or
instructions on the safe use
of the device and understand
the associated risks.
Children should not
play with the device.
Cleaning and main-
tenance of the device
should not be carried
out by children with-
out supervision.
Avoid allowing liquids
to come into contact
with internal or
external surfaces while the
appliance is switched ON or
OFF, except for those parts
expressly mentioned in the
“CLEANING” section. If, for
any reason, this happens,
unplug it immediately from
the mains and dry all
surfaces carefully.
ADDITIONAL SAFETY MEASURES
BUILT-IN TO OUR GRINDERS:
• Special screw to keep the hopper xed.
• Access restriction for the grinding unit.
ORIGINAL INSTRUCTIONS | Quality process Ref. 002/03 | v. 31/05/2022 | K07179H06
5
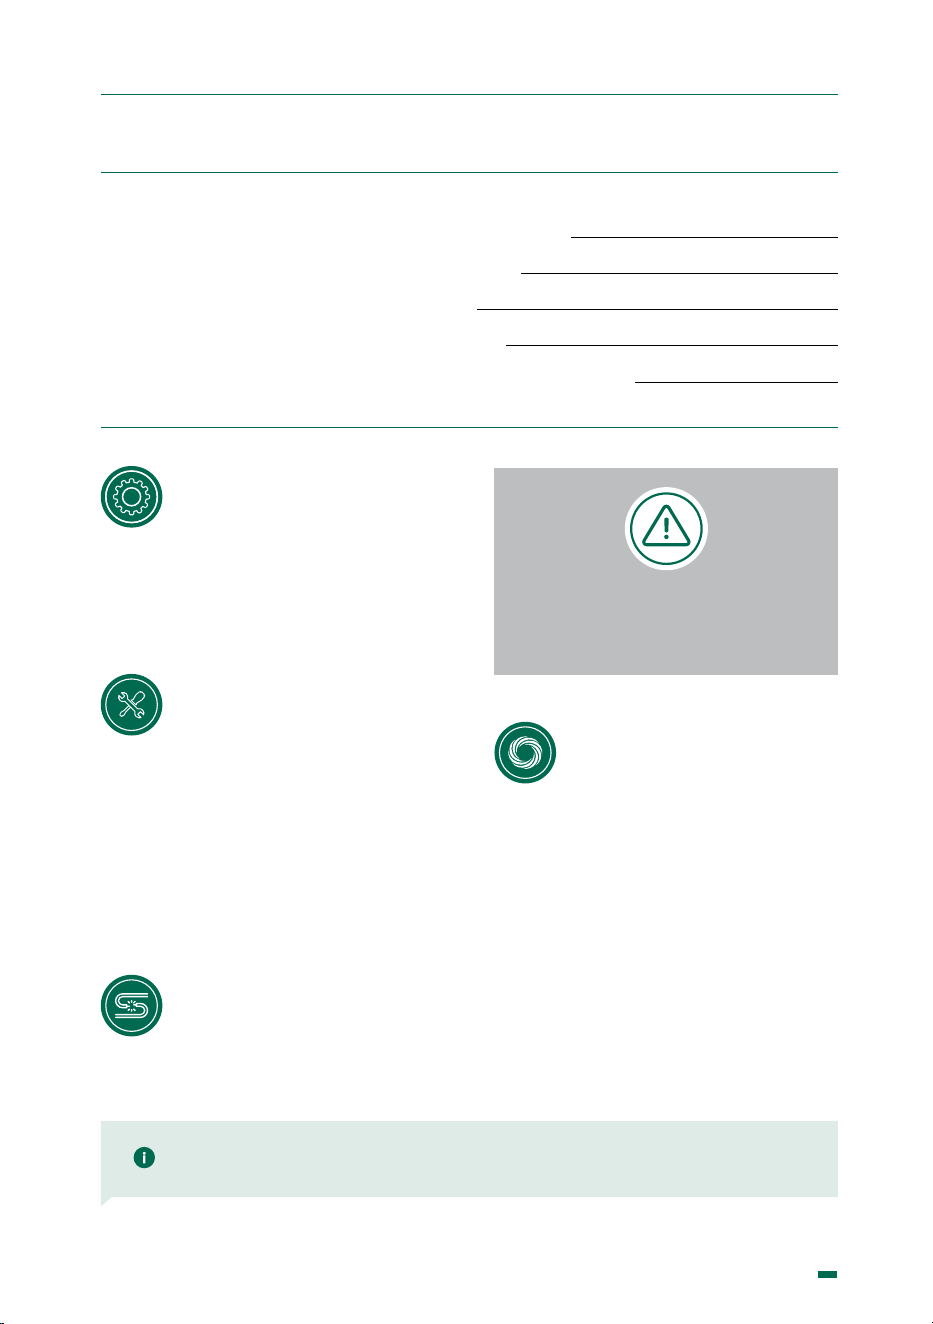
If it is necessary to
access the interior,
where the electrical
components are located
please go to the nearest
technical service centre.
If any component
should break or
any intervention is
needed, we recommend
contacting the technical
service centres, which
will carry out the repair or
replacement, guaranteeing
that safety standards are
adhered to.
Only an authorized
supplier may replace
the main cable of
any grinder.
NOTE: The manufacturer will not be liable for damages caused either by the improper use
of the device or by not following the stated safety measures.
1. SAFETY
USERS SHOULD PAY
SPECIAL ATTENTION TO
AND SCRUPULOUSLY OBEY
THE FOLLOWING SAFETY
INSTRUCTIONS
Any other use will be
considered improper
and dangerous
When handling burrs,
special care should
be taken as they
could cut. The use of suitable
gloves is recommended
ORIGINAL INSTRUCTIONS | Quality process Ref. 002/03 | v. 31/05/2022 | K07179H06
6
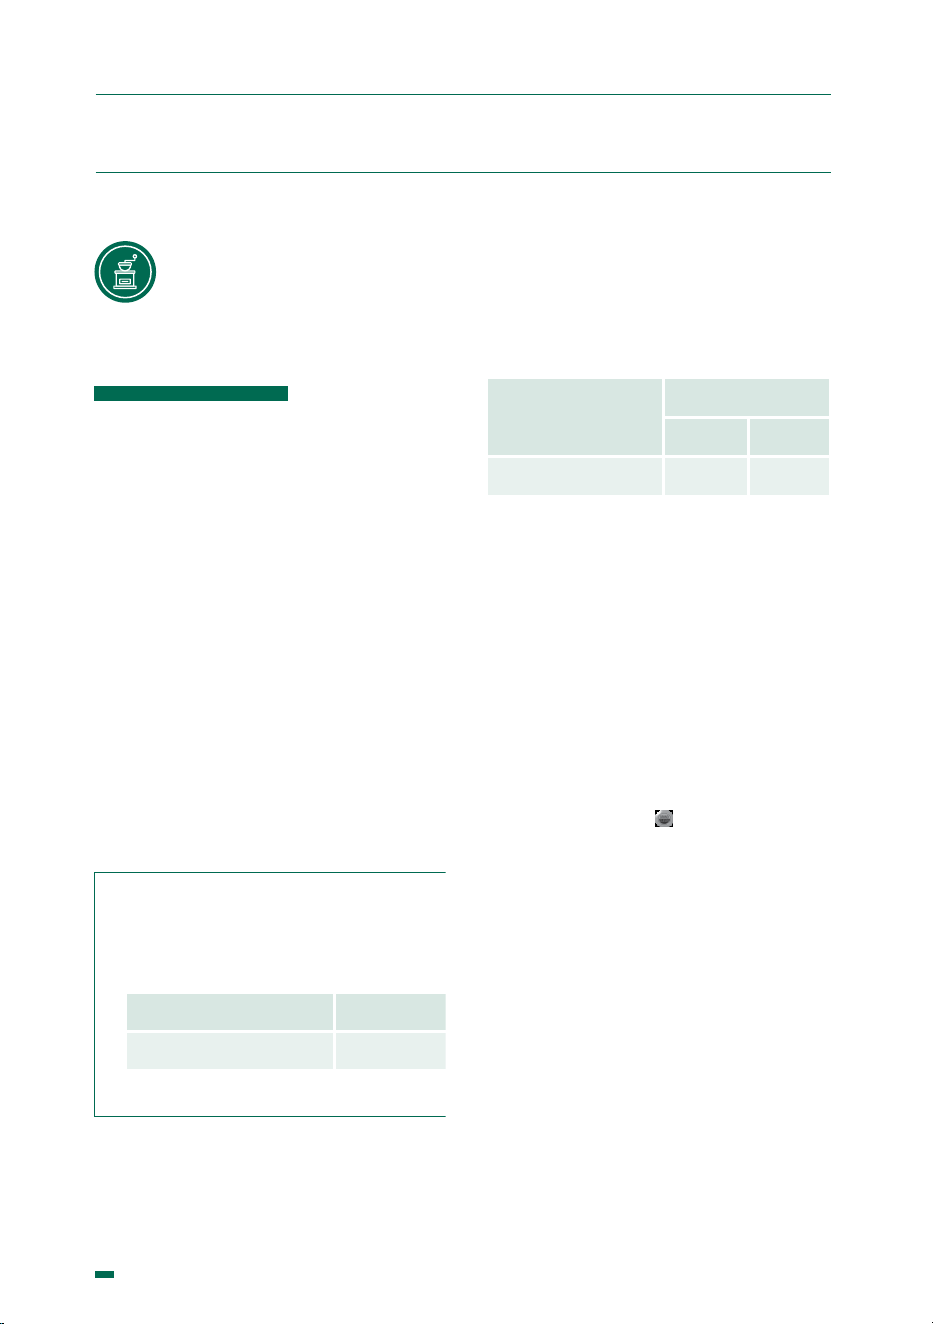
2. DESCRIPTION
The coffee grinder you have
purchased has been designed
using the most innovative
technological systems.
The result is a high quality product that
ensures the best results. Our products
are manufactured entirely by hand, one
at a time, following the most demanding
quality requirements.
In its manufacturing process, quality
materials (aluminium, steel, etc.) are
used, which are suitable for contact with
food.
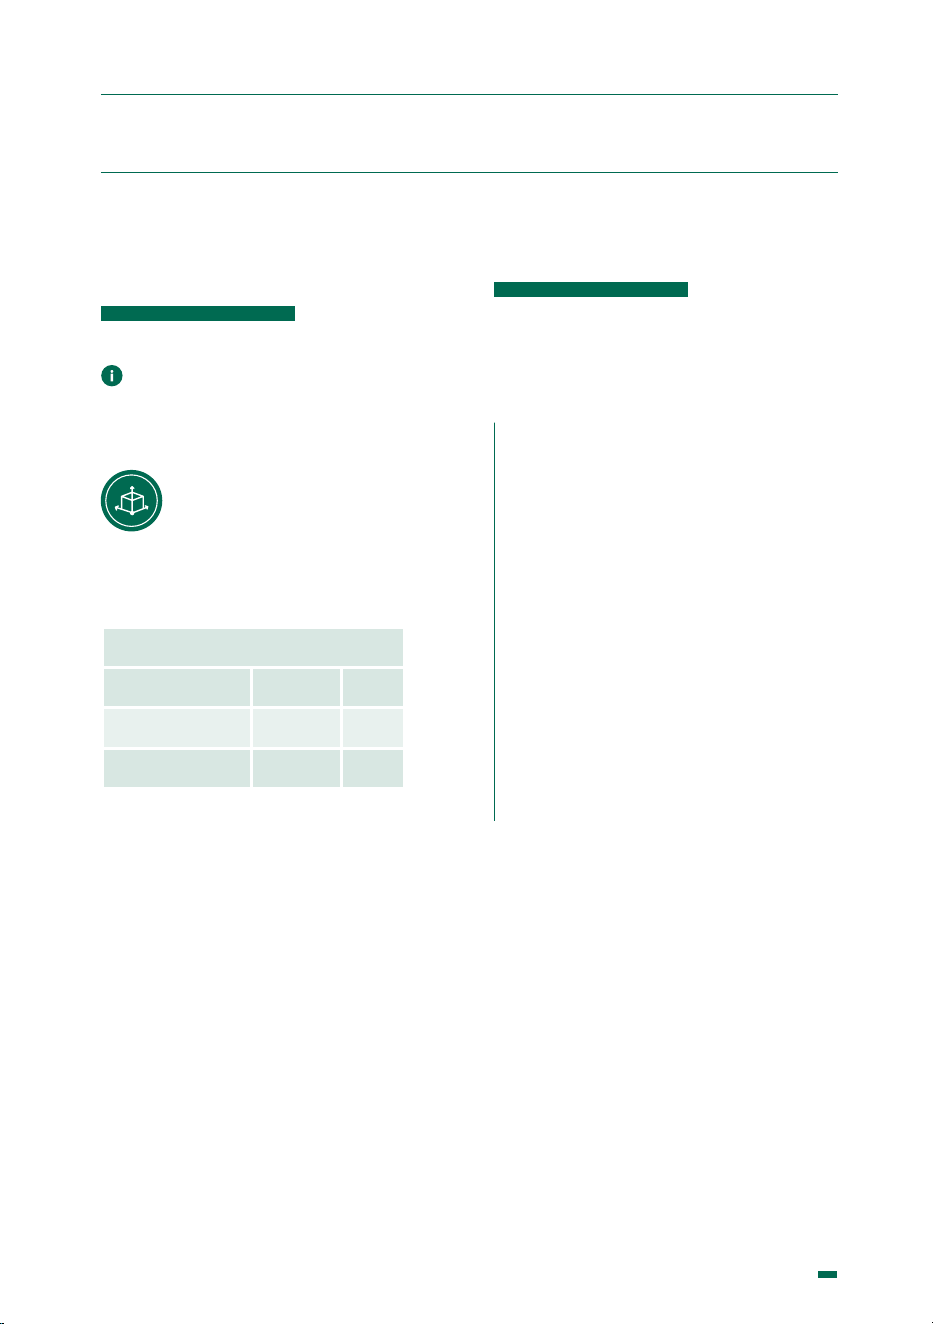
For the best results from the grinders
described in this manual, the maximum
operating/resting times are:
Model
Work cycle
ON OFF
PK 100 SHOP/LAB 1’ 3’
SOUND LEVEL
The sound level produced by this model is:
Sound level With coffee
PK 100 SHOP/LAB 75 dB
ORIGINAL INSTRUCTIONS | Quality process Ref. 002/03 | v. 31/05/2022 | K07179H06
7
3. INSTRUCTIONS
3.1. This manual provides the information
needed for correct installation, handling
and maintenance of the device and
emphasises the precautions
that must be borne in mind by
the operator.
To ensure you get the best out of coffee
grinders, it is essential to carefully follow
the instructions given in this manual.
If there is any kind of problem, contact the
nearest technical service. This manual
should be kept until the machine is
replaced and must always be available to
the operator.
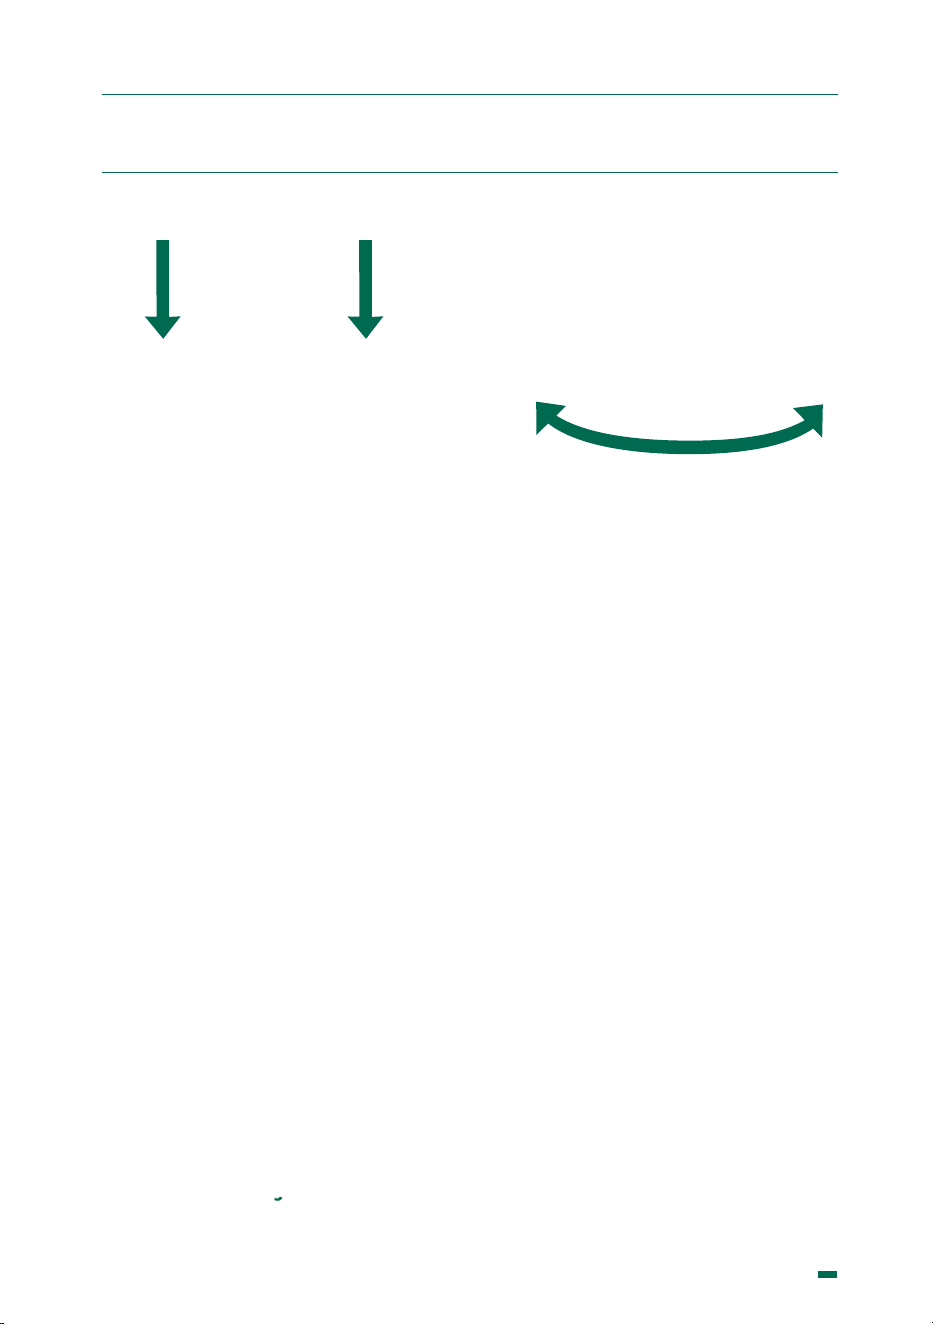
3.2. This manual uses some special terms,
such as:
• Text in bold to highlight the importance
of some terms.
• Numbers in parentheses after a word,
which match the numbering of the
items in the image to the side or in the
image of the external components.
Information Warning
Example: ( ) - Single dose cupping
Icons:

ORIGINAL INSTRUCTIONS | Quality process Ref. 002/03 | v. 31/05/2022 | K07179H06
8
The technical characteristics
plate is indelibly marked with the
following information:
NOTE: The manufacturer reserves the right to change the machine components, according
to the requirements of each market, and also for technological advances.
4. IDENTIFICATION
Made in Spain
COMPAK Coffee Grinders s.a Molí Barri, B, P.i. Can Barri 08415 Bigues, Barcelona, Spain.
IPX1 COFFEE GRINDER
MODEL
SERIAL NUMBER
LAB/SHOP
ELECTRICAL DATA
CICLES
ORDER
DATE
ORIGINAL INSTRUCTIONS | Quality process Ref. 002/03 | v. 31/05/2022 | K07179H06
9
5. TECHNICAL CHARACTERISTICS
5.1. SCOPE
The coffee grinders are intended for use on
commercial premises and facilities where
ground coffee is required, or in small stores
that sell coffee, but not for continuous
mass production of food.
This grinder should only be
used to grind coffee beans.
Any other use is considered improper and
dangerous.
NOTE: The manufacturer is not liable for damage to persons, goods or the machine itself,
if the safety regulations given in this manual are not followed, or the machine is used
incorrectly.

ORIGINAL INSTRUCTIONS | Quality process Ref. 002/03 | v. 31/05/2022 | K07179H06
10
5. TECHNICAL CHARACTERISTICS
5.2. TECHNICAL DATA
100 V
60 Hz
110 V
60 Hz
220 V
60 Hz
230 V
50 Hz
240 V
50 Hz
PK100
SHOP/LAB
Electrical
power
960 960 750 750 750 W
Rotational
velocity
1.100 1.100 900 900 900 rpm
Model
Ø
Flat burrs
Espresso
grinding
Filter grinding
Time for
one dose
(5,5 g)
Espresso
PK100
SHOP/LAB
98 3.86 350 0,77 600 1,32 1
mm in g/min lb/min g/min lb/min s
Model
Time for one
dose(10gr)
Filter
Single dose cupping/
hopper capacity
Net weight
Height
Width
Depth
PK100 LAB 1 55 0,12 25,4 55
622
252
328
PK100 SHOP 1 750 1,54 24,3 53,5
622
252
328
s g lb Kg lb mm
ORIGINAL INSTRUCTIONS | Quality process Ref. 002/03 | v. 31/05/2022 | K07179H06
11
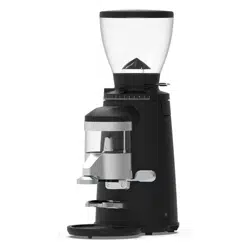
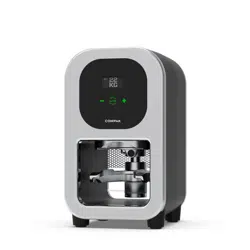
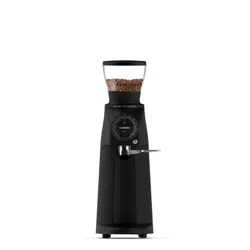
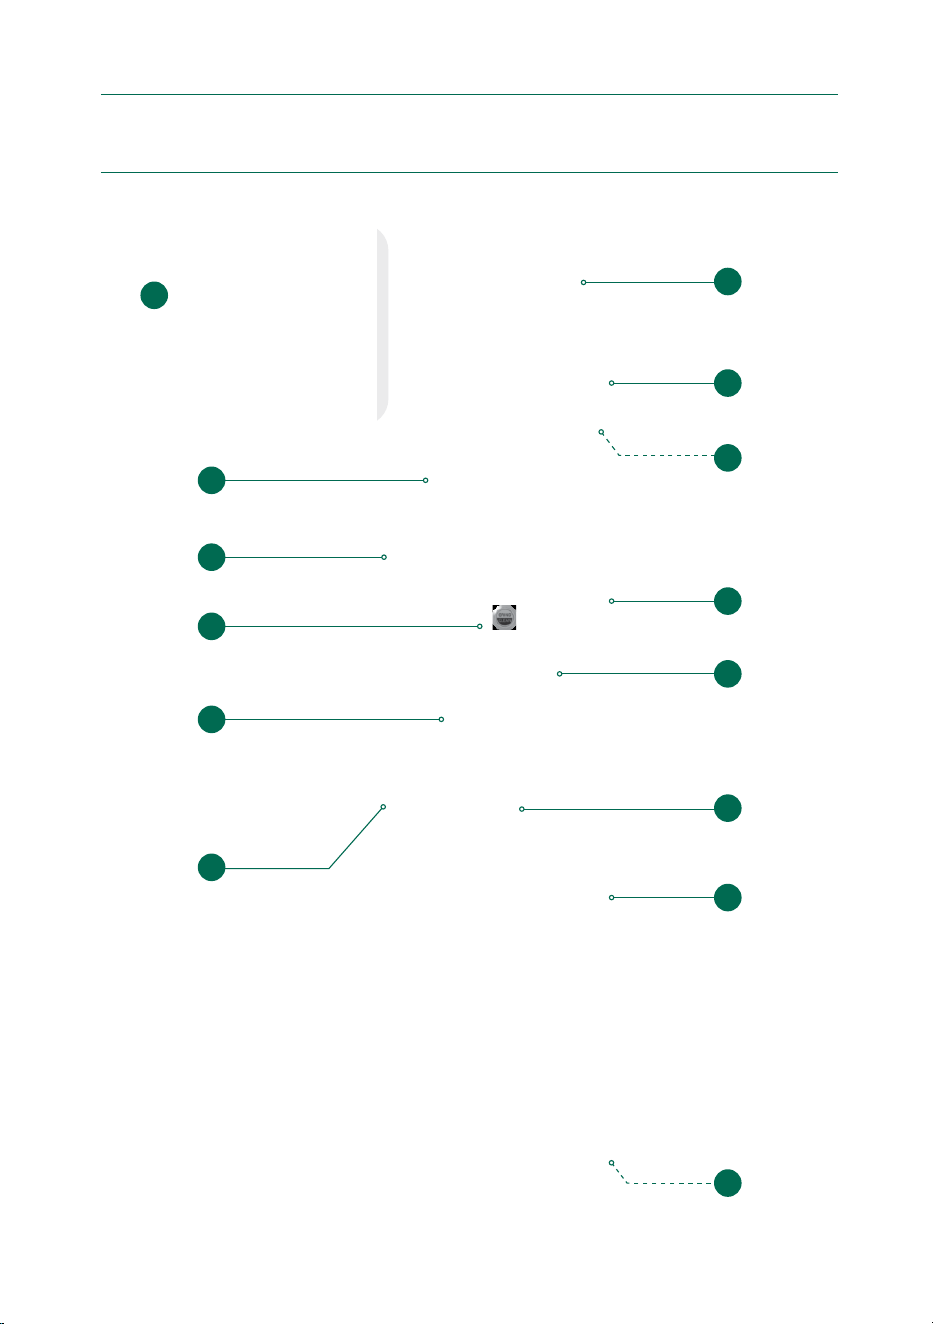
6. EXTERNAL COMPONENTS
1
Single dose
cupping
LAB
2
Flap handle
3
Upper body
6
Coffee bag
clamp
11
Lower body
12
Power
switch
4
Front
control
knob
5
Grinding
ON/OFF
switch
7
Adjustable
coffee outlet
8
Fixing
screw
9
10
Portalter
spring
clamp LAB
LAB Holder
*PK100 Shop Hopper
14
13
Selector
ORIGINAL INSTRUCTIONS | Quality process Ref. 002/03 | v. 31/05/2022 | K07179H06
12
7. INSTALLATION
7.2. IMPORTANT WARNINGS
The operator must be a responsible
adult. Never a child nor someone without
the ability to accept that responsibility.
When handling the grinder, the following
precautions should be obeyed:
• Feet must not be bare.
• Hands and feet must be dry.
• Do not get the machine wet.
• Do not expose the machine to
direct sunlight or other atmospheric
agents.
• Never insert any object into the
coffee inlet or outlet while the
appliance is running. (Please
remember that when the grinder
stops, the milling cutters will keep
turning for a short while).
• When unplugging the grinder,
always pull on the plug and never
the power cable to avoid a possible
short circuit.
7.1. LEGAL NOTICES
The installer must read this
instruction manual carefully before
installing the machine.
The installation of the device
must be carried out by
qualied and authorised
personnel, obeying all the current safety
and hygiene regulations.
ORIGINAL INSTRUCTIONS | Quality process Ref. 002/03 | v. 31/05/2022 | K07179H06
13
7. INSTALLATION
7.4. INSTALLING THE COFFEE GRINDER
Before connecting the coffee grinder, check
the following:
• The characteristics on the data plate
match those of the electrical mains
network.
• The electrical connection plug
matches the socket into which it is to
be plugged.
• Ensure that the electrical power of
the facility is adequate for the power
consumed by the appliance.
• The point of connection to the
electrical mains network must
be protected with the appropriate
electrical protection device.
• The equipment must be correctly
connected to a ground connection
according to the current safety
regulations.
PK100 SHOP/LAB
Height
627
24.7
mm
in
Width
257
10.12
mm
in
Depth
333
13,11
mm
in
7.3. WHERE TO USE IT
The appliance must be installed on a
solid. Flat surface.
The minimum size for the
working space, to ensure you get
the best performance from the
machine, must be the following:

ORIGINAL INSTRUCTIONS | Quality process Ref. 002/03 | v. 31/05/2022 | K07179H06
14
7.5 POSITIONING THE HOPPER
AND/OR SINGLE DOSE CUPPING
Loosen the xing
screw (
8
) (Fig. 3).
FOR THE HOPPER
Place the hopper (
14
) on the upper
body (
), press down and turn clockwise
until its position is xed. (Fig. 4 y 5).
FOR THE SINGLE DOSE CUPPING
Place the single dose cupping (
1
) on the
upper body, checking that the handle (
2
) is
on the right side, and press down. (Fig. 4).
Then x the hopper or the single dose
cupping with the xing screw. (Fig. 3).
Fig. 3
NOTE: The manufacturer reserves
the right to change the machine
components, according to the
requirements of each market,
and also for technological
advances.
7. INSTALLATION
ORIGINAL INSTRUCTIONS | Quality process Ref. 002/03 | v. 31/05/2022 | K07179H06
15
Fig. 4 Fig. 5
7. INSTALLATION
ORIGINAL INSTRUCTIONS | Quality process Ref. 002/03 | v. 31/05/2022 | K07179H06
16
PK100 LAB
To grind coffee: Pour in the amount of coffee
beans that you want to grind.
Place the receptacle in the portalter
fork. Turn on the grinder with the GRIND
/ CLEAN button and set the desired grind
point.
NOTE: The amount of coffee ground in a given time will vary depending on the neness of the
grinding.
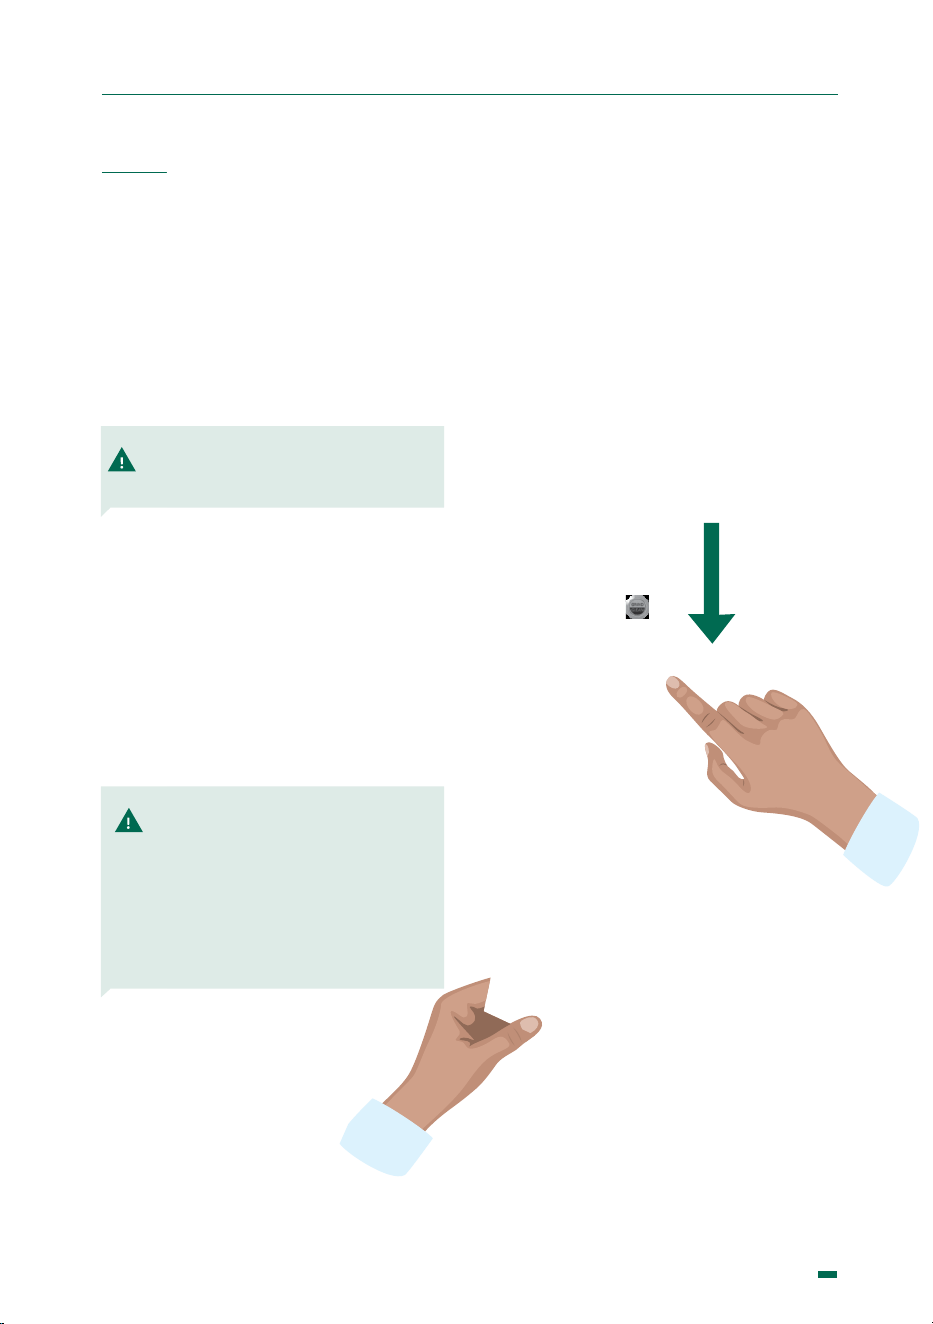
8.1.POWER SWITCH
The power switch ( ) has 2 positions,
ON – OFF
ON : Equipment on
OFF : Equipment OFF
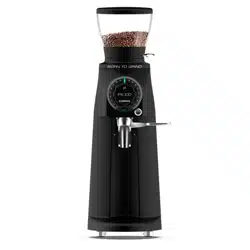
8.2. USE
The grinders are factory calibrated,
establishing optimal grinding ranges.
The selector (
13
) on the front grinding
adjustment knob (
4
) indicates, on
a scale from 0 to 900, the degree of
grinding, 0 being the nest and 900 the
coarsest. Turn the front adjustment
knob (
4
) clockwise for a ner coffee or
counterclockwise for a thicker coffee.
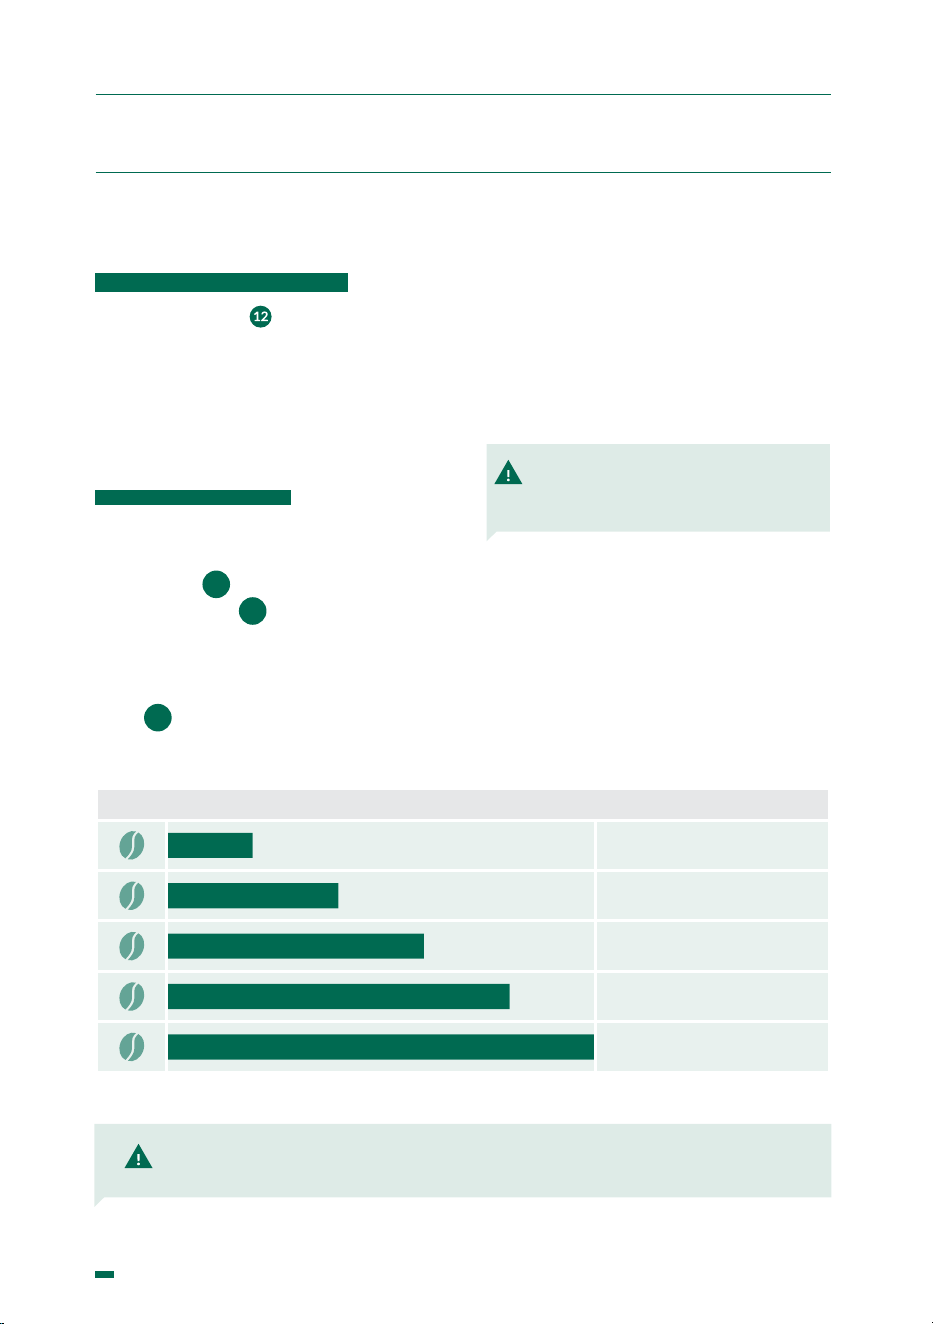
1 GRINDING FINENESS
100 - 300 particles
French Press
500 - 800 particles
Filter, Percolator
1.000 - 3.000 particles
Drip
3.500 particles
Espresso
15.000 - 35.000 particles
Turkish
2
NOTE: This operation must always be
carried out without coffee inside the grind
chamber to avoid blocking/jamming.
Then open the bean gate, let all the coffee fall
into the grind chamber, and close the bean
gate. Once the coffee has been ground into the
receptacle, rmly press and release the spring-
loaded handle 2 or 3 times so that any residual
coffee falls out. Remove the receptacle and
turn off the equipment once the process is
nished.
8. OPERATION
ORIGINAL INSTRUCTIONS | Quality process Ref. 002/03 | v. 31/05/2022 | K07179H06
17
8. OPERATION
Fig. 6
PK100 SHOP
To grind coffee: Pour in the amount of coffee
beans that you want to grind.
Place the receptacle in the portalter fork. Turn
on the grinder with the GRIND / CLEAN button
and set the desired grind point.
Then open the bean gate, let all the coffee fall
into the grind chamber, and close the bean
gate. Once the coffee has been ground into the
receptacle, rmly press and release the spring-
loaded handle 2 or 3 times so that any residual
coffee falls out. Remove the receptacle and
turn off the equipment once the process is
nished.
NOTE: In the event of a possible blockage/
jam of the grind adjustment knob:
Turn on the equipment with the Grind/
Clean button. Turn the grind adjustment
dial counterclockwise until it stops
turning (all the way to the coarsest
setting.Firmly press and release the
spring-loaded handle 2-3 times.
NOTE: This operation must always be
carried out without coffee inside the grind
chamber to avoid blocking/jamming.
ORIGINAL INSTRUCTIONS | Quality process Ref. 002/03 | v. 31/05/2022 | K07179H06
18
8.3. ADJUSTMENT OF PK 100 LAB
PORTAFILTER HOLDER
The standard conguration is useful for
most portalter holders on the market.
However, depending on the geometry of
each lter holder, it can be adjusted as
follows for a good t:
1. Release the portalter spring clamp,
for this, release the screw that xes
them to the holder with the help of a
star-head screwdriver (Fig.3).
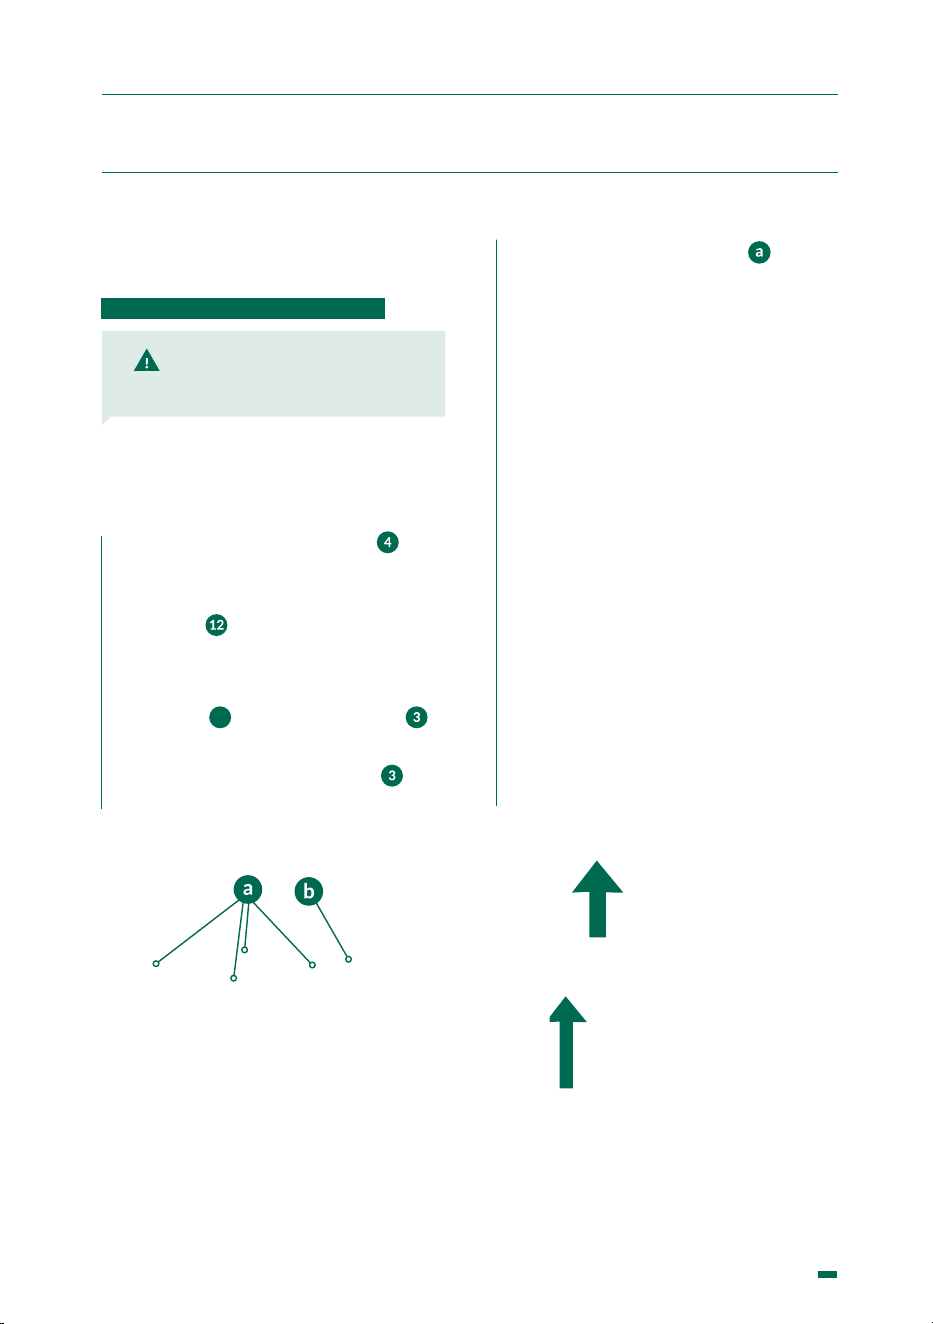
2. The springs clamps have an A and a
B engraved on the inside.
3. Once the springs clamps have been
removed, mount them in the opposite
position to that they were in when
they arrived, i.e. the A where the B was
and the B where the A was to get the
adjustment so that the lter holder ts
and is held proper.
NOTE: The PK holder is not adjustable.
For lter holders with diagonal wings, the
standard portalter spring clamp must be
replaced by the ones supplied separately.
Engraving
indicating
the position
Portalter spring clamp supplied as standard
Engraving
indicating
the position
Portalter spring
clamp supplied not
tted
8. OPERATION

ORIGINAL INSTRUCTIONS | Quality process Ref. 002/03 | v. 31/05/2022 | K07179H06
19
Screw
Portalter
spring clamp
Fig. 3
8. OPERATION

ORIGINAL INSTRUCTIONS | Quality process Ref. 002/03 | v. 31/05/2022 | K07179H06
20
9.1. GENERAL CLEANING
To guarantee proper operation of the
grinder, as well as good quality ground
coffee, it is necessary to periodically clean
the parts that come into contact with the
coffee.
• To clean the machine:
• Always turn off the grinder at the
power switch (
).
• Disconnect the machine from the
power supply
• Do not submerge the grinder in water
or use power washing devices.
• The appliance is not to be cleaned
with a water jet or a steam cleaner.
9.2.CLEANING THE COFFEE BEAN
HOPPER/ SINGLE DOSE CUPPING
To clean the single dose cupping/ hopper
thoroughly (
) rst, all the coffee in the
hopper must be used up. Remove the single
dose cupping as shown in section 8.
The cupping (
) can be washed with
a damp cloth or with soap and water to
remove the oily residues produced by the
coffee, rinse it thoroughly and dry it.
9. CLEANING
To ret the coffee bean hopper ( ) onto
the grinder, follow the steps described
above in reverse.
9.3. CLEANING THE GRINDING
CHAMBER
We recommend cleaning the coffee
grinding chamber weekly with a
Compak cleaning product. This has the
advantage of eliminating the remains of
coffee and the oils, which can go off and
spoil the quality of the coffee. The steps
to follow are these
• Grind the coffee left inside the
grinding chamber
• Put 60 g of the cleaning product into
the cupping (
).
• Grind up all the Compak cleaning
product to a medium neness so it
works properly
• Clean the hopper (
) and ll with
coffee.
• Throw away the rst 2-3 doses of
coffee and adjust the grinder to the
desired neness (
).
After following these instructions, the
grinder will be clean and ready to work.
1
1
1
1
1
ORIGINAL INSTRUCTIONS | Quality process Ref. 002/03 | v. 31/05/2022 | K07179H06
21
9. CLEANING
We do not recommend dismantling the
grinding system, except to carry out a burrs
change operation, which must be carried
out by a qualied technician because of the
precision required during the operation.
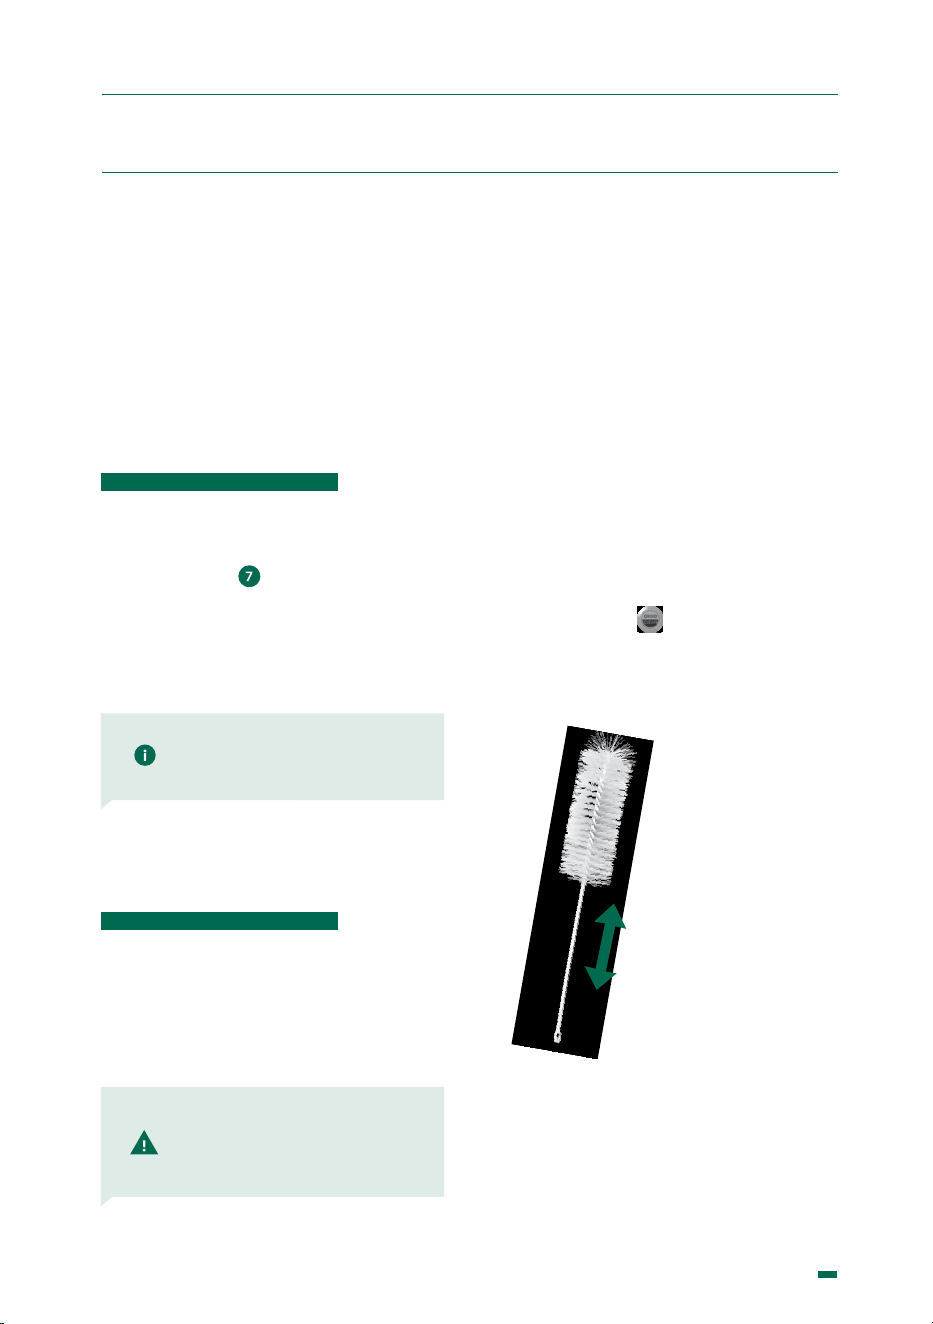
9.4. CLEANING THE COFFEE NOZZLE
It is very important to continue cleaning
the coffee outlet (
) in order to ensure
consistency in the doses and the best
quality ground coffee. Use a tubular brush
for that cleaning.
9.5. CLEANING THE EXTERIOR
For exterior cleaning, rst use a dry brush
and then a cloth lightly moistened with
soap and water.
Notice: It is recommended to
do this cleaning at least once a
month.
NOTE: Not carrying out these
cleaning operations will
negatively affect the flavour and
aroma of the coffee.
Fig. 8

ORIGINAL INSTRUCTIONS | Quality process Ref. 002/03 | v. 31/05/2022 | K07179H06
22
10. MAINTENANCE
10.1. GENERAL NOTICE
Before performing any type of maintenance
operation:
• Always switch off the grinder at the
power switch (
) putting it into the
OFF position.
• If the machine is blocked, disconnect
the equipment from the mains and
contact the authorised technical
service.
• Unplug it from the mains network.
In the event of a fault or malfunction,
turn off the device, never try to repair it, it
is essential to call the nearest technical
service.
NOTE: Based on the accumulated
experience and assuming the
use of medium hardness coffee
mixtures, we suggest replacing
the burrs according to the
following table:
Steel
LAB/SHOP
9000 Kg
10.2. GENERAL MAINTENANCE
As well as the cleaning operations
described in the previous section, in order
to ensure the grinder operates well and to
ensure the best quality of ground coffee,
periodic and preventive maintenance of
the milling unit must be carried out by the
qualied technical service.
Burrs in poor condition lead to poor quality
ground coffee as they get very hot, and
they also lead to higher electrical power
draw by the equipment.
Failure to comply with this
warning can compromise the
safety of both the device and
the user.
ORIGINAL INSTRUCTIONS | Quality process Ref. 002/03 | v. 31/05/2022 | K07179H06
23
10. MAINTENANCE
1
• Remove the xing screws ( ) from
the upper burr assembly using an
Allen key 4, as per (Fig. 9).
• Block the lower burr holder and
unscrew with an Allen key 6, turning
clockwise, the screw in the center
of the burr. Remove the screw and
washer..
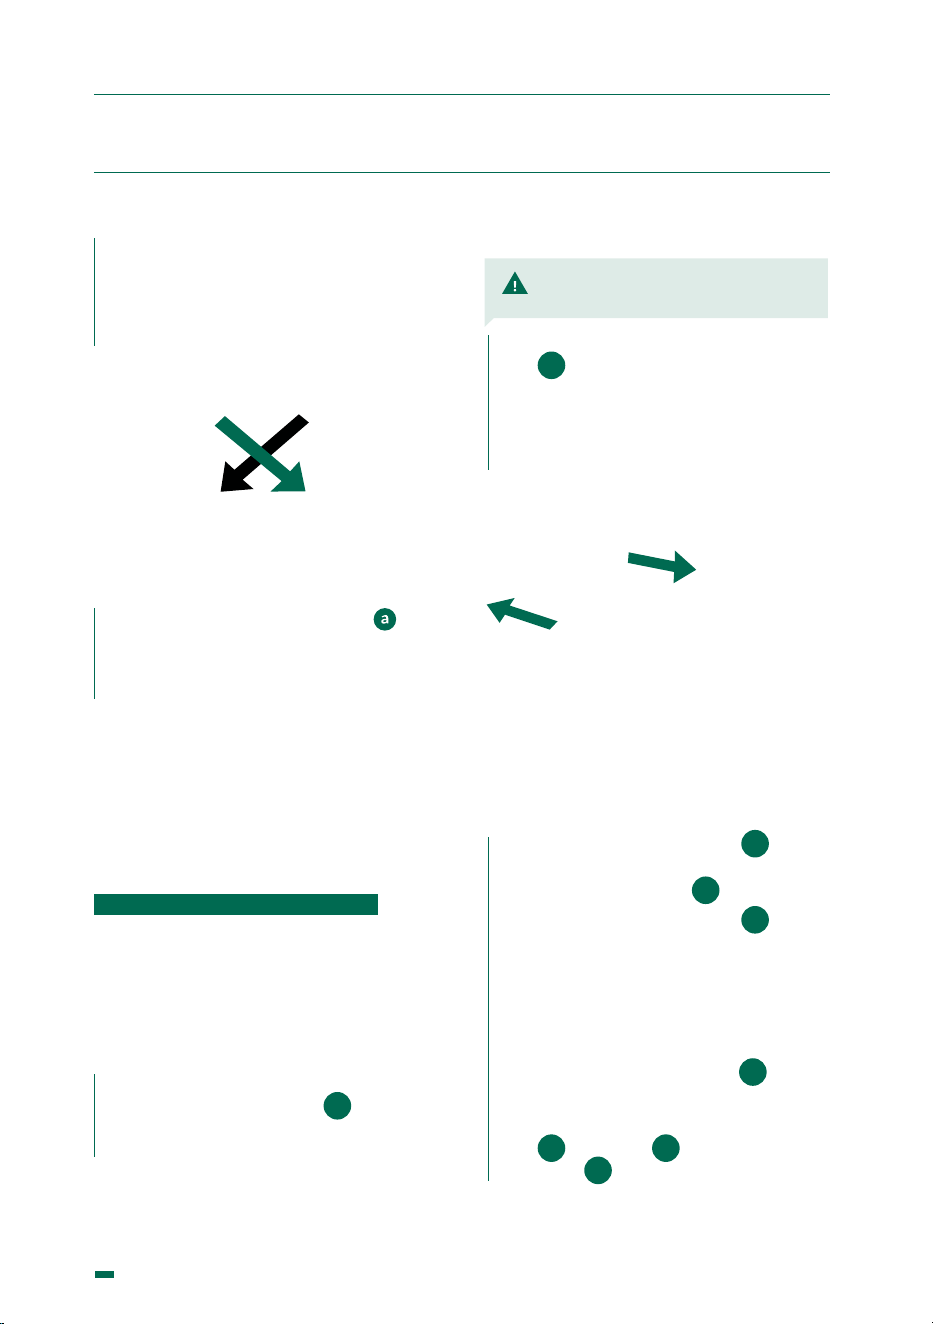
• Insert a screwdriver through the side
opening of the grind chamber casing
and apply an upward force to raise the
lower burr holder (Fig. 10).
• Once the burr holder is raised, tap with
a nylon hammer right in the center
of the burr, where the motor sleeve is
located. This will lower and release the
burr holder.
• Remove the lower burr.
• Remove the worn burrs by unscrewing
them from their upper and lower burr
holders with a Phillips screwdriver.
10.3. MAINTENANCE
OF THE GRINDING UNIT
To carry out the maintenance of the
grinding area, the following instructions
should be followed:
• Turn the front adjustment dial (
)
to the left, until it stops.
• Turn off the grinder using the main
switch (
).
• Unplug the grinder from the power source.
• Remove the Single dose cupping
hopper (
) from the upper body ( )
according to section 8.2.
• Remove the upper body plate (
),
unscrewing the two rear screws.
NOTE: These operations must
be carried out by the qualied
technical service.
1
Fig. 9 Fig. 10
ORIGINAL INSTRUCTIONS | Quality process Ref. 002/03 | v. 31/05/2022 | K07179H06
24
10. MAINTENANCE
• Reassemble the xing screws ( )
of the upper burr holder to the grind
chamber.
• Set point “0” of burrs, section 10.4.
• Clean the burr holders of any coffee
residue.
• Replace the worn burrs and tighten
the 4 screws, of both burr holders, in
an X shape (Fig. 11).
Fig. 11
10.4. RESET THE BURRS
TO THE 0 / CALIBRATION
The 0 position of the burrs is the point where
they will lightly touch and will make a slight hum.
By following these instructions, small
changes to the grind setting can be made.
• Ensure the 0 point setting. Turning the
front adjustment knob (
4
) clockwise
until the burrs lightly touch and emit a
humming sound.
• Without removing it, loosen the screw
(
b
) (Fig. 12) with the help of the
supplied wrench.
• Insert the wrench between the pulley
and the internal frame plate and use a
slight lever to separate them just a bit.
• Turn the adjustment knob (
4
)
clockwise, approx. 30 degrees. and
retighten the screw (
b
) (Fig. 12).
• Turn the adjustment knob (
4
)
clockwise to ensure that the burrs
touch at point 0 on the adjustment
knob dial.
• If they do not touch burrs, repeat the
process, until the burrs touch at point 0.
• Assemble the upper body (
3
),
tighten the xing screws.
• Position Single Dose Cupping
(
1
) / Hopper (
14
), on the upper
body (
3
) according to section 7.5 .
If they do not lightly touch and make a slight
humming sound, follow these steps:
Fig. 12
ORIGINAL INSTRUCTIONS | Quality process Ref. 002/03 | v. 31/05/2022 | K07179H06
25
Quality certicates have been applied in accordance with European Community regulations.
All the technical materials have been suitable and are ready and available in our ofces.
2014/30/EU on the harmonisation of the laws of the Member States relating to
electromagnetic compatibility.
2006/42/EC on machinery and amending Directive 95/16/EC.
REG. 1935/2004 on materials and articles intended to come into contact with food and
repealing Directives 80/590/EEC and 89/109/EEC.
2003/108/EC amending Directive 2002/96/EC on waste electrical and electronic equipment
(WEEE).
2014/34/EU on the harmonisation of the laws of the Member States relating to equipment
and protective systems intended for use in potentially explosive atmospheres.
2012/19/EU of 04/07/12 on waste electrical and electronic equipment (WEEE).
11/65 / EU on the restriction of the use of certain hazardous substances in electrical and
electronic equipment.
Environment
When disposing of this appliance, do not throw it away with the normal household waste,
deposit it at an ofcial collection point for recycling. In doing so, you will contribute to
preserving the environment.
The Legal Representative
Jesús Ascaso
11. DECLARATION OF CONFORMITY
Compak Coffee Grinders, s.a.
Molí Barri, Parcela B - Pol. Ind. Can Barri - 08415 Bigues i Riells - Barcelona - Spain
Ph. 34 93 703 13 00 - Fax 34 93 703 13 23 - www.compak.es

ORIGINAL INSTRUCTIONS | Quality process Ref. 002/03 | v. 31/05/2022 | K07179H06
26
NOTES

ORIGINAL INSTRUCTIONS | Quality process Ref. 002/03 | v. 31/05/2022 | K07179H06
27
NOTES
Molí Barri, Parcela B
Polígono Industrial Can Barri
08415 Bigues i Riells
Barcelona - Spain
CONTACT
Phone: +34 93 703 13 00
Fax: +34 93 703 13 23
E-mail: [email protected]
Website: www.compak.es
Original Instructions
Quality Process Ref. 002/03 | v. 31/05/2022 | K07179H06