PORTABLE EVAPORATIVE COOLER
Item No. 206051
Owner's Manual
Thank you for choosing the Portable Evaporative Cooler by Sharper Image. Please read this
manual carefully before you use the product and store it for future reference.
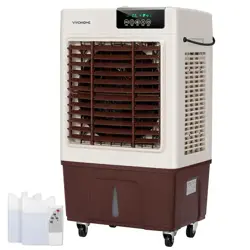
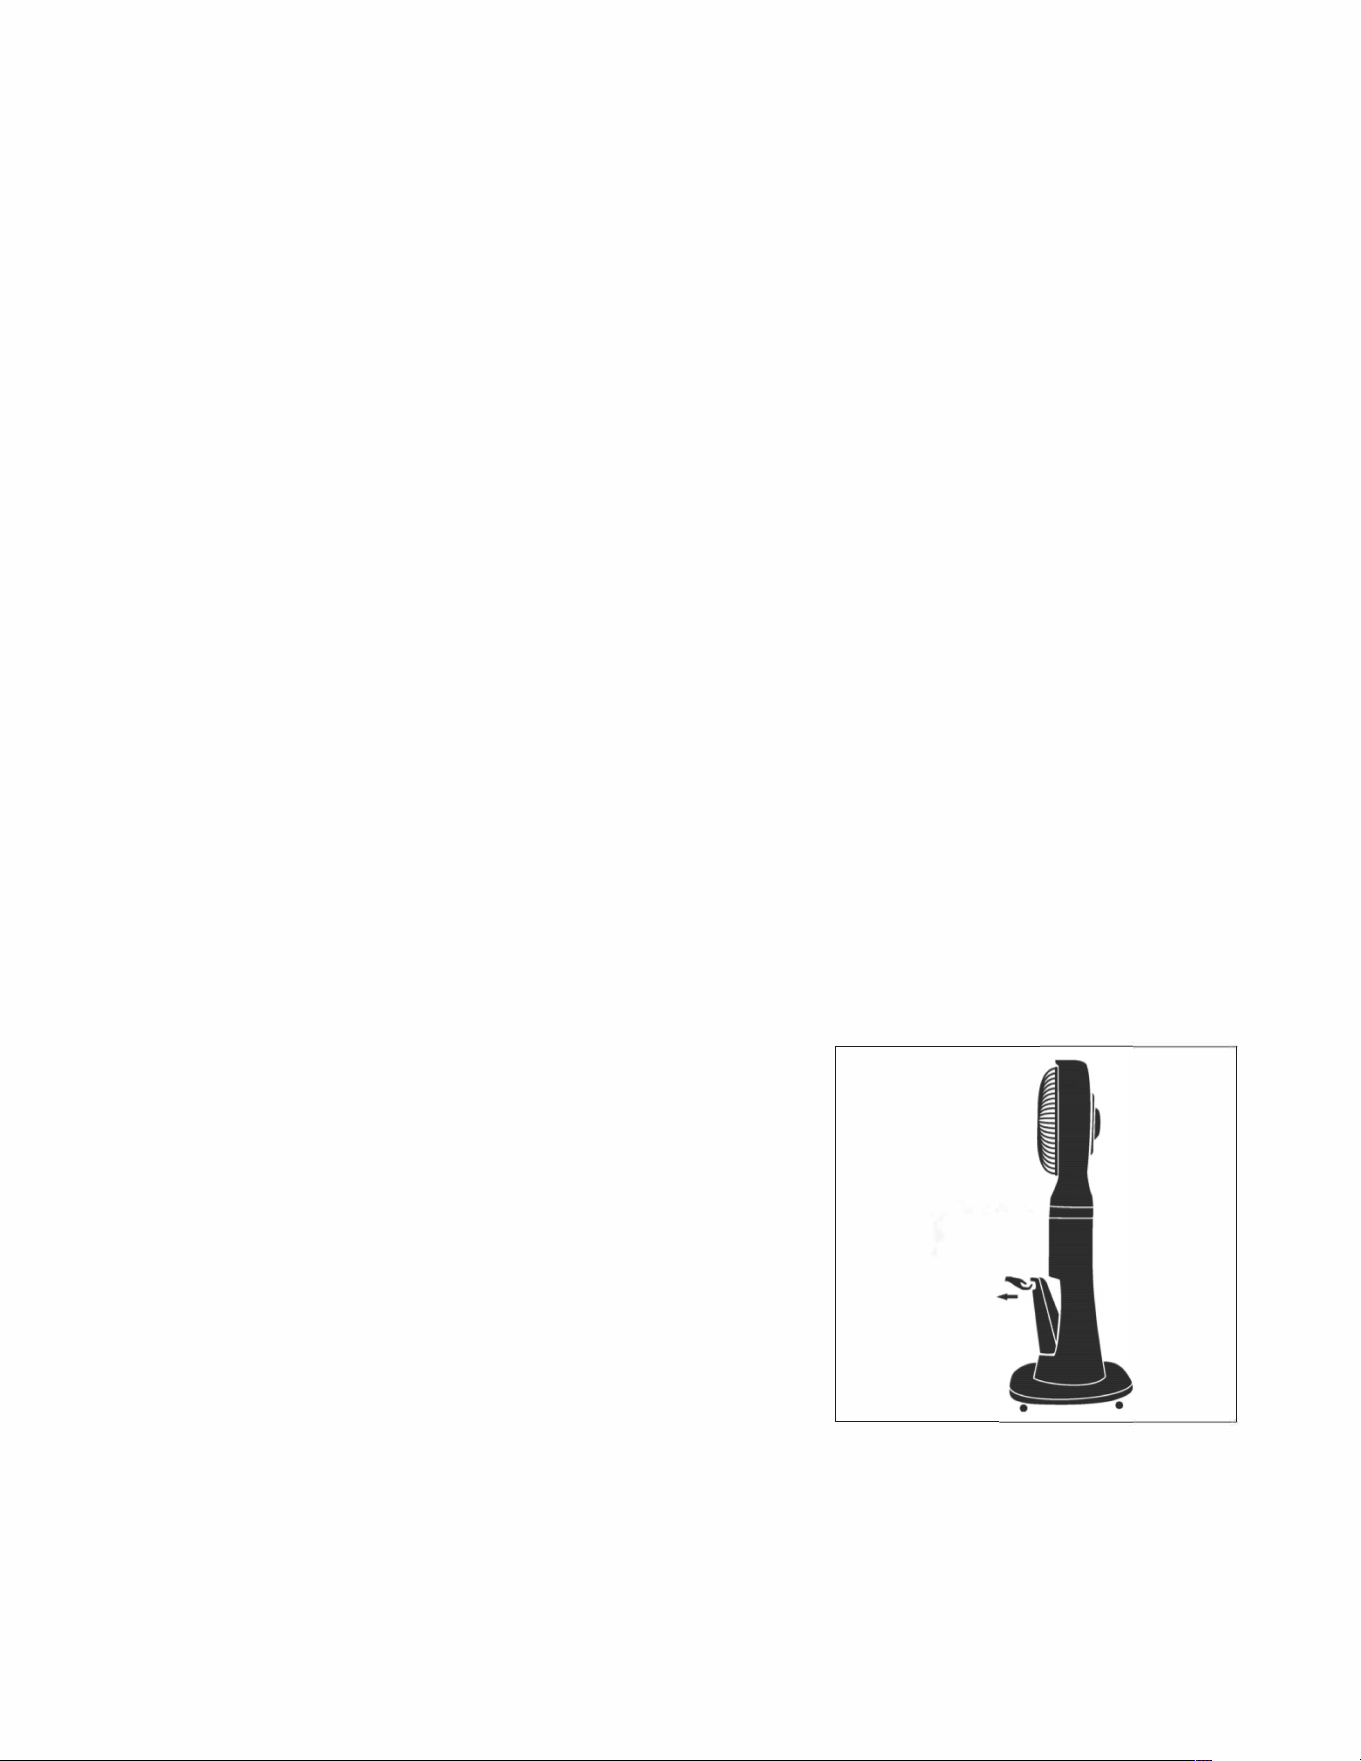
PARTS IDENTIFICATION
1.
Misting Outlet
2.
Front Rotary
3.
Control Panel
.
Front Panel
3---
---
5. Water Level Indicator
6. Base
7. Handle
8. Back Rotary
9. Back Panel
10. Detachable Water Tank
11. Drain
12. Wheels
HOW TO USE
1.
Before using, make sure the unit is placed on a stable surface. Use the same power supply and
voltage as mentioned on the rating label on the back side of the product. Once the product is
plugged in, the buzzer will beep once then the LED display will illuminate a few seconds later.
The unit will enter standby mode once the power indicator lights up.
2.
Switch on: When the unit is stationary, press the "On/Off button, the buzzer will beep once.
Choose your preferred fan speed by pressing the "speed" button on the control panel or on
the remote control.
3.
Wind speed adjustment: Choose from Low, Medium and High.
.
Swing mode adjustment: Press the "Swing" button on the control panel or remote control,
The Front Rotary will turn to circulate the air. Press the "Swing" button again to turn it off.
5. Oscillation mode adjustment: Press the "Oscillation" button on the control panel or remote control.
The fan will sweep side to side to circulate the air. Press the "Oscillation" button again to turn it off.
-1-
HOW TO USE (CONT'D)
6. Econom
ic mode: To activate its energy saving mode, press the economic mode button. This mode will
power off additional lights to preserve energy while in use. The logo displayed on the panel will be off
when economic mode is activated.
7. Humidifier/ Misting function: Press the "Mist" button on the control panel or on remote control. The
display screen will show the humidification pattern. The green light indicates normal humidifier
function and the red light indicates when the water tank needs to be refilled. Press the button again
to turn off the mist function.
8. Timer function: Press the 'Timer" button on the control panel or remote control to set the time. Each
time you press the timer button the display screen will show the input time you set.
The timer can be set 0.5 hour to 9.5 hours with intervals of 30 minutes each. (0.5, 1, 1.5 hours up to
9.5 hours). Press the "Timer" button once again to turn off the timer function.
9. Remote control function: The remote controller operates the MIS OS
C
I
LL
ATION, SWING, E
C
ONOMI
C,
TIMER, SPEED and ON/OFF functions of the unit. It works with 2 X AAA batteries [not included).
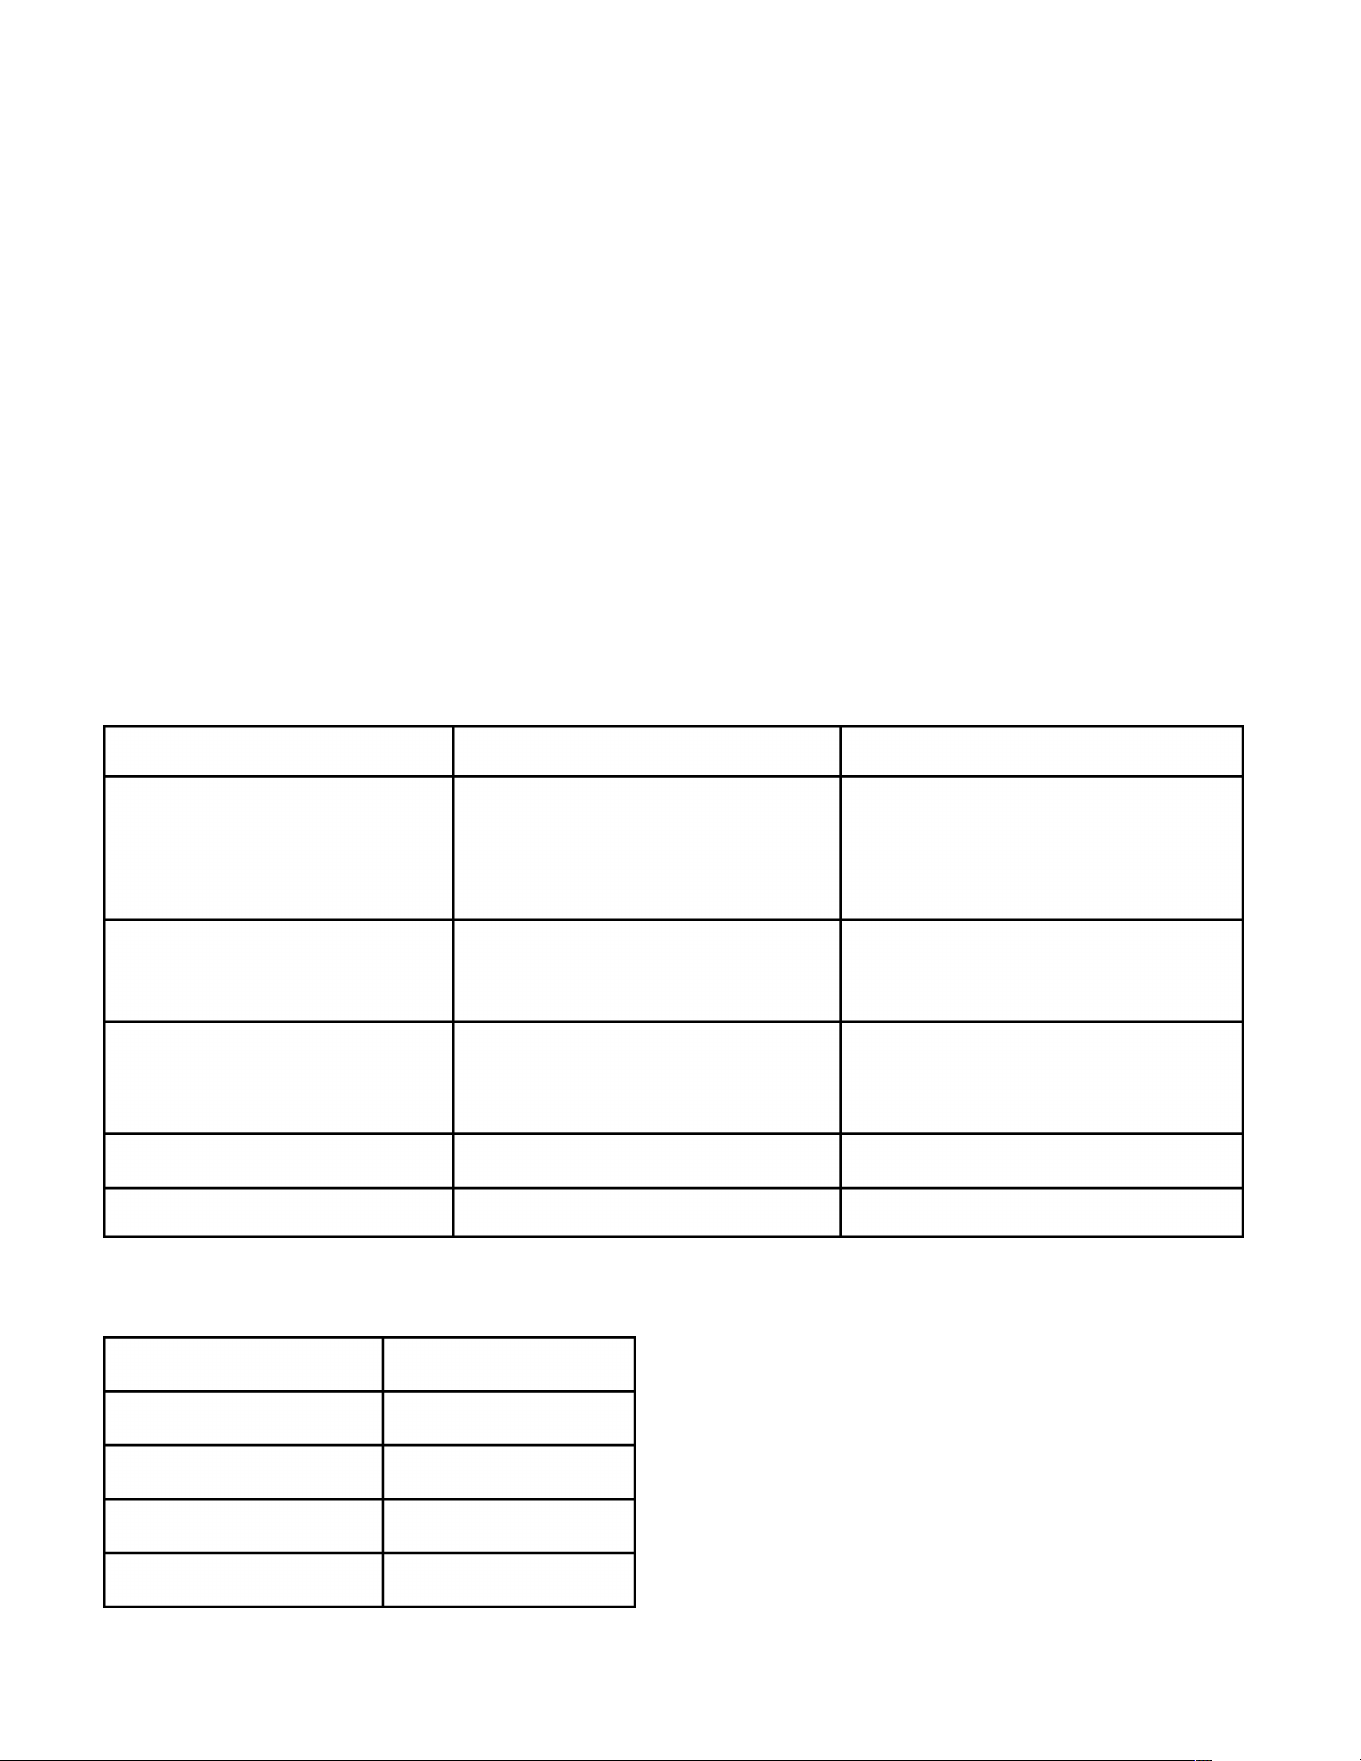
OPERATION METHODS FOR WATER TANK
1.
Detach the water tank at a 5
°
angle.
2.
Unscrew the tank cover and fill the tank with water.
3.
Place the water tank back into the unit at a 5
°
angle.
.
You will hear a "click" sound when positioned and secure.
NOTE: Please make sure the water tank and unit are
fastened to avoid any damage while transporting.
5.
The water level indicator will illuminate when the
mist function is activated. When the tank is full, the
light will be GREEN. When the tank is empty the light
will be RED.
,,nkcover
-2-
CAUTIONS
1.
Unplug the unit before refilling with water and cleaning.
2.
This unit is not intended for use by children.
3. If the supply cord is damaged contact Sharper Image Customer Service.
MAINTENANCE AND CLEANING
1.
Turn the unit off and unplug before cleaning.
2.
Do not immerse the plug or unit into any liquid.
3.
Use a wet towel soaked with water and mild detergent to clean the body of the unit.
Do not scratch the unit during cleaning.
. Optional: add a few drops of mild citric acid and water into the water tank for 5-10 minutes
to remove any dirt in the water tank.
5.
If the unit will not be used for a long period of time, empty the water tank and let it dry before storing.
TROUBLESHOOTING
Problem
Possible cause
Solution
The unit does not turn on. 1. The unit is incorrectly
1. Properly plug the unit in.
plugged in.
2. Press the on/off button.
2. Incorrectly pressing the
on/off button.
The unit will not swing.
1. Incorrectly pressing the
1. Find the right switch
Swing button.
and press the Swing button.
Abnormal Noise 1. Debris inside. 1-2. Turn the fan off and
2. Fan blades loose.
contact Sharper Image
customer service.
1. Water tank is empty.
1. Fill water tank
N
o mist
Mist volume is insufficient
1. Water is dirty.
1. Replace with clean water.
PRODUCT SPECIFICATION
Item No
206051
Voltage/frequency
120V-60HZ
Water tank capacity
l.6L
Rated Power
9
0W
Body Weight
6.0KG
-3-

WARRANTY/ CUSTOMER SERVICE
T
his item from SharperImage.com includes a 1-year limited replacement warranty. If you
have any
q
uestions not covered in this guide, please call our Customer Service
department at 1
(
877
)
210-3
44
9. Customer Service agents are available
M
onday through
Friday, 9
:
00 a.m. to
6:
00 p.m.
ET
.
The SHARPER IMAGE® name and logo are registered trademarks.
@Sharper Image. All Rights Reserved.
- -
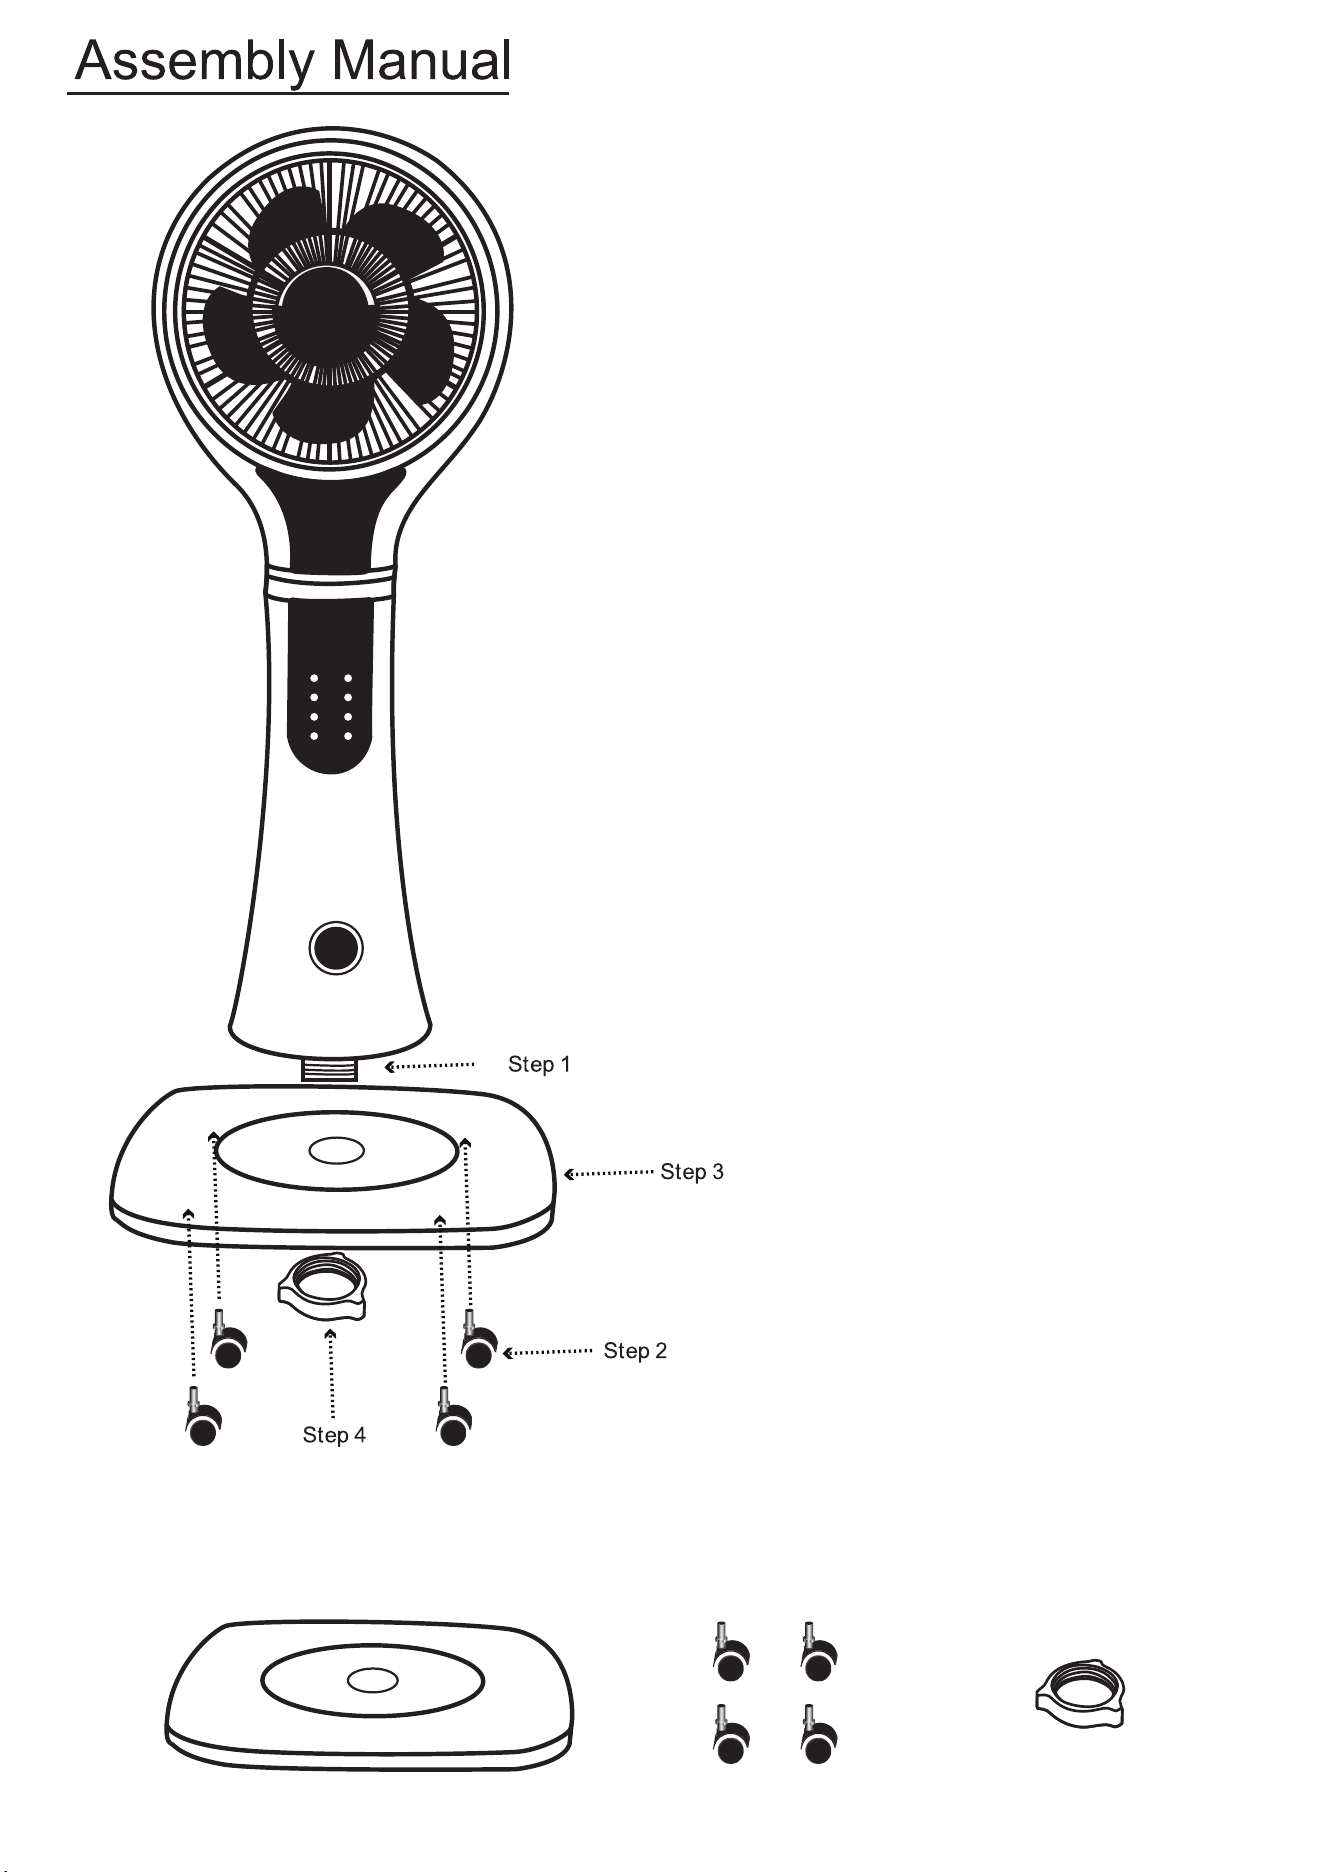
Remove the nut at the bottom of the fan
Install 4 wheels on the base
Place the base on the bottom of the fan
Screw on the nut
Base Wheel Nut