1
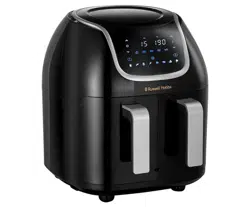
I www.russellhobbs.com
27290S
2
g
f
e
j
i
h
A
3
h
B
h
C
h
D

4
Read the instructions, keep them safe, pass them on if you pass the appliance on. Remove all packaging
before use.
IMPORTANT SAFEGUARDS
Follow basic safety precautions, including:
This appliance can be used by children aged from 8 years and above and persons with
reduced physical, sensory or mental capabilities or lack of experience and knowledge if they
have been supervised/instructed and understand the hazards involved. Children must not
play with the appliance. Cleaning and user maintenance must not be done by children
unless they are older than 8 and supervised. Keep the appliance and cable out of reach of
children under 8 years.
Don’t connect the appliance via a timer or remote control system.
Don’t use the appliance near or below combustible materials (e.g. curtains).
¬ The surfaces of the appliance will get hot.
i Do not immerse in any liquid.
If the cable is damaged, return the appliance, to avoid hazard.
• Don’t use accessories or attachments other than those we supply.
• Don’t use the appliance for any purpose other than those described in these instructions.
• Don’t operate the appliance if it’s damaged or malfunctions.
• Don’t use anything metal or sharp, you’ll damage the non-stick surfaces.
• Keep clear of the vent at the rear of the appliance – hot air will come from it.
HOUSEHOLD USE ONLY
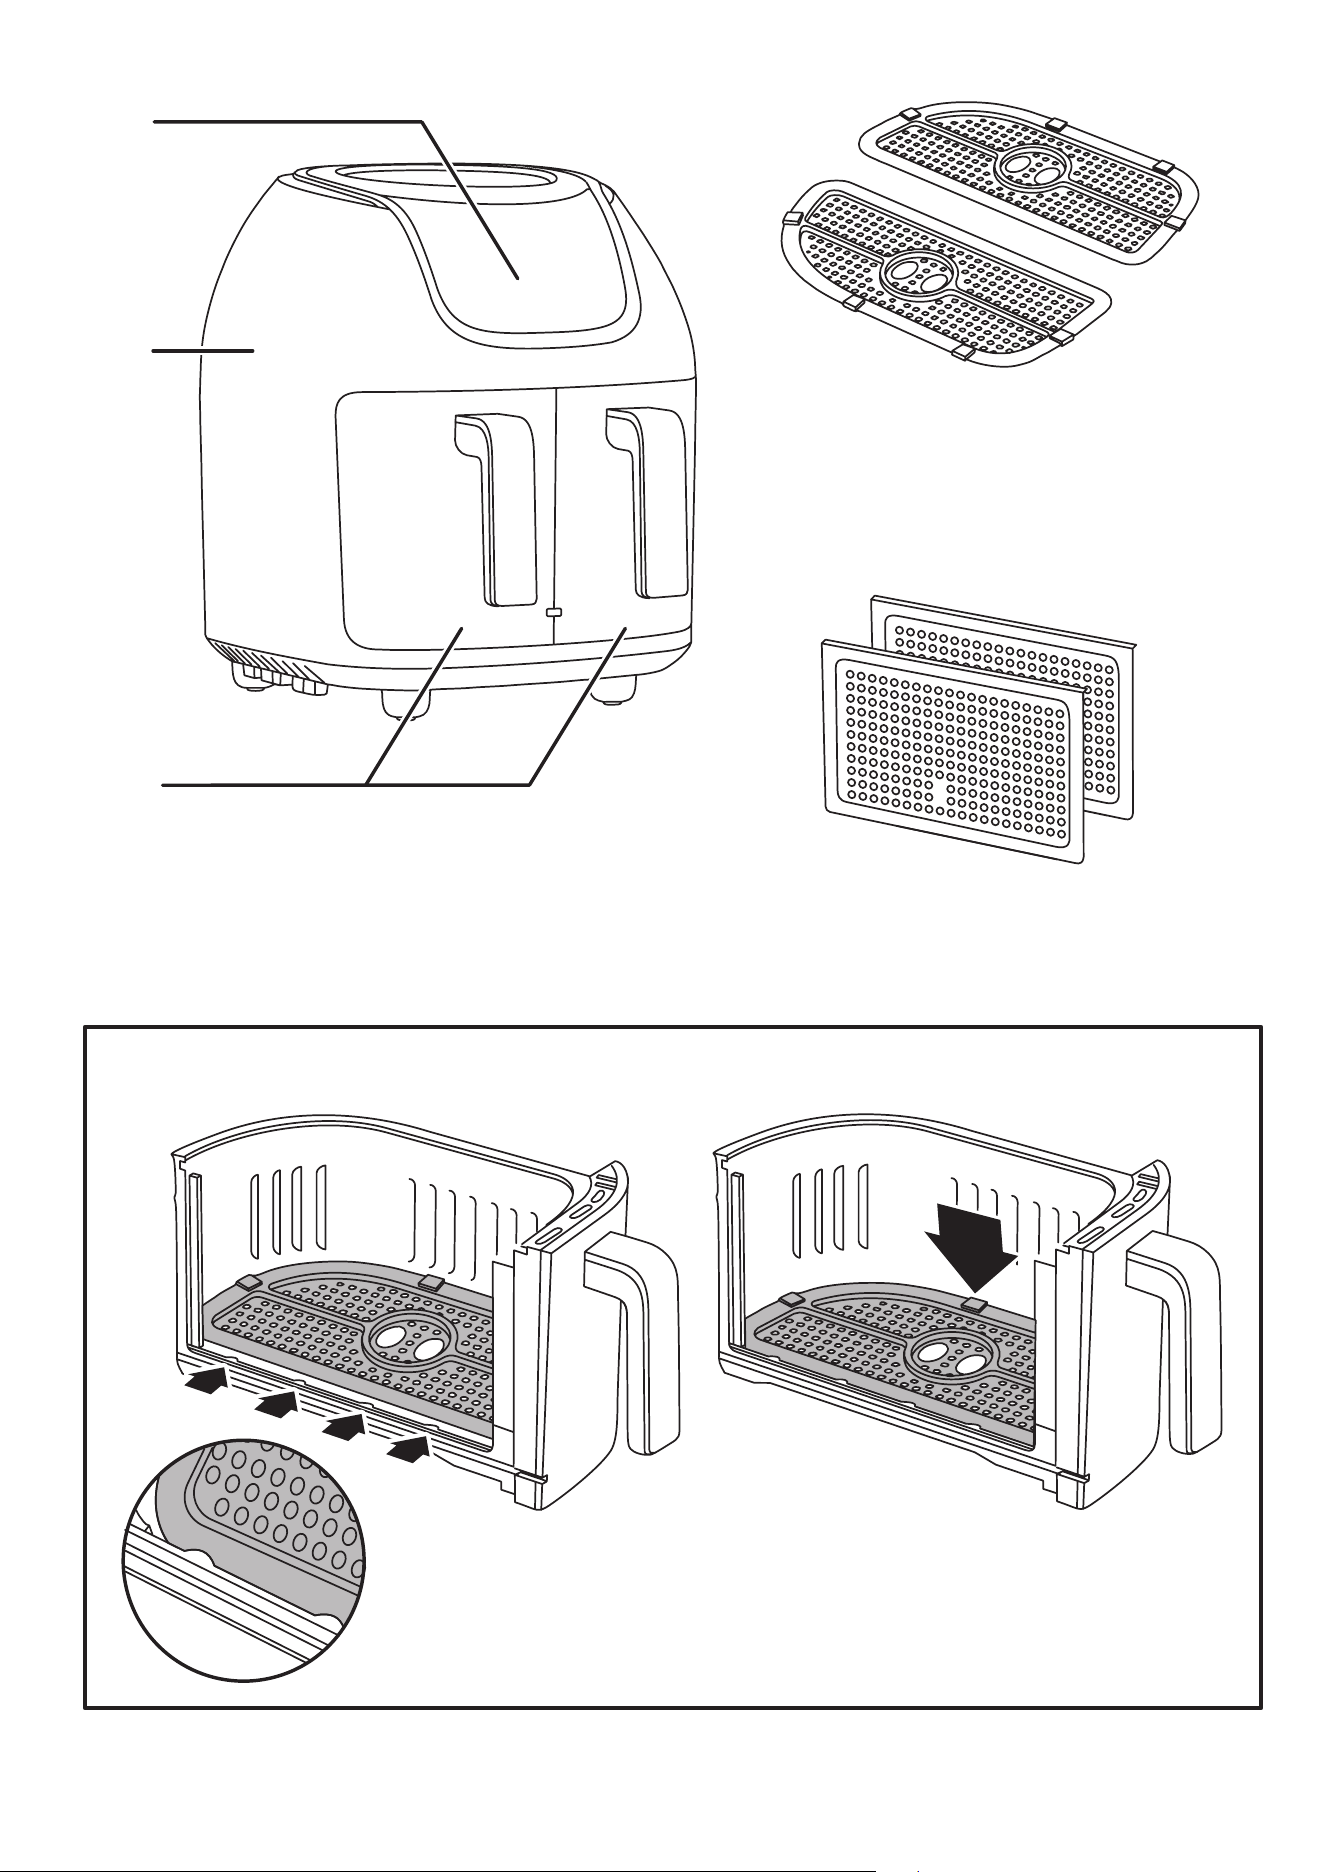
PARTS
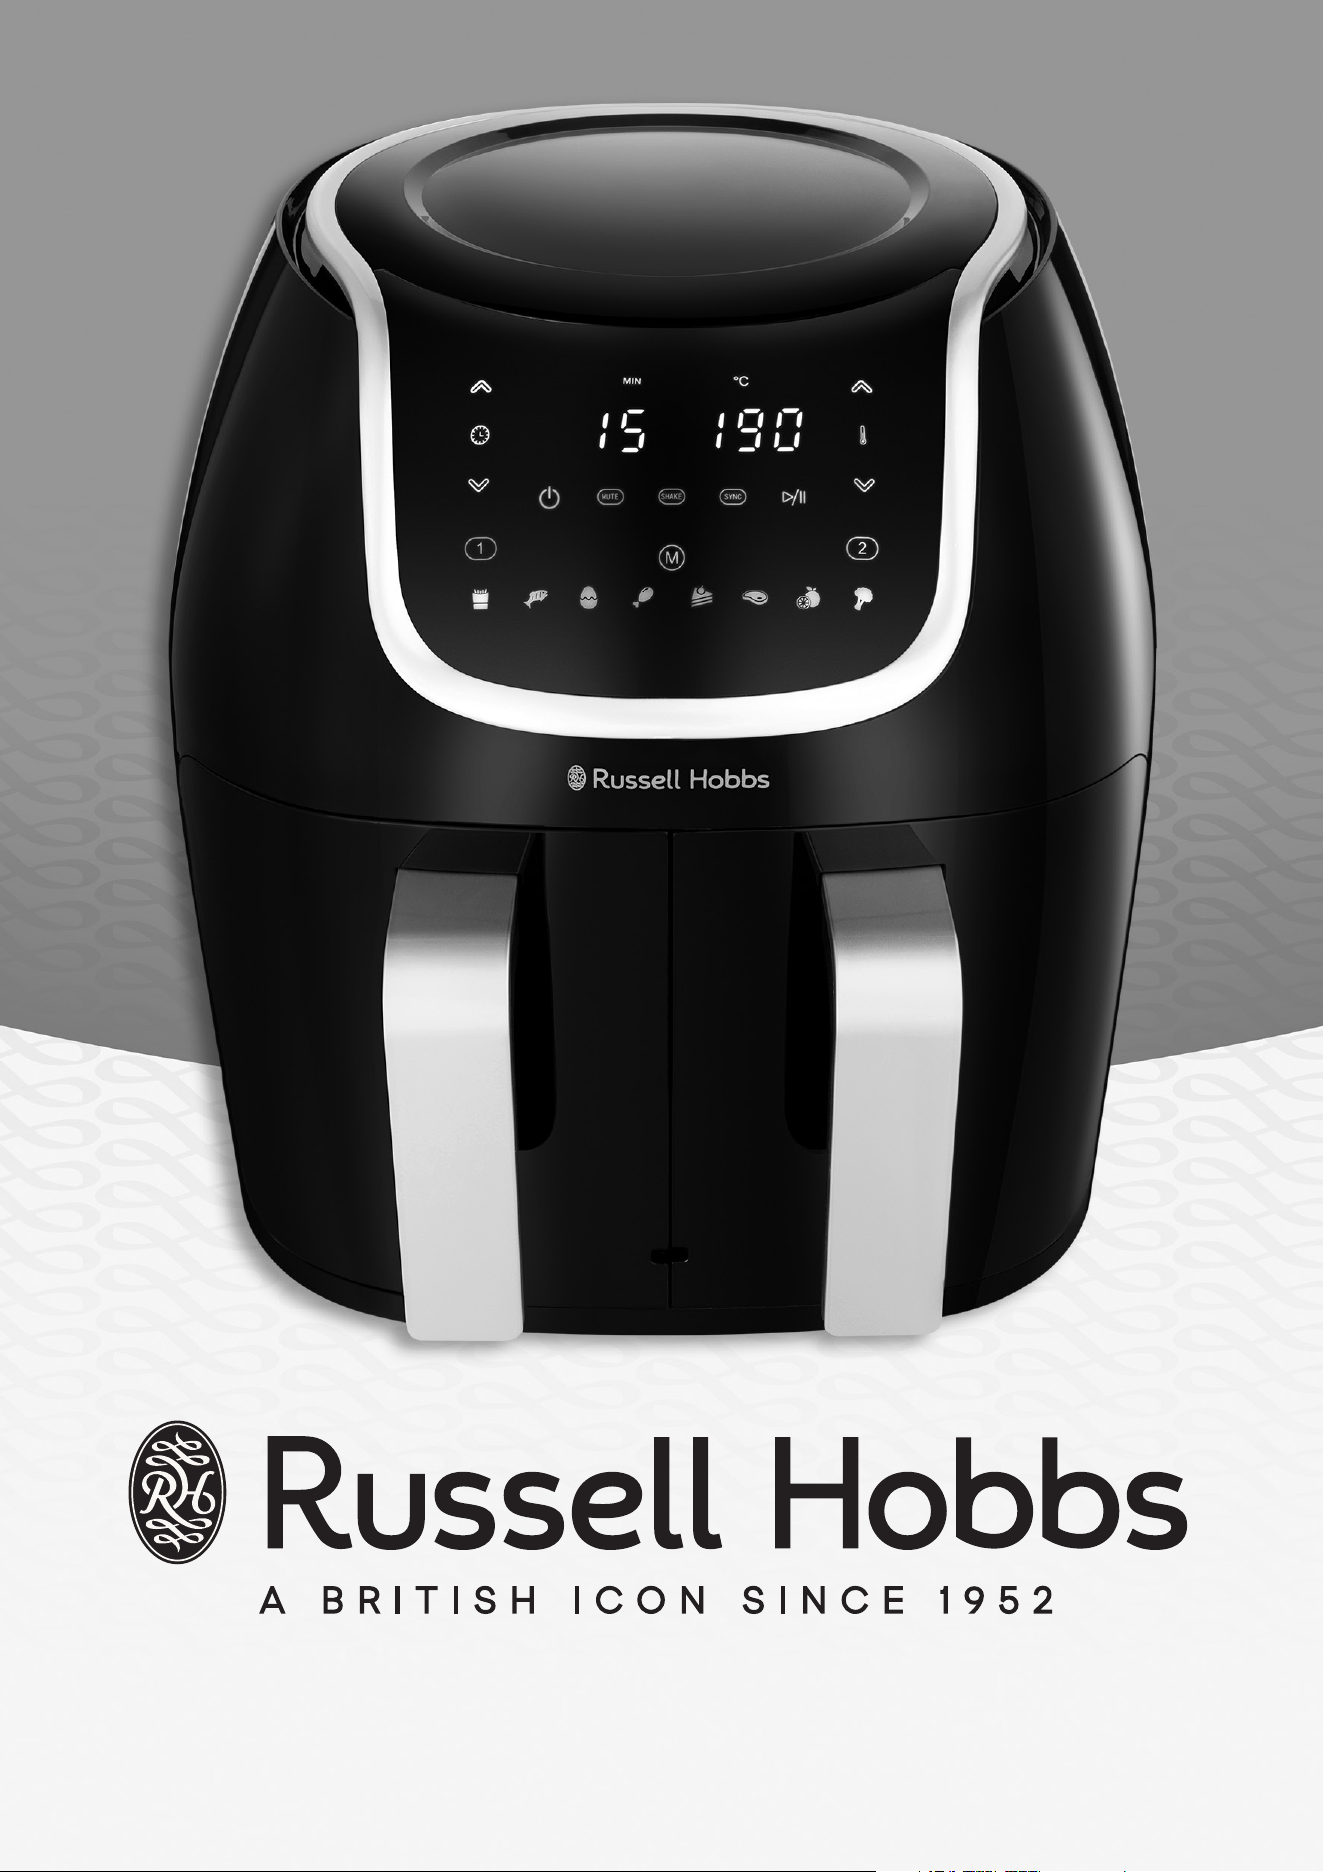
1. Touch controls and display
2. Body
3. Crisping plates
4. Baskets
5. Basket dividers
BEFORE USING FOR THE FIRST TIME
• Handwash the removable parts, rinse, and dry.
• When using your air fryer for the first time, you may notice smoke or a slight odour for the first few
minutes of cooking. This is normal. Ensure the room is well ventilated.
• Place the crisping plates into the baskets. Slide the baskets into the body.
PREPARATION
• Sit the appliance on a stable, level, heat-resistant surface.
• Leave a space of at least 50mm all-round the appliance.
• Have oven gloves (or a tea towel) on hand, use heat resistant plastic tongs and a heat-resistant mat or
dinner plate to rest the basket on.
• Note: Do not use metal tongs as it may scratch the coating. We recommend using only heat resistant
plastic or silicon coated tongs.
CRISPING PLATES
Fit the crisping plates into the bottom of each basket before fitting the basket dividers. Insert the front edge
of the crisping plate under the curved projections that are along the inside edge of the basket as shown
(Fig. A). Press the back edge down to seat the crisping plate into the basket. Make sure that the plates are
fitted correctly so that they don’t fall out if the basket is tipped.

5
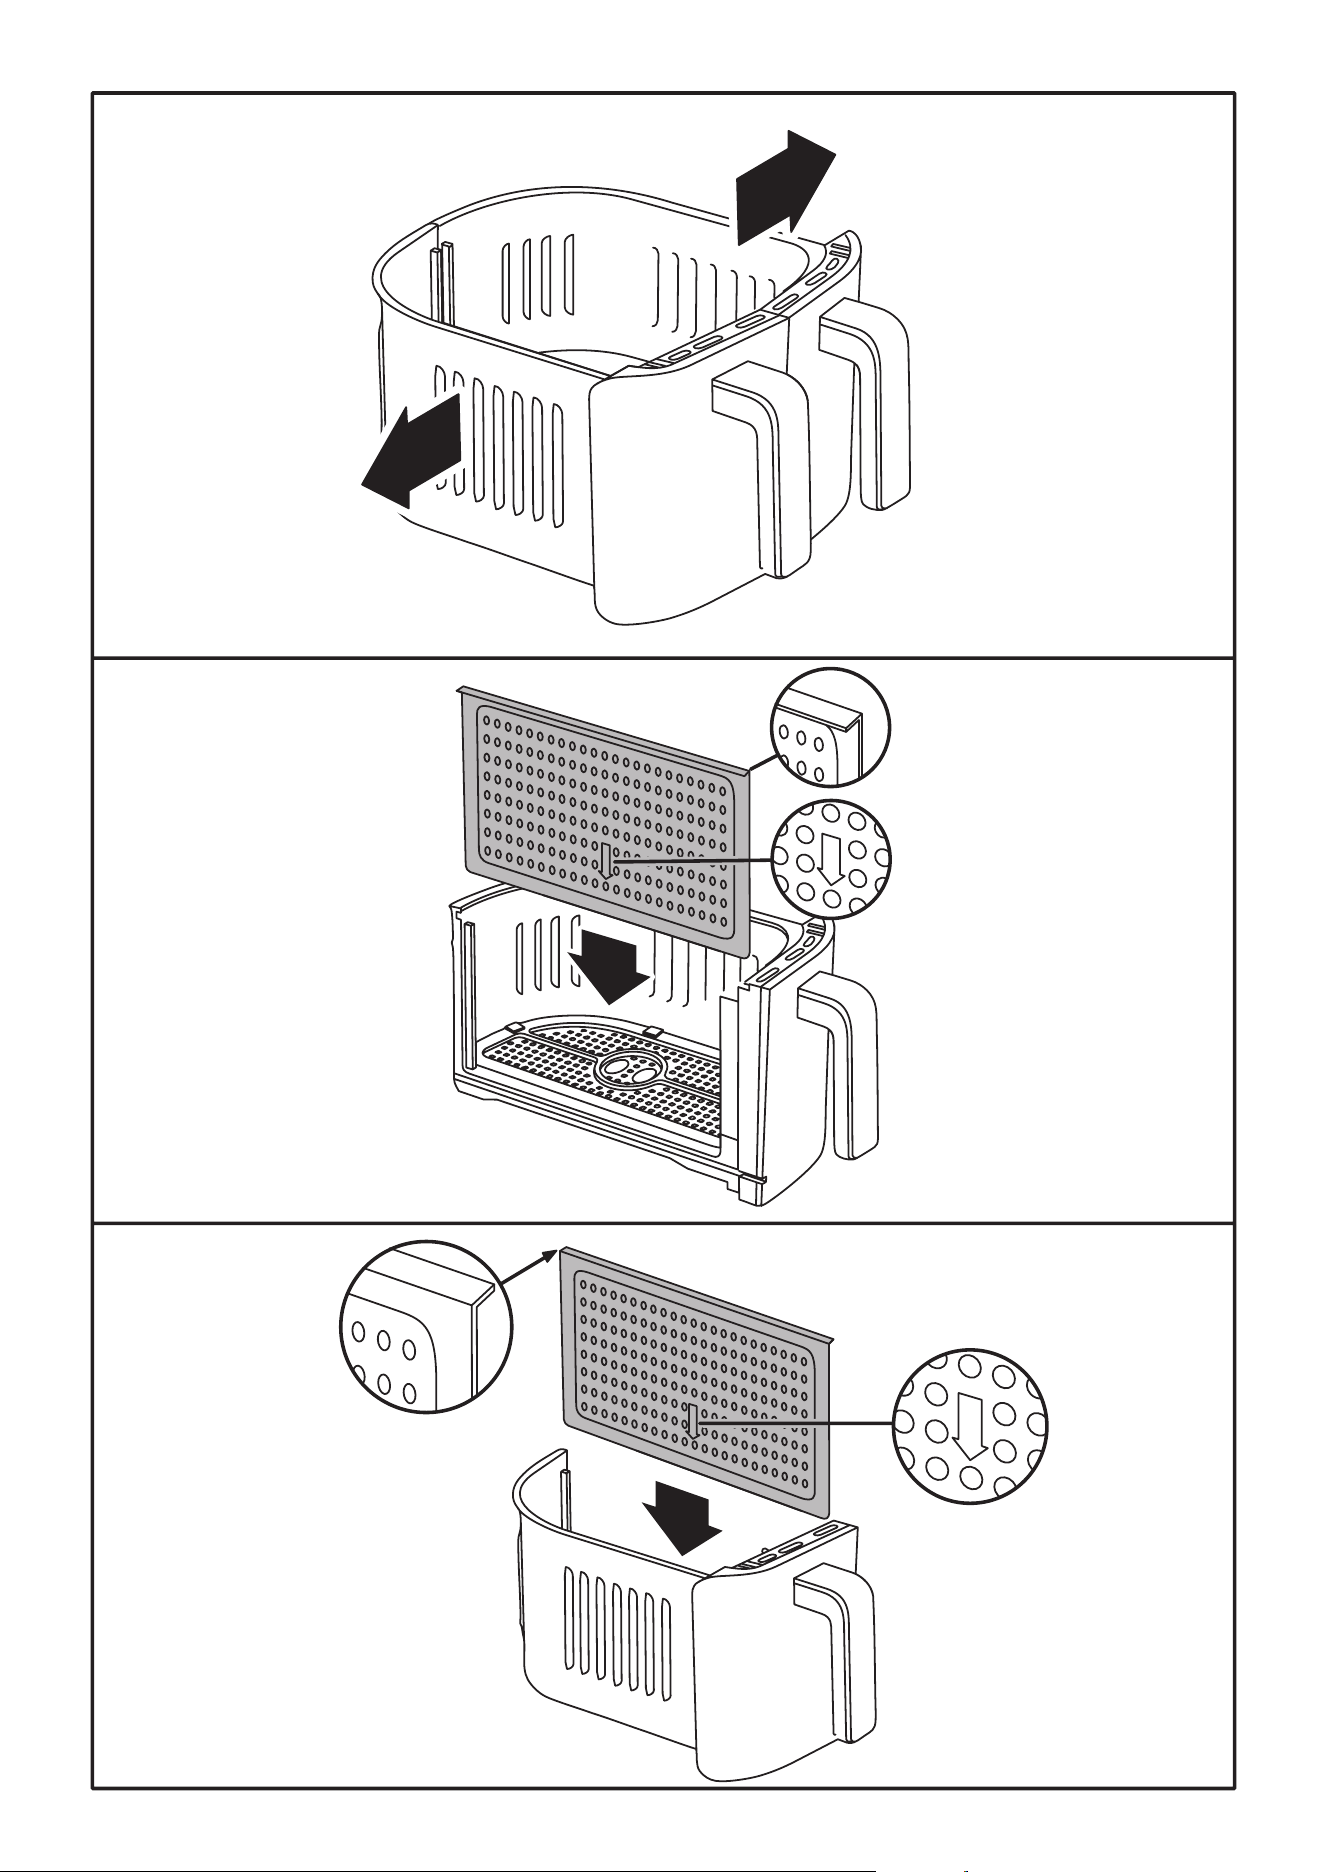
ASSEMBLING THE BASKETS
1. Remove the baskets from the body.
2. Separate the baskets (B).
3. Insert the crisping plates if you are using them.
4. Orient each basket divider so that:
• the arrow on the divider is pointing downwards.
• The folded-over part on the top edge of each divider is facing outwards (see figures C and D).
5. Slide the divider into the basket slot.
6. Repeat for the other basket.
Note: If you don’t orient the basket dividers correctly (step 5) before fitting, they will fall out when the
baskets are inverted.
PREHEATING
If you want to preheat the appliance before cooking:
1. Use the temperature control up/down buttons (Z ij) to increase or decrease the temperature.
2. Use the time up/down buttons (Y ij) to set the preheat time to 3 minutes.
3. Press the start/pause button (m) to begin preheating.
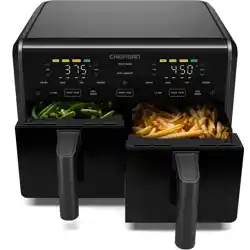
DUAL BASKET OPERATION
1. Assemble the two baskets as previously described.
2. Plug the appliance in. Press the power button (C) to turn the appliance on.
3. Press the menu selection button (M) to scroll through the cooking presets and select a preset time and
temperature, or use the time up/down buttons (Y ij) and the temperature control up/down buttons
(Z ij) to manually set a time and temperature.
4. Press the basket 2 button (2). Then, use the time up/down buttons to manually set a different cooking
time for basket 2.
• Optional shake feature: Press either the basket 1 (1) or basket 2 (2) button, then press the shake button
(SHAKE) to activate the shake feature for the selected basket.
5. Carefully pull the baskets out of the appliance, place the ingredients inside, and push the baskets all the
way back into the appliance. DO NOT touch the baskets directly; only hold the baskets by the handles.
6. Press the start/pause button (m) to start the cooking cycle.
7. When the buzzer sounds, the set cooking time has elapsed. Carefully remove the basket from the
appliance and place it on a heat-resistant surface.
8. If the food is fully cooked, use tongs to remove it. The appliance is instantly ready for preparing another
batch.
9. If the food is not fully cooked, simply slide the basket back into the appliance and cook for a few more
minutes. Remember to use BOTH handles when removing or replacing the baskets.
Shake feature
Press the shake button (SHAKE) during programming to activate the shake feature. The “SHAKE” icon below
the left hand time display will come on. If active, the icon will blink five times when the cooking time is
halfway through. When this occurs, carefully remove the basket and shake or turn the ingredients over.
Replace the basket and cooking will restart.
NOTES:
• For best performance, always fit the crisping plates into the basket(s).
• CAUTION: Do not turn the baskets upside down. Any excess oil that has collected on the bottom of the
basket will leak onto the ingredients and may splash onto you and your surroundings.
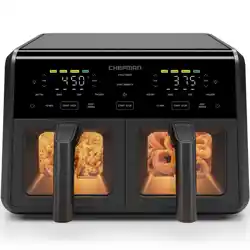
SYNCHRONISED COOKING
You can operate your air fryer so that foods with different cooking times will finish cooking together.
1. Assemble the two baskets as previously described.
2. Plug the appliance in. Press the power button (C) to turn the appliance on.

6
3. Press the basket 1 button (1) to select basket 1.
4. Press the menu selection button (M) to scroll through the cooking presets and select a preset time and
temperature, or use the time up/down buttons (Y ij) and the temperature control up/down buttons
(Z ij) to manually set a time and temperature.
5. Press the basket 2 button (2) to select basket 2.
6. Next, program the cooking time for basket 2 (the temperature will be the same for both baskets).
• Optional: Press either the basket 1 (1) or basket 2 (2) button, then press the shake button (SHAKE) to
activate the shake feature for the selected basket.
7. Select the basket programmed with the LONGEST cooking time ONLY. Carefully pull the basket out of
the appliance, place the ingredients inside, and push the basket all the way back into the appliance.
8. Press the synchronise button (SYNC) to synchronise the cooking timers.
9. Press the start/pause button (m) to start the cooking cycle.
10. When the audible alarm sounds, the cooking timers have synchronised and cooking will pause.
11. Carefully remove the empty basket, fill with food, and push the basket back into the appliance to
resume cooking.
12. When the audible alarm sounds again, the set cooking time has elapsed. Carefully remove the baskets
from the appliance and place them on a heat-resistant surface.
TIPS
• Foods that are smaller in size usually require a slightly shorter cooking time than larger ones.
• Misting a bit of vegetable oil on fresh potatoes is suggested for a crispier result. When adding oil, add
only a little just before cooking.
• Snacks normally cooked in an oven can also be cooked in the appliance.
• Place fragile or filled foods in a baking tin or oven dish in the appliance. A baking tin or oven dish is also
suggested when baking a cake or quiche.
• You can use the appliance to reheat foods. Simply set the temperature and time to however warm you
want your food.
• Wear oven gloves to protect against accidental contact with the heated surfaces and escaping hot air
and steam from opening the appliance.
• To prevent scratching the nonstick coating, use only non-metallic utensils. Do not lift or cut food in the
appliance using sharp utensils, such as forks and knives, which can scratch the cooking surface.
COOKING TIMES AND FOOD SAFETY
• To be used purely as a guide
• Check food is cooked through before serving. If in doubt, cook it a bit more.
• Cook meat, poultry, and any derivatives (mince, burgers, etc.) till the juices run clear.
• Cook fish till the flesh is opaque throughout.
• When cooking pre-packed foods, follow any guidelines on the package or label.
Food Temperature (ºC) Time (min) Remarks
Chips 200 25 Rinse, dry, toss in salt, pepper, and oil
Potato wedges 200 15-20 Rinse, dry, toss in salt, pepper, and oil
Sweet potato
wedges
200 15-20 Rinse, dry, toss in salt, pepper, and oil
Jacket potato 180 30-40 For a crispy jacket, brush with oil
Roast potatoes 180 25-35
Rinse, dry, toss in salt, pepper, crushed
rosemary (optional) and oil
Mixed
Mediterranean
vegetables
180 6-10
All cut to similar sizes, approx. 1-2cm
pieces, toss in oil and season

7
Food Temperature (ºC) Time (min) Remarks
Chicken Breast 180 15-20
Chicken Thighs 180 25-30
Cooking time depends on size. Brush
with oil, season
Chicken wings 180 23-28
Cooking time depends on size. brush
with oil, season
Burgers 180 8 -12
Cooking time depends on size. brush
with oil, season
Sausages 180 8 -12
Pork chop 180 22 Brush with oil, season
Salmon fillet 180 8 -12 Brush with oil, season
White fish fillet 180 8 -12 Brush with oil, season
Sausage Roll 200 13-15 Brush with oil, season
Spring Roll 200 8-10
Muffins 180 15-18
Frozen Food
Temperature
ºC
Time
(min)
Remarks
Chips 200 25
Potato wedges 200 15-20
French fries 200 12-20
Chicken Nuggets 200 6-10
Fish fillets 200 10 -12
Fish Fingers 180 6-10
Onion Rings 180 10-15
Scampi 180 15
NOTE:
High fat foods (e.g. pork) may create smoke. This is normal as oil residue is cooked at a high temperature. Reducing temperature may
decrease the effect of smoke.
CARE AND MAINTENANCE
• Unplug the appliance.
• Leave everything to cool down.
Baskets, basket dividers and crisping plates
1. Once the air-fryer has cooled, remove the baskets from the air-fryer body for cleaning.
2. Remove the dividers from the baskets.
3. Remove the crisping plates from the baskets.
4. Wipe the interior of the body to remove any crumb or residue, but DO NOT wipe the heating elements
located at the top.
5. Dispose of food residue and oils, and wipe the baskets, basket dividers and criping plates with a damp
cloth before hand washing them in warm to hot soapy water. Dry thoroughly before using them again,
or refitting them into your fryer.
• The baskets, basket dividers and crisping plates can also be washed in a dishwasher.
Exterior Surfaces
• Clean the exterior with a damp cloth or sponge. Dry thoroughly.

T22-9003744
RECYCLING
W
To avoid environmental and health problems due to hazardous substances, appliances and
rechargeable and non-rechargeable batteries marked with one of these symbols must not be
disposed of with unsorted municipal waste. Always dispose of electrical and electronic
products and, where applicable, rechargeable and non-rechargeable batteries, at an
appropriate official recycling/collection point.
SERVICE
If you ring Customer Service, please have the Model Number to hand, as we won’t be able to help you
without it. It’s on the rating plate (usually underneath the product).
The product isn’t user-serviceable. If it’s not working, read the instructions, check the plug fuse and main
fuse/circuit breaker. If it’s still not working, consult your retailer.
If that doesn’t solve the problem – ring Customer Service – they may be able to offer technical advice.
If they advise you to return the product to us, pack it carefully, include a note with your name, address, day
phone number, and what’s wrong. If under guarantee, say where and when purchased, and include proof of
purchase (till receipt). Send it to:
Customer Service
Spectrum Brands (UK) Ltd
Fir Street, Failsworth, Manchester M35 0HS
email: support@russellhobbs.com
telephone: 0345 658 9700 (local rate number)
Please note: If you have purchased the product within the last 6 months, please contact the retailer in the
first instance to deal with any matters relating to warranty.
GUARANTEE
Defects affecting product functionality appearing within the guarantee period will be corrected by
replacement or repair at our option provided the product is used and maintained in accordance with the
instructions. Your statutory rights are not affected.
This warranty shall not be valid where it is contrary to U.S. and other applicable laws, or where the warranty
would be prohibited under any economic sanctions, export control laws, embargos, or other restrictive
trade measures enforced by the United States or other applicable jurisdictions. This includes, without
limitation, any warranty claims implicating parties from, or otherwise located in, Cuba, Iran, North Korea,
Syria and the Crimea region.
Guarantee period = 2 years from first retail purchase.
To claim an extra 1 year guarantee, register your product online within 28 days of purchase. Register at:
uk.russellhobbs.com/product-registration
Consumables are guaranteed only for their recommended lifecycle. Replacement/Spare parts* are excluded
and are only covered by a 1 year warranty.
* Examples include filters, removable grill plates, drip trays/crumb trays etc.
J ONLINE
www.russellhobbs.com for more products