Thank you for purchasing a Sealey product. Manufactured to a high standard, this product will, if used according to these instructions,
and properly maintained, give you years of trouble free performance.
IMPORTANT: PLEASE READ THESE INSTRUCTIONS CAREFULLY. NOTE THE SAFE OPERATIONAL REQUIREMENTS, WARNINGS & CAUTIONS. USE
THE PRODUCT CORRECTLY AND WITH CARE FOR THE PURPOSE FOR WHICH IT IS INTENDED. FAILURE TO DO SO MAY CAUSE DAMAGE AND/OR
PERSONAL INJURY AND WILL INVALIDATE THE WARRANTY. KEEP THESE INSTRUCTIONS SAFE FOR FUTURE USE.
Original Language Version
© Jack Sealey Limited
PREMIER BY SEALEY REPAIR KITS
1. SAFETY
1.1. GENERAL SAFETY
9 Ensure the work area is well-lit and free of clutter.
8 DO NOT use the tool around corrosive chemicals which can damage the tool.
8 DO NOT use the tool while tired or under the inuence of drugs, alcohol, or intoxicating medication.
8 DO NOT over-reach. Maintain proper footing and balance at all times.
8 DO NOT use cheater bars or pipes to extend the handle for extra torque.
9 Match the ratchet size and socket to the fastener you are working on.
9 Avoid using a standard ratchet for high-torque applications—use a breaker bar instead.
9 Pull, don’t push the ratchet when possible, to avoid slipping and injury.
9 Keep your hand clear of sharp edges or pinch points.
9 Use steady, controlled force instead of jerky movements.
9 If more torque is needed, switch to a larger ratchet or breaker bar.
9 Wear gloves to protect your hands from cuts or scrapes.
9 Use safety glasses if working in environments where debris could y.
9 Check for damaged or worn parts, especially the ratchet mechanism and socket.
9 Ensure the socket is securely attached to the ratchet square drive.
2. INTRODUCTION
Repair kit for 3/8”Sq Drive Low Prole Ratchet Wrench.
3. SPECIFICATIONS
4. INSTRUCTIONS
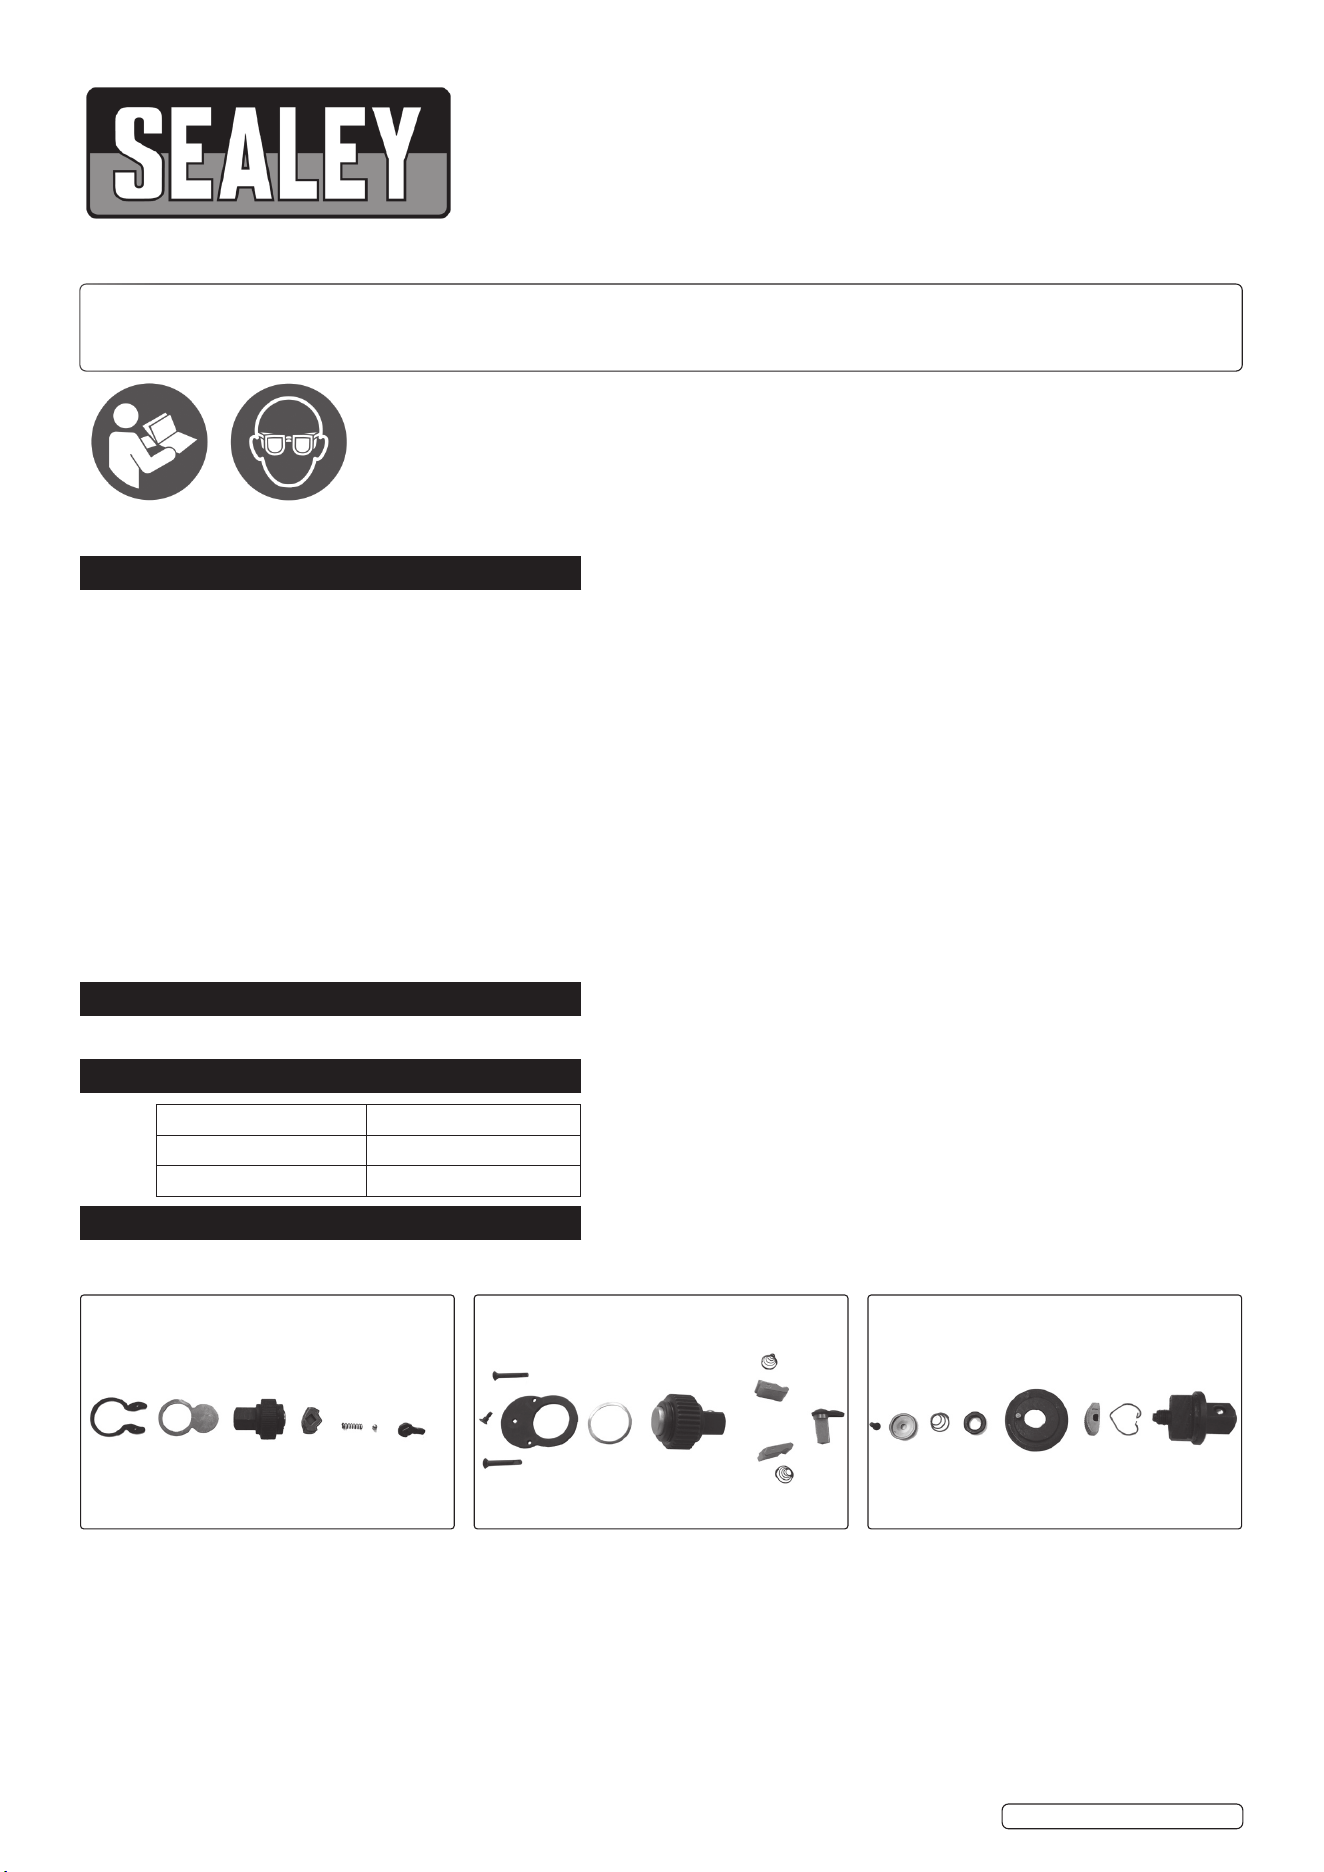
The Sealey Ratchet Repair Kit that has been supplied to you will be one of the following three types:
Refer to
instructions
Ratchet Repair Kit Issue 1 05/03/25
Application(s): AK5781
Drive: 3/8”Sq
Nett Weight: 0.04kg
Wear Eye
protection
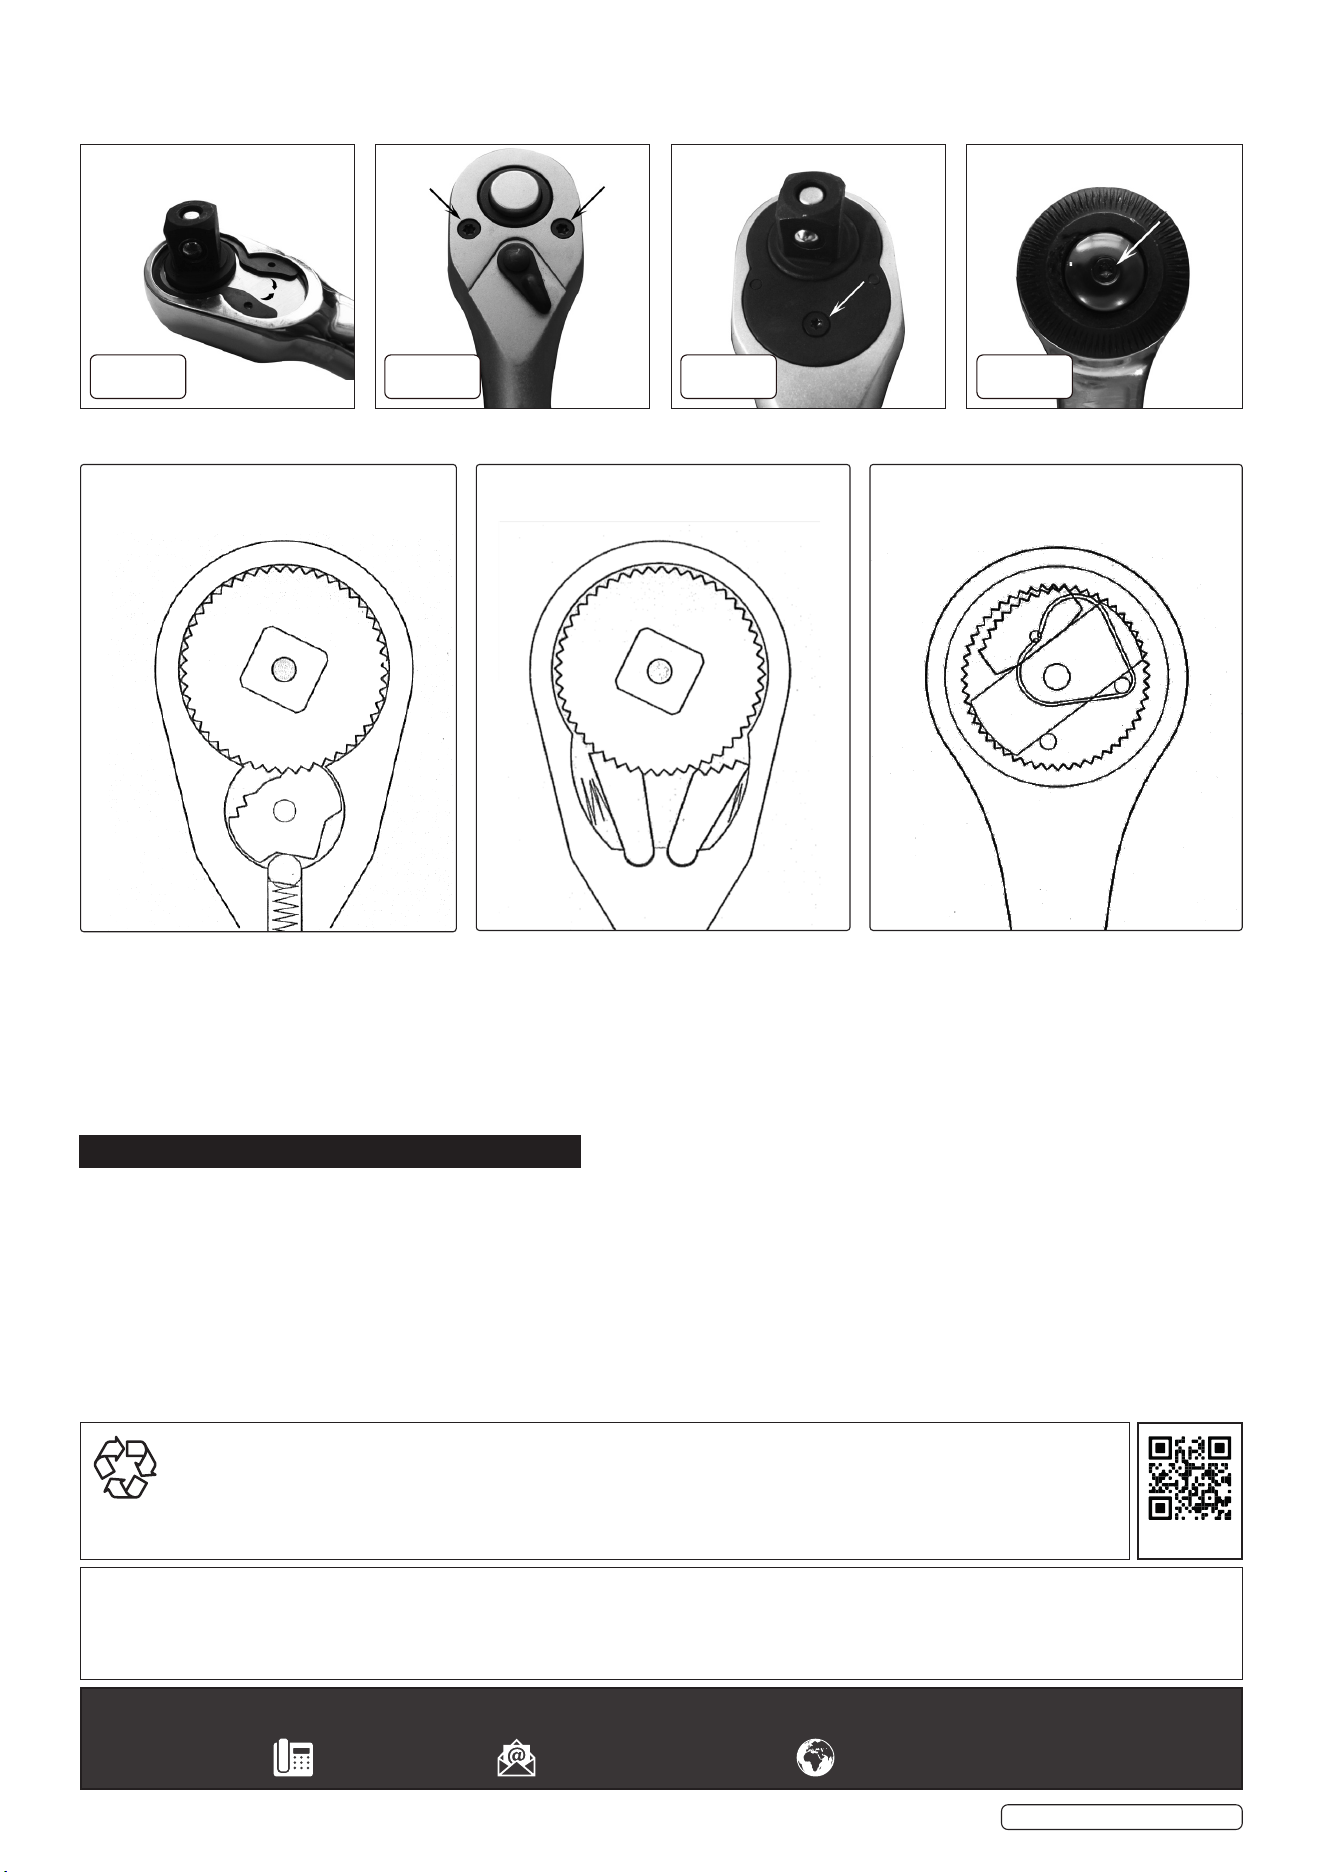
Gear to Gear Lever Change Round Head
4.1. The head can be opened up to access the ratchet mechanism either by releasing the circlips using a pair of internal circlip pliers (g.1)
or removing the securing screws (gs.2,3 & 4).
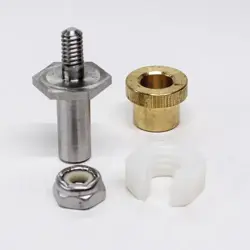
THIS WILL REVEAL:
- Remove original components, noting carefully the order in which they were removed.
- Clean inside the ratchet head to remove any dirt or swarf and replace the components with the contents of the repair kit, ensuring that
the original order is repeated.
NOTE: That the ratchet pawls in the Lever Change kit are marked ‘L’ and ‘R’ and should be replaced in the same position as the
originals.
- When rebuilding the Gear to Gear head, it may be useful to employ a pair of tweezers to hold the ball in place between the spring and
pawl.
- With all internal components in place apply a small amount of grease, close the head back up and resecure.
5. END OF LIFE
5.1.1. Through years of normal wear, the product will eventually become unserviceable. When this happens ensure that it is disposed of in
accordance with local authority regulations.
Original Language Version
© Jack Sealey Limited
Sealey Group, Kempson Way, Suffolk Business Park, Bury St Edmunds, Suffolk. IP32 7AR
01284 757500 sales@sealey.co.uk www.sealey.co.uk
Note: It is our policy to continually improve products and as such we reserve the right to alter data, specifications and component parts without prior
notice.
Important: No Liability is accepted for incorrect use of this product.
Warranty: Life Time Guarantee from purchase date, proof of which is required for any claim.
Ratchet Repair Kit Issue 1 05/03/25
REGISTER YOUR
PURCHASE HERE
ENVIRONMENT PROTECTION
Recycle unwanted materials instead of disposing of them as waste. All tools, accessories and packaging should be sorted,
taken to a recycling centre and disposed of in a manner which is compatible with the environment. When the product
becomes completely unserviceable and requires disposal, drain any fluids (if applicable) into approved containers and
dispose of the product and fluids according to local regulations.
g.1 g.2 g.3 g.4
Gear to Gear Lever Change Round Head