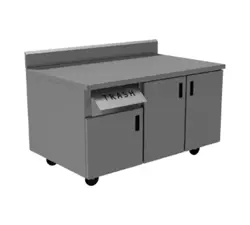
ADVANCE TABCO are designed and constructed for applications including Food Preparation,
Cooking, Manufacturing, Material Handling, Laboratory Service and the like. ADVANCE TABCO
does not recommend product use for activities employing harsh and active chemicals. Consult
factory regarding unusual applications.
Instructions for
HINGED DOOR CABINET REPAIR KIT
(KIT # TA-36D)
© ADVANCE TABCO JUNE 2020
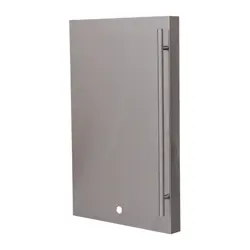
INSTALLING REPLACEMENT PIN
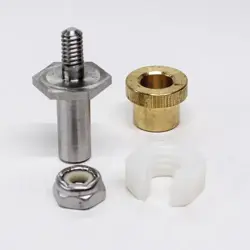
(1) Hinge Pin
With (1) Lock Nut
Tools Required:
Two adjustable Wrenches.
(1) Brass Insert
Bushing
(1) White Nylon
Locking Clip
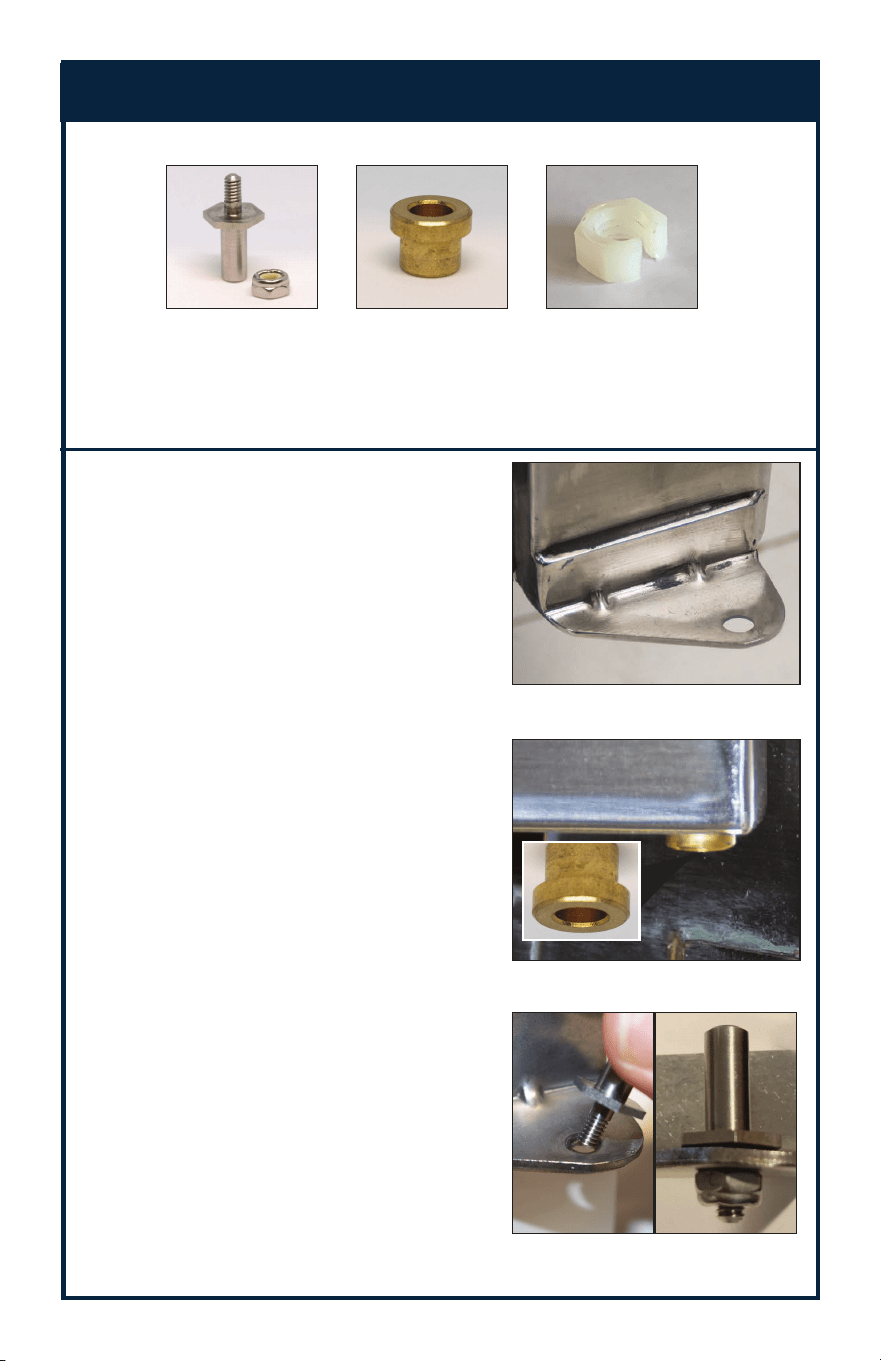
Step 1:
Review the hinge that needs to
be repaired. Insure there is now a
visible hole where the welded pin
broke away from. In some instances,
you may need to drill or punch out the
remaining broken pin (Figure 1).
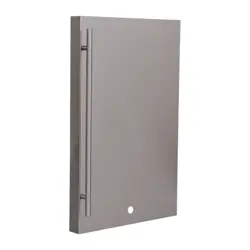
Step 2:
Retrieve the removed door. Inspect
the Brass Insert Bushing for the top
or bottom hinge you are repairing. If it
looks damaged or worn, replace it with
a new one from the kit (Figure 2).
Step 3:
Attach Hinge Pin by placing threaded
side through the hole on the hinge
bracket (Figure 3). Place Lock Nut
onto the threaded Pin and tighten
using 2 wrenches (Figure 4).
Step 4:
Continue to next page for hinge door
installation and Locking Clip install.
(Figure 1)
(Figure 2)
(Figure 3) (Figure 4)
Bottom Hinge With Hole
Repair kit Contents (1 Kit Per Hinge)
2

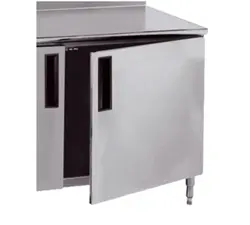
Installation Instructions For
HINGED DOOR UNITS
Step A:
Align Brass Insert Bushing at top
of door with upper Hinge Pin. Slide
Insert onto pin. (Figure A).
Step B:
While keeping the door on
the upper Hinge Pin, align
the bottom Brass Insert
Bushing with bottom the
Hinge Pin and lower the door
into it (Figure B).
Step C:
Secure door by pushing White
Nylon Locking Clip onto upper
Hinge Pin.
IMPORTANT NOTE: Nylon
Locking Clip MUST be on TOP
PIN ONLY not used on bottom
hinge (Figure C).
(Figure A)Top Hinge Bottom Hinge
(Figure C)(Figure B)
3

Hauppauge, New York 11788
www.advancetabco.com
800-645-3166
®