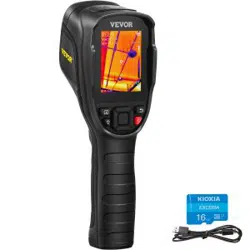

USER MANUAL
JD-109 Thermal Camera
JD-109
Thermal Camera
NEED HELP? CONTACT US!
Have product questions? Need technical suppo? Please feel free to contact us:
Instruction Manual
CustomerSe[email protected]
01

PRECAUTIONS
INSTRUMENT INTRODUCTION
02
1. When using the device, please keep it stable. Do not shake the device violently and avoid dropping it.
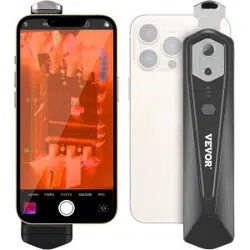
This device is a tool-based handheld infrared thermal imager, which can identify the combination
of suace temperature measurements and real-time thermal images. With 3,600 infrared pixels,
potential problems can be clearly displayed on the color display, which helps users quickly and
accurately locate the center point of the measurement cursor and measure the temperature.
In order to increase the degree of recognition, the image can be mixed from a full thermal image
to a full visual image.
2. If the device is damaged, dropped or corrected, it may cause incorrect measurement results.
3. Do not use the device outside of the permitted temperature operating range, and do not store it in
areas where temperatures exceed the permitted range. Failure to do so will result in damage.
4. Don’t aim the device directly at unknown high-intensity heat radiation sources, such as the sun,
lasers, electric welding machines, etc.
5. Don’t use this device in explosive, steamy, humid or corrosive environments.
6. Don’t use soluble or similar liquids in the equipment, which may cause damage to the device.
7. The device uses a built-in lithium-ion batte. Follow the listed guidelines carefully to use
the batte safely:
(1) Don’t t to open or disassemble the batte at any time.
(2) Don’t place the batte in a high-temperature environment or near high-temperature objects,
and don’t throw the device or batte into a re.
(3) Charge the device correctly according to the instructions in this manual and follow the
precautions. Incorrectly charging the batte can damage the batte and lead to personal inju.
(4) Avoid long periods of inactivity. The batte should be charged once eve two months. Failure
to charge the batte will results in operation complications and diculties during future charges.
(5) The batte is a wearable product. If you nd that the use time of the device is greatly reduced,
please use the original batte recommended by our company to replace it.
(6) If the device has been operating for an extended period, the suace may become hot.
When the suace is hot please stop charging the device and move it to a cool location.
Avoid prolonged contact with the device when the suace is hot.
(7) If you press the power button and the device does not sta, this could indicate that the batter
has been drained. It takes roughly 15 minutes to charge the device to a level appropriate for
initial staup. Once the device ready, attempt to turn it on again.
(8) Batteries pollute the environment to a ceain extent. Please don't discard them randomly.
Please recycle it correctly according to local regulations.
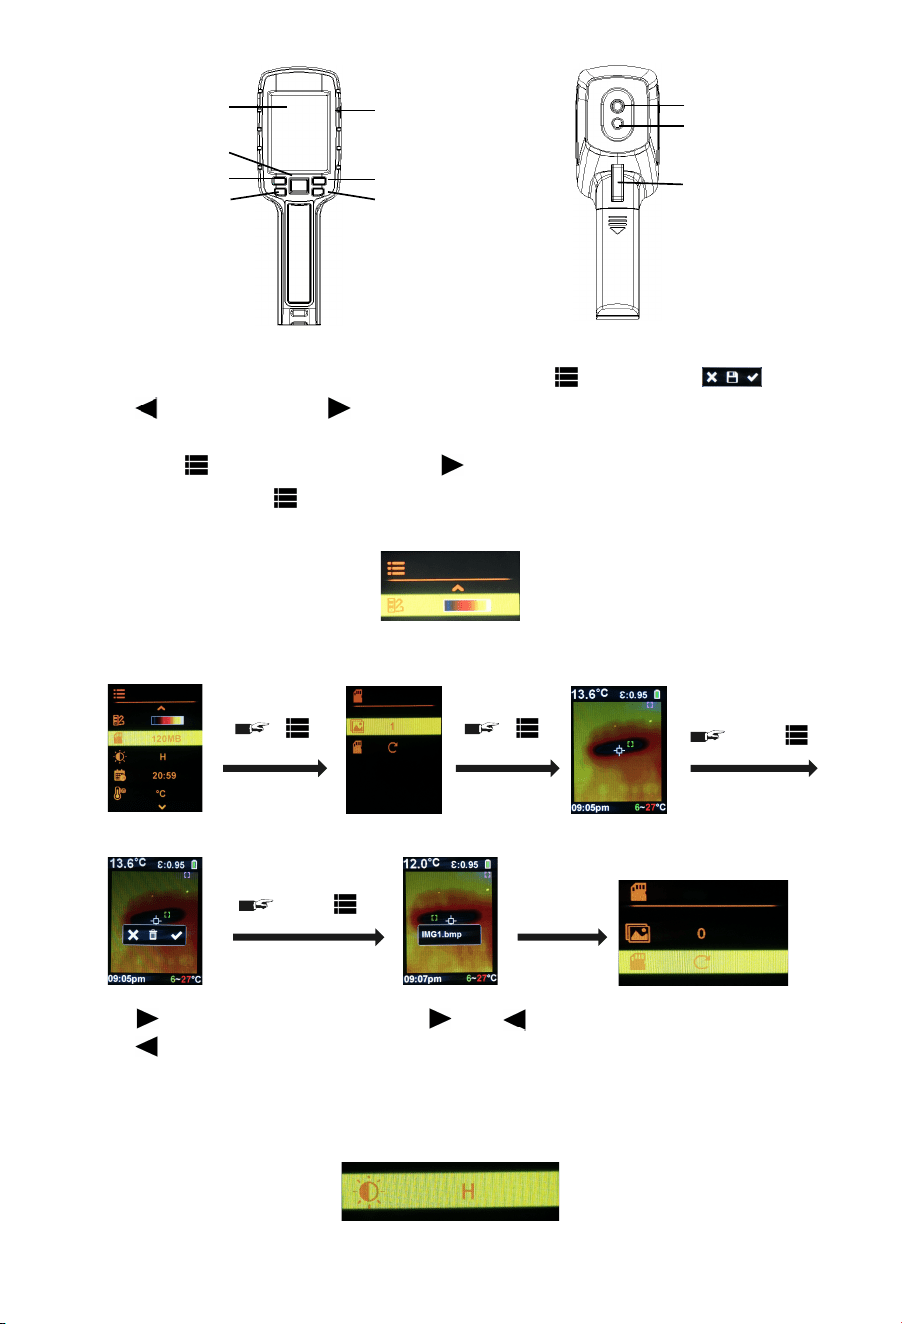
(1) Color palette:press “ ” choose from ve modes: iron red, rainbow, high-contrast rainbow,
white hot, and black hot.
(2) View and delete pictures:
(3) Brightness:“H”=100%, “M”=75%, “L”=50.
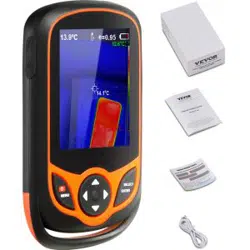
Navigation key
Return key
Navigation key
Power key
Menu/Select key
LCD
Type-C
③
①
②
④
⑤
⑥
⑦
Trigger
Visible lens
Infrared lens
⑧
⑨
⑩
1. Photograph: In the real-time obseation inteace, sho press“ ”, LCD display “ ”,
press “ ” save picture, press “ ” to return to the previous screen.
2. Menu: Press “ ” enter the main menu, press “ ” enter options to set parameters:
once “ ”
twice “ ”
Press “ ” delete picture,
press “ ” return to the
previous screen.
Press “ ” or “ ”
view pictures.
Delete all pictures.
03
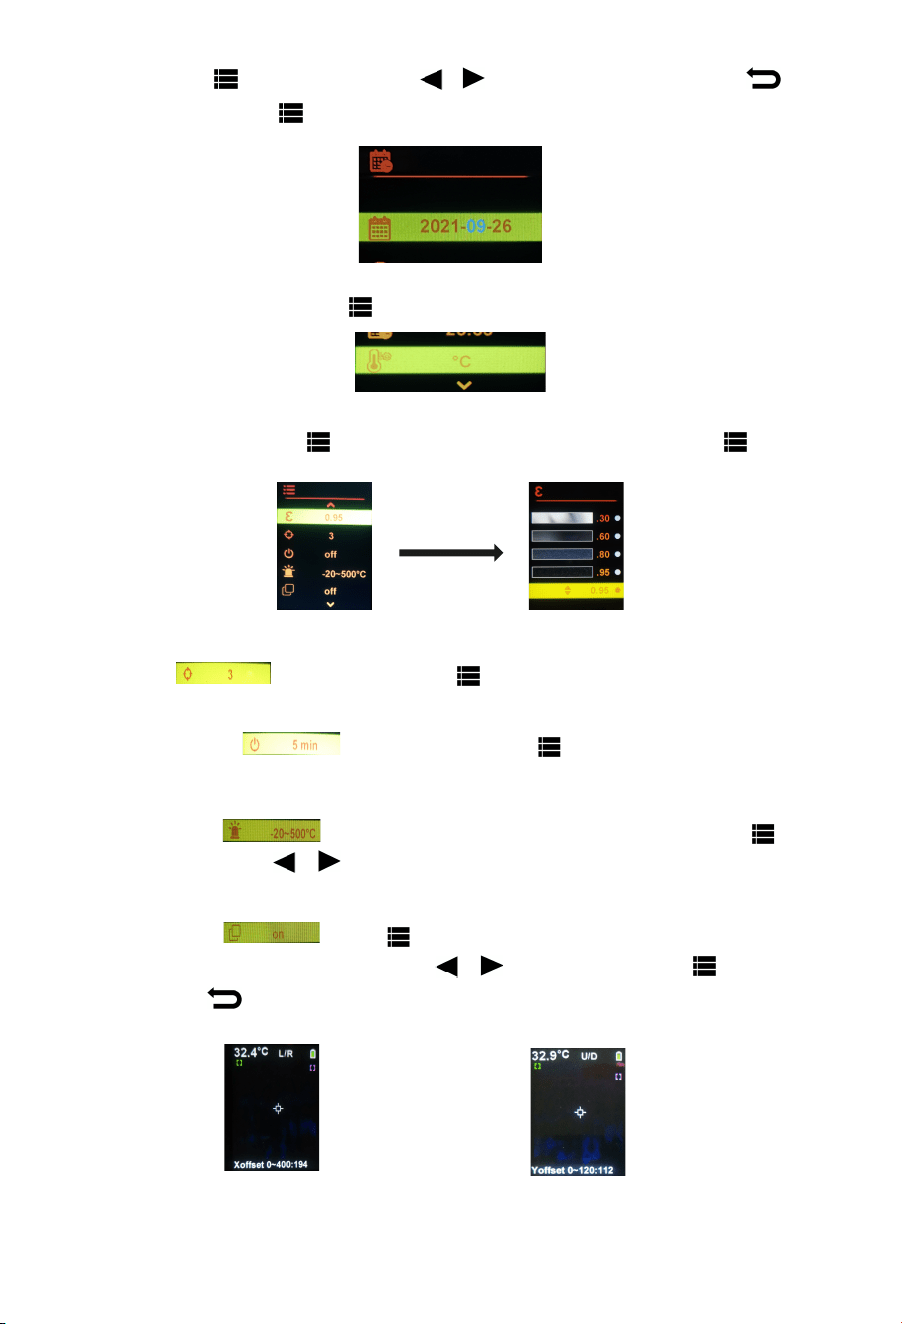
(4) Time:Press “ ”, enter options, press “ / ”, to add or subtract time , press “ ”
to move cursor, press “ ” to conrm.
Left and right
picture fusion
Top and bottom
picture fusion
(5) Temperature unit switch: Press “ ” choose ℃ or ℉.
(6) Emissivity setting:press “ ”, move the cursor to the required emissivity, press “ ”, conrm.
(7) Cursor: The default is 3, press “ ” choose the right number of cursors.
(8) Shutdown timer: The default is o, press “ ” to choose a switch o time,
5min, 10min, 25min.
(9) Alarm system: The Default alarm temperature: 500℃ and -20℃, press “ ”
enter settings, press “ / ” set the alarm value, the default alarm sound is on.
(10) Image fusion: Press “ ” enter image fusion, when displayed as "on", return to
the main menu to adjust the fusion. Press “ / ” adjust the face. Press “ ” to conrm,
long press “ ” to quit,then back the real-time obseation inteace.
04

(11) Biological temperature measurement mode: Press “ ” to conrm,
the default is o. The temperature measurement error is ±0.4℃.
3. Connect to the computer:Use the USB cable provided to connect to the computer to view or
delete pictures.
LCD 2.8-inch full-view high-resolution color screen
Infrared resolution
Visible light resolution
Field of view
Thermal sensitivity
Temperature measurement range
Precision
Emissivity
Image capture frequency
Wavelength range
File format
Operating temperature
Storage temperature
Infrared resolution
200,000 pixels
68° × 68°
0.15 ℃
-20 ℃~500 ℃
±2 ℃or ± 2% (Larger value)
0.1~0.99
9Hz
8um~11.5um
bpm
0 ℃ ~ 40 ℃
- 20 ℃ ~ 60 ℃
10 % RH ~ 85 % RH
60×60 Pixel
TECHNICAL PARAMETERS
EMISSIVITY OF COMMON OBJECTS
Material
Wood
Water
Brick
Stainless steel
Adhesive tape
Aluminum plate
Copper plate
Dark aluminum
Human skin
Asphalt
Emissivity
0.85
0.96
0.75
0.14
0.96
0.09
0.06
0.95
0.98
0.96
Emissivity
0.86
0.8
0.97
0.78
0.81
0.8
0.75
0.9
0.95
0.93
Material
Polycarbonate
Concrete
Copper oxide
Cast iron
Rust
Gypsum
Paint
Rubber
Soil
Black paper
05

E-mail: CustomerSeice@vevor.com