
Loading ...
Loading ...
Loading ...
20
AXIS P33 Series - Video & Audio
View area
Aspect ratio - is a ratio of width to height in images, 4:3 is a common in television screens and computer monitors while
HDTV uses 16:9. Select the aspect ratio for the view area.
Video stream resolution - This drop-down list gives the available video resolutions for the view area, depending on the aspect
ratio chosen.
View area size - Shows the size of the view area.
Snap to video stream resolutions - Check this box to automatically size the view area to the same size as the video stream
resolution.
Enable PTZ - Check this box to enable PTZ in the view area.
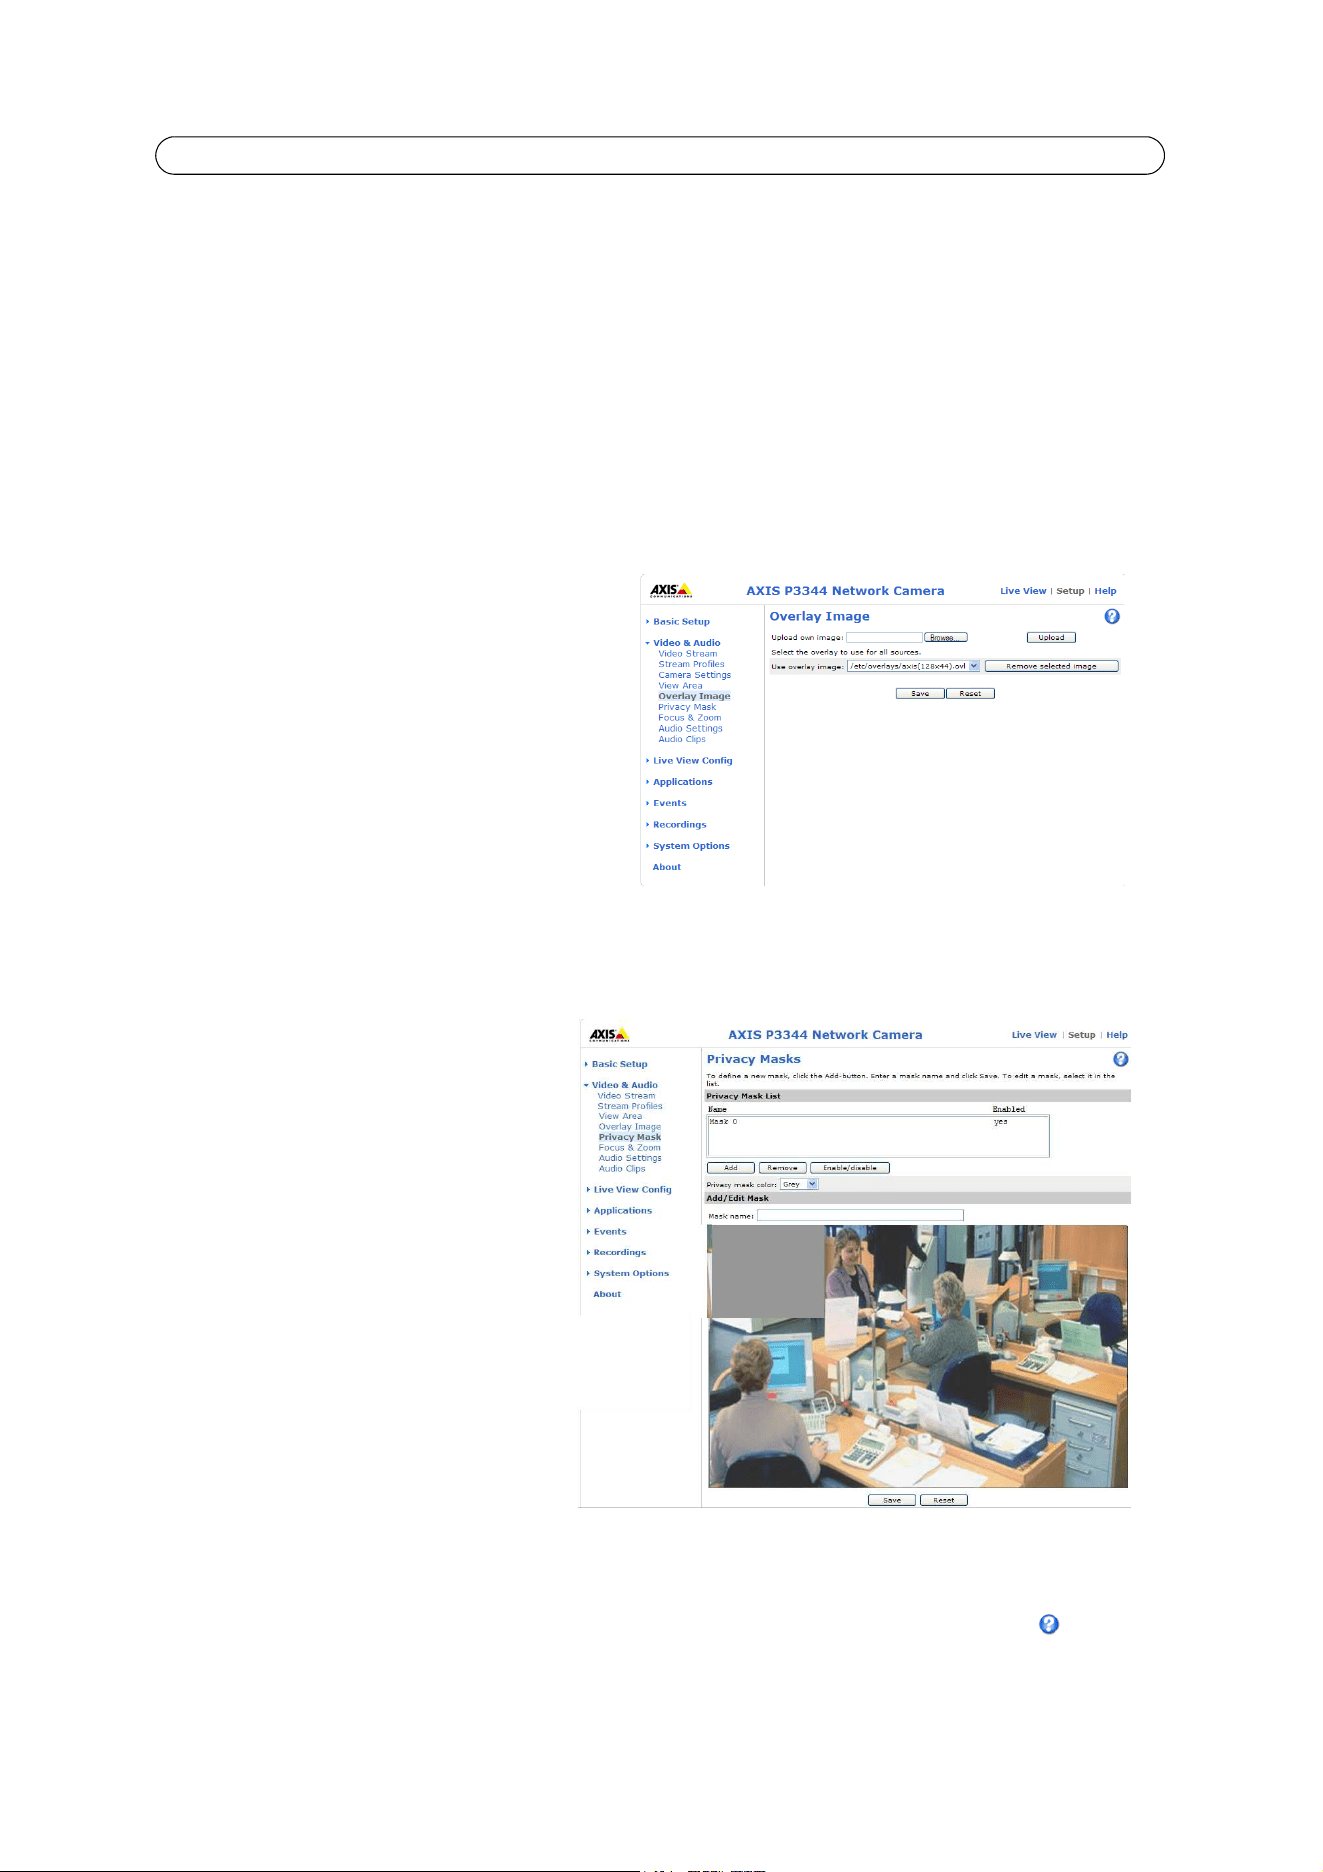
Overlay Image
An overlay image is a static image superimposed over
the video image. An overlay can be used to provide
extra information, or to mask a part of the video image.
To use an overlay image, it must be selected from the
drop-down list of available images. The overlay (a logo,
for example) is then displayed in the video image.
To use your own image, first upload it to the Network
Camera. To upload enter the name of the file in the
field provided, or click the Browse button, locate the
file and click the Upload button.
Once your own image has been uploaded it will be available for selection from the drop-down list. Click Save after selecting
the image.
Privacy Mask
Privacy masks are up to three configurable
areas of solid color that allow concealment of
parts of the image that are not to be viewed.
Privacy masks cannot be bypassed via the
VAPIX® Application Programming Interface
(API).
The Privacy Mask List shows all the masks that
are currently configured in the Network Camera
and indicates if they are enabled. To define a
new mask:
1. Click Add. A rectangle appears on the
image.
2. Place the rectangle over the desired
area to conceal.
3. To resize, click and pull the bottom
right-hand corner.
4. Choose a color, black, white, gray or red
for the box from the Privacy mask
color drop-down list.
5. Enter a descriptive name in the Mask name field.
6. Click Save.
To edit a privacy mask, select and reshape the mask, move or change color as needed. Refer to the online Help for more
information.
Loading ...
Loading ...
Loading ...