
Loading ...
Loading ...
Loading ...
19
AXIS P33 Series - Video & Audio
Iris adjustment - Set the preferred F:value, with this slide bar. When the Enable automatic iris adjustment option is enabled,
the precise iris will use this value as long as light conditions are favorable for the setting; otherwise it will adjust itself to the
best iris setting. If the automatic iris adjustment is NOT enabled, the precise iris will lock on this setting regardless of light
conditions.
The number scale represents the degree to which the iris is open. When the scale is set at 0 the iris opens to the extent
allowed. At the setting 100 the iris is closed as much as allowed. The default setting is 50. The actual F-value is shown under
the Iris adjustment bar.
View Image Settings
Save the settings and click View... to view the video stream with the current configuration.
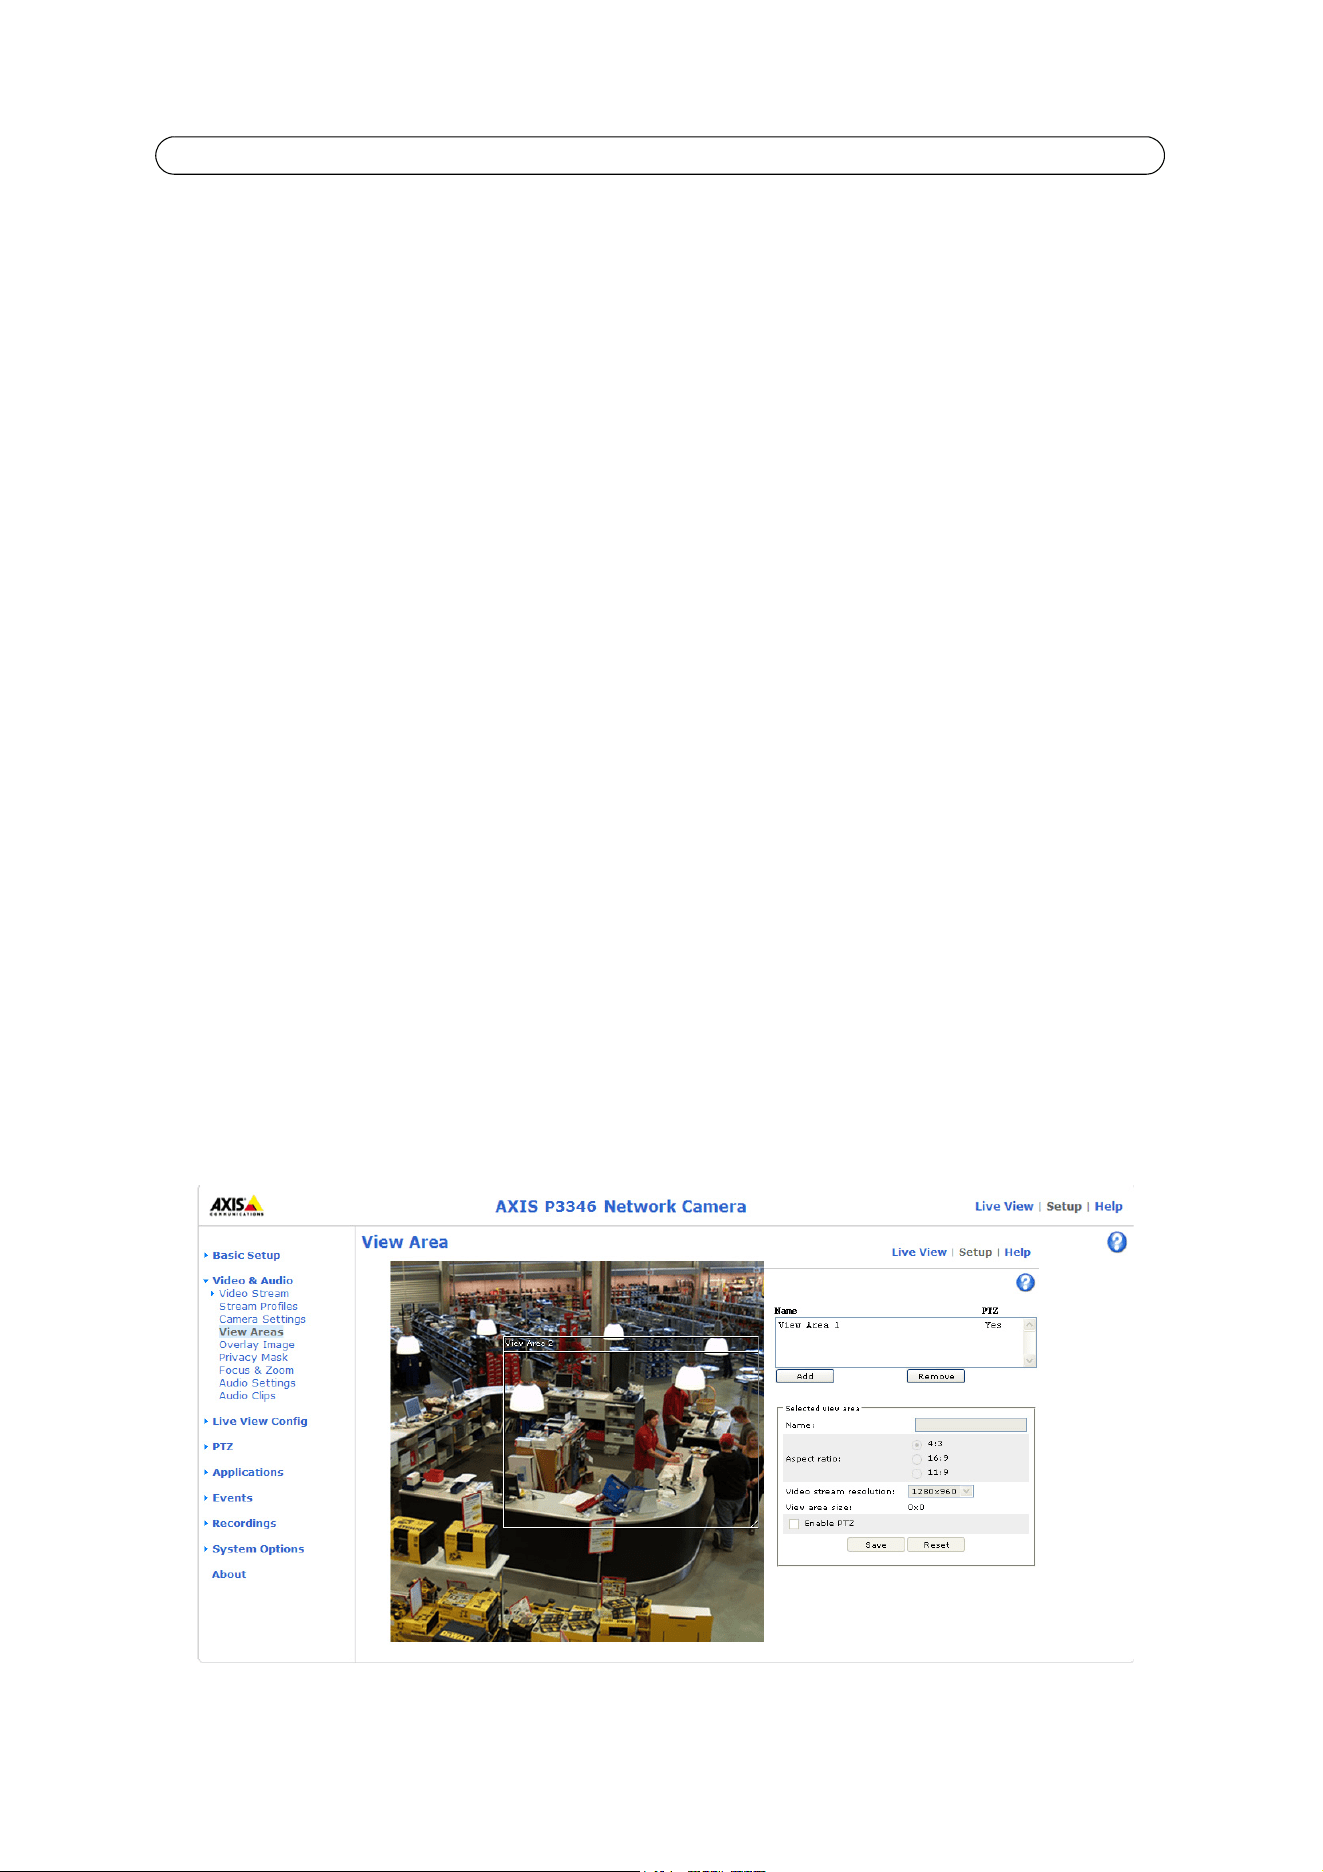
View Areas
When setting up a view area it is recommended that video stream resolution be the same size as or smaller than the view area
size. Setting the video stream resolution larger than the view area size implies digitally scaled up video after sensor capture,
requiring more bandwidth without adding image information. AXIS P3343/ AXIS P3344 allows for one view area; for AXIS
P3346 you are allowed to set up a total of 8.
Add a View Area
To add a new view area:
1. Click Add. The new view area appears under Selected view area.
2. Enter a descriptive name in the Name text field.
3. Select an aspect ratio and a video stream resolution. If the Snap to video stream resolutions box option is selected,
the view area is automatically resized to equal the size of the video stream resolution.
4. Use your mouse to move and resize the view area. Deselect the Snap to video stream resolutions box option to allow
a view area size that differs from available video stream resolutions.
5. Check Enable PTZ to enable digital PTZ for this view area.
6. Click Save to save the settings, or click Reset to revert to the previous settings.
To modify a view area, select the view area in the list and click the Modify... button. Use your mouse to size and position the
view area and change settings as needed. Click Save.
To remove a view area, select the view area and click Remove.
Loading ...
Loading ...
Loading ...