
User
Manual
Products:
WC34BX6230
DO NOT RETURN THIS PRODUCT TO THE STORE
If you have questions or need assistance, please call
customer service at (800) 701-0680.
3
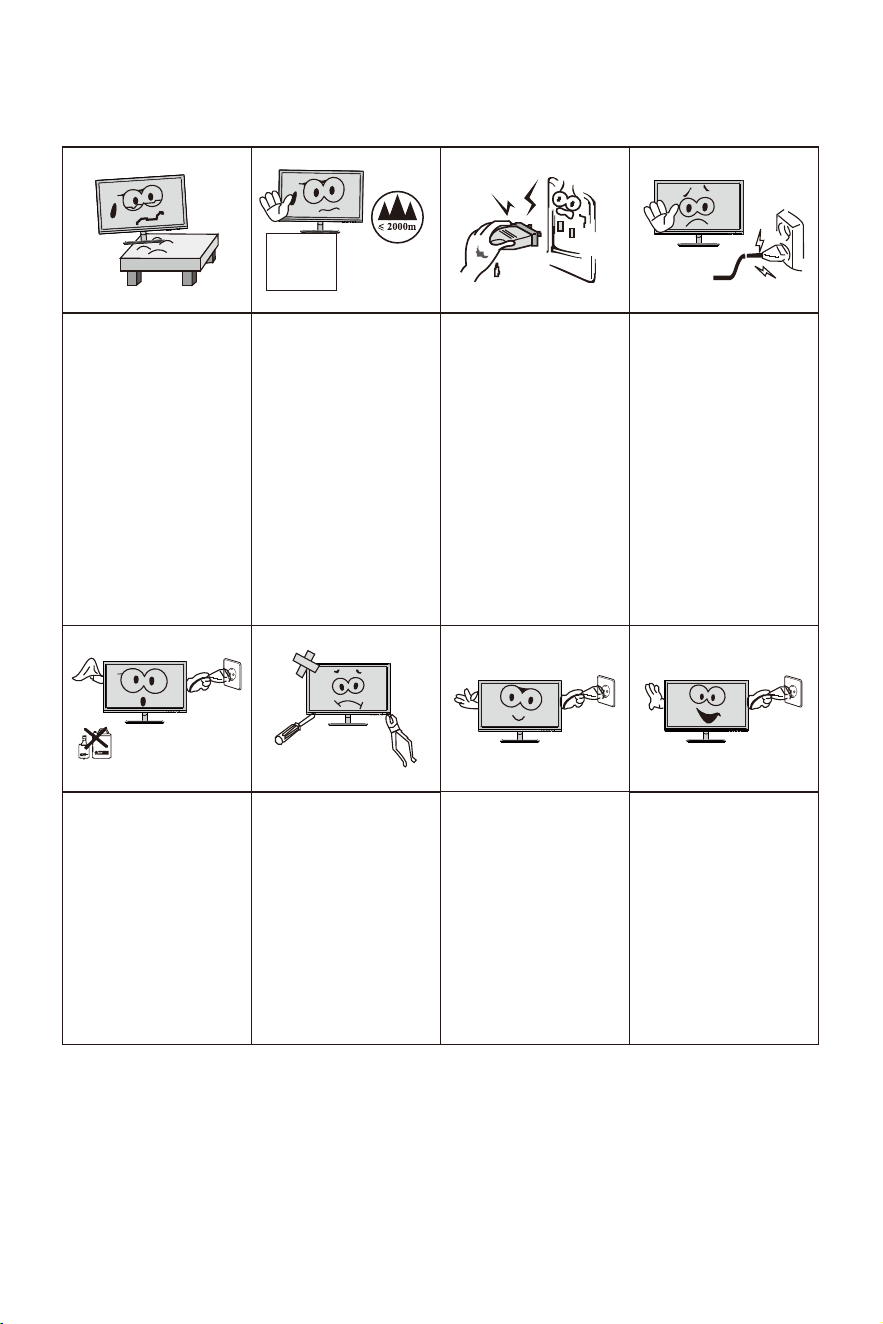
Please always place
this device on a stable
surface; otherwise,
it may fall and be
damaged.
The altitude and the
tropical environment
the adapter fits depend
on which adapter is
used for the device.
The rating plate on
the back of the device
with the above warning
sign indicates that
t h i s p r o d u c t i s
ap pli cable fo r t he
safe use of the region
w i t h a l t i t u d e o f
2,000m and below.
Do not hold the plug
w i t h w e t h a n d ;
otherwise, electric
shock
m a y o c c u r.
Make sure the plug
has a good touch
because poor touch
may cause fire.
Do not use a broken
power plug nor keep
a power cord near heat
source; otherwise,
e l e ct r i c s h oc k o r
fire may occur.
When cleaning the
device, be sure to
remove the power
plug, use a piece
of soft cloth rather
t h a n i n d u s t r i a l
ch emi cal t o cle an
the device, be sure
not to let water enter
the device.
Do not disassemble
this device without
permission. In case
of failure, be sure to
contact a professional
servicing person to fix
it. The unauthorized
disassembly of this
device may result
in electric shock or
fire.
In case of rare smell
or noise out of t
his
device, be sure to
immediately cut off
the power supply and
ask a professional
servicing person to
fix the problem.
When this device
is idle for long time,
be sure to power it
off; otherwise, electric
shock or fire may
occur.
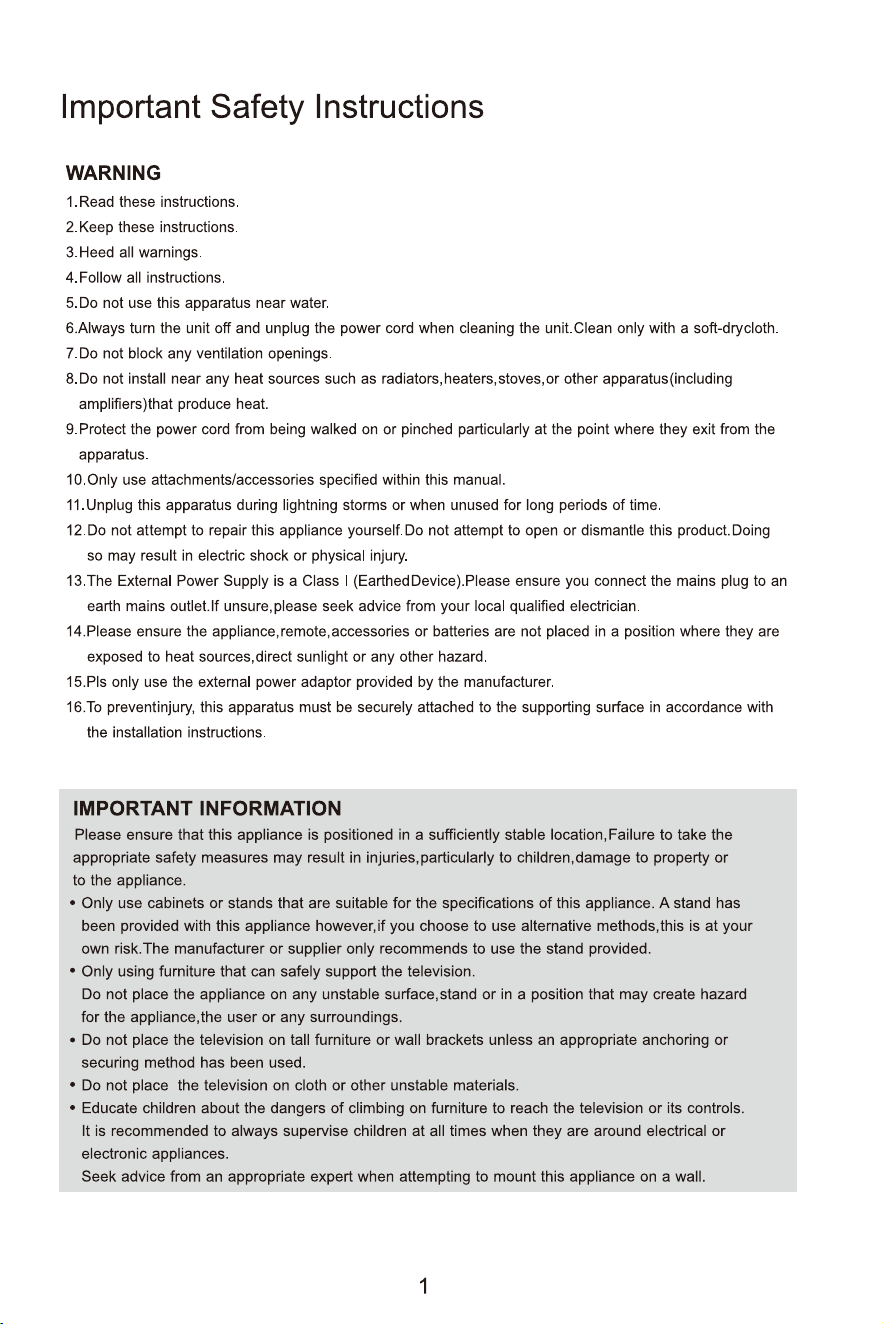
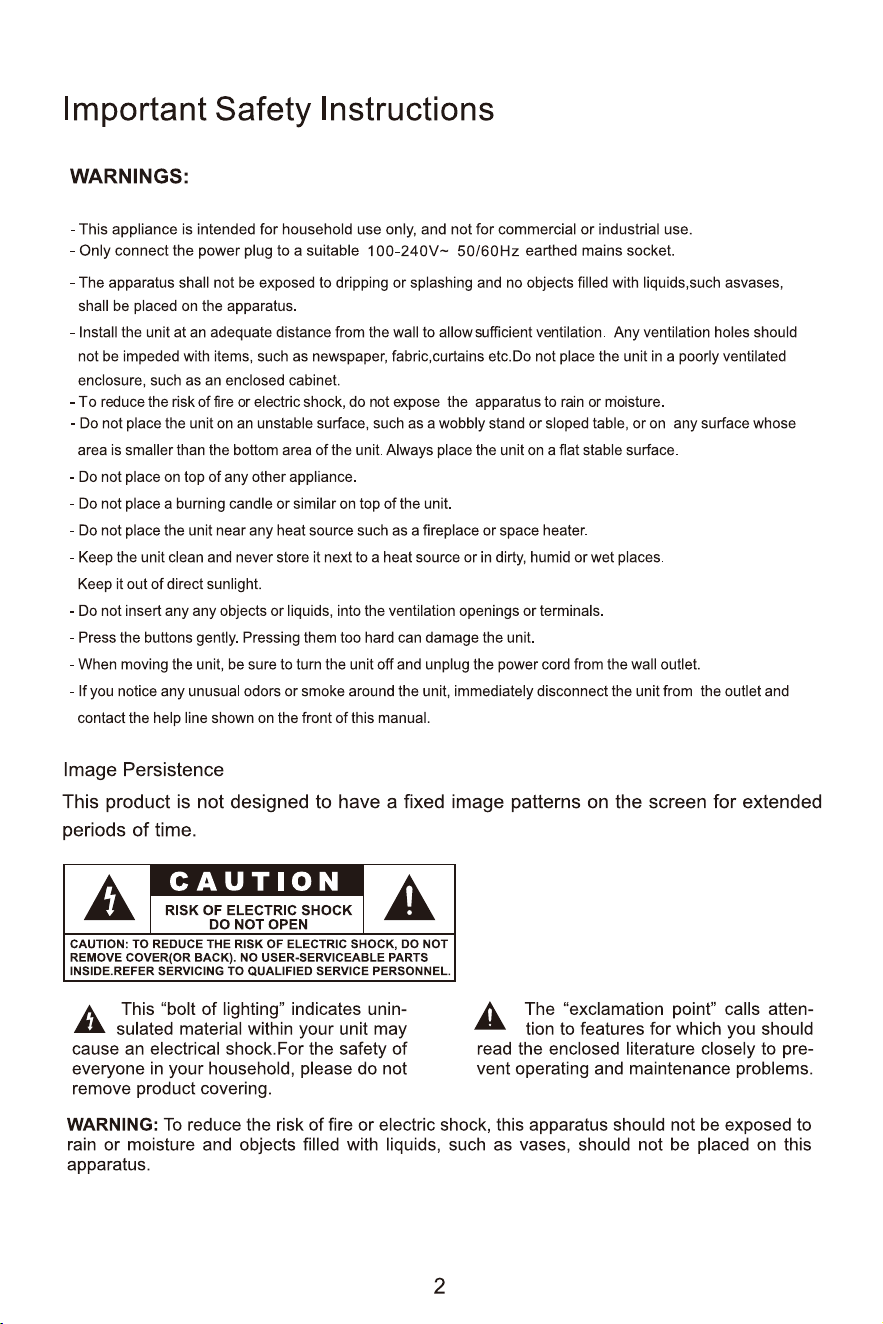
I. Safety Prevention Measures
Note:
The device with AC switch may use such AC switch as cut-off component.
The device without AC switch may use power plug or coupler as cut-off component.
ln case of the normal use of the equipment, make sure the cut-off component can be accessed
easily.
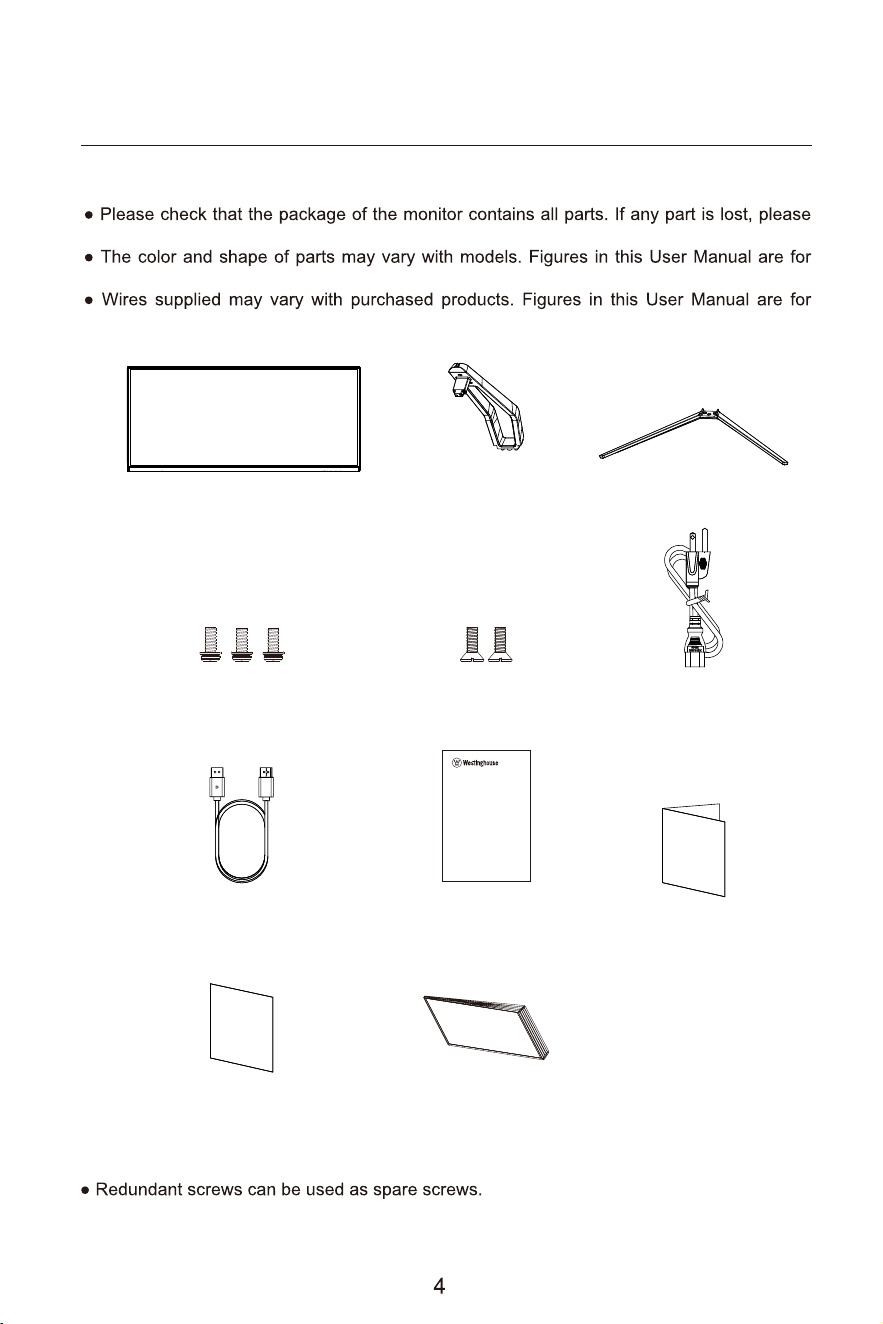
2. Product introduction
Packing list
(The above pictures are for illustration only and the physical accessories shall govern.)
contact the distributor.
reference only.
reference only.
Monitor Stand BaseStand Stem
Power Cable
Screws
x 3
DP Signal Cable
Warranty CardTech Support Card
Quick Start GuideUser Manual
User
Manual
Products:
WC34BX6230
DO NOT RETURN THIS PRODUCT TO THE STORE
If you have questions or need assistance, please call
customer service at(800)701-0680.
Screws x 2
Screws
Screws
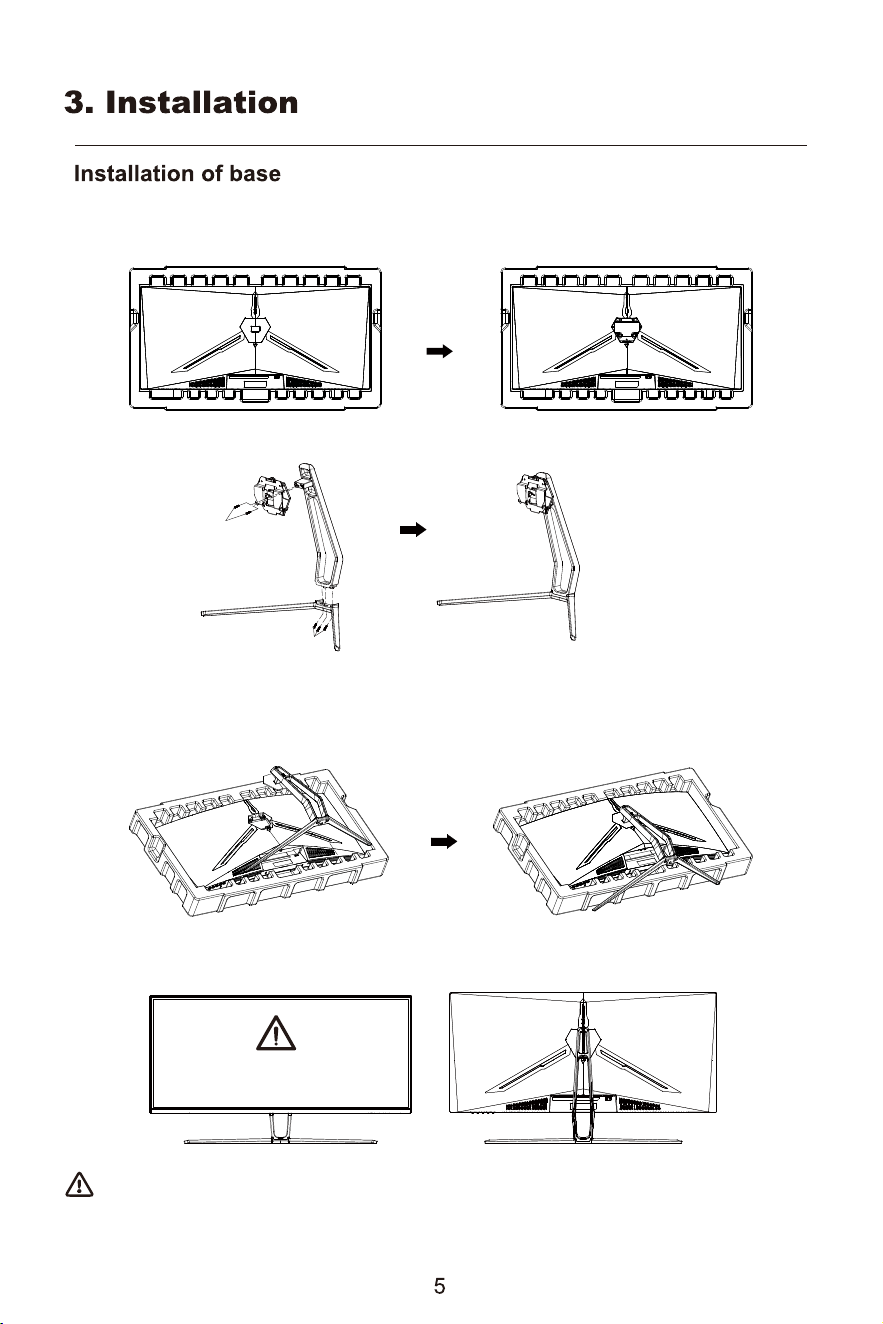
1. First open the carton, take out the foam and align the table top, after taking out the inner packaging, put
the monitor on the foam. Remove the spindle assembly above the monitor from the monitor.
2. Use 2 screws to lock the shaft assembly and bracket, and then lock 3 screws to the base.
3. Align the stand stem's bracket with the opening on the back ofthe monitor. and carefully insert bracket,
fit the stand assembly and display together.
4. After assembly, simply hold the stand with hand to stand the monitor upright.
Note: During standing of the whole monitor, do not press the liquid crystal screen with hand to avoid
damage to the screen.
Do not press the LCD
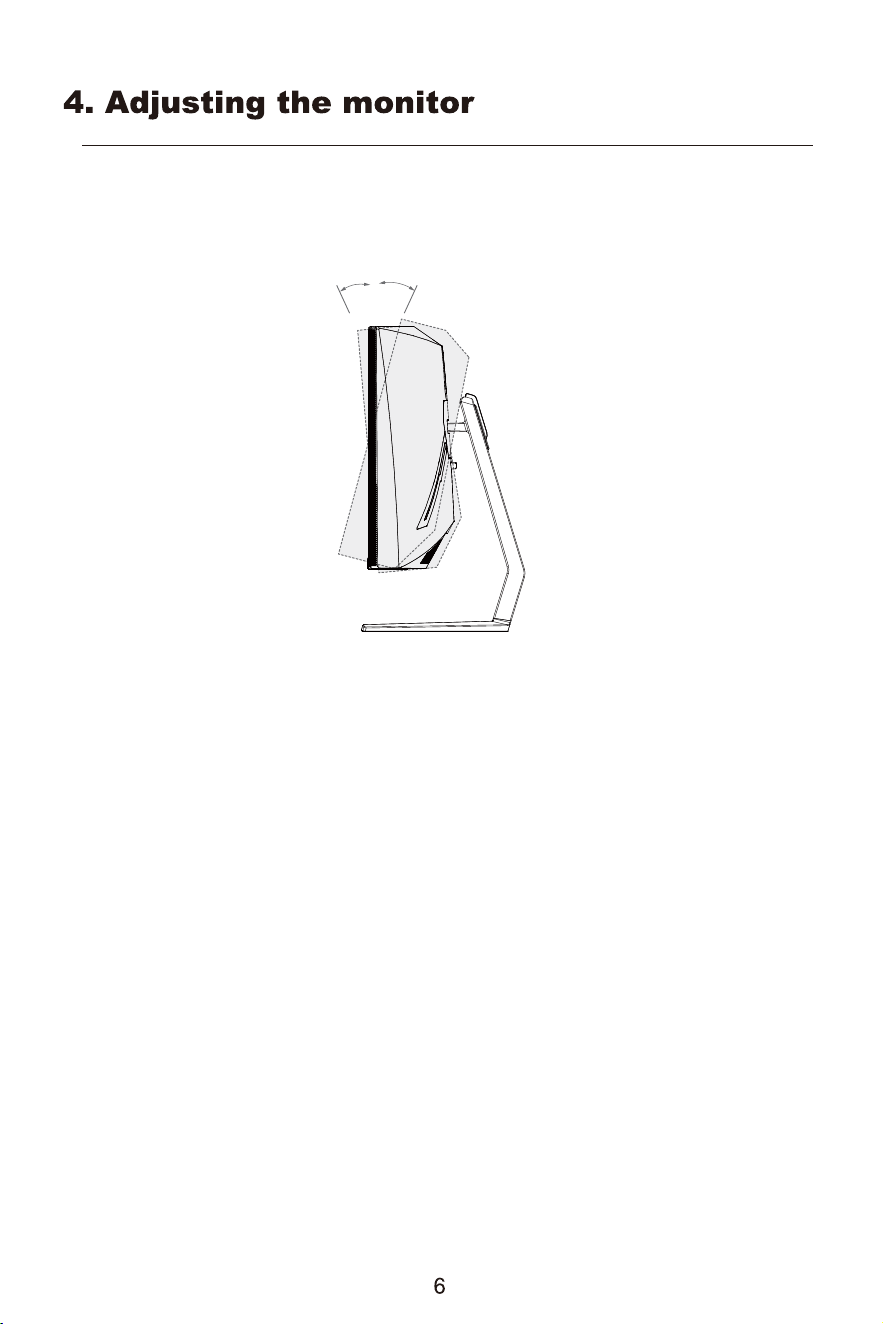
Tilting angle
-5° ~ +15°
15°
5°
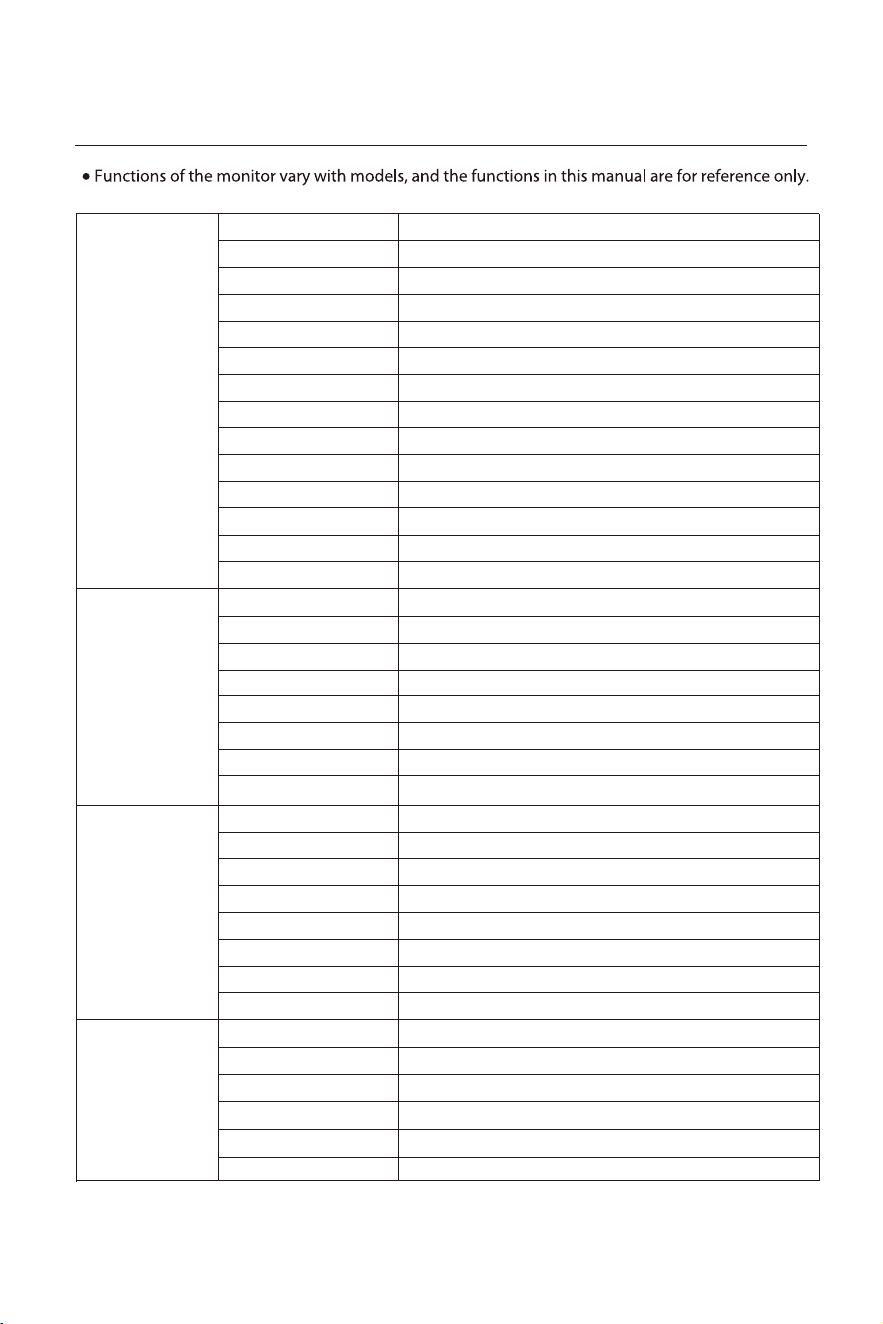
5. Usage
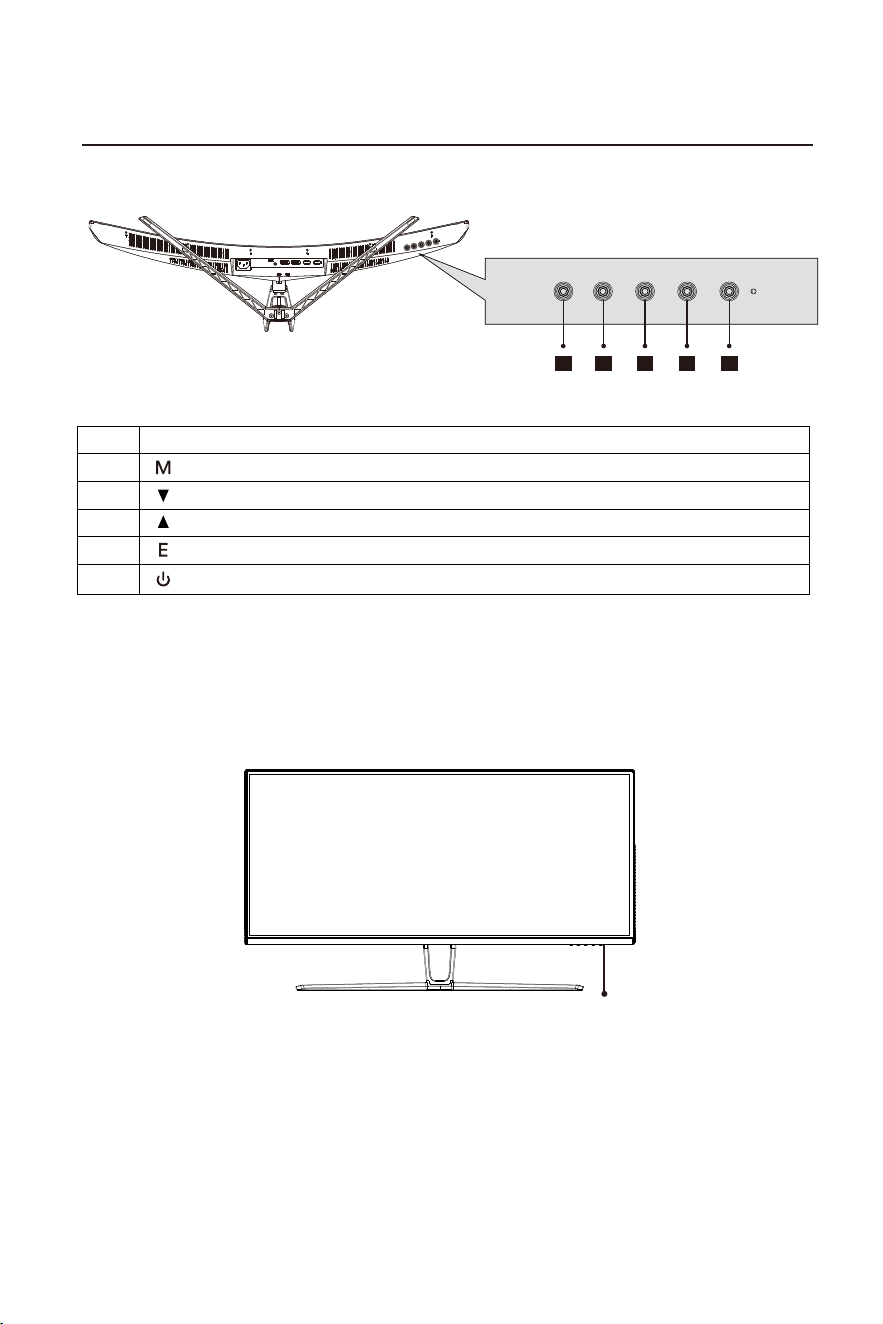
Description of buttons
Explanation of indicators
Menu button: Press to display the OSD menu or enter sub-menus.
Up button: Press to move up in the menu.
Exit/hot key: Press to exit.
Down button: Press to move down in the menu.
Power button: Press to turn on/off the monitor.
Button Function
1
2
3
4
5
Indicator:
A steady blue light indicates that the power is on and the monitor is operating normally. Red light
to indicate There is no video source and no horizontal or vertical signal or low voltage is detected. Make sure
your computer It is turned on and all video cables are fully plugged in and/or connected.
Indicator
1 2 3 4 5
7
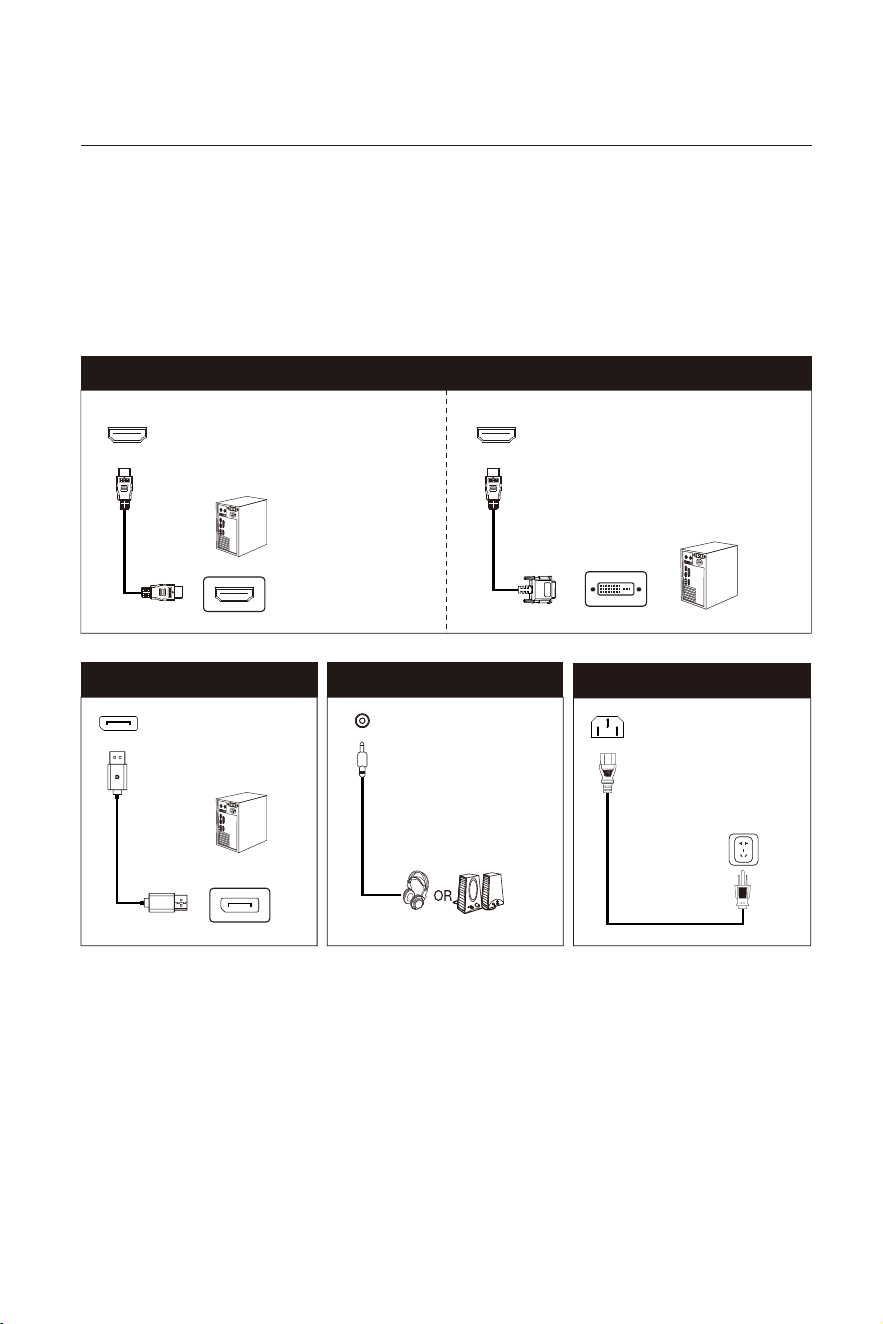
Cable connection
*The bottom interface configuration at the back of the monitor varies with products.The actual
product received shall prevail.
*Note: lf the power adapter or signal cable is damaged,you must replace it with special soft cables
or special you must replace it with special soft cables or special components purchased from the
manufacture or maintenance department.
Connect audio outputting
devices such as earphones
to the Audio out interface.
Use the DP cable to
connect the DP IN port of
the productto the DP OUT
port of a PC.
Use the HDMl cable to connect the HDMI
IN interface of the product to the HDMI
OUT interface of a PC.
Use the HDMI-DVl cable (not included) to
connect the HDMl IN port of the product to
the DVI OUTport of a PC. (In general, PCs
do not transfer video signals to the monitor
through the DVI OUT interface , and it is
necessary to connect a loudspeaker box
additionally to play sounds of PCs.)
AUDIO OUT
HDMI interface
DP interface
Please connect the power
cable plug to the
corresponding portof the
monitor, and connect
theother end to a properly
grounded power outlet.
AC IN interface
8
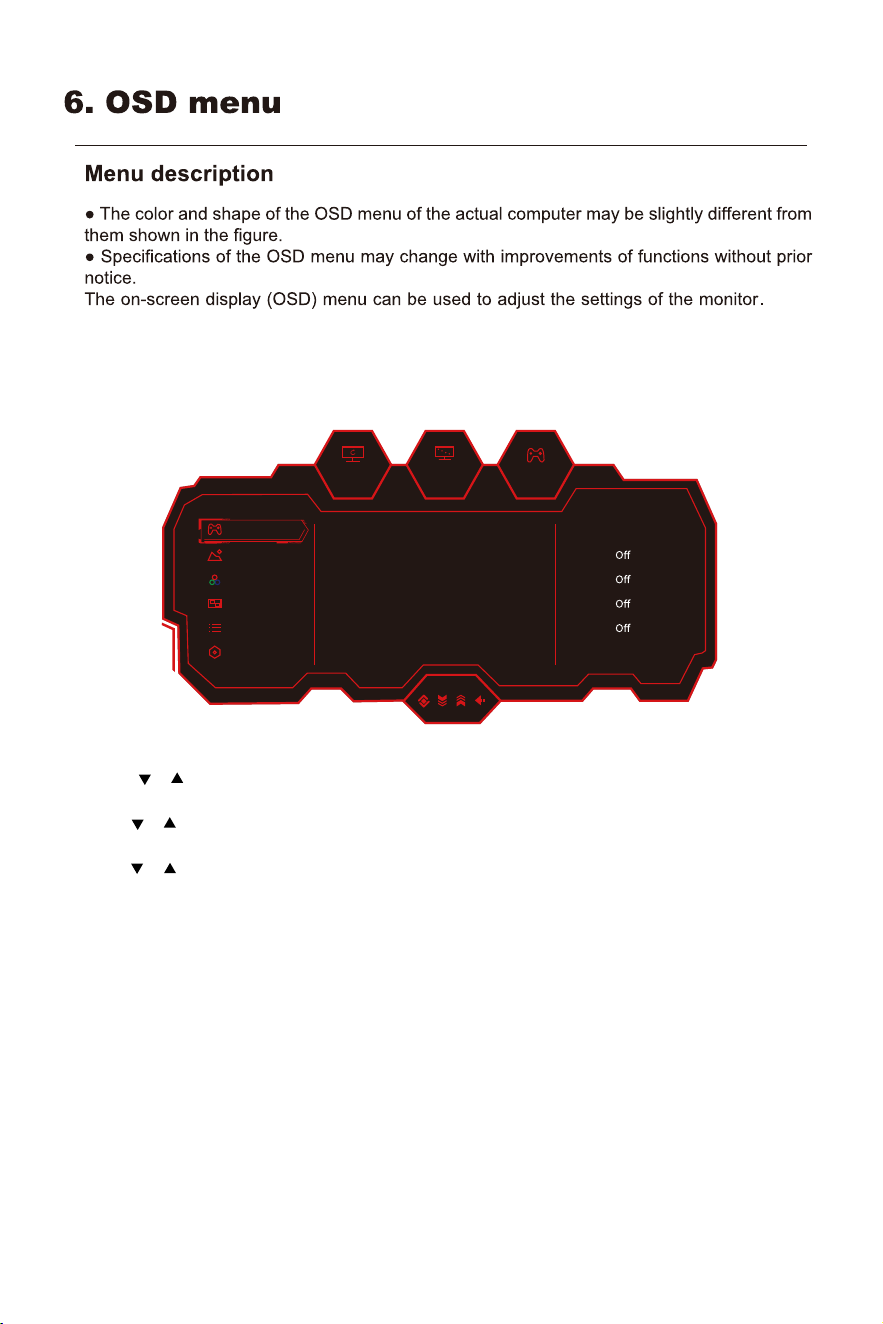
1. Press the buttons (M) to enter the OSD screen.
2. Press or to browse through the functions.
-Select the desired function, then press the M button to enter the submenu.
-Press or to browse the sub-menus, and then press the M key to confirm the selection of the
desired function.
-Press or to select an option, then press M to confirm the setting and exit the current menu.
3. Press E to exit the menu interface。
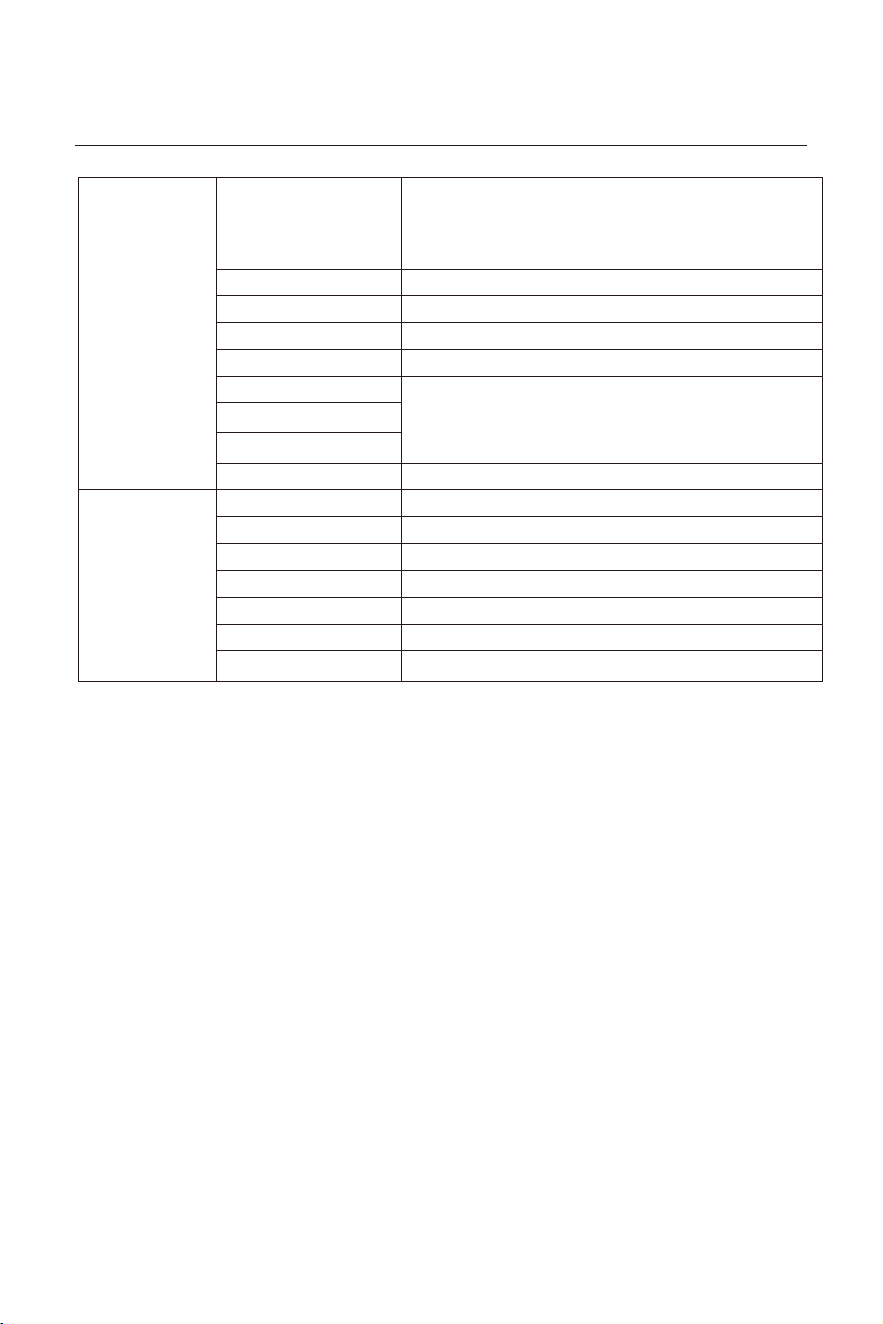
180hz
3440
x
1440
OFF
Other Settings
Game Settings
OSD Settings
Color Settings
PIP/PBP
Picture Settings
Standard Mode On
50
RTS/RPG Mode
FPS Arena Mode
MOBA Arena Mode
Freesync
Shadow Balance
9
Off/On
Off/On
Off/On
Off/On
Off/On
Off/On
Off/On
Off/On
Off/On
Off/On
Off/On
Off/On
Off/On
Off/On
Off/On
Off/On
Off/HDR Standard
Shadow Balance
0-100
Off/Normal/Fast/Ultrafast
Off/On
Off/Standard/Expert/Elaboration
Game Settings
Standard Mode
RTS/RPG Mode
FPS Arena Mode
MOBA Arena Mode
Freesync
HDR
Response Time
Refresh Rate
MPRT
Game Crosshair
Game Time
Dynamic Brightness
Ambient Lighting
Hue
Saturation
Warm
Off/On
Natural
Cool
User1
User2
User3
Color Settings
Brightness 0-100
0-100
0-100
0-100(R/G/B/C/M/Y)
0-100(R/G/B/C/M/Y)
0-5
1.8/2.0/2.2/2.4/2.6/ S.curve
Wide Screen/4:3/1:1/Auto
Contrast
Low Blue Light
Sharpness
Gamma
Aspect Ratio
Picture Settings
DCR
Contextual Model
Off/PIP Mode/PBP 2Win 1:1
DP1/DP2/HDMI1/HDMI2
Auto/DP1/DP2/HDMI1/HDMI2
Top Right/Top Left/Bottom Right/Bottom Left
Small/Medium/Large
Off/On
Window Swap
Sub-Signal Source
Audio Source
PIP Position
PIP Size
PIP/PBP mode
PIP/PBP
10
简体中文/English/한국어/ىبرع/Portugues do Brasilazil/Deutsch/
Nederland/Suomi/Français/Ελληνικά/Indonesia/Italiano/日本語/
Malaysia/Polskie/Português/Pусский/Españo/ไทย/Українська/
Tiếng Việt/繁体中文/Türkçe
OSD Time Out 5-60
OSD H-Position 0-100
OSD V-Position 0-100
OSD Transparency 0-5
Hotkey1 Setting
Hotkey2 Setting
Hotkey3 Setting
Bightness/Contrast/Volume/Mute/Shadow Blance/Game Crosshair/
Refresh Rate/Game Time /Contextual Model/PIP/PBP Mode/Input Signal/
Dynamic Brightness/HDR
Language
OSD Settings
Auto/DP1/DP2/HDMI1/HDMI2
0-100
Off/On
Off/On
Off/On
No/Yes
Volume
Mute
Auto Power
Off/OnEyeshield Remind
Reset
Input Source/Resolution/Mode/HDR VerInformation
OSD Lock
Input Signal
Other Settings
11
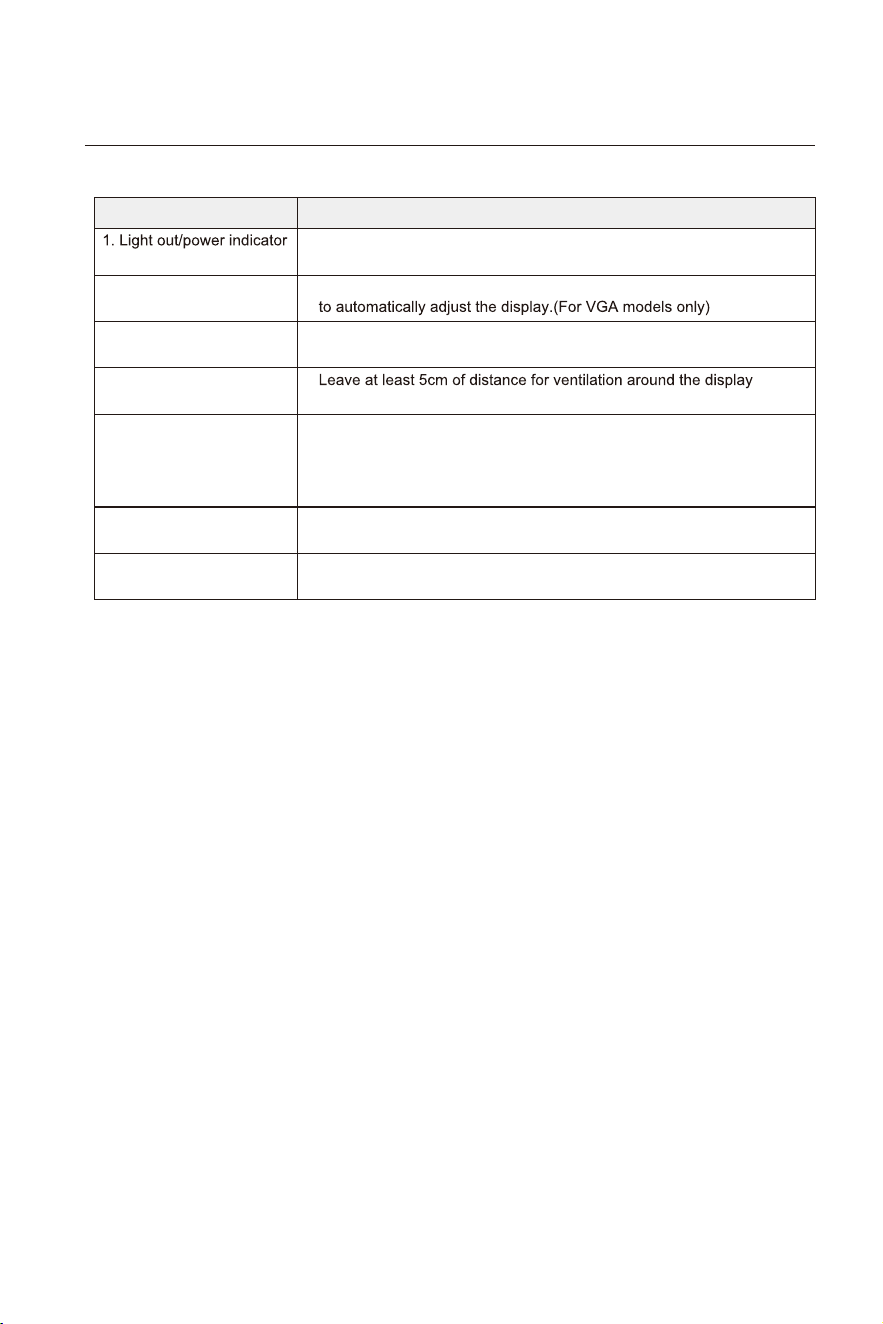
7. Basic Troubleshooting
Phenomenon Troubleshooting
light is off
2. Image blurring,
over-large, over-small, etc.
Check whether the display and the socket are well connected to
power, and whether the display is in the shutdown mode.
Enter the menu“ Image Setting” and select“ Auto Image Adjust”
Enter the menu“ Brightness and Contrast” to adjust the
brightness and contrast of the display.
and do not place articles on the display.
Check computer setting, select the correct resolution and re-adjust
the refresh frequency.
It is a normal phenomenon caused by display discharging in the
process of powering off.
This is a normal phenomenon. It is due to the backlight illuminates
unevenly at the initial phase of powering on caused by temperature
difference. The backlight can illuminates normally after 20 minutes,
and then the dark/light spots will be corrected.
5. Dark/ light spots when
powering on
6. Image distortion, blinking,
shaking
3. Image over dark
4. Display over heat
7. Power off noise
12
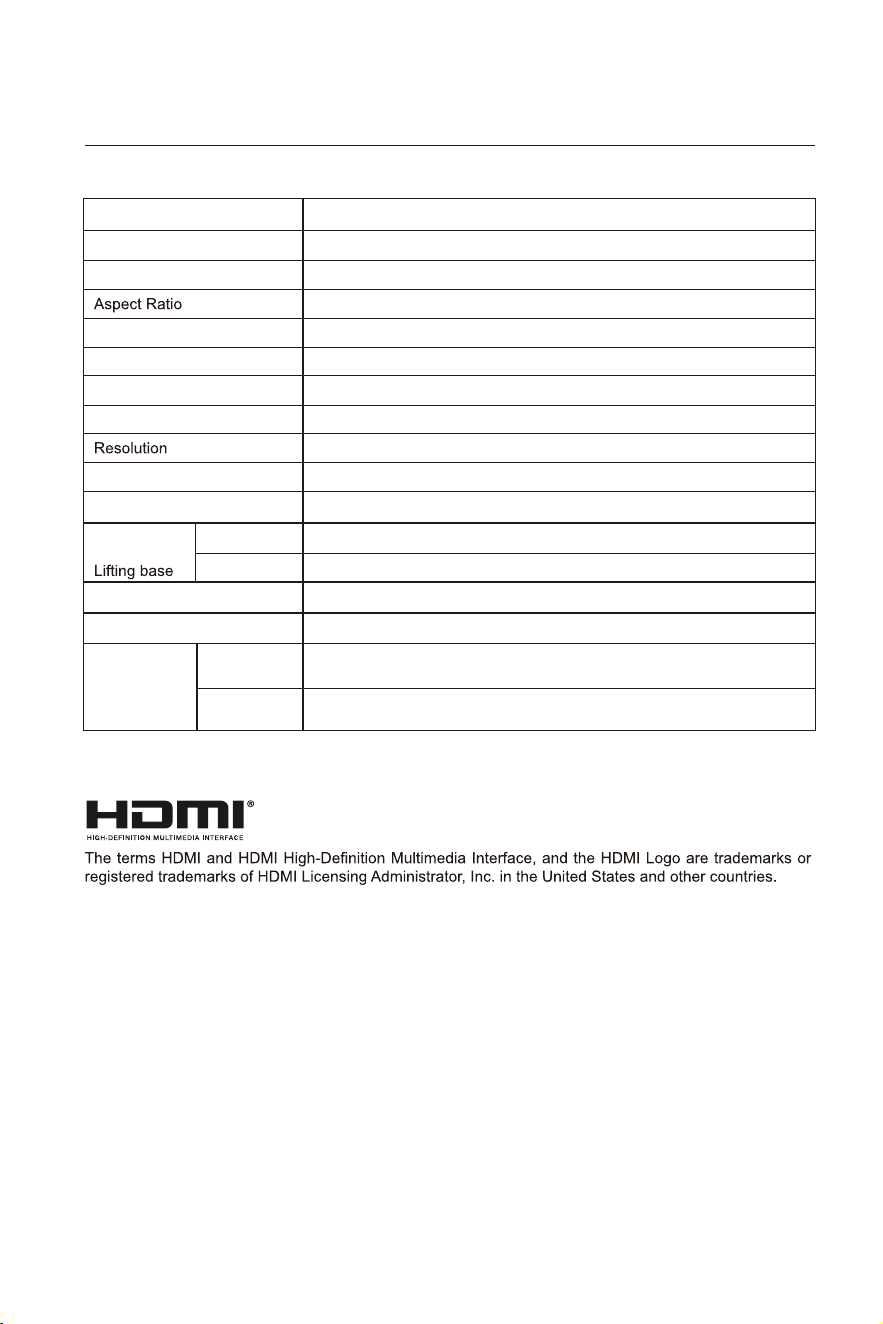
8. Basic parameters
(The actual application of the above parameters shall be subject to the specific model.)
Product model
WC34BX6230
Screen Size
Viewing Angle
34"
178°(H) / 178°(V)
Pixel pitch 0.23175(H)×0.23175(V)mm
Contrast ratio 4000:1(TYP)
16.7M
Colors
21:9
3440×1440
Product
Dimensions
Without base
Action
Storage
808.7 x 363.3 x 129.6mm
808.7 x 457.5 x 245.1mm
With base
2 x2watt
Tilting angle
speaker
Environmental
conditions
Power Input
Maximum refresh rate
180Hz
Product Name
34" CURVED GAMING MONITOR
100-240V~ 50/60Hz, 2.0A
Forward titling: -5°±2° ;Backward tilting: 15°±2°
Temperature: 0°C~ 40°C (32°F ~ 104°F)
Humidity: 10%~90% RH (non-condensing)
Temperature: -20°~ 60° (-4°F ~ 140°F)
Humidity: 5%~95% RH (non-condensing)
13