Loading ...
Loading ...
Loading ...
28 English
Installation instructions
Installation instructions
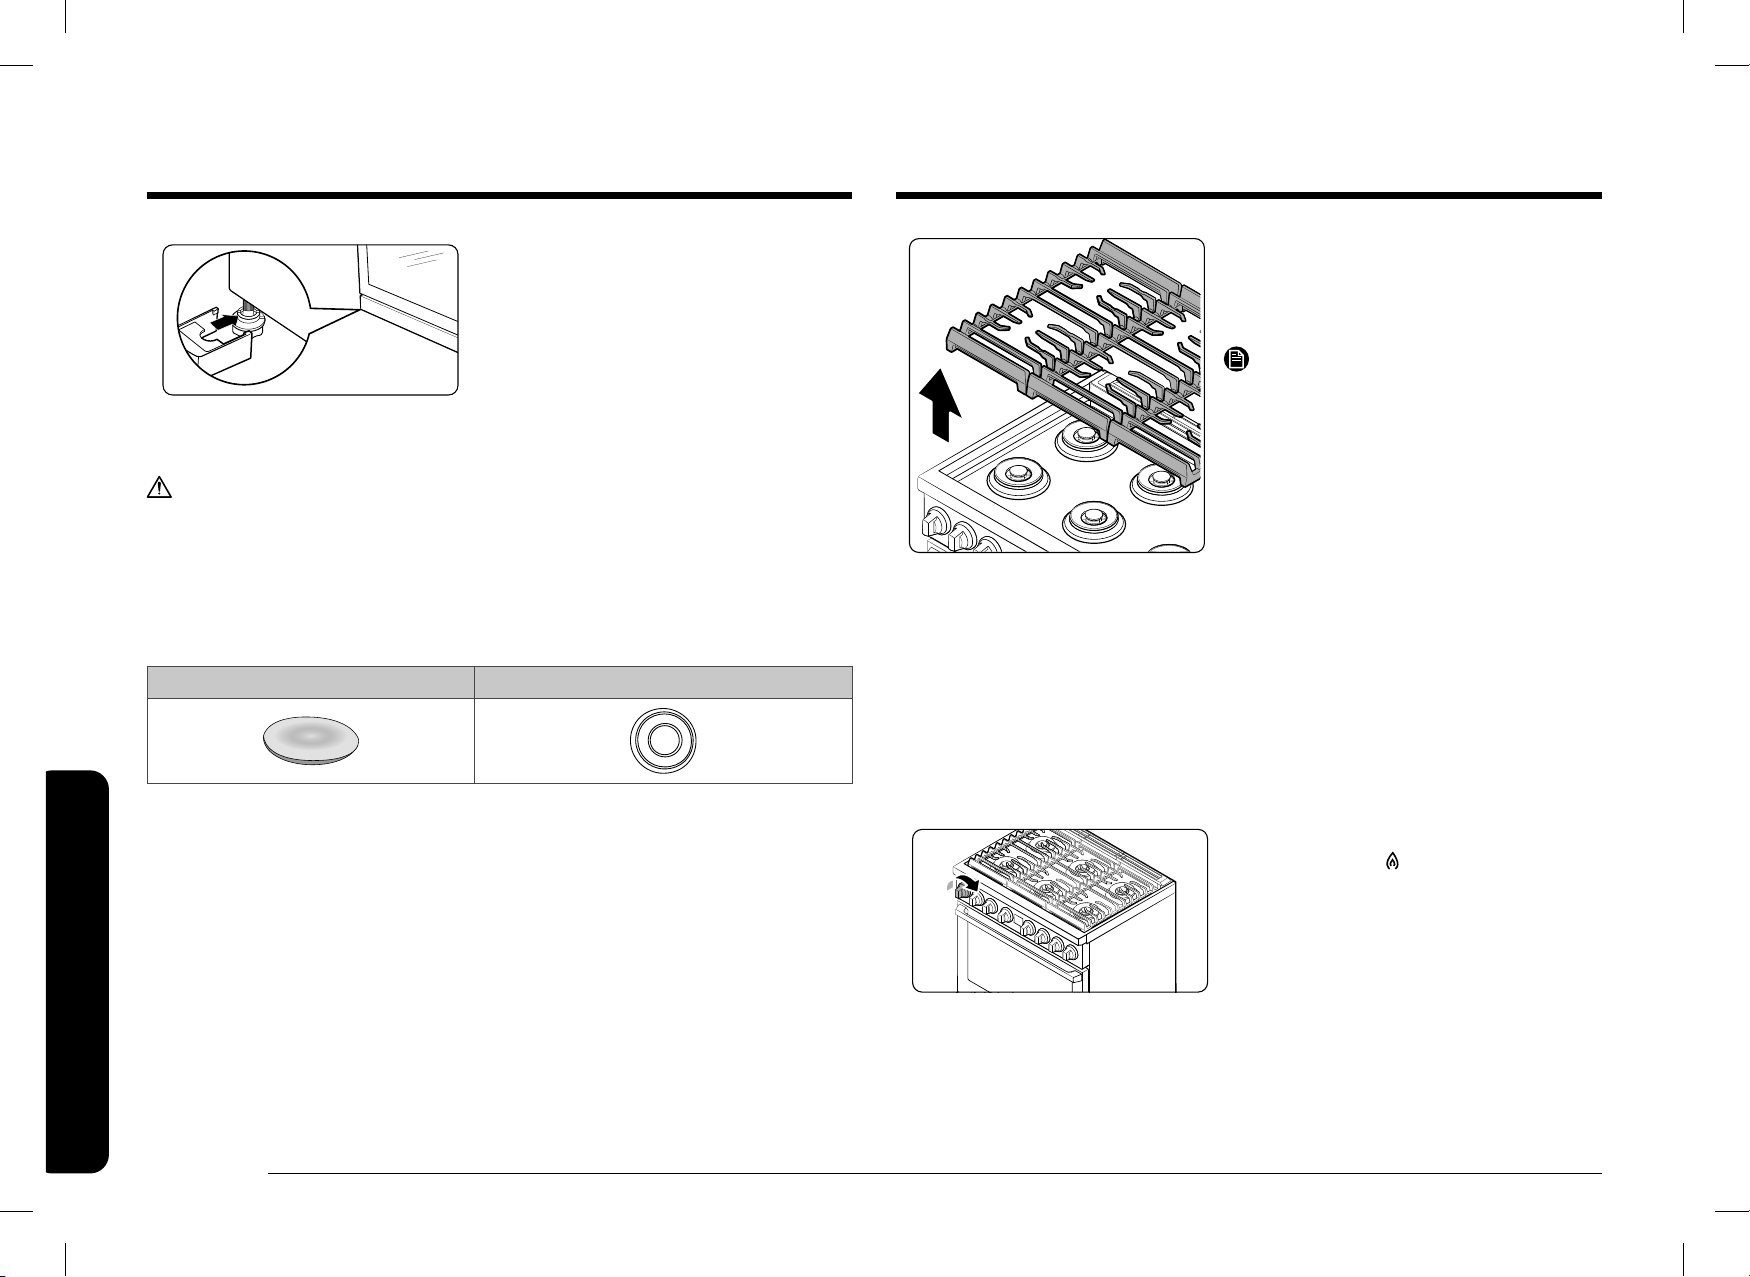
3. Place the left and right surface burner
grates on the cooktop. The edges of the
grates should match up with the edges
of the cooktop.
NOTE
• Grates should be placed on its
own position because they are not
interchangeable.
• You can recognize the right position of
the grates by checking the bottom side
of each. Look for engraved position on
right and left grate, “RIGHT REAR” and
“LEFT REAR” respectively.
• The grates are heavy. Be careful while
handling the grates.
Step 13. Check the ignition of surface burners and oven burners
Check the operation of all cooktop and oven burners after the range has been
installed and assembled, gas supply lines have been carefully checked for leaks,
and electrical power cord has been plugged in.
All surface and oven burners have electronic ignition.
To turn on a surface burner:
1. Push in the control knob, and then turn
it to the LITE ( ) position. You will
hear a "clicking" sound indicating the
electronic ignition system is working
properly.
2. Turn the control knob to adjust the
ame level.
7. After installing and leveling the range,
carefully remove Air Sled and install
front leg covers (right and left).
Step 12. Assemble the surface burners
CAUTION
Do not operate the surface burners without all burner parts in place.
1. Position surface burner heads on top of the surface burner manifolds in the
picture on the next page. The electrodes will t into the slot in the bottom of
the heads. Make sure the surface burner heads are at and parallel with the
cooktop.
2. Place the matching size caps on top of each surface burner head.
Top Bottom
Install_DOP36T86DLS_DG68-01106G-00_EN+MES+CFR.indb 28Install_DOP36T86DLS_DG68-01106G-00_EN+MES+CFR.indb 28 2023-02-28 오전 10:19:092023-02-28 오전 10:19:09
Loading ...
Loading ...
Loading ...