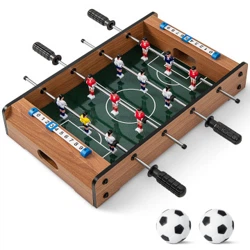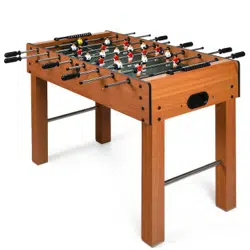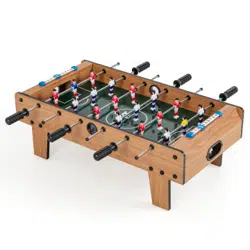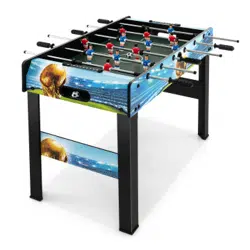

SP36989BK
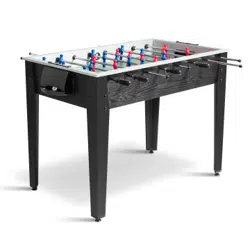
Foosball Table
Table de Football
THIS INSTRUCTION BOOKLET CONTAINS IMPORTANT SAFETY INFORMATION. PLEASE READ AND KEEP FOR FUTURE REFERENCE.
USA office: Fontana AUS office: Truganina
GBR office: Ipswich FRA office: Saint Vigor d'Ymonville
EN
Before You Start
Please read all instructions carefully.
Retain instructions for future reference.
Separate and count all parts and hardware.
Read through each step carefully and follow the proper order.
We recommend that, where possible, all items are assembled near to the area in
which they will be placed in use, to avoid moving the product unnecessarily once
assembled.
Always place the product on a flat, steady and stable surface.
Keep all small parts and packaging materials for this product away from babies
and children as they potentially pose a serious choking hazard.
EN
FR
Veuillez lire attentivement toutes les instructions.
Conservez les instructions pour vous y référer ultérieurement.
Vérifiez toutes les pièces et les accessoires.
Lisez attentivement chaque étape et suivez l'ordre correct.
Nous recommandons que, dans la mesure du possible, tous les produits
soient assemblés à proximité de la zone où ils seront utilisés, afin d'éviter tout
déplacement inutile du produit une fois assemblé.
Placez toujours le produit sur une surface plane et stable.
Conservez toutes les petites pièces de ce produit et les matériaux d'emballage
hors de portée des bébés et des enfants, car ils pourraient présenter un risque
d'étouffement.
Avant de Commencer
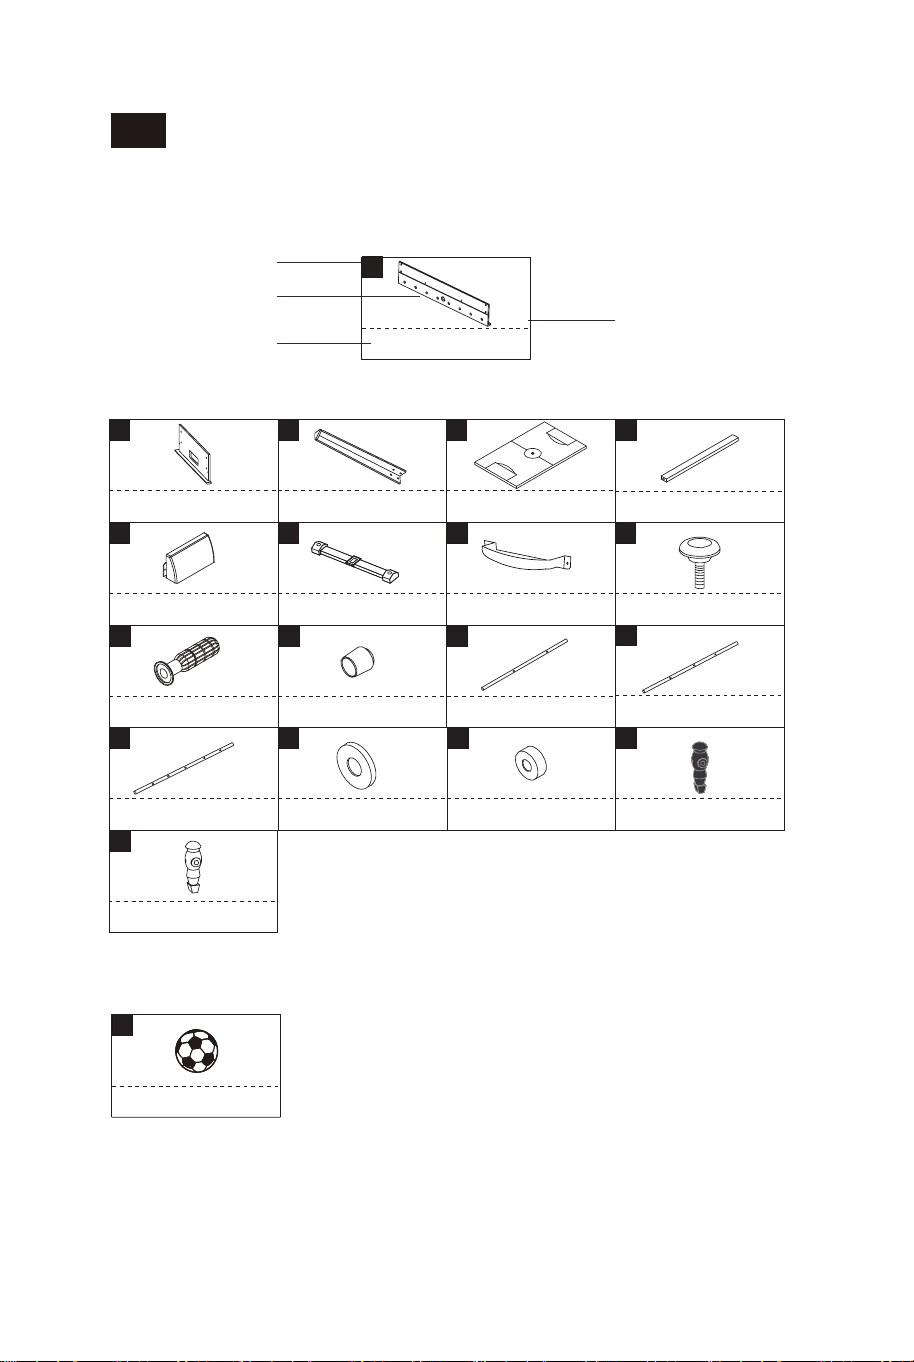
PARTS IDENTIFIER
PART NUMBER
QUANTITY
PART
PART NAME
ACCESSORIES
10
11
2 3 4
1
x2
x2
6 7
5
x2
x2
x2
x8
x2
Rod End Cap
x8
Leg
x4
Playfield
x1
Side Apron
End Apron
Slide Scorer
Support Brace
Handle
15
x16
Rod Washer
16
x16
Foam Bumper
3-Hole Rod
13
x4
14
x2
5-Hole Rod
17
18
Player - Blue
x13
x13
Player - Red
9
x4
Leg Leveler
19
x2
Soccer Ball
12
2-Hole Rod
x2
8
Goal Box-Bottom
Goal Box-Top
EN
02 03
EN
Before You Start
Please read all instructions carefully.
Retain instructions for future reference.
Separate and count all parts and hardware.
Read through each step carefully and follow the proper order.
We recommend that, where possible, all items are assembled near to the area in
which they will be placed in use, to avoid moving the product unnecessarily once
assembled.
Always place the product on a flat, steady and stable surface.
Keep all small parts and packaging materials for this product away from babies
and children as they potentially pose a serious choking hazard.
EN
FR
Veuillez lire attentivement toutes les instructions.
Conservez les instructions pour vous y référer ultérieurement.
Vérifiez toutes les pièces et les accessoires.
Lisez attentivement chaque étape et suivez l'ordre correct.
Nous recommandons que, dans la mesure du possible, tous les produits
soient assemblés à proximité de la zone où ils seront utilisés, afin d'éviter tout
déplacement inutile du produit une fois assemblé.
Placez toujours le produit sur une surface plane et stable.
Conservez toutes les petites pièces de ce produit et les matériaux d'emballage
hors de portée des bébés et des enfants, car ils pourraient présenter un risque
d'étouffement.
Avant de Commencer
PARTS IDENTIFIER
PART NUMBER
QUANTITY
PART
PART NAME
ACCESSORIES
10
11
2 3 4
1
x2
x2
6 7
5
x2
x2
x2
x8
x2
Rod End Cap
x8
Leg
x4
Playfield
x1
Side Apron
End Apron
Slide Scorer
Support Brace
Handle
15
x16
Rod Washer
16
x16
Foam Bumper
3-Hole Rod
13
x4
14
x2
5-Hole Rod
17
18
Player - Blue
x13
x13
Player - Red
9
x4
Leg Leveler
19
x2
Soccer Ball
12
2-Hole Rod
x2
8
Goal Box-Bottom
Goal Box-Top
EN
02 03
PRE-INSTALLED PARTS/ PIÈCES PRE-INSTALLÉES
HARDWARE
BEFORE ASSEMBLY
1.Find a clean, level place to begin the assembly of your
product.
2.Verify that you have all listed parts as shown on the part list
pages. If any parts are missing, call our customer service.
A4
x26
A1
x1
Allen Key
A7
x4
4x35mm 3x16mm
Round Head Screw
3x18mm
Round Head Screw
A5
x8
4x35mm 4x12mm
Flat Head Screw
A6
Screw
x8
A3
Washer
x16
A2
1/4’’x1-1/8’’ 1/4’’
1/4’’
Bolt
x16
A8
x4
Screw
P1
P2 P3
Plastic Rod Bushing
x16
x2
Plastic Ball Entry Rim
T-Nut
x16
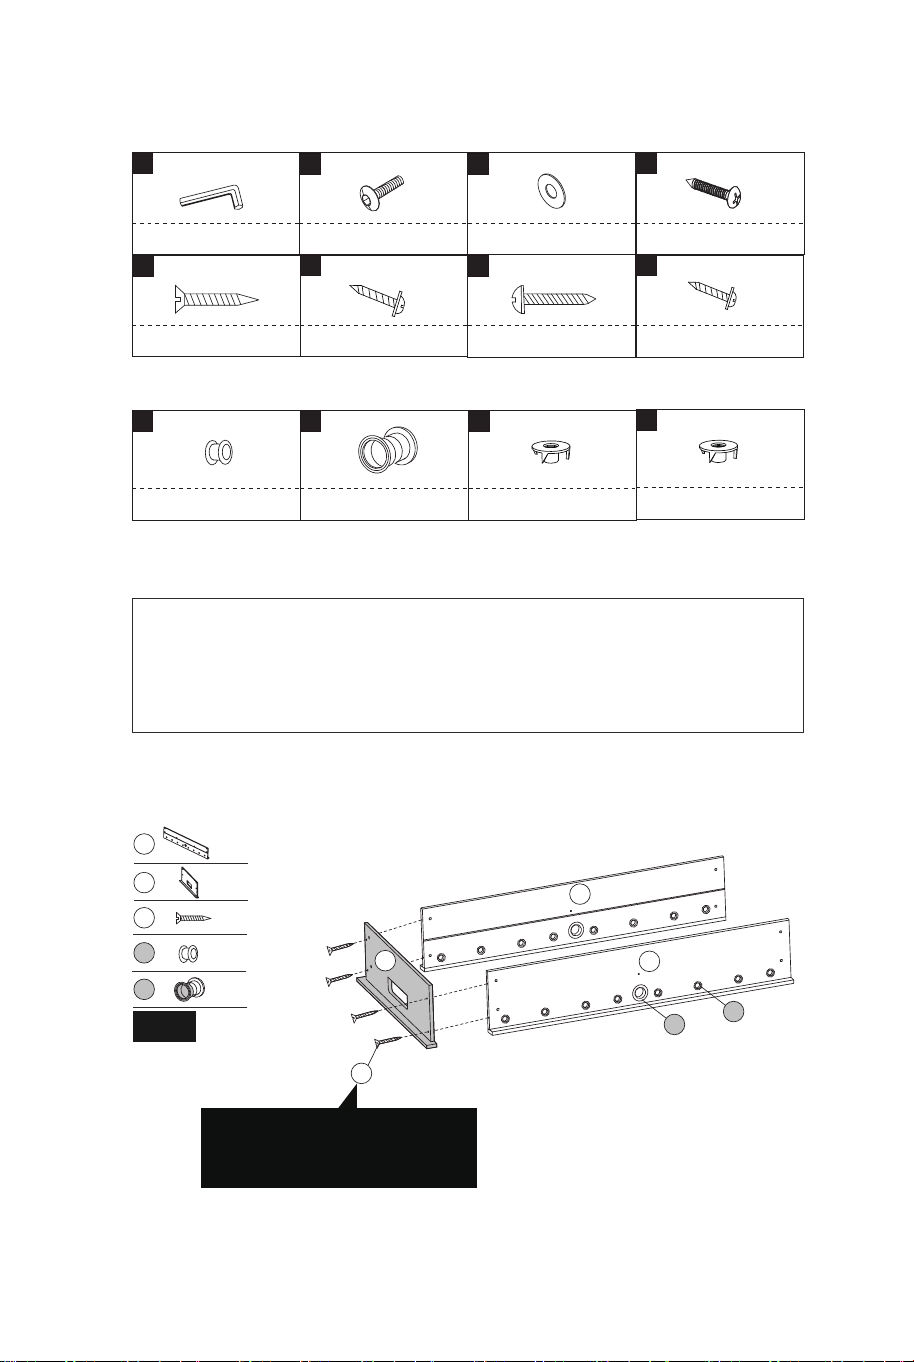
2
1
1
P2
P1
A5
Note: Do not tighten the
screws at this step.
X 2
X 1
1
2
X 4
A5
X 16
P1
X 2
P2
FIG.1
ASSEMBLY
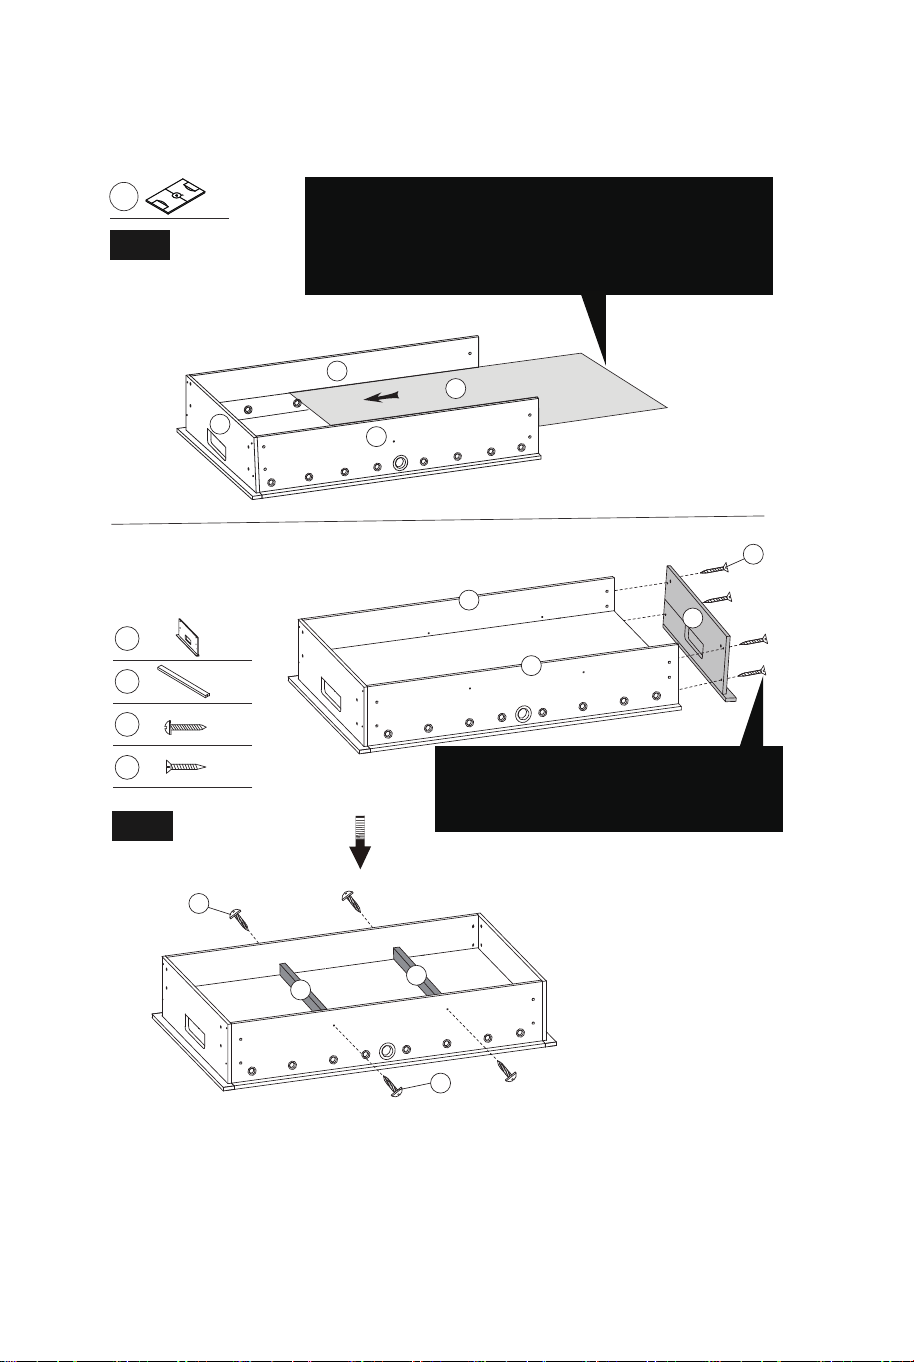
4
X 1
Note: Slide the Playfield (#4), with the
graphics facing down, into the grooves
of the Side Aprons (#1).
2
1
4
1
A7
A7
5
5
A5
2
1
1
Note: After this step, tighten
Screws (#A5).
X 1
2
X 2
5
X 4
A7
X 4
A5
FIG.2
FIG.3
04 05
5/16’’
P4
T-Nut
x4
PRE-INSTALLED PARTS/ PIÈCES PRE-INSTALLÉES
HARDWARE
BEFORE ASSEMBLY
1.Find a clean, level place to begin the assembly of your
product.
2.Verify that you have all listed parts as shown on the part list
pages. If any parts are missing, call our customer service.
A4
x26
A1
x1
Allen Key
A7
x4
4x35mm 3x16mm
Round Head Screw
3x18mm
Round Head Screw
A5
x8
4x35mm 4x12mm
Flat Head Screw
A6
Screw
x8
A3
Washer
x16
A2
1/4’’x1-1/8’’ 1/4’’
1/4’’
Bolt
x16
A8
x4
Screw
P1
P2 P3
Plastic Rod Bushing
x16
x2
Plastic Ball Entry Rim
T-Nut
x16
2
1
1
P2
P1
A5
Note: Do not tighten the
screws at this step.
X 2
X 1
1
2
X 4
A5
X 16
P1
X 2
P2
FIG.1
ASSEMBLY
4
X 1
Note: Slide the Playfield (#4), with the
graphics facing down, into the grooves
of the Side Aprons (#1).
2
1
4
1
A7
A7
5
5
A5
2
1
1
Note: After this step, tighten
Screws (#A5).
X 1
2
X 2
5
X 4
A7
X 4
A5
FIG.2
FIG.3
04 05
5/16’’
P4
T-Nut
x4
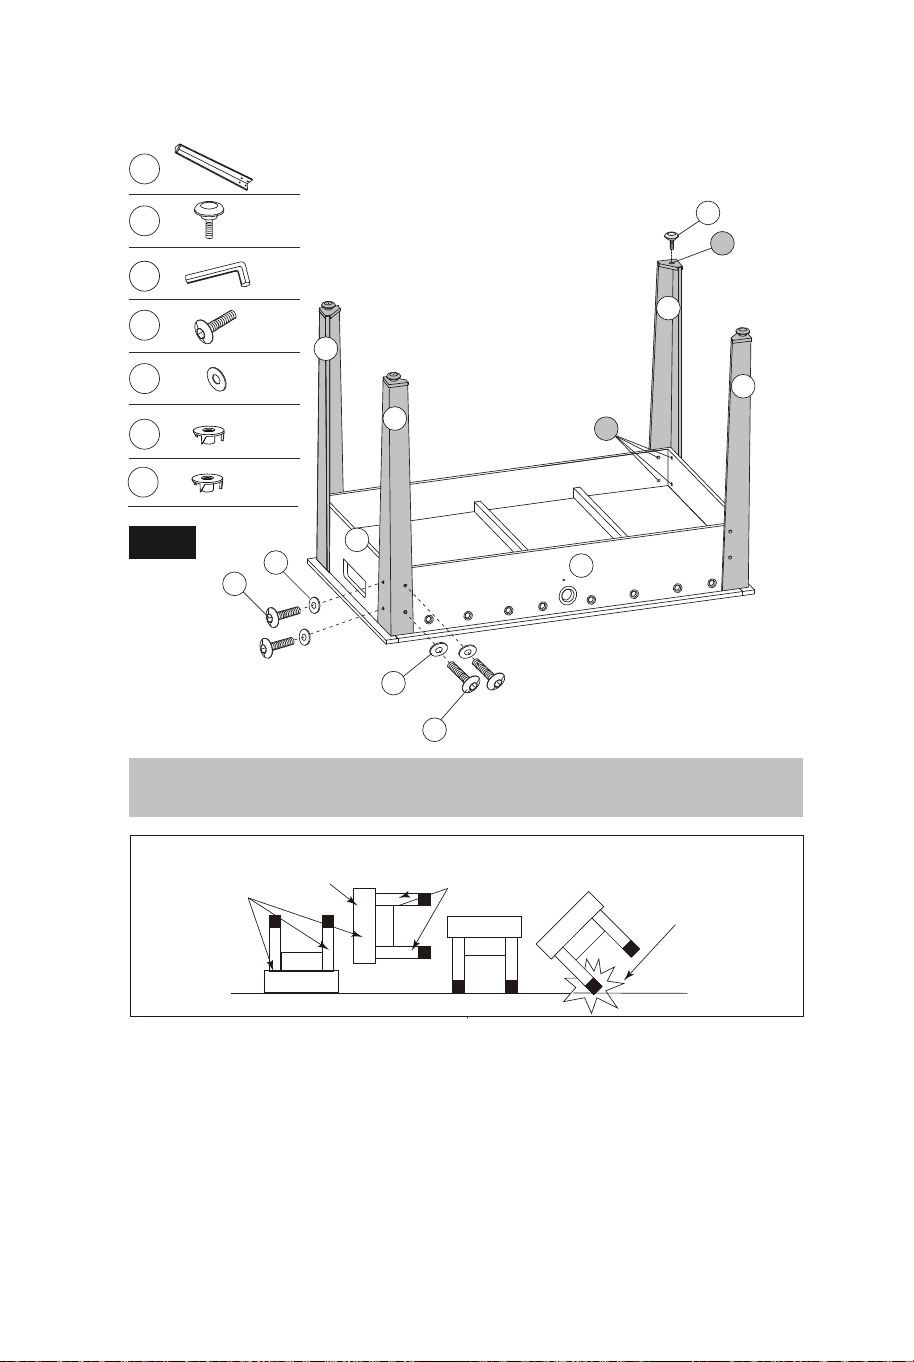
ASSEMBLY
P4
P3
3
A3
A3
A2
A2
3
1
3
3
9
2
Note: Go back and make sure that all connections are tight.
DO NOT LEAN THE
TABLE ON ITS LEGS
HOLD BY THE
TABLETOP
CABINET
DO NOT HOLD THE TABLE
BY THE LEGS
CAUTION: Two strong adults are recommended to turn over the
table as shown.
1. Lift the table off the ground.
2. Turn the table over.
3. Place all four feet on the ground at the same time.
X 4
3
X 16
P3
X 16
A3
X 16
A2
X 4
9
X 1
A1
FIG.4
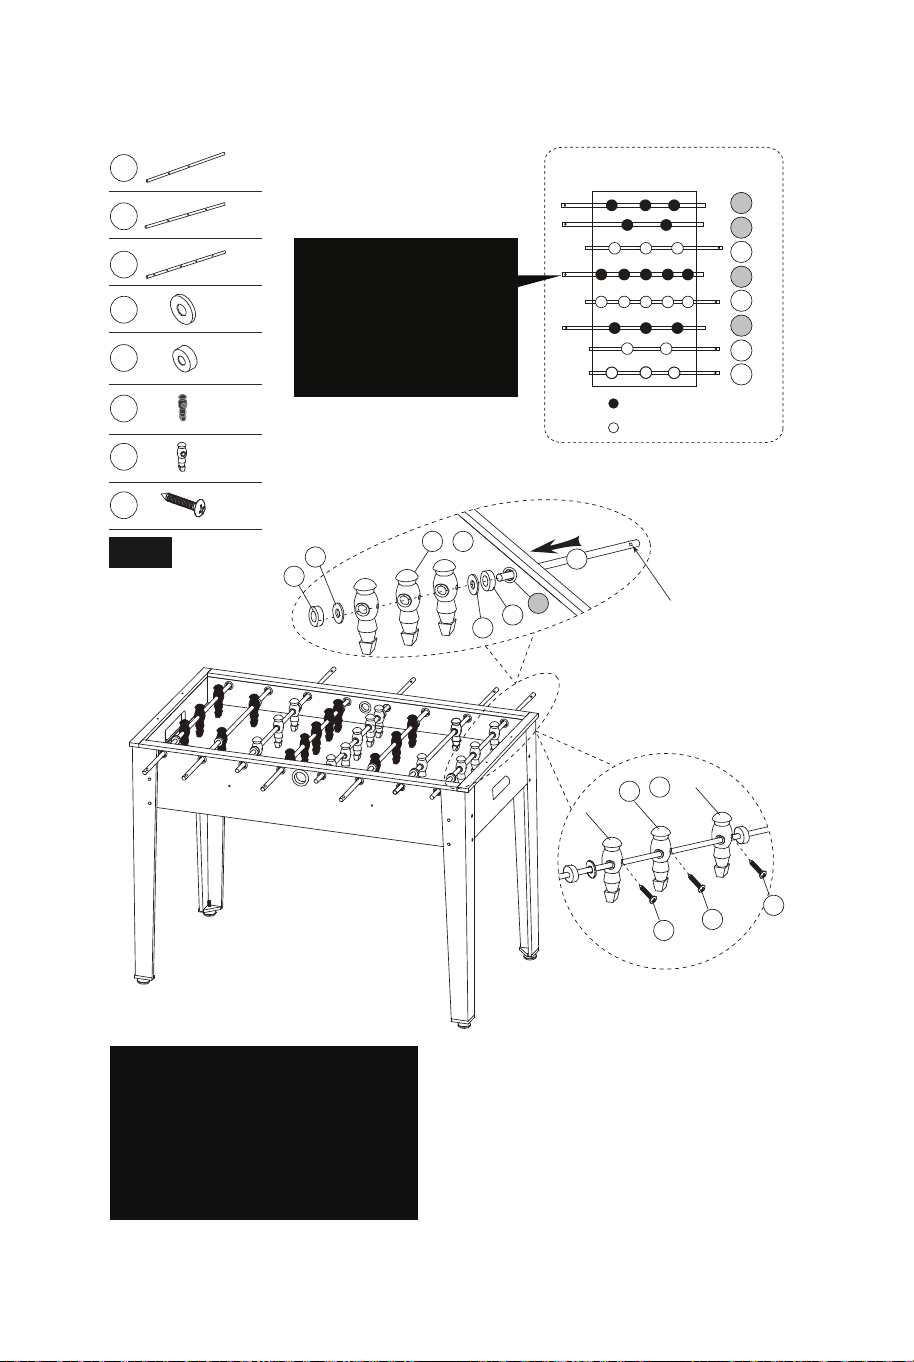
ASSEMBLY
X 16
15
X 16
16
X 2
12
X 4
13
X 2
14
X 13
18
X 13
17
X 26
A4
= Red
= Blue
Order of players(Overhead View)
13
12
13
14
14
13
12
13
Note: The Rods
have a hole at the
end where their
Handles will go.
15
15
16
16
18
&
17
13
The Hole
Note: Players of the
same team color should
have Handles (#10) on
the same side, and each
team’s players should be
facing their opponent.
P1
A4
18
&
17
A4
A4
FIG.5
06 07
X 4
P4
ASSEMBLY
P4
P3
3
A3
A3
A2
A2
3
1
3
3
9
2
Note: Go back and make sure that all connections are tight.
DO NOT LEAN THE
TABLE ON ITS LEGS
HOLD BY THE
TABLETOP
CABINET
DO NOT HOLD THE TABLE
BY THE LEGS
CAUTION: Two strong adults are recommended to turn over the
table as shown.
1. Lift the table off the ground.
2. Turn the table over.
3. Place all four feet on the ground at the same time.
X 4
3
X 16
P3
X 16
A3
X 16
A2
X 4
9
X 1
A1
FIG.4
ASSEMBLY
X 16
15
X 16
16
X 2
12
X 4
13
X 2
14
X 13
18
X 13
17
X 26
A4
= Red
= Blue
Order of players(Overhead View)
13
12
13
14
14
13
12
13
Note: The Rods
have a hole at the
end where their
Handles will go.
15
15
16
16
18
&
17
13
The Hole
Note: Players of the
same team color should
have Handles (#10) on
the same side, and each
team’s players should be
facing their opponent.
P1
A4
18
&
17
A4
A4
FIG.5
06 07
X 4
P4

SP36989BK
Foosball Table
Table de Football
THIS INSTRUCTION BOOKLET CONTAINS IMPORTANT SAFETY INFORMATION. PLEASE READ AND KEEP FOR FUTURE REFERENCE.
USA office: Fontana AUS office: Truganina
GBR office: Ipswich FRA office: Saint Vigor d'Ymonville