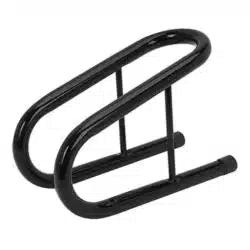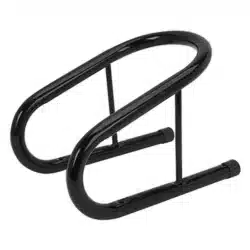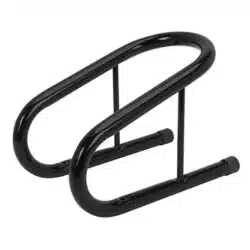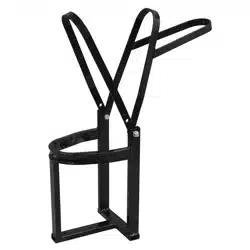
Motorcycle Heavy Duty Front WHeel
cHock
Model no: FPS7.v2
thank you for purchasing a Sealey product. Manufactured to a high standard, this product will, if used according to these
instructions, and properly maintained, give you years of trouble free performance.
IMPORTANT: PLEASE READ THESE INSTRUCTIONS CAREFULLY. NOTE THE SAFE OPERATIONAL REQUIREMENTS, WARNINGS & CAUTIONS. USE
THE PRODUCT CORRECTLY AND WITH CARE FOR THE PURPOSE FOR WHICH IT IS INTENDED. FAILURE TO DO SO MAY CAUSE DAMAGE AND/OR
PERSONAL INJURY AND WILL INVALIDATE THE WARRANTY. KEEP THESE INSTRUCTIONS SAFE FOR FUTURE USE.
1. SaFety
WarnInG! Before use, ensure that there is nothing attached to the front forks or the fairing of the motorcycle, that will foul on
the chock.
9 Maintain the chock in good condition (use an authorised service agent).
9 Replace or repair damaged parts. Use genuine parts only. Unauthorised parts may be dangerous and will invalidate the warranty.
9 locate the chock in a suitable area. Keep area clean and tidy and free from unrelated materials and ensure that there is adequate lighting.
Also ensure that the floor/ground is level and strong enough (preferably concrete) to take the weight of the chock and the motorcycle.
8 Do not mount the chock on tarmacadam, as the surface may be unstable.
9 ensure that the clamps are free from oil and grease before positioning a motorcycle in the chock.
9 Keep the chock clean for the best and safest performance.
9 Maintain correct balance and footing whilst positioning the motorcycle in the chock.
9 ensure that the floor is not slippery and wear non-slip shoes.
9 ensure that the motorcycle is adequately secured to the chock if to be used for transportation purposes.
9 Keep children and unauthorised persons away from the work area.
8 Do not use the chock for a purpose it is not designed to perform.
8 Do not operate the chock if it is damaged.
8 Do not use the chock when you are tired or under the influence of alcohol, drugs or intoxicating medication.
8 Do not allow untrained persons to use the chock.
8 Do not make any modifications to the chock.
9 Before removing a motorcycle from the chock, ensure that there are no obstructions or persons in the path of the motorcycle.
WarnInG: the warnings, cautions and instructions in this manual cannot cover all possible conditions and situations that
may occur.
9 It must be understood that common sense and caution are factors which cannot be built into this product, but must be
applied by the operator.
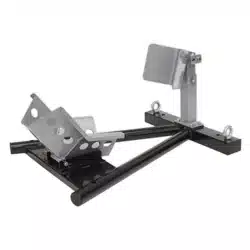
2. IntroDuctIon
Tubularwheelchocksupportsthefrontwheelofthemotorcyclewhenintransitorstorage.Fullyadjustabletotwheels15”-21”(380-
525mm).Featuresapivotclampwhichlocksthefrontwheelsecurelybythemotorcycleweight.Chockcanbeusedfreestandingor
xedtoanyhardsurface.
3. SPecIFIcatIon
Minimum/Maximum Tyre Width: ............................ 50-130mm
Minimum/Maximum Wheel diameter: .... 15”-21”(380-525mm)
Model no: ..................................................................... FPS7
nett Weight: ............................................................... 8.08kg.
FPS7.V2Issue106/09/18
Original Language Version
© Jack Sealey limited
Refer to
instructions
Wear safety
footwear
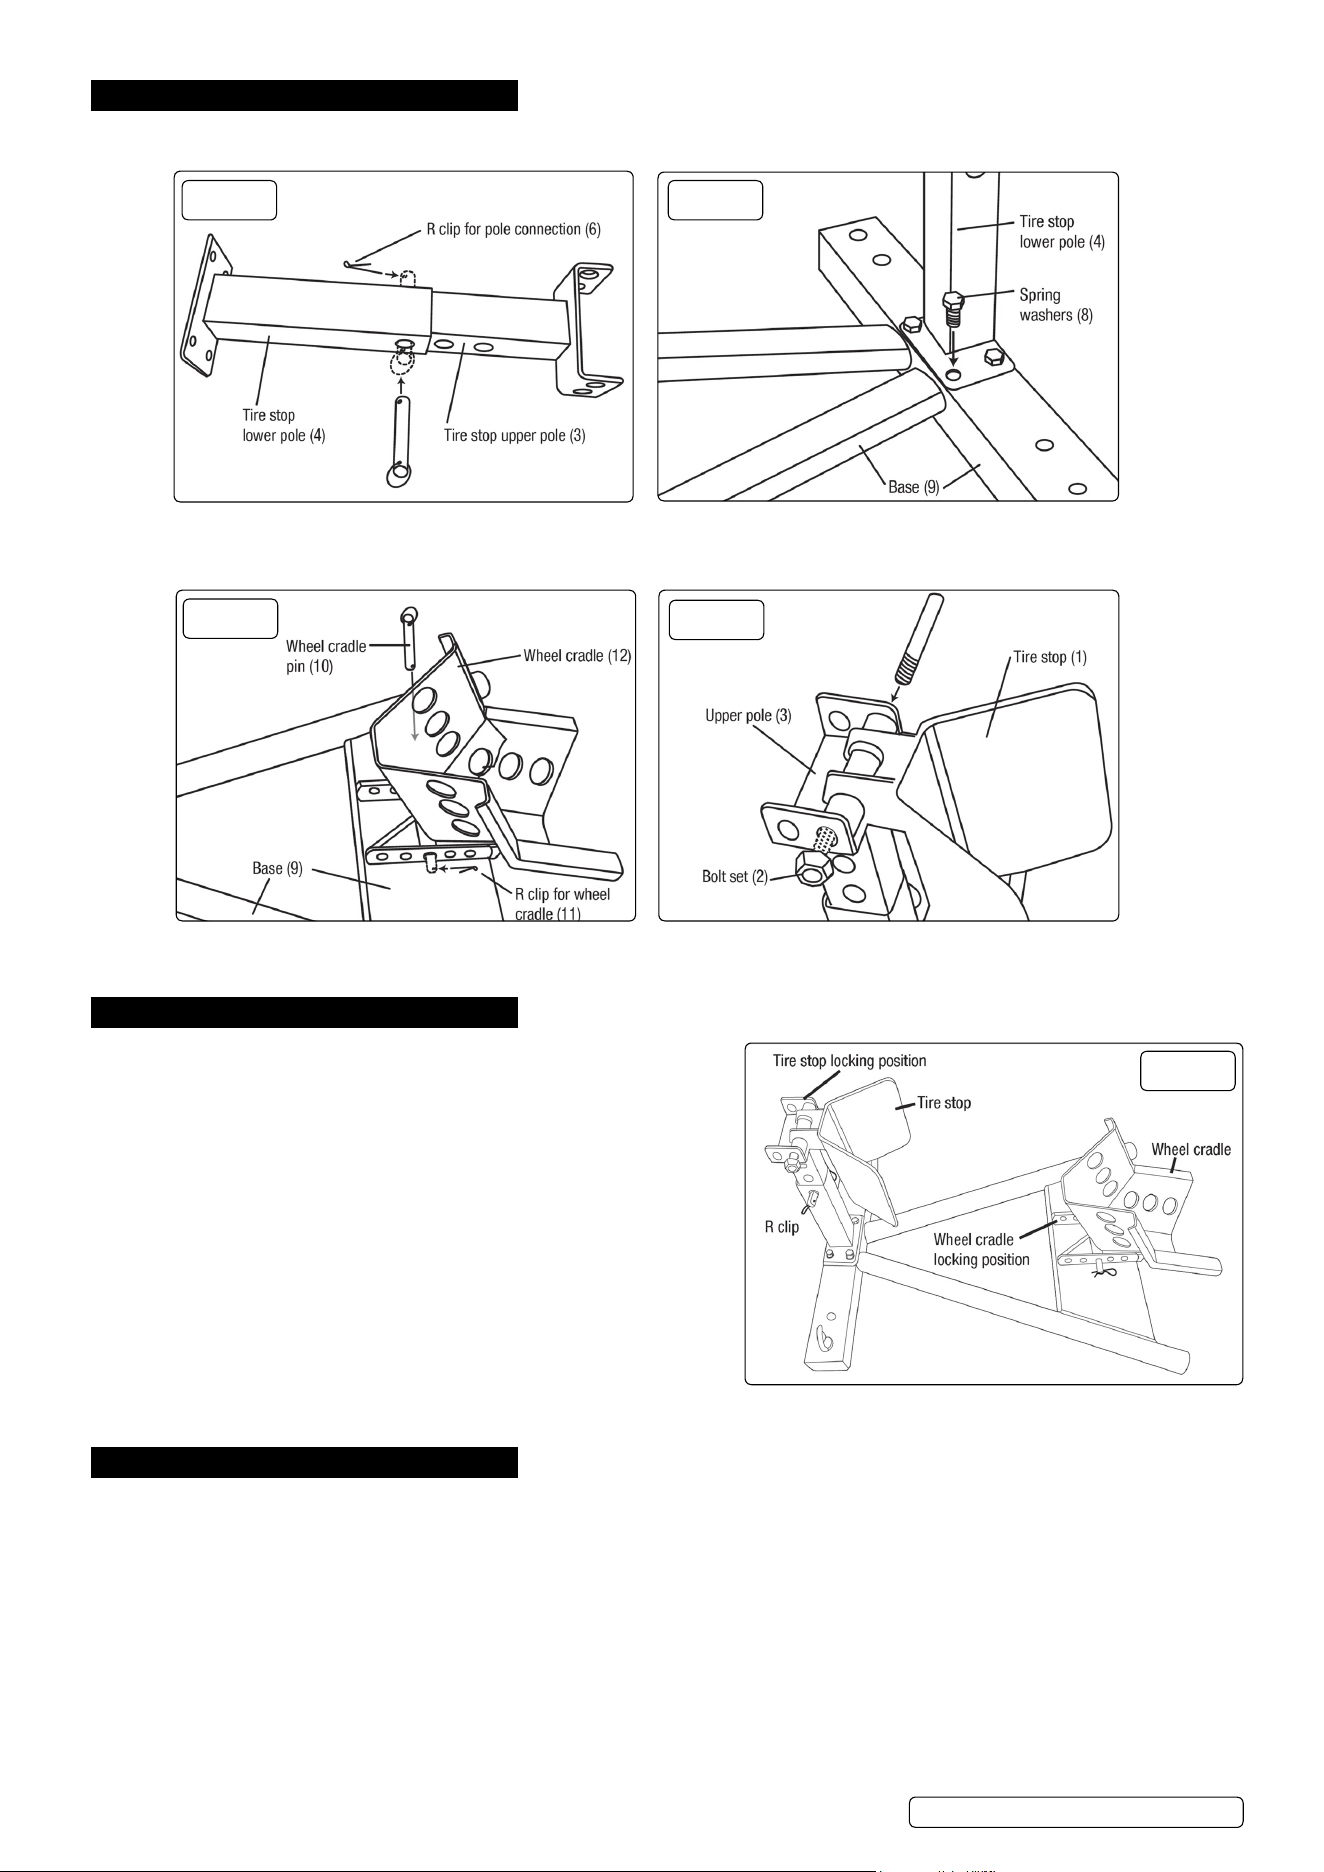
4. aSSeMBly
4.0.1. Connecttyrestopupperpole(3)andlowerpole(4),aligningtheholesinthedesiredposition.SecureinplacewiththeRclipfor
poleconnection(6).(g.1).
4.0.2. Securethetyrestoplowerpole(4)tothebase(9)usingthefourboltsandspringwashers(8).(g.2).
4.0.3. Placethetyrestop(1)onupperpole(3),aligningtheholesinthedesired position. Secure in place with the tyre stop bolt, lock
washerandnut(2).(g.3).
4.0.4. Placethewheelcradle(12)atthebottomendofthebase(9),aligningtheholesinthedesiredposition.Secureinplacewiththe
wheelcradlepin(10)andRclipforwheelcradle(11).(g.4).
5. InStallatIon
5.1. MountInG PoIntS. (fig.5).
5.1.1. Identifythechockmountingpoints.
5.2. PerManent InStallatIon.
5.2.1. Choosetheinstallationsitecarefullysothatthereisgoodaccesstoboth
insert and extract the motorcycle from the chock.
5.2.2. ensure that the motorcycle and chock Do not become a hazard.
5.2.3. Use anchor bolt fixings to secure the chock to a solid concrete surface.
5.3. InStallatIon For tranSPortatIon.
5.3.1. When used for the transportation of motorcycles, the chock must be
firmlyboltedtothefloorofthevehicleusingsuitablefixings.Checkthe
underside of the floor panel before drilling any holes. Make sure that
you Do not strike any important vehicle parts.
5.3.2. ensure that the vehicle has the capacity to take the weight of the
motorcycle(s) plus the chock(s).
5.3.3. When using the chock for transportation purposes, the front wheel of the
motorcycle must be securely strapped to the chock.
5.3.4. For additional security, consideration should also be given to securing the rear wheel.
6. oPeratIon
6.1. aDjuStInG tHe claMPS (FIG.5).
6.1.1. Theupperclamphas2lockingpositionsandthepivotclamphas5lockingpositions.Toadjusttheclamps,extractthe‘R’clipand
withdrawthepin.Movetheclamptothedesiredposition,insertthepinandretainwiththe‘R’clip.
6.1.2. To obtain the optimum fit for differing sizes of motorcycle wheel, adjust the positions of the clamps and then test as necessary.
6.2. PoSItIonInG Motorcycle In tHe cHock.
6.2.1. Withthepivotclampintheopenpositionasshowninfig.5,alignthemotorcyclewiththechock.
6.2.2. Push the motorcycle firmly into the chock so that the front tyre runs through the tapered part of the pivot clamp.
6.2.3. As the weight of the wheel passes over the pivot clamp, it will cause the clamp to flip over. The front of the tyre will be supported by
the upper clamp and the rear of the tyre by the pivot clamp.
6.2.4. Checkthatthemotorcycleisstablewithinthechockbeforeleavingit.Ifthewheelisloose,ortoohighinthechock,extractthe
motorcyclefromthechockandadjustthepositionsoftheclampsuntiltheoptimumfitisachieved(seesection4.3).
6.3. reMovInG Motorcycle FroM tHe cHock.
6.3.1. More effort will be required to remove the motorcycle from the chock. ensure that the space into which the motorcycle will move is free
g.3
g.5
g.1 g.2
g.4
FPS7.V2Issue106/09/18
Original Language Version
© Jack Sealey limited

from obstructions and people.
6.3.2. Take a firm stance and hold the motorcycle handlebar grips.
6.3.3. Pull back the motorcycle with sufficient force to overcome the hold of the pivot clamp and release the motorcycle from the chock.
Sealey Group, kempson Way, Suffolk Business Park, Bury St edmunds, Suffolk. IP32 7ar
01284 757500 01284 703534 sales@sealey.co.uk www.sealey.co.uk
envIronMent ProtectIon
Recycle unwanted materials instead of disposing of them as waste. All tools, accessories and packaging should be sorted, taken to
a recycling centre and disposed of in a manner which is compatible with the environment. When the product becomes completely
unserviceable and requires disposal, drain any fluids (if applicable) into approved containers and dispose of the product and fluids
according to local regulations.
note:Itisourpolicytocontinuallyimproveproductsandassuchwereservetherighttoalterdata,specificationsandcomponentpartswithoutprior
notice.
Important: no liability is accepted for incorrect use of this product.
Warranty:Guaranteeis12monthsfrompurchasedate,proofofwhichisrequiredforanyclaim.
FPS7.V2Issue106/09/18
Original Language Version
© Jack Sealey limited