Loading ...
Loading ...
Loading ...
5. Activate Battery
One Lithium CR2032 battery (included) is required to retain
the time and date during power loss. Annual replacement is
recommended.
Remove the plastic strip to activate the pre-installed battery.
(See page 12 for battery replacement)
Note: The battery alone will not operate the valves in your sprinkler
system. The sprinkler timer has a built-in transformer that must be
connected to an AC voltage source.
Section 3: Programming
A note about multiple programs
Your sprinkler timer provides the flexibility of using 3 independent
programs (A,B,C). A program is where you store all of your sprinkler
settings. It consists of a group of stations set to specific start
times and run times. Multiple programs allow you to run different
valves on different days with different run times. While many
applications only require one program (A), using multiple programs
can be useful for drip areas, newly planted lawn, or rotary sprinkler
stations. Using programs to group stations with similar water needs
will maximize irrigation efficiency.
Primary programming can be accomplished in just a few basic steps.
The instructions here are for those who intend to use the timer
without wifi connectivity. Otherwise, programming should be
completed using the instructions included in the app.
Primary Programming
Press the Reset tab on the back of the swing panel to clear any
previous factory programming.
1. Set Clock
• Turn dial until [SET CLOCK] is highlighted.
• Press the dial and you will see Y (Year) flashing.
• Rotate the dial until the current year is displayed.
8
ALL OPEN - BOTTOM VIEW
ALL OPEN - RIGHT SIDE VIEW
Remove plastic strip
to activate battery
• Press the dial to enter the year and move to the month.
Repeat the same steps to enter the month and day.
• After the day is entered, the time will flash. Rotate the dial
until the current hour is shown then repeat the same steps for
the minutes (note: continue rotating the dial to cycle between
am/pm when in the hour setting).
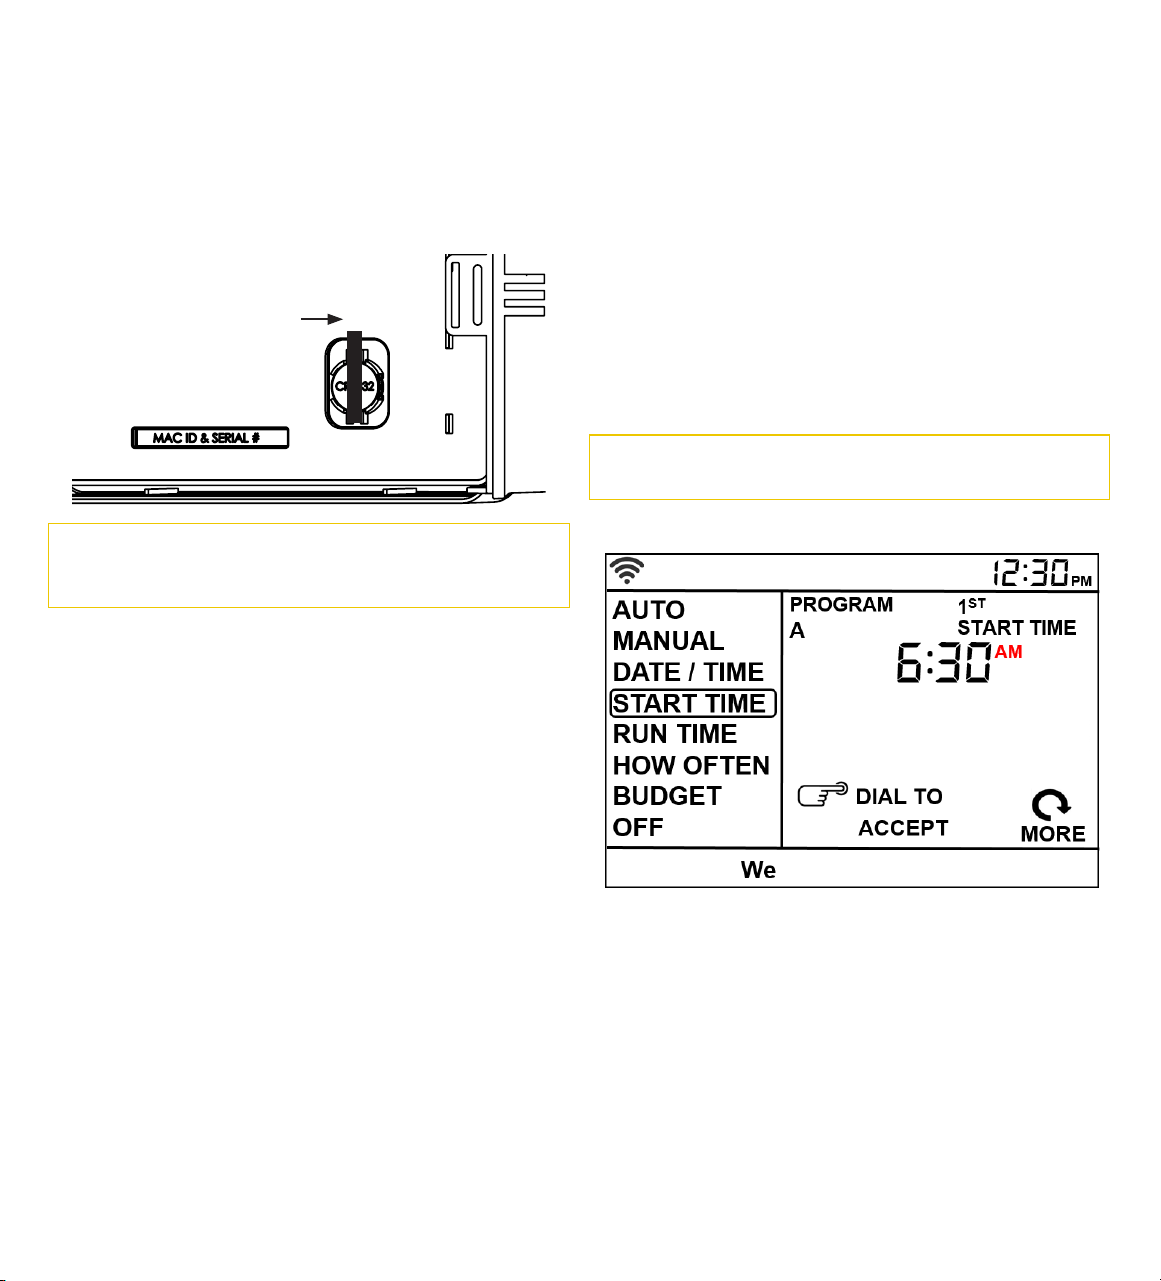
2. Start Time
• Turn dial until [START TIME] is highlighted, then press the dial.
• The hour dashes (--) will be flashing. Rotate the dial until the
desired start hour is reached. Continue to rotate the dial to
go between am and pm. Press the dial to confirm the hour.
• Rotate the dial until the desired minute shows on the display
then press the dial to confirm the selection. After pressing
the dial, the timer will automatically advance to the 2nd start
time.
Note: Only one start time is needed to run all of the zones in a
program.
The display will show
Please note that [START TIME] is the time of day that your
programmed watering starts. You can set up to 4 start times. All
stations that have a programmed run time (how long) will run in
sequence at these times.
Note: Start-Time Stacking
When a start time is set before the previous program has
completed, that start time will be “stacked” or delayed, and will
start upon completion of the previous program.
Example: Bill just planted new grass seed and wants to water
three times per day. He sets START TIME 1 for 5am, START
TIME 2 for 12pm, and START TIME 3 for 5 pm.
He also sets HOW OFTEN to INT (interval) EVERY 1 DAYS
(see section 3, HOW OFTEN).
Loading ...
Loading ...
Loading ...