Loading ...
Loading ...
Loading ...
155
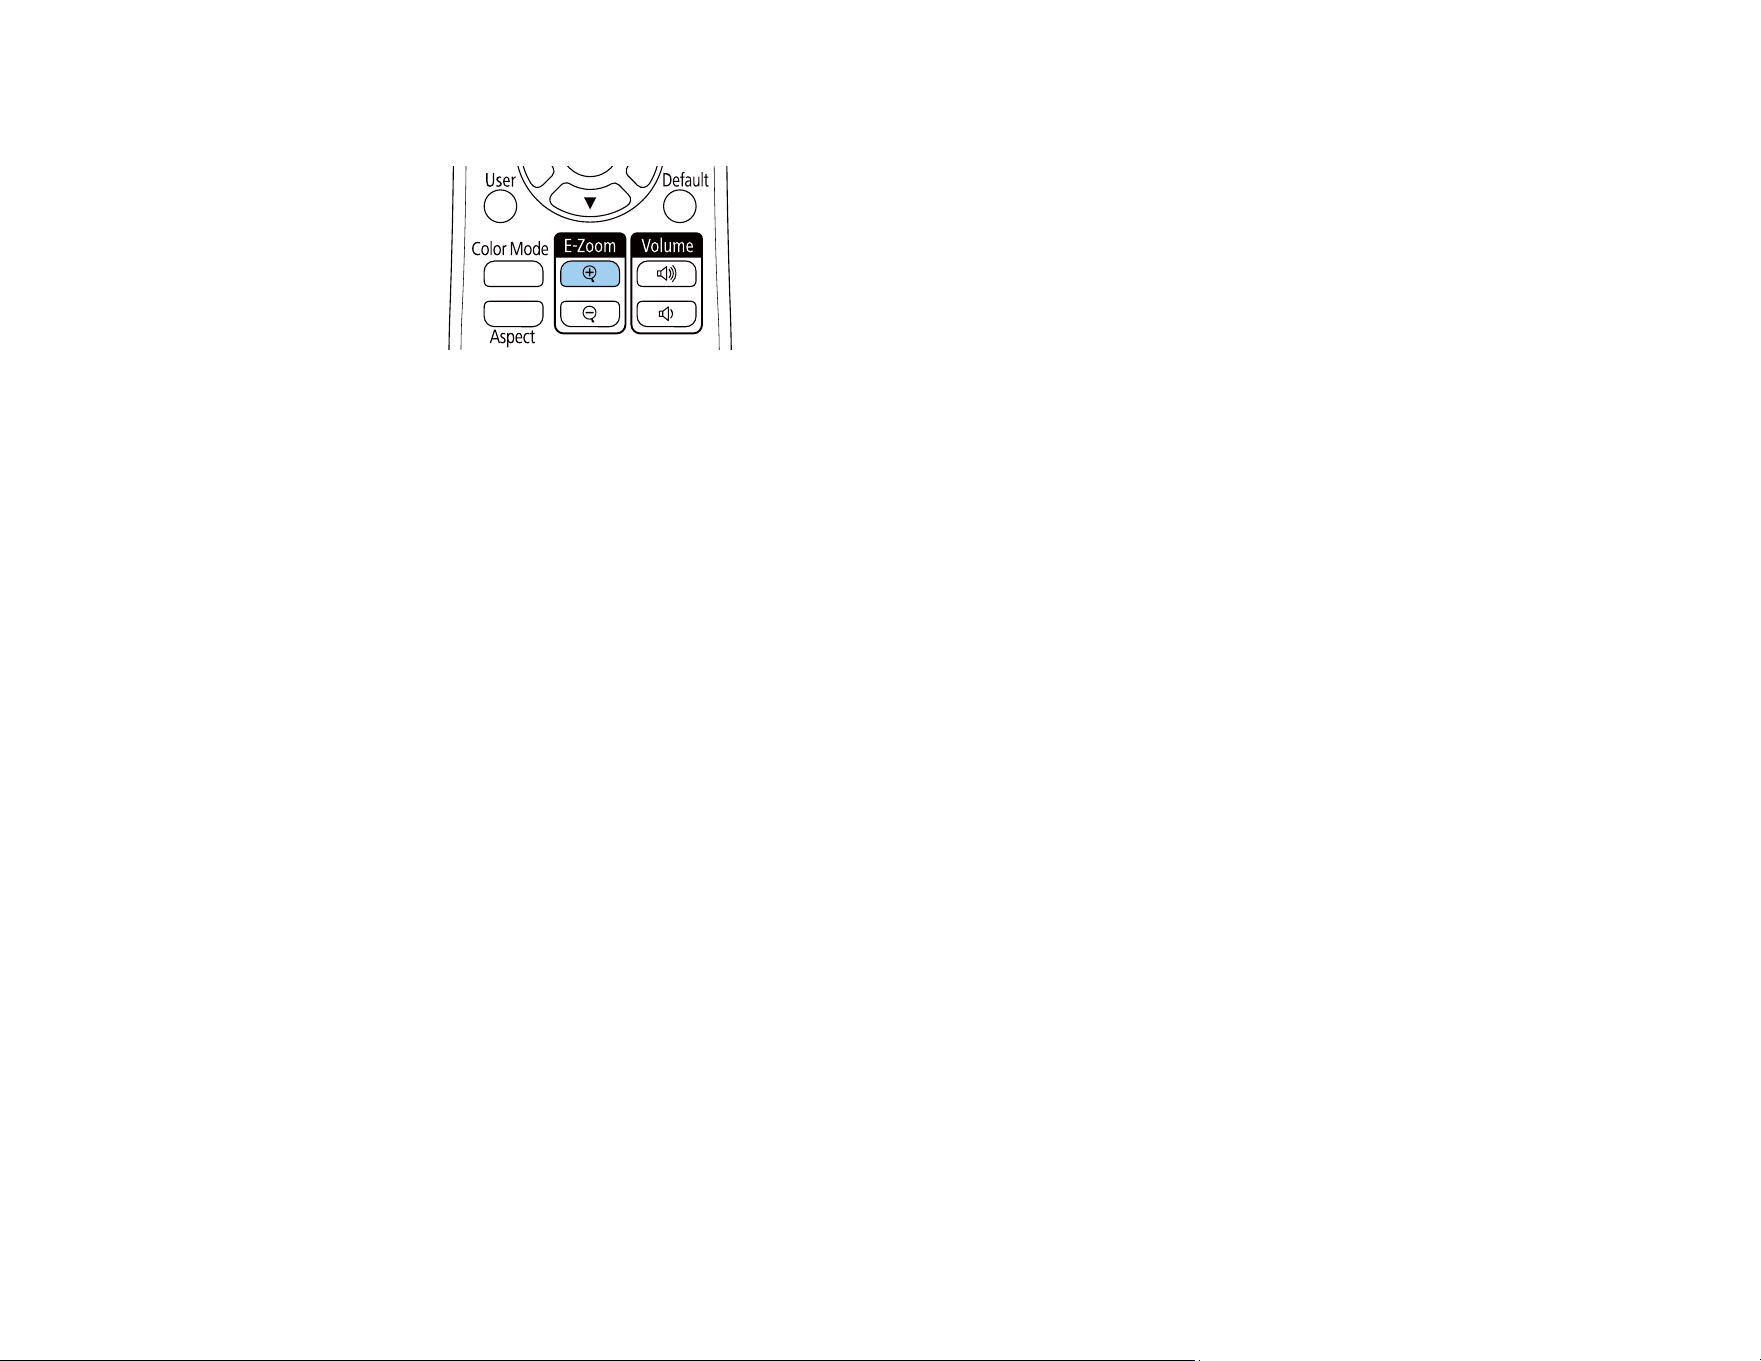
1. Press the E-Zoom + button on the remote control.
You see a crosshair on the screen indicating the center of the zoom area.
2. Use the following buttons on the remote control to adjust the zoomed image:
• Use the arrow buttons to position the crosshair in the image area you want to zoom into.
• Press the E-Zoom + button repeatedly to zoom into the image area, enlarging it as necessary.
Press and hold the E-Zoom + button to zoom in more quickly.
• To pan around the zoomed image area, use the arrow buttons.
• To zoom out of the image, press the E-Zoom – button as necessary.
• To return to the original image size, press the Esc button.
Parent topic: Adjusting Projector Features
Using Multiple Projectors
You can combine the projected images from two or more projectors to create one large image. Follow
the instructions in these sections to set up and project from multiple projectors.
Projector Identification System for Multiple Projector Control
Adjusting Color Uniformity
Blending the Image Edges
Matching the Image Colors
Adjusting the Black Level
Adjusting RGBCMY
Scaling an Image
Parent topic: Adjusting Projector Features
Loading ...
Loading ...
Loading ...