2
Refer to the table below for the description of the included screws:
Screw Description Quantity Applies to
M4X10 Phillips pan head 4 All camera
mounting holes
M4X25XD9 Phillips pan
head
4 Securing the
bracket to wall
Plastic anchors 4 Securing the
bracket to wall
For cabling and conguration details with each network camera, please refer to their
documentation.
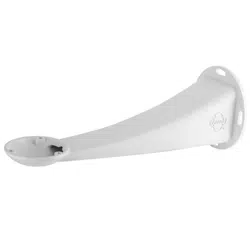
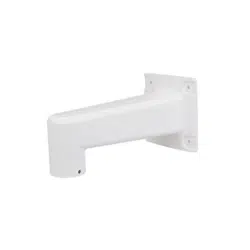
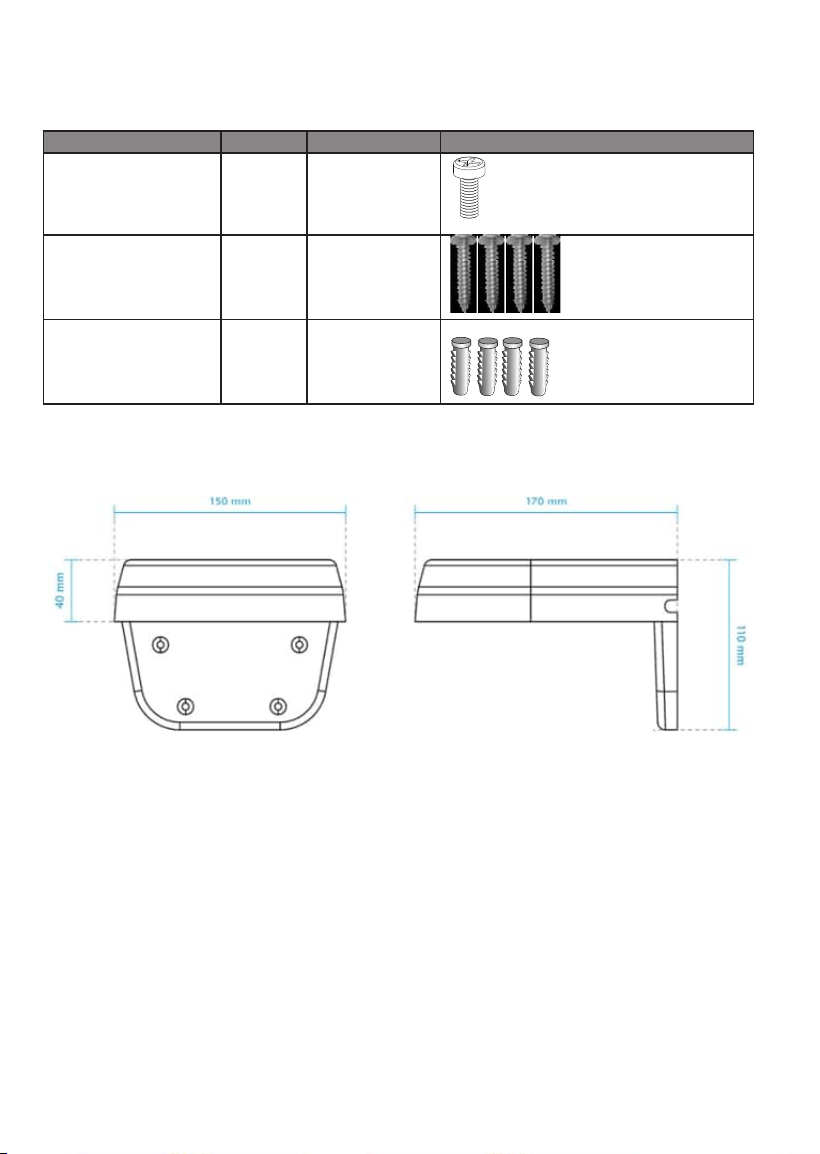
Dimensions
3
English
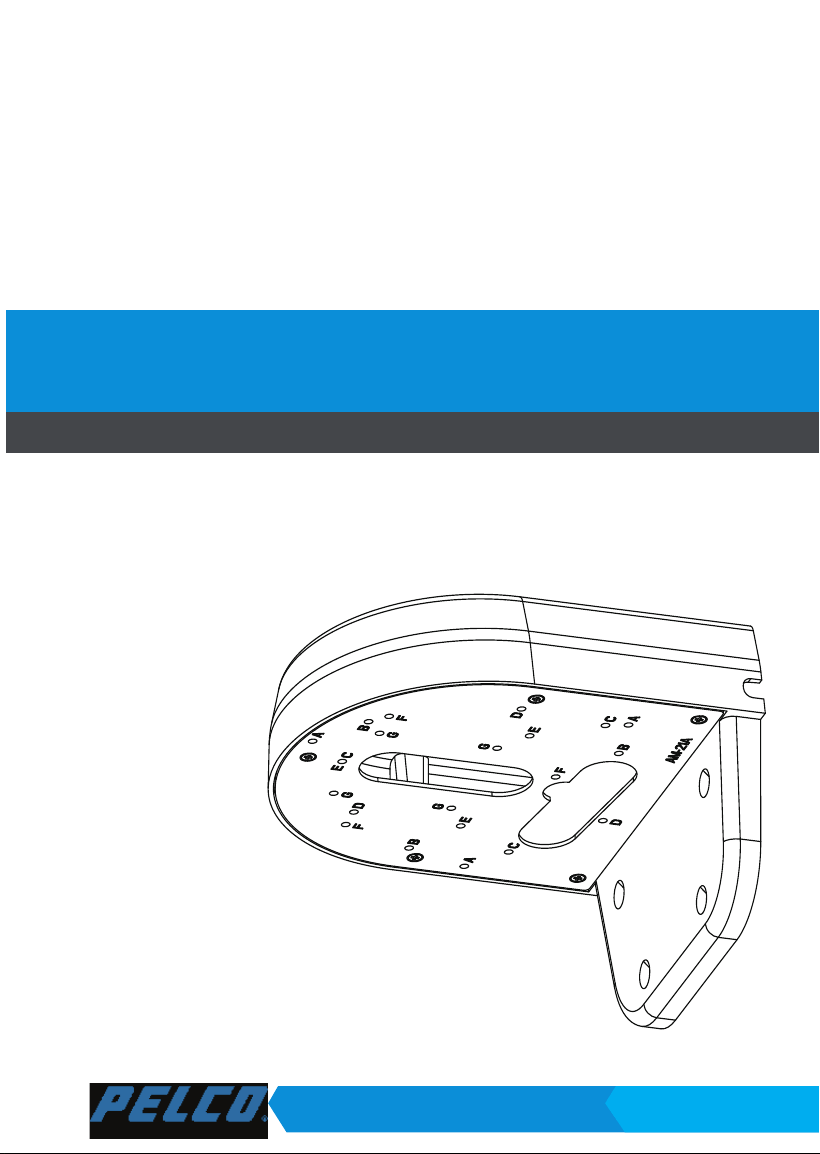
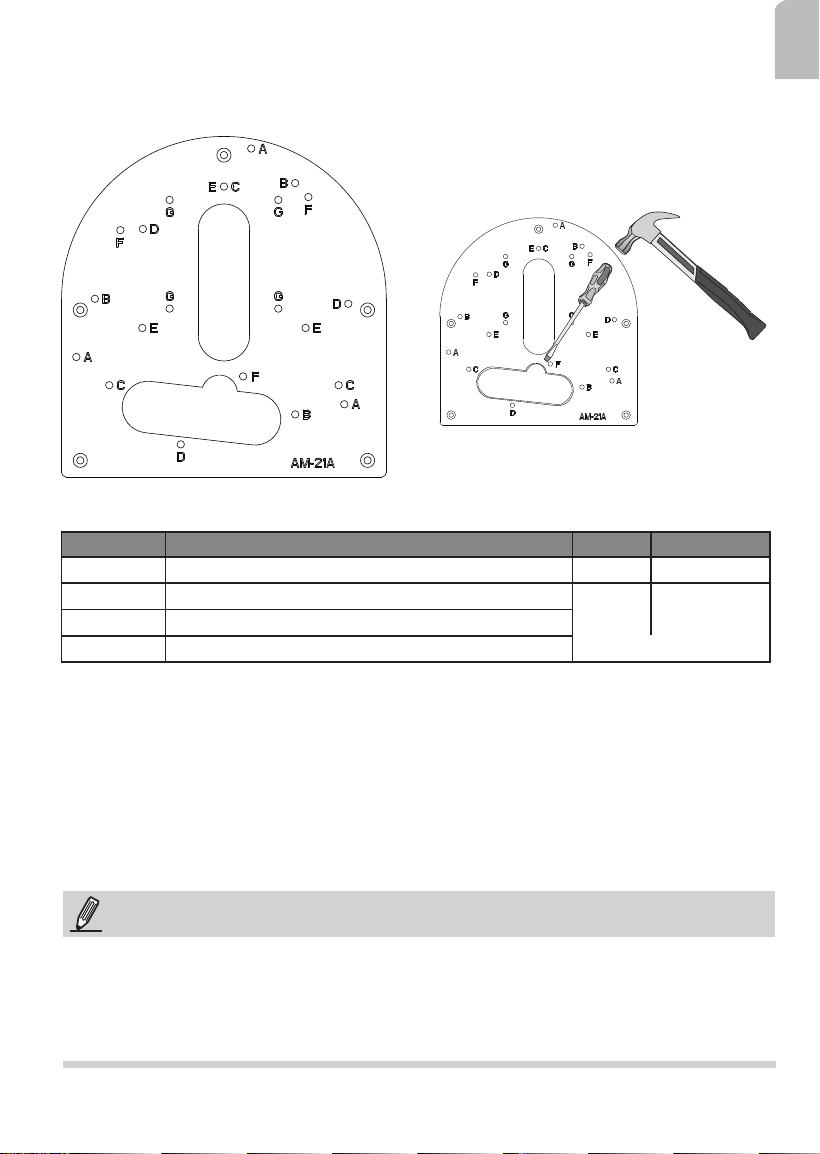
Above are the locations of different groups of mounting holes for matching different
cameras:
Hole Type Applicable Cameras Screw No. of screws
C
IMV Series
M4X10 3
E
ITV Series
M4X10
3
F
IJV Series
G
IFV Series
4
Mounting Hole Denitions
NOTE:
1. It is presumed that this wall-mount bracket is installed with a hole drilled on the wall for
routing power lines, DI/DO, and Ethernet cables.
2. Route cables before you secure the wall-mount bracket to a wall.
3. For details on the cable connections with each camera, please refer to their Quick
Installation Guide.
NOTE: You may need tools like hammer,
chisel, or a at-bade screwdriver to remove
the knock-out tab on the secondary routing
hole.
Installation
4
IMPORTANT!
The screws and mounting surface must be able to support a weight of 4 kg.
NOTE:
You will need to pass the cables through the waterproof connectors, and then use a
crimping tool to connect the cable wires to an RJ45 connector.
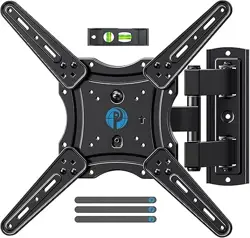
Below is a sample procedure using wall mount bracket:
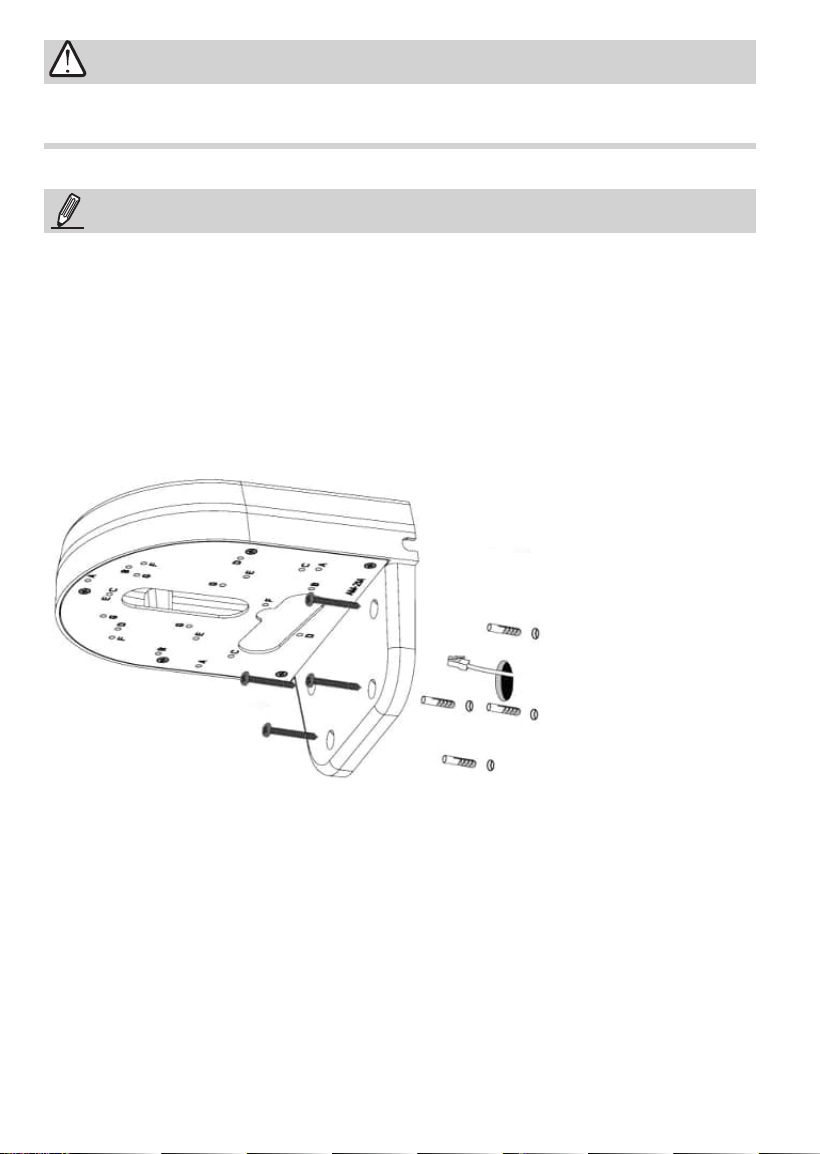
1. Determine a hard surface wall location, and use the four mounting holes on the bracket
to mark the positions where holes will be drilled to secure the bracket.
Wall Mount Installation
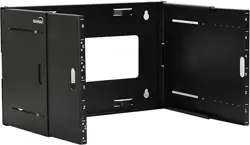
2. Drill holes on the wall for securing the bracket and for routing cables.
3. Route cables through the wall and bracket.
4. Secure the wall mount bracket to the wall using the included screws and plastic
anchors.
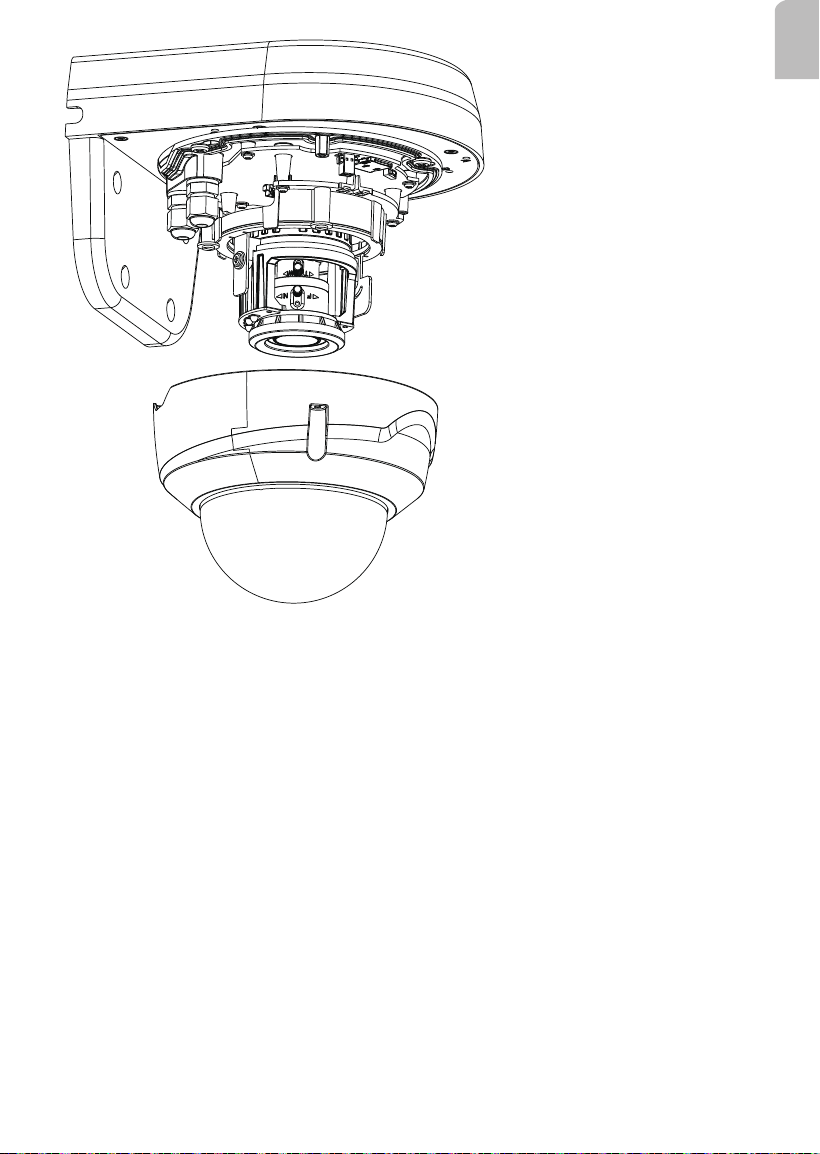
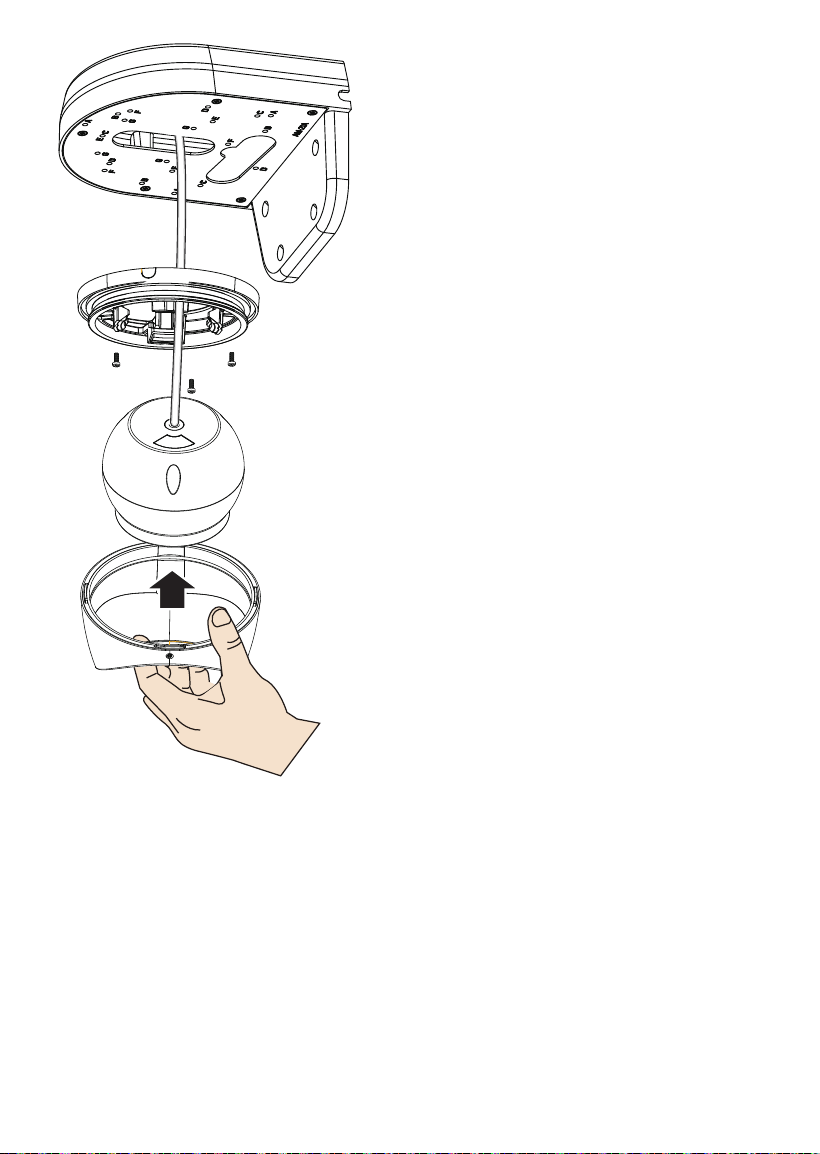
5. Secure the camera to the bracket using the included screws.
6. Connect power lines and cables to the camera.
7. Proceed with initial setup such as enabling network access, focus tuning, or zooming.
When done, secure the outer dome cover if applicable.
5
English
6

7
English
Pelco, Inc.
625 W. Alluvial Ave., Fresno, California 93711
United States
(800) 289-9100 Tel, (800) 289-9150 Fax
International
+1 (559) 292-1981 Tel, +1 (559) 348-1120 Fax
www.pelco.com