Loading ...
Loading ...
Loading ...
3433
TROUBLESHOOTING
Troubleshooting
Changing Doors
MAINTENANCE AND CLEANING
Troubleshooting
Changing Doors
Door does not lock during cleaning.
Use caution.
WARNING
• Cleaning Porcelain: Porcelain parts should be cleaned frequently with warm
soap and water solution applied with a soft sponge or wipe. Never use abrasive
powders or liquids! Do not leave acid or alkaline substances on the porcelain
parts (such as vinegar, lemon juice, salt, tomato sauce etc.) Use a rubber spatula
to remove fat residues.
• Cleaning Glass Door: Clean the glass using a non-abrasive sponge or wipe with
a warm soap and water solution. Use a rubber spatula to remove fat deposits.
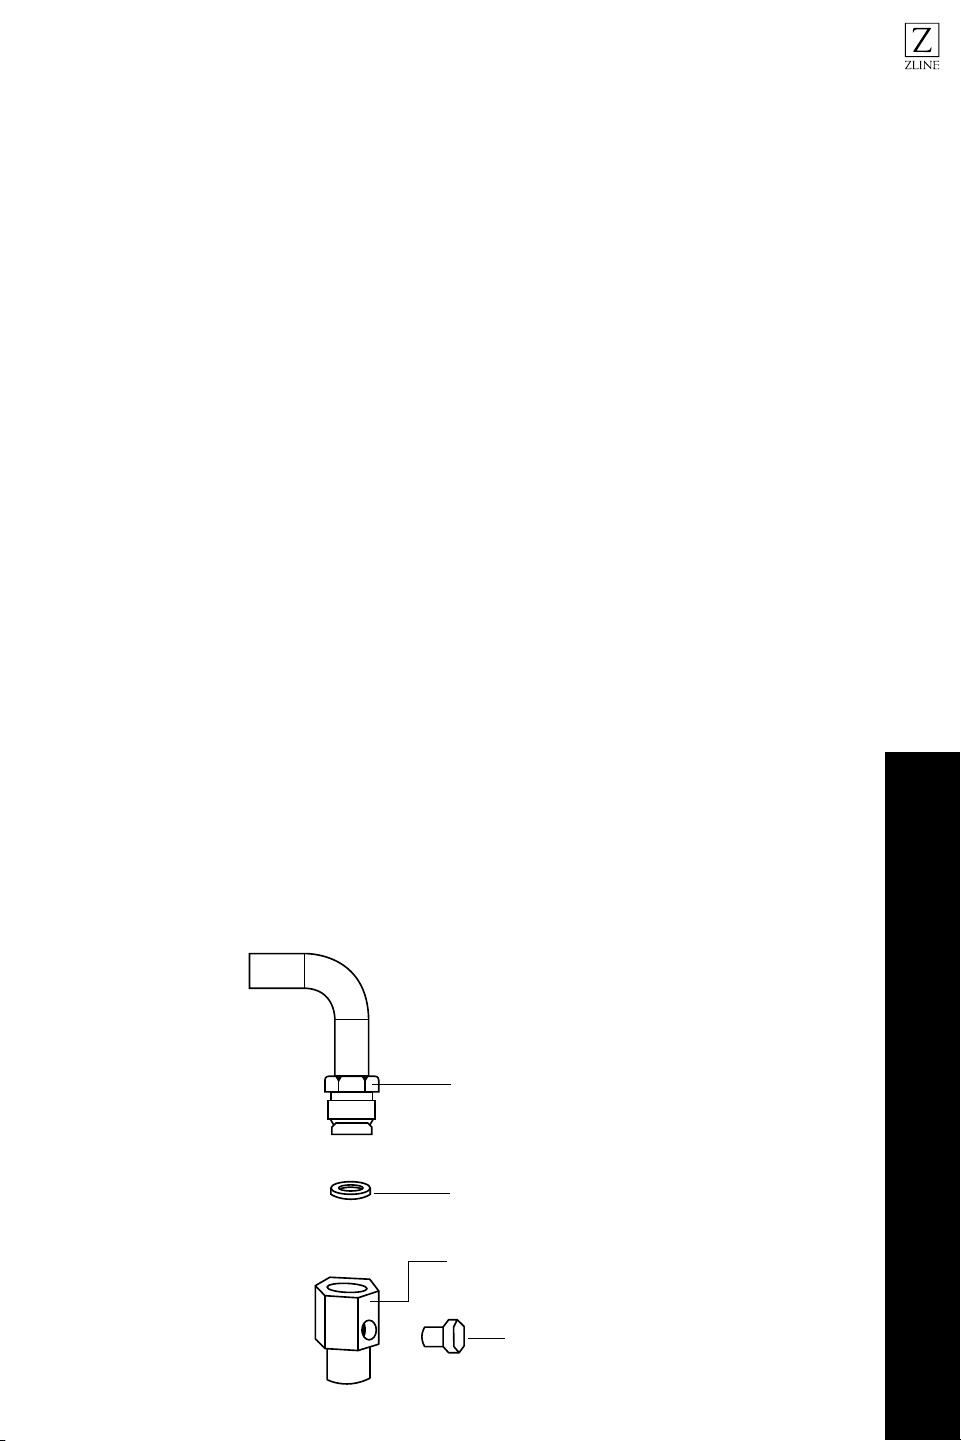
Install the pins into slots on each hinge (pins not included.)
CHANGING DOORS
1. Open oven door and insert removal pins in door hinge. Close door half way.
Pull up and out on door to remove.
2. Uninstall the kick plate by unscrewing the four screws in the kick plate. There are
two at the top and bottom on each side. Have a helper tilt the range to unscrew
the bottom screws.
3. Remove kick plate.
4. Install new kick plate.
5. Reinstall the four previous screws from step 2.
6. Reinstall new oven door by reversing step 1. Place door hinges into slots of hinge
base receivers, keeping the door in half closed position. The door will drop into
the receiver base when proper engagement is achieved.
7. Open door to full open position slowly to verify proper operation. Remove hinge
pins.
Changing
doors video
SCAN ME
RANGE PROBLEM POSSIBLE CAUSE AND/OR REMEDY
Range does not function Range is not connected to electrical power. Check power
circuit breaker, wiring, and fuses. If all electrical components
are properly installed, call 614-777-5004 for help.
Broil does not work Temperature control knob is rotated too far past broil position
(500°F); preheating indicator will light intermittently.
Burner does not ignite Gas supply valve is in the “OFF” position or gas supply is
interrupted.
Igniter barely sparking, no flame
ignition
Burner ports are clogged or the unit is not set to the
appropriate gas type. Call 614-777-5004 for help.
Burner ignites but flame is large,
distorted, or yellow
The air quality of the room is affecting the flame
color. Ensure that there are no candles, cleaning products, etc.
in the room.
Oven is not heating Check the circuit breaker or fuse box to your house. Make sure
there is proper electrical power to your oven.
Oven light is not working properly Replace or reinsert the light bulb if loose or defective.
Oven has soot in it If the range is on propane, make sure that both the orifices and
the regulator have been converted.
Cannot remove lens cover on light There may be soil or build up on the lens cover. Wipe the lens
cover with a clean, dry towel prior to attempting to remove the
lens cover.
Low flames and longer cooking times The propane conversion procedure may not have been
performed properly. Check that all orifices are correctly
placed. If not, contact your installer.
Brass burners changed color Brass burners naturally oxidize over time and form a patina
that is a beautiful deep brass hue. This process ensures our
brass burners are corrosion resistant and is not cause for a
return.
Cooktop burner’s low/simmer flame
setting is too high
The propane conversion procedure may not have been
performed properly, as all burners should have been adjusted
during installation with the flame adjustment tool that comes
with each range. See page 22 for how to adjust the burner
flame’s height.
Loading ...