THIS INSTRUCTION BOOKLET CONTAINS IMPORTANT SAFETY INFORMATION. PLEASE READ AND KEEP FOR FUTURE REFERENCE.
EN FR
USER'S MANUAL/MANUEL DE L'UTILISATEUR
HW53854
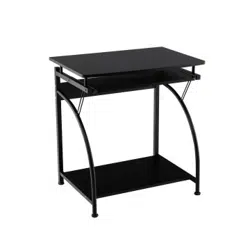
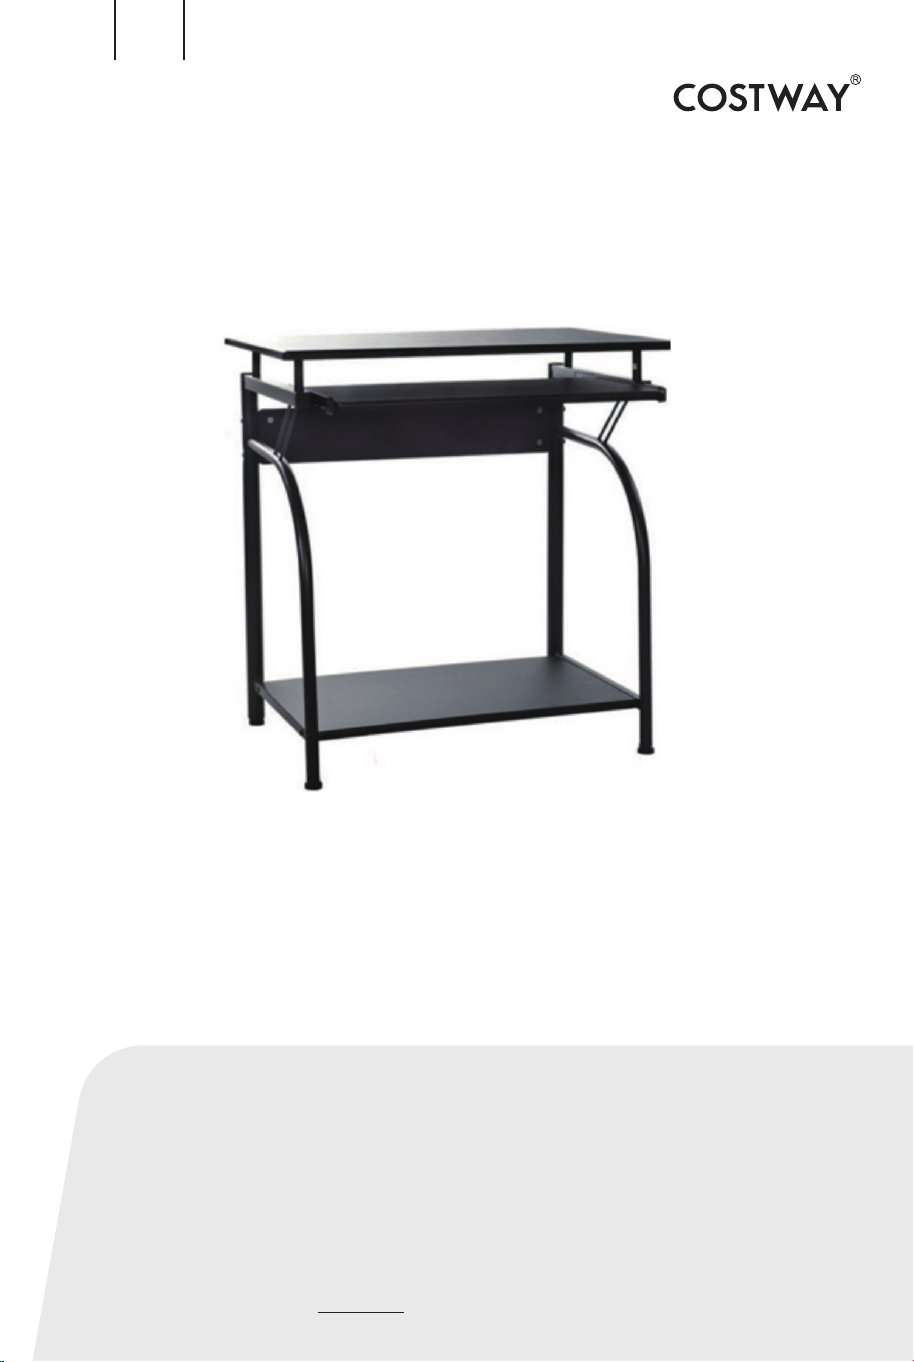
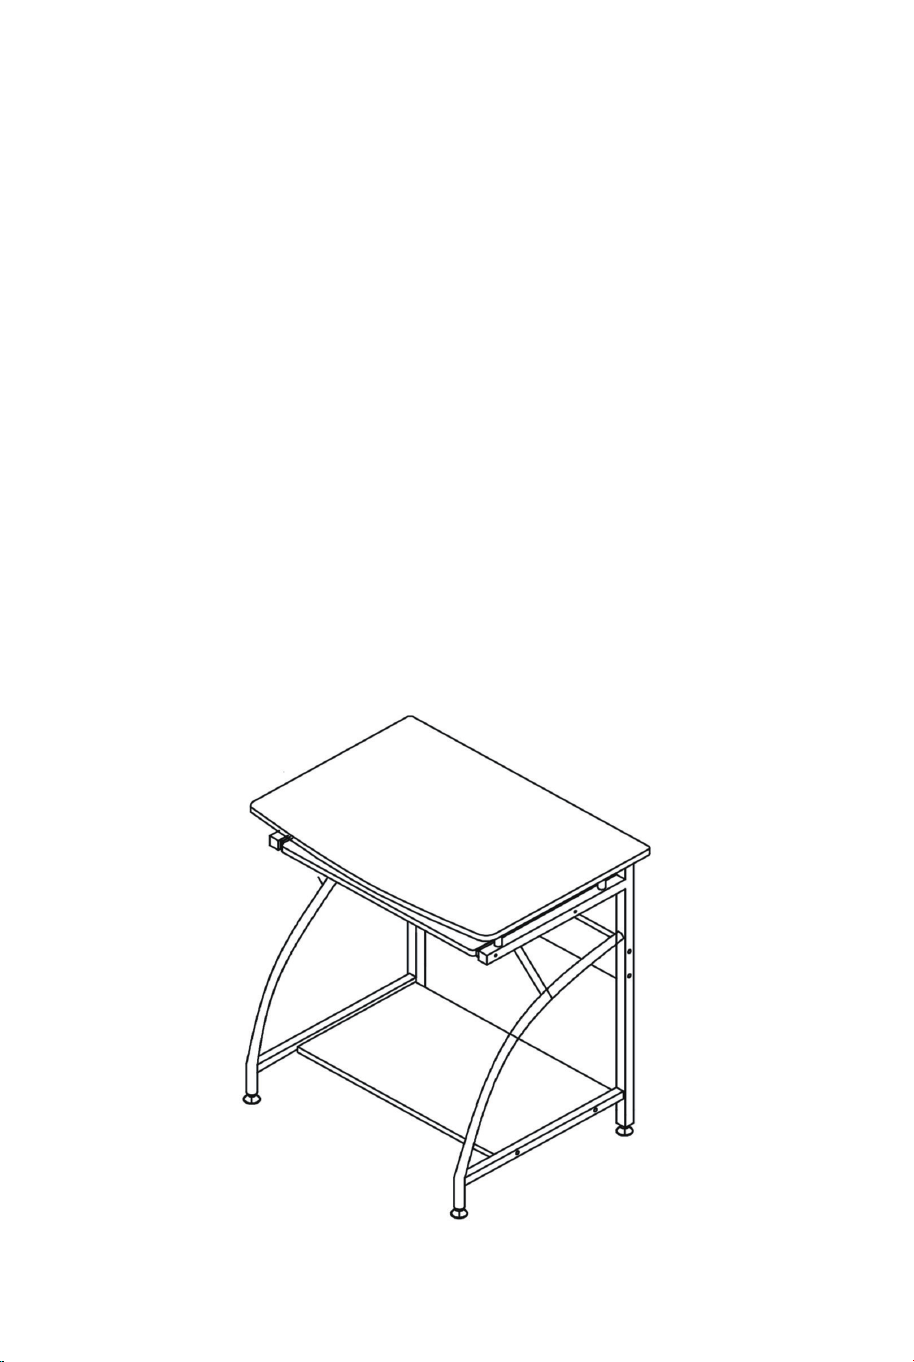
Computer Desk /Bureau d’Ordinateur

02
ASSEMBLING INSTRUCTIONS
1.WARNING: Read all the instructions before assembly.
2.WARNING: Periodically check to ensure that all the components are in
their proper position, free from damage, and that all connections are tight.
3.WARNING:Do Not substitute parts, contact the manufacturer or dealer for
replacement parts.
4.WARNING: Do Not place heated/sharp objects on top of any surface.
Always use a coaster or mat. Never leave liquids on the surface: Clean
immediately with a mild cleaner and a damp cloth.
5.WARNING: Be careful of fingers.
6.WARNING: Keep these instructions for further reference.
7.WARNING: Heavy components shall be lifted when assembly.
2 people are required for the assembly.
8.WARNING: Check component list and product before assembly. Make sure
all the components are included. Call our customer service if there is any
missing parts.
9.WARNING: Check all components are installed as instructions.
10.WARNING: Please make sure lift-up accessary was fixed tightly.
Serious injury may occur if you do not follow the instructions.
EN
INSTRUCTIONS DE MONTAGE
1. AVERTISSEMENT: Lisez toutes les instructions avant le montage.
2. AVERTISSEMENT: Vérifiez périodiquement que tous les composants sont
dans leur position correcte, exempts de dommages et que toutes les
connexions sont bien serrées.
3. AVERTISSEMENT: NE PAS substituer les pièces, contactez le service
client pour les pièces de rechange.
FR
03
4. AVERTISSEMENT: Ne PAS placer d'objets chauds/tranchants sur aucune
surface. Utilisez toujours un sous-verre ou un tapis. Ne laissez jamais de
liquides sur la surface: nettoyez immédiatement avec un détergent doux et
un chiffon humide.
5. AVERTISSEMENT: Faites attention aux doigts.
6. AVERTISSEMENT: Conservez ces instructions pour référence ultérieure.
7. AVERTISSEMENT: Les composants lourds doivent être soulevés lors du
montage. 2 personnes sont nécessaires pour le montage.
8. AVERTISSEMENT: Vérifiez la liste des composants et le produit avant le
montage. Assurez-vous que tous les composants sont inclus. Appelez notre
service client s'il y a des pièces manquantes.
9. AVERTISSEMENT: Vérifiez que tous les composants sont installés
conformément aux instructions.
10. AVERTISSEMENT: Veuillez vous assurer que les accessoires de levage
sont solidement fixés. Des blessures graves pourraient survenir si vous ne
suivez pas les instructions.
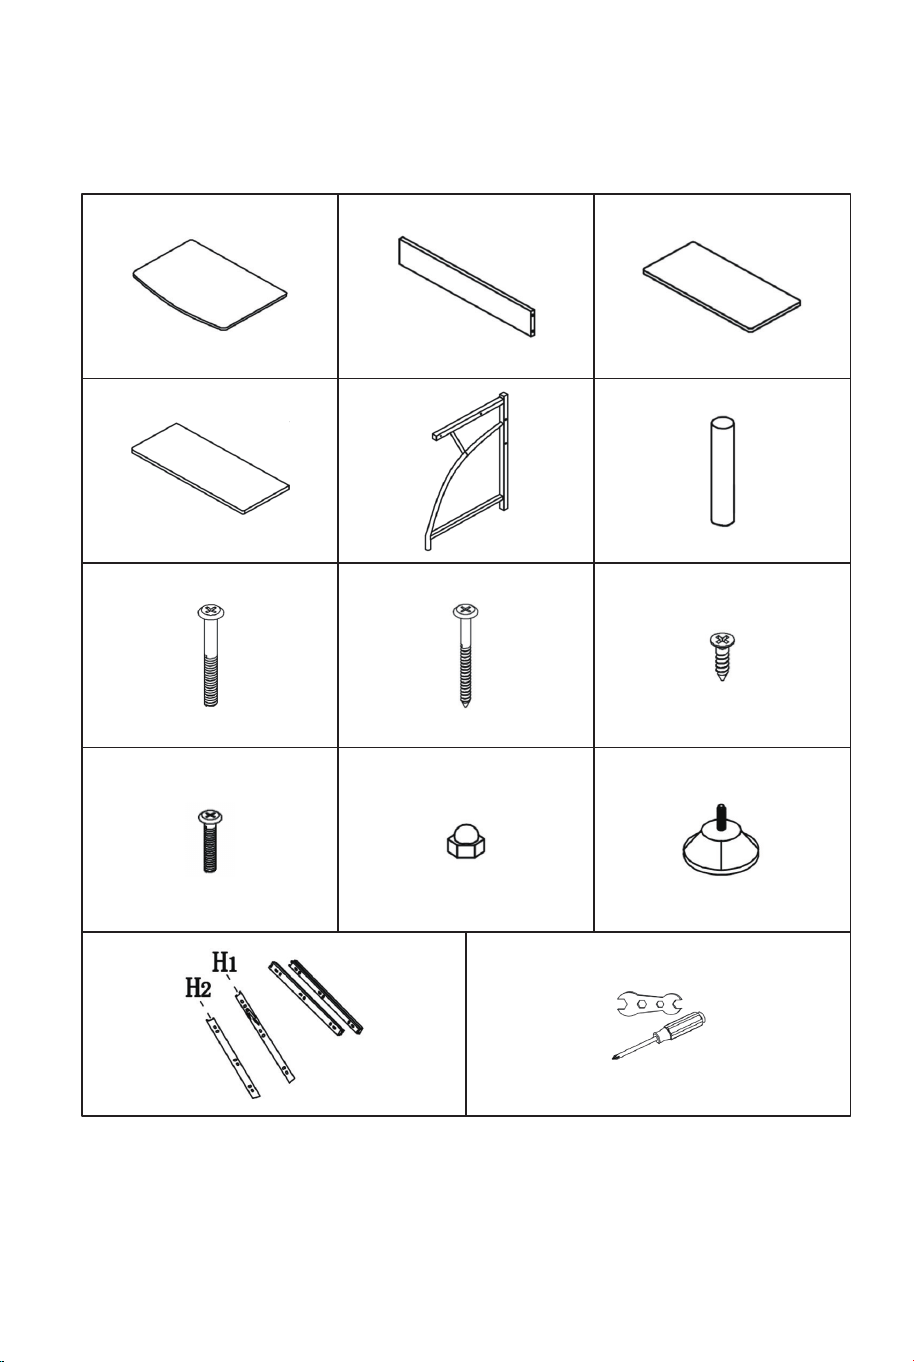
70*48CM
1 x1
4 x1 5 x2 6 x4
A x4
E x4
H x1 x1
B x8 D x4
2 x1 3 x1
59.5*9.8CM 57.5*24CM
M5X50 M3.5X12M6X90
M4X30
F x4
M4
G x4
60*38CM
04

1
EN: 1. Fix the wheels (G) to the steel
frame (5).
2. Use screws (B) to connect the board (3)
with the steel frame (5).
3. Use screws (B) to connect the board (2)
with the steel frame (5).
4. Use screws(E) and nuts (F) to fix the
sliding rail (H2) to the steel frame (5).
2
EN: Use screws (A) to fix the part (6) on the
steel frame (5) and fix the board (1) on the
steel frame (5).
FR: Utilisez les vis (A) pour fixer les
chevilles (6) sur le cadre en acier (5) et fixez
le panneau (1) sur le cadre en acier (5).
FR: 1. Fixez les roues (G) sur le cadre en acier (5).
2. Utilisez les vis (B) pour fixer le panneau (3) au cadre en acier (5).
3. Utilisez les vis (B) pour fixer le panneau (2) au cadre en acier (5).
4. Utilisez les vis (E) et les écrous (F) pour fixer la glissière (H2) sur le
cadre en acier (5).
05

3
EN: 1. Pull the sliding rail (H)apart into two pieces H1 and H2.
2. Use screws (D) to fix the sliding rail (H1) to the board (4).
FR: 1. Tirez la glissière (H) en deux pièces H1 et H2.
2. Utilisez les vis (D) pour fixer la glissière (H1) sur le panneau (4).
EN: Fix the sliding rails (H1 and
H2) in right order as the picture
shows, and place the keyboard (4)
into the finished frame.
FR: Fixez les glissières (H1 et H2)
dans le bon ordre comme indiqué
sur l'image, et placez la tablette du
clavier (4) dans le cadre monté.
4
06
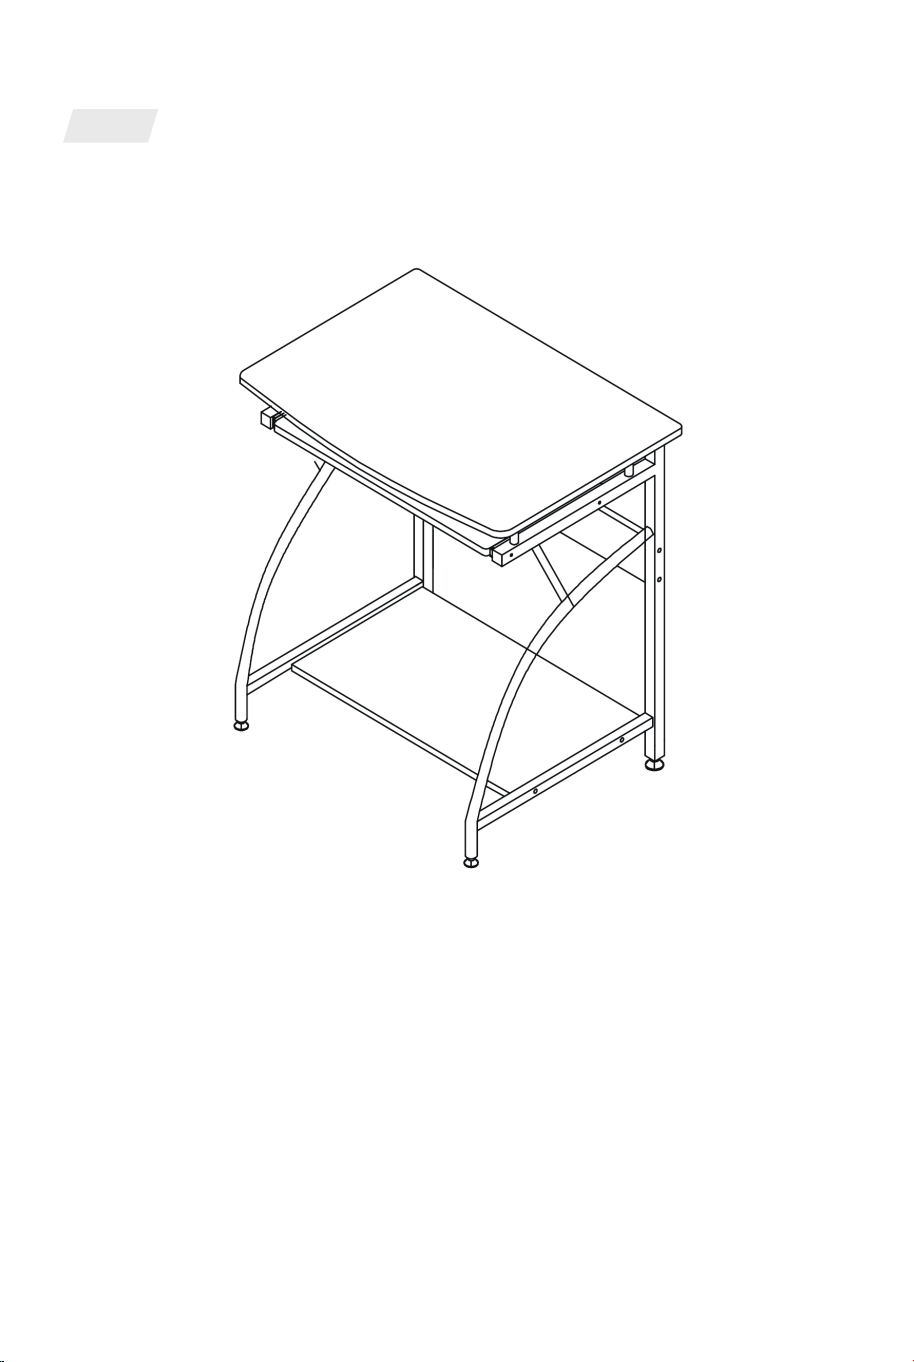
5
EN: Assembly for the computer desk is completed.
FR: L'assemblage du bureau d'ordinateur est terminé.
07
EN
DE
FR
ES
IT
PL
With your inspiring rating, COSTWAY will be more consistent to offer you EASY
SHOPPING EXPERIENCE, GOOD PRODUCTS and EFFICIENT SERVICE!
Mit Ihrer inspirierenden Bewertung wird COSTWAY konsistenter sein, um Ihnen EIN
SCHÖNES EINKAUFSERLEBNIS, GUTE PRODUKTE und EFFIZIENTEN SERVICE zu
bieten!
Avec votre évaluation inspirante, COSTWAY continuera à fournir une EXPÉRIENCE
D’ACHAT PRATIQUE, des PRODUITS DE QUALITÉ et un SERVICE EFFICACE !
Con su calificación inspiradora, COSTWAY será más consistente para ofrecerle
EXPERIENCIA DE COMPRA FÁCIL, BUENOS PRODUCTOS y SERVICIO EFICIENTE.
Con la tua valutazione incoraggiante, COSTWAY sarà più coerente per offrirti
ESPERIENZA DI ACQUISTO FACILE, BUONI PRODOTTI e SERVIZIO EFFICIENTE!
Dzięki twojej opinii COSTWAY będzie mógł oferować jeszcze WYGODNIEJSZE
ZAKUPY, LEPSZE PRODUKTY i SPRAWNIEJSZĄ OBSŁUGĘ KLIENTA.
US office: Fontana UK office: Ipswich AU office: Truganina
DE office: Hamburg
FR office: Saint Vigor d'Ymonville
PL office: Gdańsk