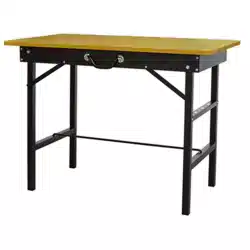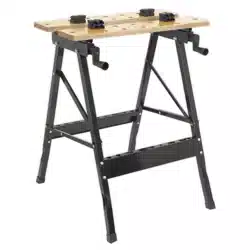
FOLDING WORKBENCH - 235MM CAPACITY
MODEL NO: FWB1.V3
Thank you for purchasing a Sealey product. Manufactured to a high standard, this product will, if used according to these instructions,
and properly maintained, give you years of trouble free performance.
IMPORTANT: PLEASE READ THESE INSTRUCTIONS CAREFULLY. NOTE THE SAFE OPERATIONAL REQUIREMENTS, WARNINGS & CAUTIONS. USE
THE PRODUCT CORRECTLY AND WITH CARE FOR THE PURPOSE FOR WHICH IT IS INTENDED. FAILURE TO DO SO MAY CAUSE DAMAGE AND/OR
PERSONAL INJURY AND WILL INVALIDATE THE WARRANTY. KEEP THESE INSTRUCTIONS SAFE FOR FUTURE USE.
1. SAFETY
9 Maintain the workbench in good condition. Replace or repair damaged parts. Use recommended parts only. Unauthorised parts may be
dangerous and will invalidate the warranty.
9 Keep the workbench clean for best and safest performance and check moving parts alignment regularly.
9 Locate the workbench in a suitable working area. Keep area clean and tidy and ensure there is adequate lighting.
9 Ensure the workpiece is correctly held or secured before commencing work.
9 Ensure that any workpiece which extends beyond the bench is adequately supported.
9 Maintain correct balance and footing. Ensure the floor is not slippery and wear non-slip shoes.
8 DO NOT use the workbench for any purpose other than that for which it is designed.
8 DO NOT get the workbench wet or use in wet weather conditions, and DO NOT expose the workbench to excessive heat.
8 DO NOT operate the workbench if any parts are missing as this may cause failure and/or personal injury.
8 DO NOT stand on the top of workbench, or use it as standing platform or to support a platform. The workbench is for clamping items
only.
9 When not in use store in a safe, dry, child proof area and ensure it will not topple over.
2. INTRODUCTION
Hard-wearing MDF top with pre-drilled jaw grip anchorages. Features vice capability for gripping work whilst sawing, planing and drilling. Bench
legs fold at for easy storage and incorporate tool storage slots. Suitable for sawing, drilling, planing and sanding operations.
3. SPECIFICATION
Model no .................................................................FWB1.V3
Clamp capacity .......................................................... 235mm
Folded (W x D x H) ..................................605 x 140 x 895mm
Unfolded (W x D x H) ..............................605 x 630 x 750mm
4. CONTENTS
Refer to
instruction
manual
Original Language Version
© Jack Sealey Limited
No. Description Qty. No. Description Qty.
1 Worktops 2 8 Wood screws
4.8x1.6mm
16
2 Slide bases 2 9 Screws
(domehead)
M6x1.0x3.7mm
8
3 Hex bolts 4 10 Nuts M6x1mm 8
4 Crossbars 2 11 Nuts M6x1.2mm 4
5 Leg frames 2 12 Chocks 4
6 Plastic feet 4 13 Washers
Ø13x6x1.2
8
7 Washers
Ø16 x
Ø8x1.2
8
FWB1.V3 Issue:2 (H,F) 15/07/20
Original Language Version
© Jack Sealey Limited
5.1.
5.2.
.
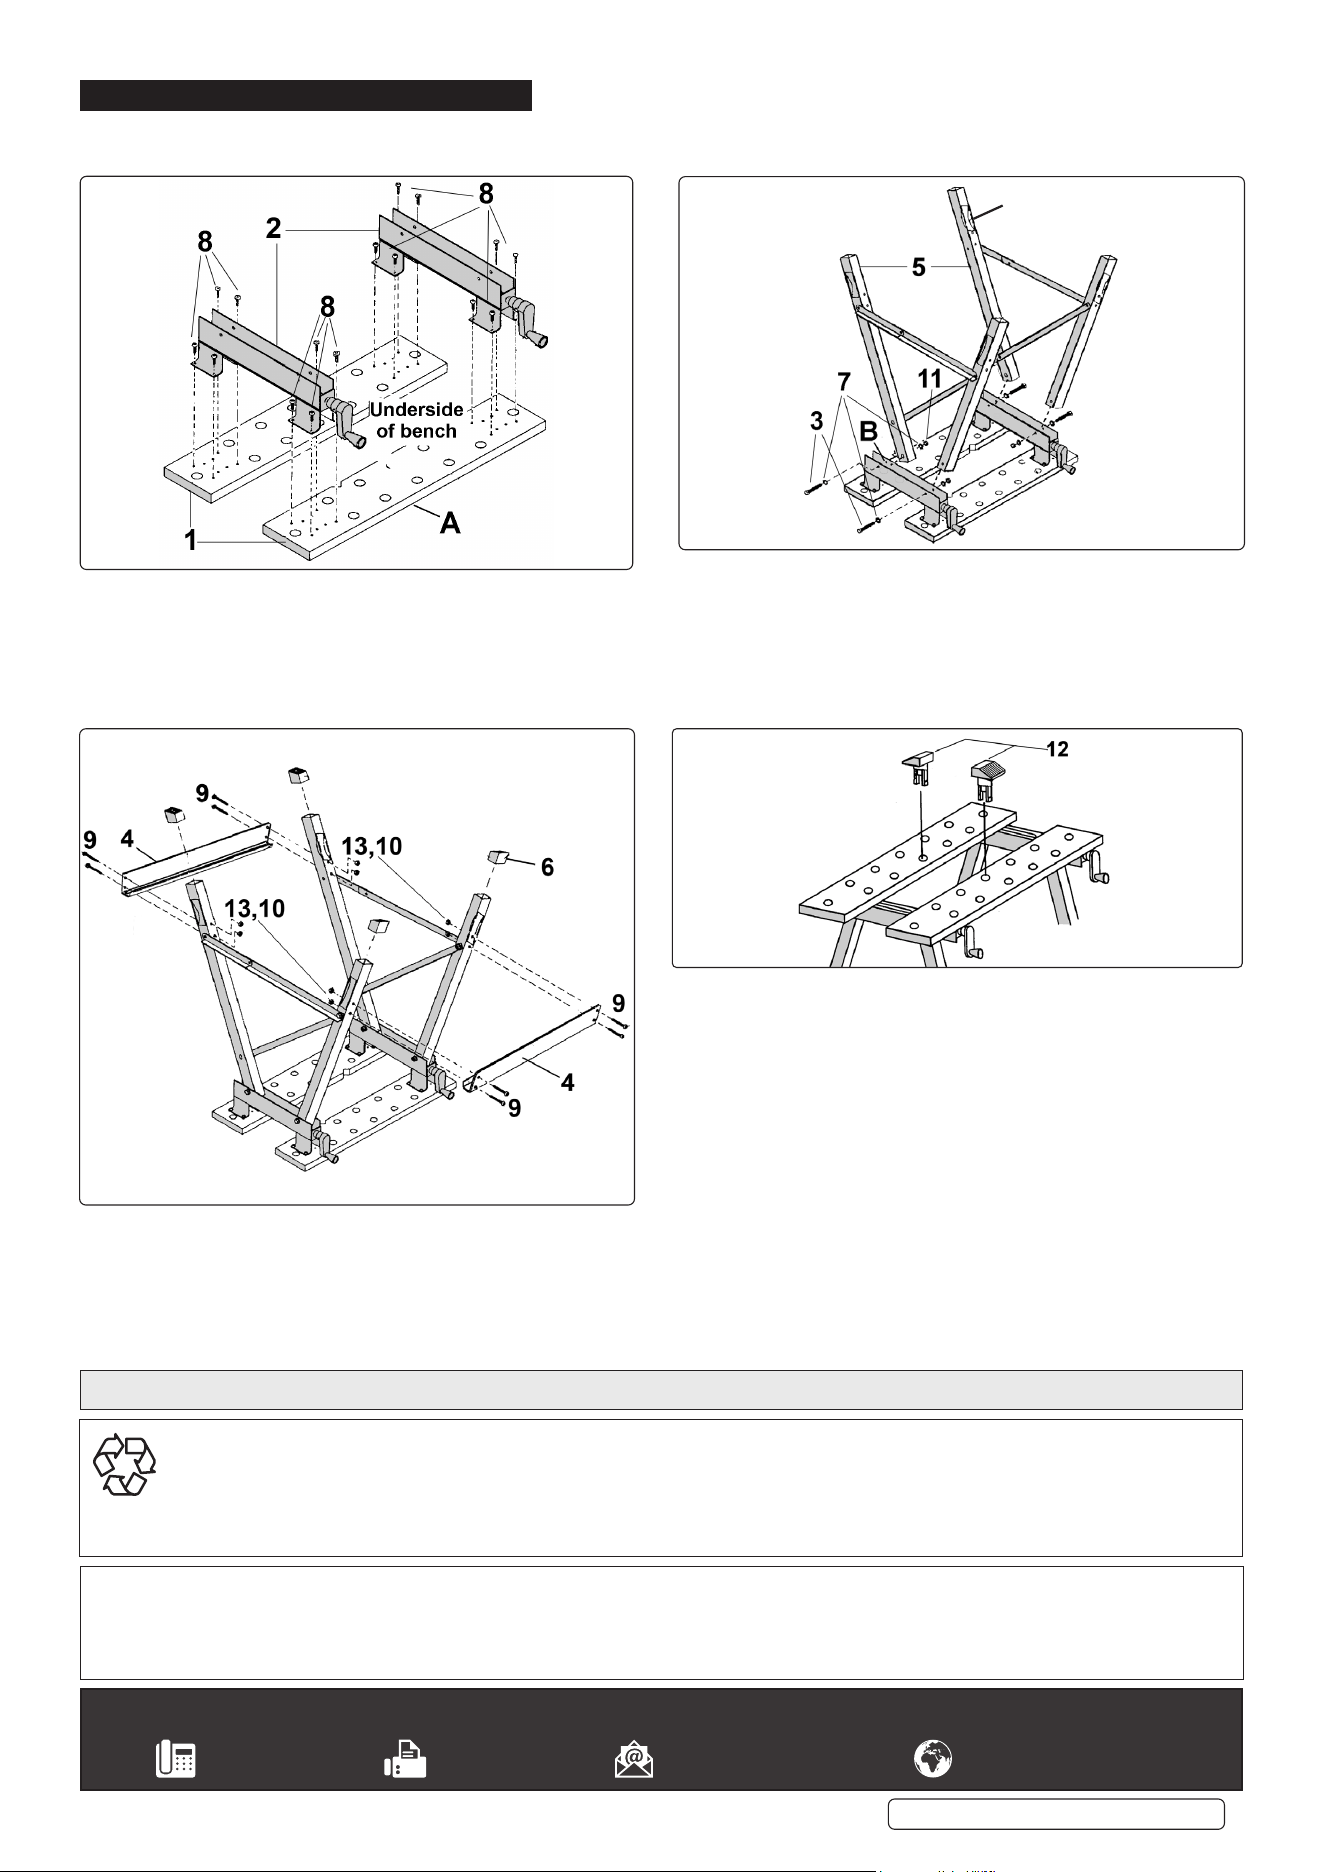
STEP 2
Y
Open the leg frames (5) and align with holes on the inside of the vice
arms at points “B” ensuring the curvatures on the lower part of the legs
“Y” point outward. Insert bolts (3) from the outside of the vice arm with
washers (7) and secure with washers (7) and nuts (11) from the inside.
STEP 3
Align the crossbars (4) with holes in legs and insert screws (9) from
the outside and fix with washers (13) and nuts (10).
Push the plastic feet (6) onto the leg ends ensuring the longest side of
the foot corresponds with the outer corner of the leg point.
STEP 4
Fix chock (12) in suitable holes located in worktop as required.
Sealey Group, Kempson Way, Suffolk Business Park, Bury St Edmunds, Suffolk. IP32 7AR
01284 757500 01284 703534 sales@sealey.co.uk www.sealey.co.uk
ENVIRONMENT PROTECTION
Recycle unwanted materials instead of disposing of them as waste. All tools, accessories and packaging should be sorted, taken to
a recycling centre and disposed of in a manner which is compatible with the environment. When the product becomes completely
unserviceable and requires disposal, drain any fluids (if applicable) into approved containers and dispose of the product and fluids
according to local regulations.
Note: It is our policy to continually improve products and as such we reserve the right to alter data, specifications and component parts without prior
notice.
Important: No Liability is accepted for incorrect use of this product.
Warranty: Guarantee is 12 months from purchase date, proof of which is required for any claim.
FWB1.V3 Issue:2 (H,F) 15/07/20
STEP 1
Lay the wooden worktop/jaws (1) upside down on a surface that will
not scratch or cause damage. Screw the slide bases (2) to the jaws
using wood screws (8) ensuring that the jaw angle and ruler guides
are on the same side as the vice handles at point “A”.
Note: If not already assembled, push handles onto vice screw ends
and secure with pins.
5. ASSEMBLY
Unpack the product and check contents to ensure no parts are damaged. Should there be any damaged or missing parts contact your supplier
immediately. Follow the step by step illustrations to assemble your bench.
Parts support is available for this product. Please email sales@sealey.co.uk or telephone 01284 757500