Loading ...
Loading ...
Loading ...
22
The conversion is not completed if all 8 steps have not been concluded properly.
Before performing the gas conversion, locate the package containing the replacement nozzles
shipped with every range.
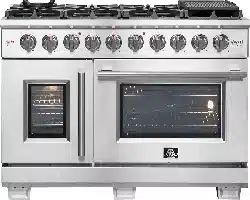
STEP 1: Pressure Regulator
To access the gas regulator, pull the range away from the cabinet wall. The
gas regulator is located
at the bottom back left corner of the range.
Electrical shock hazard can occur and result in injury or death. Disconnect electrical
power to the range before servicing. Do not remove regulator or allow it to turn during servicing.
STEP 2: Cooktop Burners
a. Remove cooking grates, burner caps and inner burner rings.
b. Lift off outer burner heads and burner bases.
c. Remove the factory installed natural gas nozzles from the center
of the nozzle holders using a 7mm socket wrench. Replace the
LP nozzle in each nozzle holder. Tighten each nozzle until snug.
Use caution not to over tighten
Care should be taken when removing and replacing gas
components. Use proper support to prevent damage to components.
Each nozzle has a number indicating its flow diameter printed on the body. Consult
the table below for matching nozzles and burners.
Socket Wrench
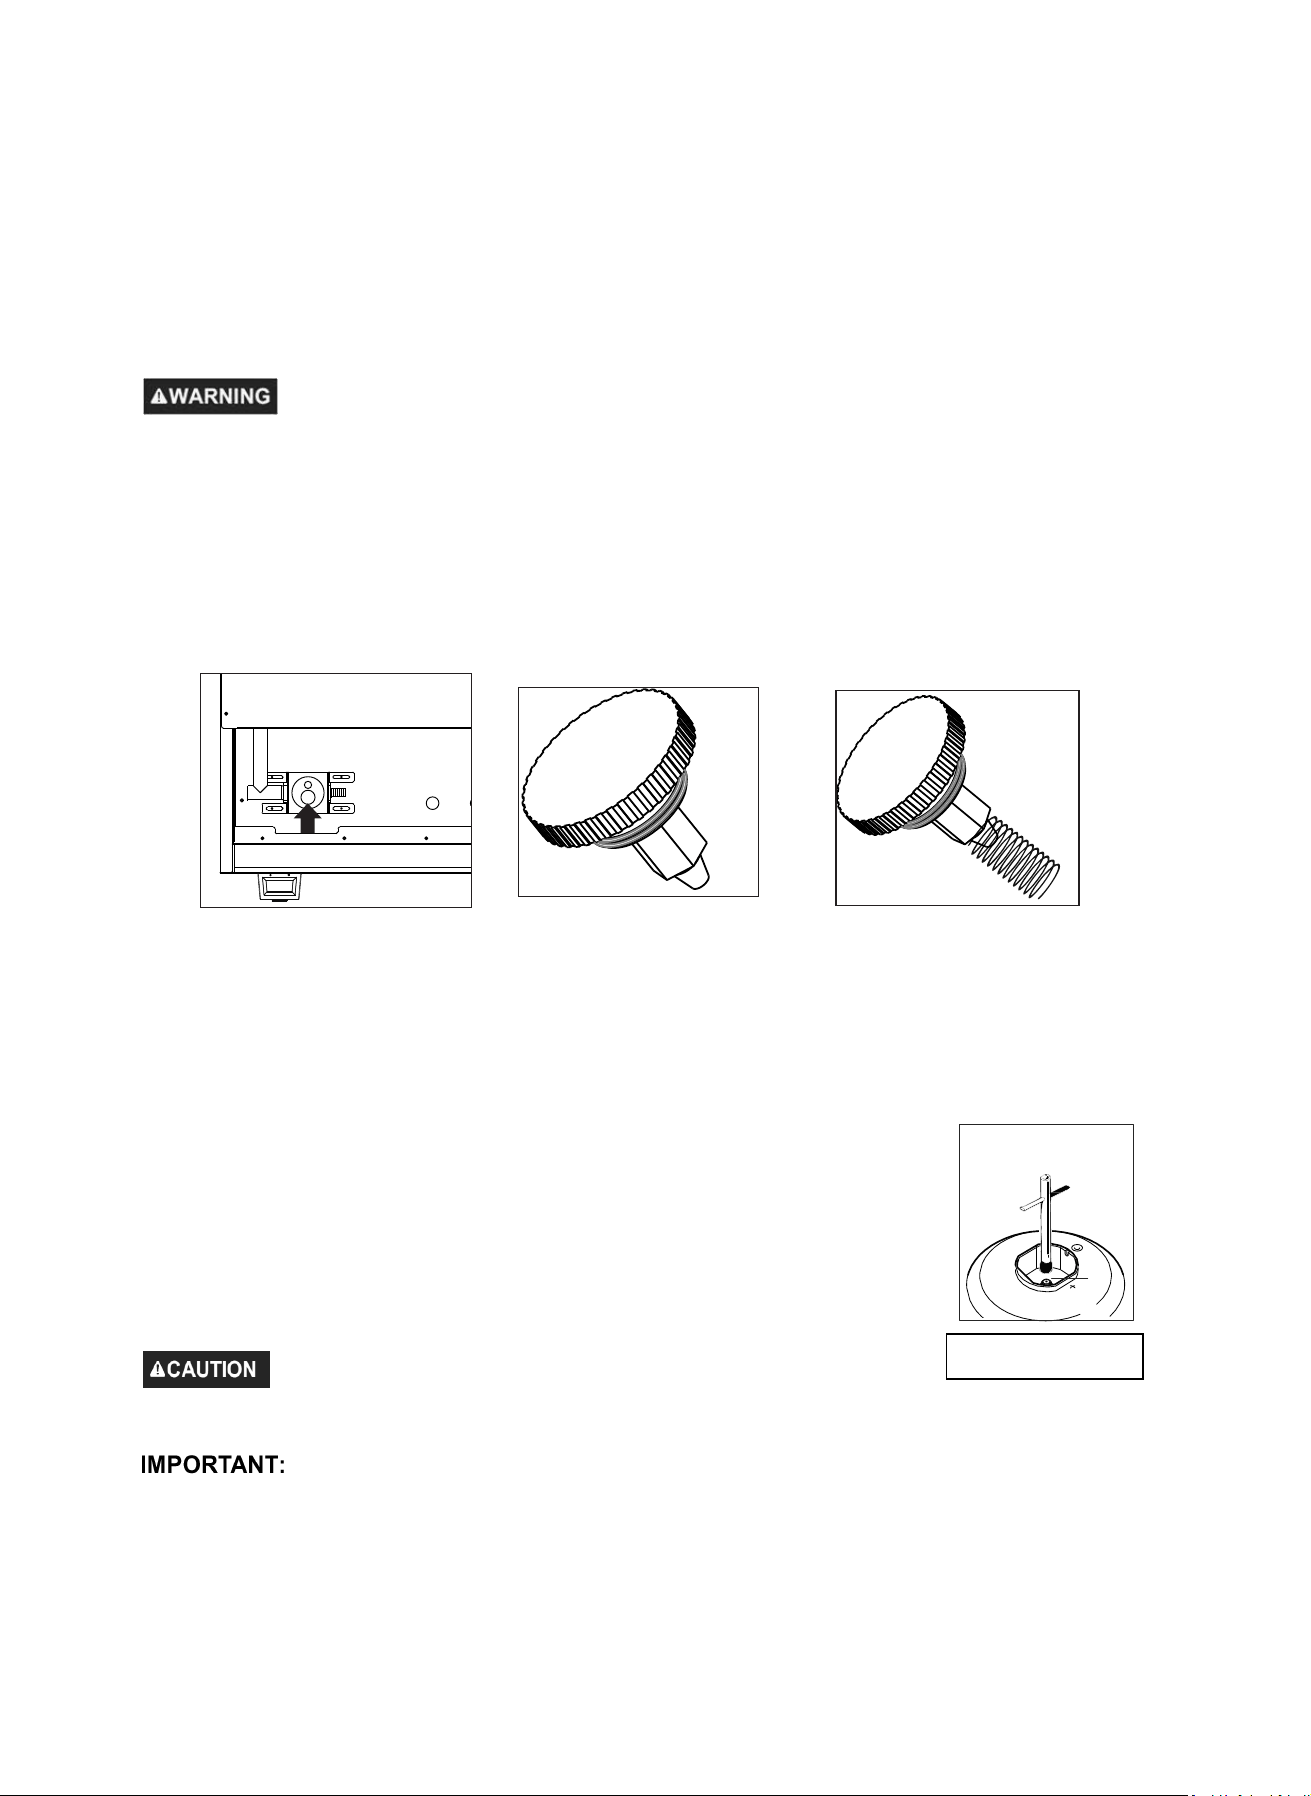
a. Unscrew the cap from the regulator.
b.
Unscrew the brass insert from the cap. Do not remove the spring from the brass insert. Rotate the brass
insert with the fully extended spring 180° and screw back the brass insert on the cap. Insert the cap with
the spring first into the regulator. Make sure the cap is fully tighten on the regulator, if not done correctly
a gas leak can occur.
NG
->
LP
->
Position NG Position LP
Loading ...
Loading ...
Loading ...