Loading ...
Loading ...
Loading ...
PERLICK RESIDENTIAL UNDERCOUNTER CUBELET ICE MAKER PRODUCT MANUAL
30 | perlick.com/residential
MAINTENANCE
STORAGE BIN DRAIN
In some condions, slime may build up inside the storage bin
drain and prevent water from draining properly. To prevent this
buildup, perform the following procedure once every 3 months
or as oen as necessary for condions.
If the storage bin drain becomes clogged,
water could build up in the bin and overow, leading to costly
water damage.
1) Move the control switch to the “OFF” posion
To reduce the risk of electric shock, do not
touch the control switch with damp hands.
2) Remove all ice from the storage bin.
3) Mix a batch of sanizing soluon by dilung
1.25 .oz. (37 ml or 2.5 tbs) of a 5.25% sodium
hypochlorite soluon (chlorine bleach) with
2.5 gallons (9.5 l) of warm water. Using a chlorine test
strip or other method, conrm that you have a
concentraon of about 200 ppm.
For safety and maximum eecveness, use
the soluon immediately aer diluon.
4) Slowly pour the sanizing soluon into the
storage bin.
5) Aer all of the soluon has drained, clean the storage
bin liner with a neutral cleaner. Rinse thoroughly with
clean water.
6) Move the control switch to the “ICE” posion to start
the automac icemaking process.
CONDENSER
Check the condenser once a year, and clean if required by
following the steps below. More frequent cleaning may be
required depending on locaon.
Condenser ns are sharp. Use care when
cleaning.
1) Move the control switch to the “OFF” posion, then
unplug the appliance from the electrical outlet
To reduce the risk of electric shock, do not
touch the control switch or plug with damp hands.
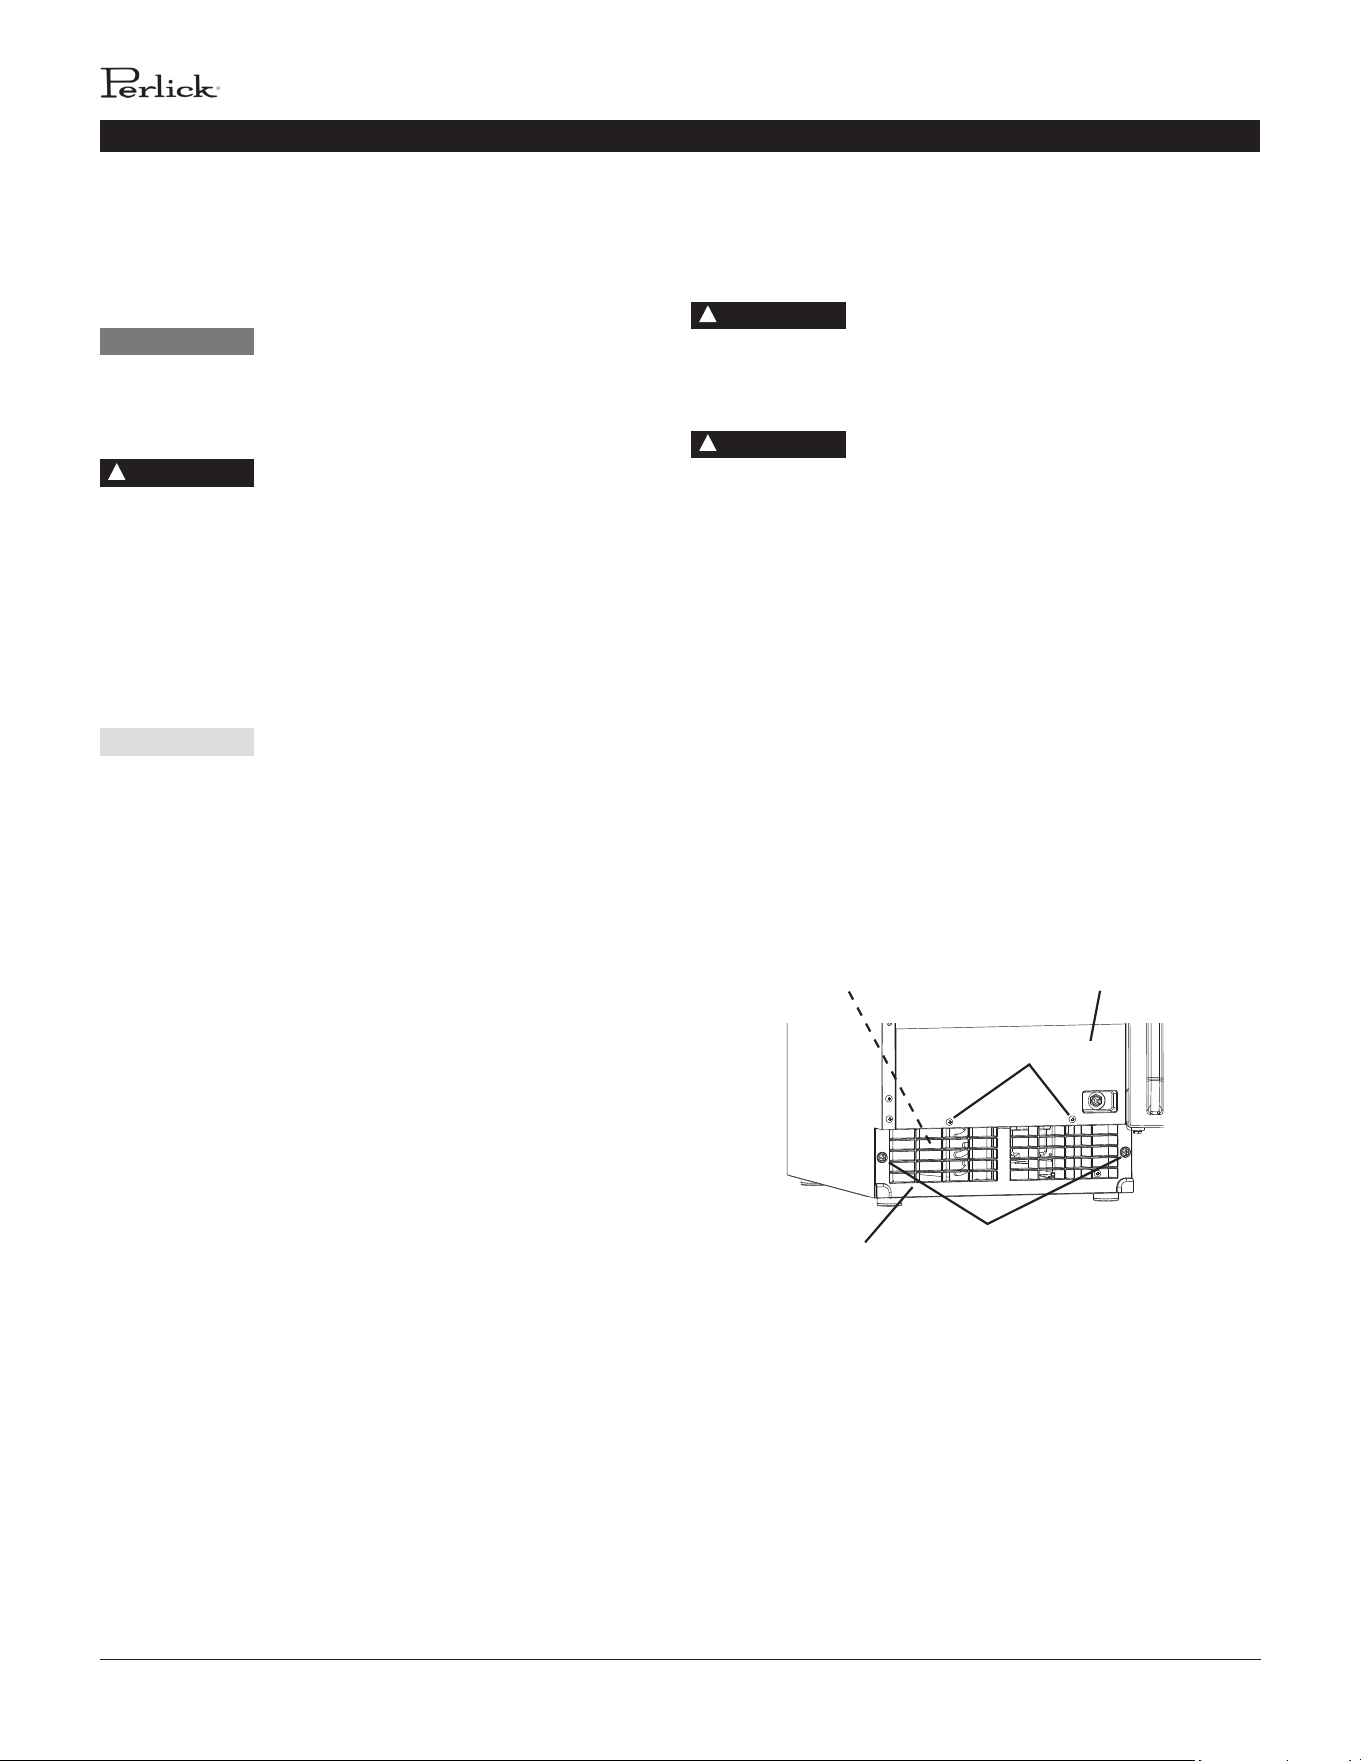
2) Remove the screws securing the front panel, then
remove it (See Fig. 25).
3) Remove the screws securing the louver, then
remove it.
4) Use a brush aachment on a vacuum cleaner to gently
clean the condenser ns. Do not use too much force,
otherwise the ns could be damaged.
5) Replace the louver and front panel in their correct
posions. Ensure that the screws are securely in place.
6) Plug the appliance back in. Move the control switch to
the “ICE” posion to start the automac ice making
process.
DANGER
!
Front Panel
Louver
Fig. 25
Screws
Screws
Condenser
DANGER
!
DANGER
!
CAUTION
WARNING
Loading ...
Loading ...
Loading ...