Loading ...
Loading ...
Loading ...
Using Your Oven
4. When time is up, turn off Timer.
When time is up, you will hear four tones
unless end-of-cycle tone is disabled. Press
TIMER CANCEL to clear the display. Also,
four tones will sound every minute as an
audible reminder unless they are disabled.
(See "Changing Audible Signals" in the
"Using Your Oven" section.)
To change the timer during
itsoperation:
1. Press TIMER SET/START.
2. Enter new desired time.
3. Press TIMER SET/START.
To cancel the timer during
its operation:
PRESS
You can cancel the "Rmer any time during
its operation.
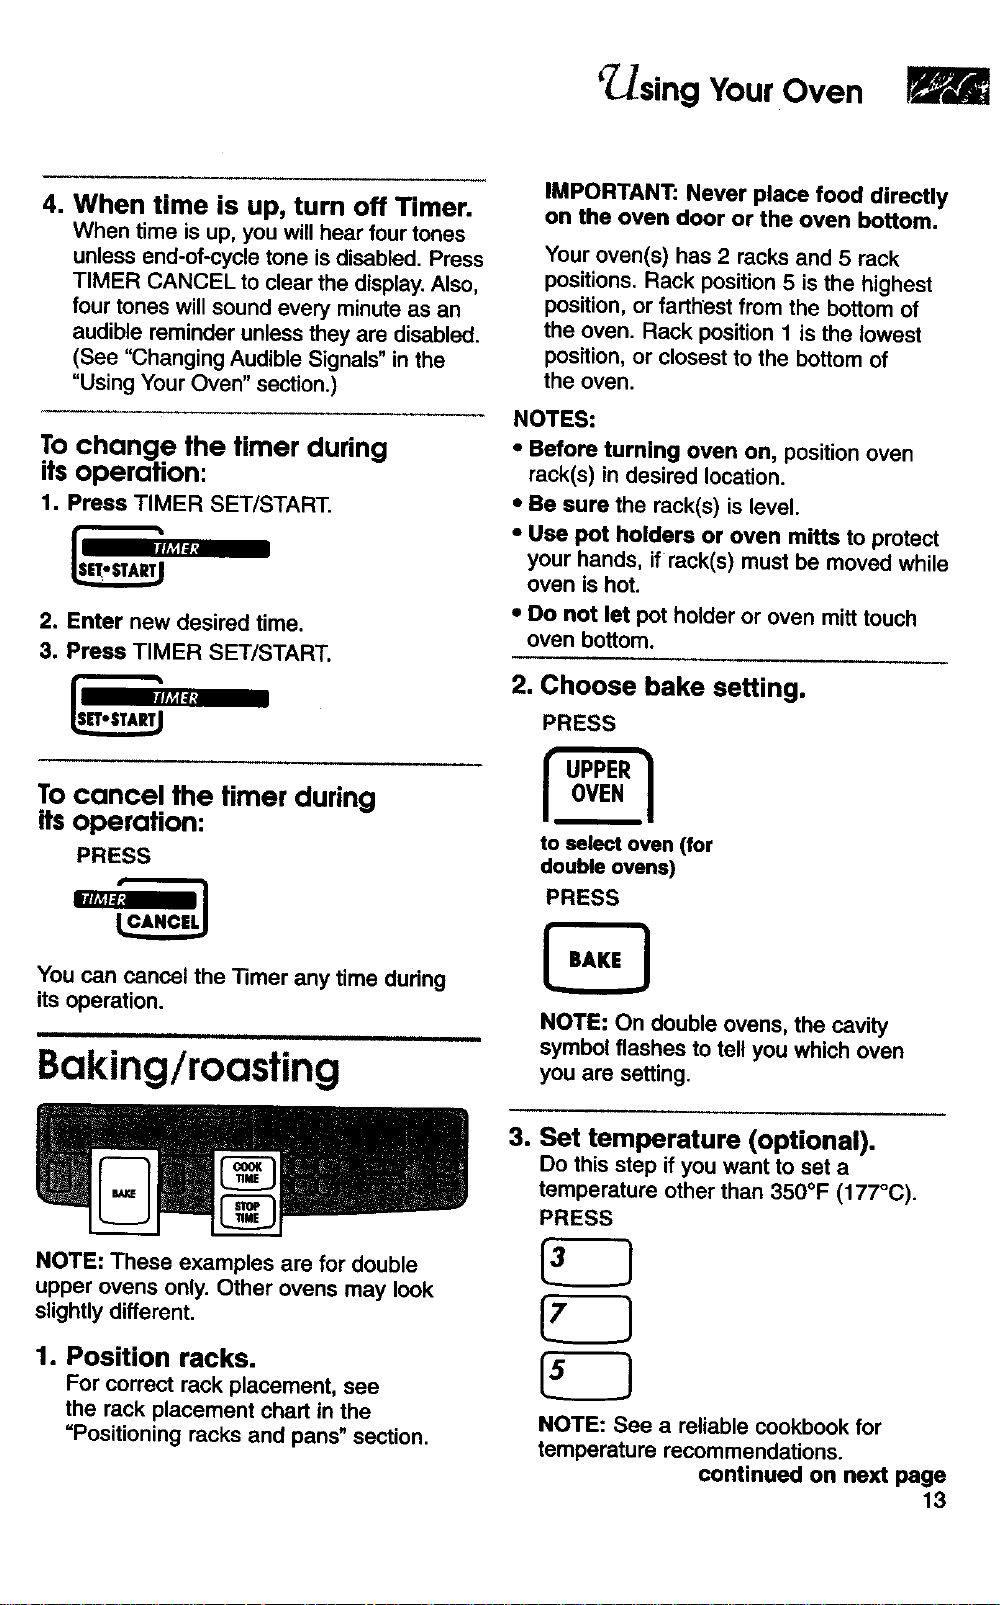
Baking/roasting
NOTE: These examples are for double
upper ovens only. Other ovens may look
slightly different.
1. Position racks.
For correct rack placement, see
the rack placement chart in the
"Positioning racks and pans" section.
IMPORTANT: Never place food directly
on the oven door or the oven bottom.
Your oven(s) has 2 racks and 5 rack
positions. Rack position 5 is the highest
position, or farthest from the bottom of
the oven. Rack position 1 is the lowest
position, or closest to the bottom of
the oven.
NOTES:
• Before turning oven on, position oven
rack(s) in desired location.
• Be sure the rack(s) is level.
• Use pot holders or oven mitts to protect
your hands, if rack(s) must be moved while
oven is hot.
• Do not let pot holder or oven mitt touch
oven bottom.
2. Choose bake setting.
PRESS
to select oven (for
double ovens)
PRESS
NOTE: On double ovens, the cavity
symbol flashes to tell you which oven
you are setting.
3. Set temperature (optional).
Do this step if you want to set a
temperature other than 350°F (177°C).
PRESS
NOTE: See a reliable cookbook for
temperature recommendations.
continued on next page
13
Loading ...
Loading ...
Loading ...