Loading ...
Loading ...
Loading ...
ENGLISH
8
Fig. I 124
State of charge indicator
This appliance includes a state of charge indicator which
consists of three white LED lights that indicate the level
of charge remaining in the battery. This feature is only
activated when the vacuum is poweredon or during a
charge cycle.
The state of charge indicator is an indication of approximate
levels of charge remaining in the battery pack according to
the followingindicators:
The LED battery indicator displays the remaining charge
and warns you when the battery is low. The final LED will
flash continuously when there is only 1 minute of runtime
remaining. All LEDs will flash when the unit isdischarged.
NOTE: The state of charge indicator is only an indication
of the charge left on the battery. It does not indicate tool
functionality and is subject to variation based on product
components, temperature and end-userapplication.
Using an Accessory tool (Fig. J)
Your vacuum may come with some of the following tools.
-Small crevicetool.
-6 Brushtool.
-Pet hair tool.
• The accessory too
l 13 , 14 , 15
can be fitted either
directly to the extension tube 7 or to the vacuum
inlet5 as shown in Fig. J.
• Align the top of the accessory too
l 13 , 14 , 15
with the vacuum inlet5 or extension tube 7 and push
into place so it locks into position as shown in Fig.J.
Fig. J
5
13 7
Cleaning and emptying the vacuum
WARNING: Projectile/Respiratory Hazard:
Never use the vac without itsfilter.
NOTE: The filter is re-usable, do not confuse it with a
disposable dust bag, and do not throw it away when the
product is emptied. We recommend that you replace the
filter every 6–9 months depending on frequency ofuse.
There are two methods of cleaning the canister, a quick
empty method and a thorough clean method.
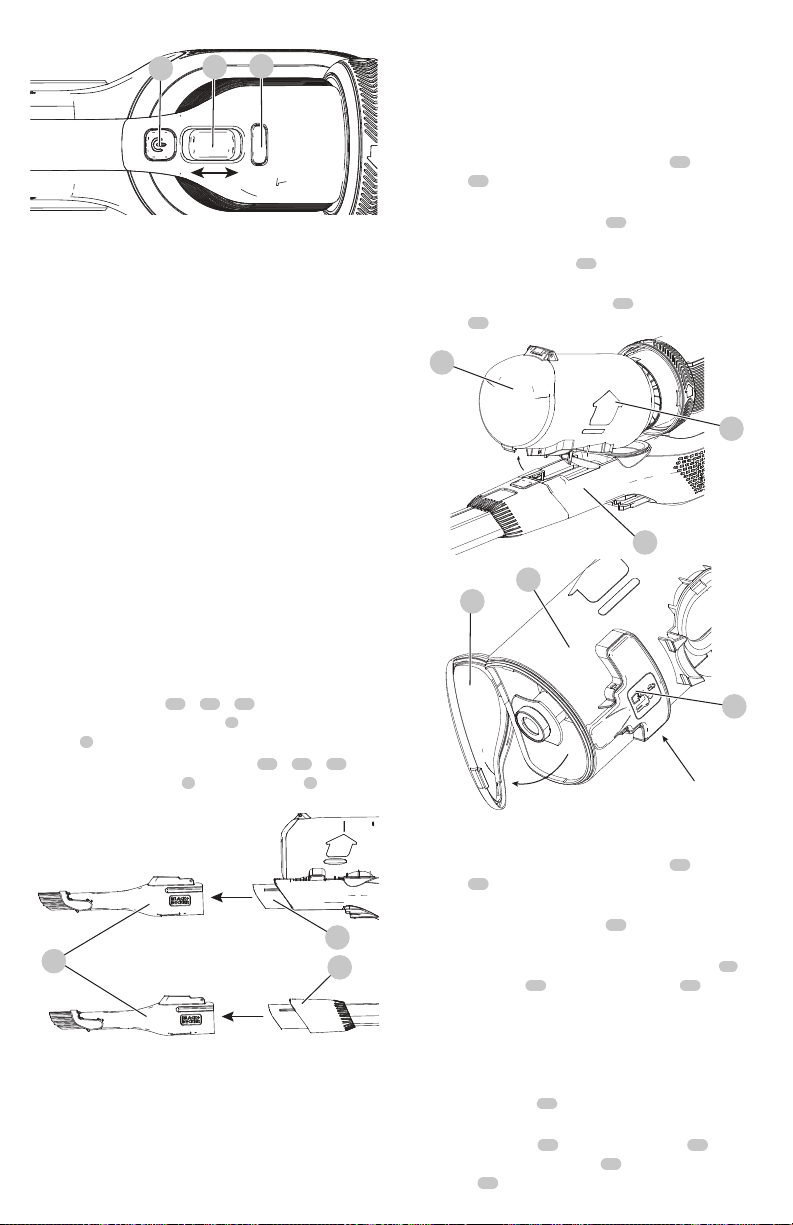
To empty the dust canister (Fig. K, L)
• Lift and remove the lift away dust canister 10 from the
chassis 23 as shown in FigureK.
• Place the dust canister over a trash bin and press the
dust canister lid release button 24 to empty the dust
canister as shown in FigureL.
• Close the dust canister lid 25 , until it
clicks firmly
intoposition.
• Install the lift away dust canister 10 back onto the
chassis 23 .
Fig. K
10
23
25
Fig. L
24
10
25
Removing pre-filter (Fig. K, L, M)
• Lift and remove the lift away dust canister 10 from the
chassis 23 as shown in FigureK.
• Place the dust canister over a trash bin and press the
dust canister lid release button 24 to empty the dust
canister as shown in FigureL.
• Use your index finger and thumb to pinch the pre-filter 26 ,
pull the pre-filter 26 from the dust canister 10 as
shown in Fig. M.
NOTE: The filter housing fits snuggly in the dust canister
and may be difficult to remove at first.
• Empty the dust canister into a trash bin.
NOTE: It is recommended that you agitate the filter
when the pre-filter 26 is removed. See Filter Agitator
section for instructions.
• Install the pre-filter 26 into the dust canister 10
ensuring the dust canister tab 27 aligns with the pre-
filter slot 28 as shown in Fig.M.
Loading ...
Loading ...
Loading ...