Loading ...
Loading ...
Loading ...
NOTE: The device is fully functional while charging when using
an AC power adapter. The device will not charge when it is
outside the charging temperature range (Pro 550 Plus Handheld
Device Specifications, page 5).
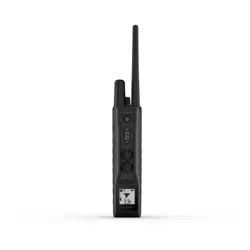
1
Lift the weather cap .
2
Plug the small end of the power cable into the mini-USB port
on the device.
3
Plug the other end of the power cable into a power source.
The status LED is solid red when the device is charging.
4
After the status LED turns solid green, unplug the power
cable from the device.
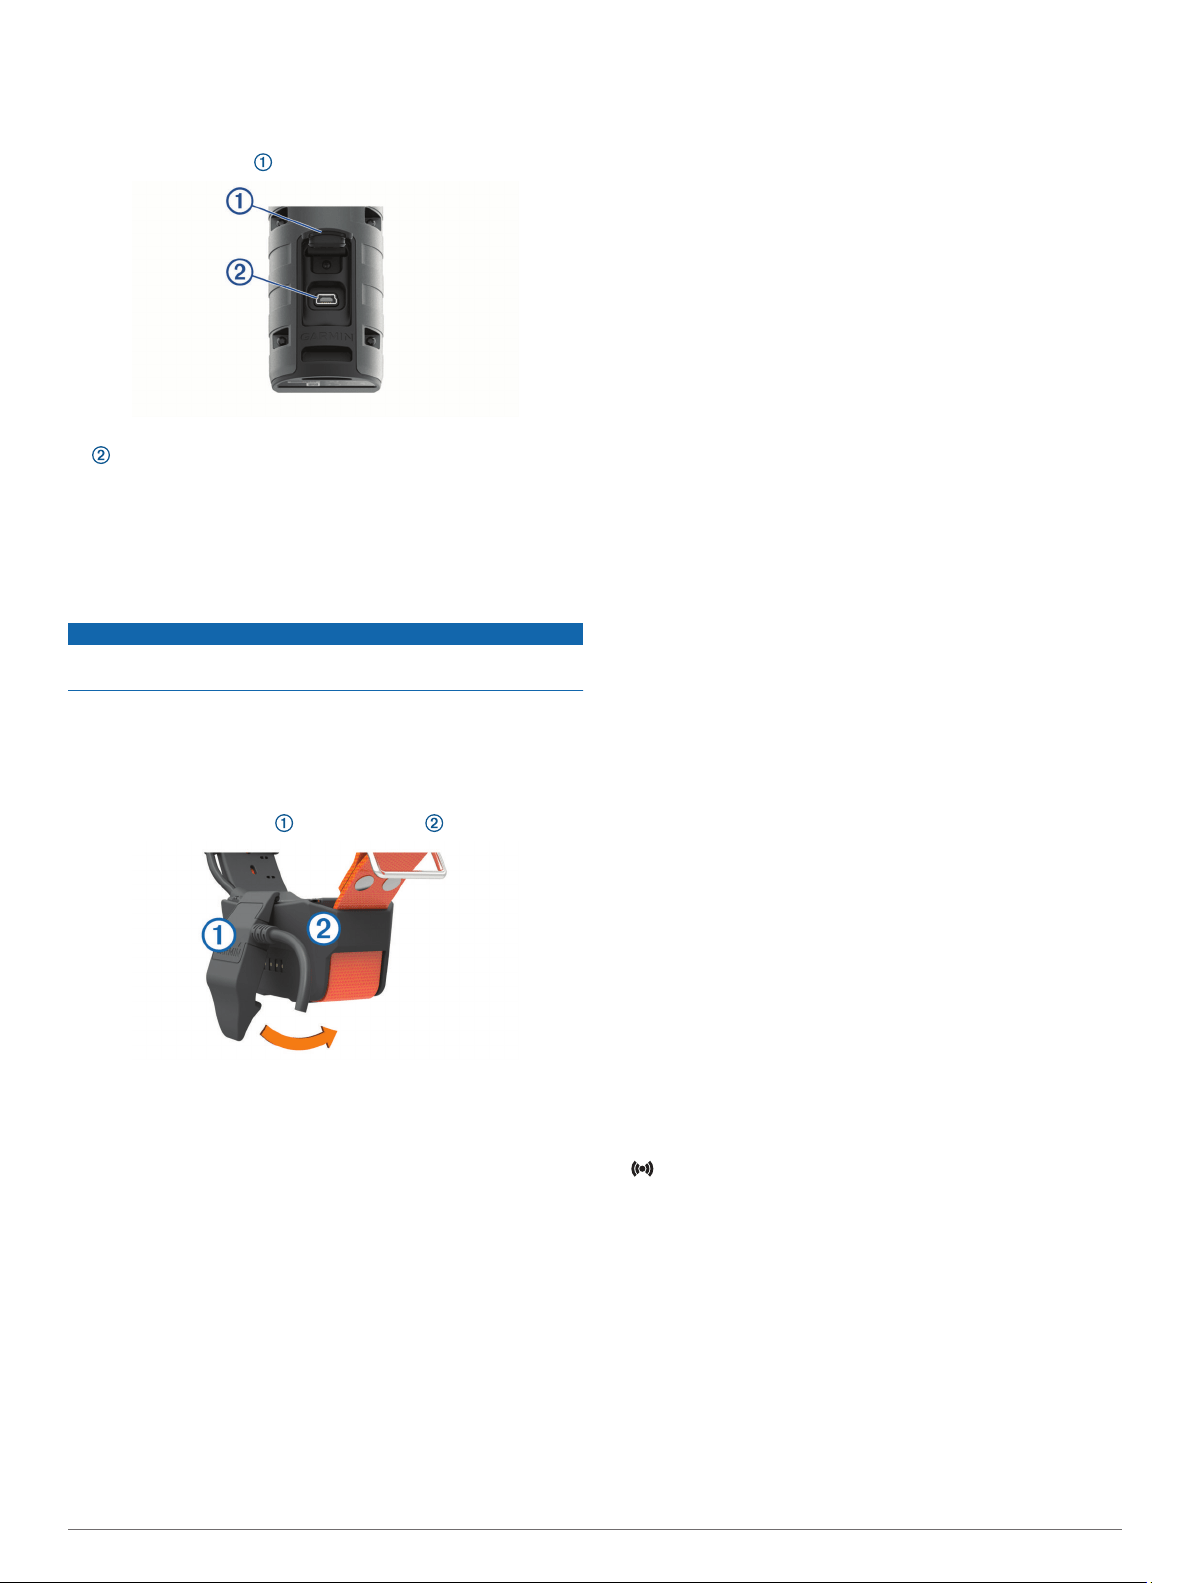
Charging the Dog Collar Device
NOTICE
To prevent corrosion, thoroughly dry the contacts on the collar
and the surrounding area before connecting the charging clip.
NOTE: Your dog collar device may look different than the device
pictured.
You should fully charge the battery before you use the device for
the first time. Charging a fully depleted battery takes about five
hours.
1
Snap the charging clip onto the device .
2
Plug the small end of the power cable into the mini-USB port
on the charging clip cable.
3
Plug the power cable into a power source.
The status LED is solid red when the collar is charging.
4
After the status LED turns solid green, remove the charging
clip from the collar.
Turning On the Device
• On the handheld device, press the power key.
• On the dog collar device, hold the power key until the status
LED flashes and the collar beeps.
Turning Off the Device
• On the handheld device, hold the power key.
• On the dog collar device, hold the power key until the status
LED turns red.
Selecting a Language
NOTE: This option is not applicable for all models.
When you turn on your device for the first time, you will set the
device language.
1
Use the training keys to scroll through the list of available
languages.
2
Press the green tone key to select your language.
3
Press the top training key to confirm your selection.
NOTE: If you need to change the language after initial language
selection, you must reset the device to default settings
(Resetting the Handheld Device to Default Settings, page 8).
Acquiring Satellite Signals
NOTE: This device is intended for outdoor use only. Satellite
reception requires a clear line of sight to the sky. GPS accuracy
may be affected if you use the device indoors.
Both the dog collar device and the handheld device must
acquire satellite signals before you put the dog collar device on
your dog. Acquiring satellite signals can take a few minutes.
1
Go outdoors to an open area.
2
Turn on both devices (Turning On the Device, page 2).
3
On the handheld device, select a paired collar with the toggle
switch.
When the dog collar device has acquired satellite signals, the
status LED flashes a double-blink or triple-blink in green. When
the handheld device has acquired satellite signals and
communicated with a paired dog collar device, it displays status
information for the dog collar device (Handheld Device Screen,
page 1).
Dog Collar Device
You can use up to 3 dog collar devices with a single handheld
device.
Each dog collar device must be paired with the handheld device
before it can be used. During the pairing process, each dog
collar device is associated with a different color on the handheld
device.
Pairing a Dog Collar Device with the Handheld Device
NOTE: If your handheld device and dog collar device were
included in the same package, the devices are already paired.
1
Turn on the handheld device (Turning On the Device,
page 2).
2
Select a color with the toggle switch.
The dog collar device will be assigned to this color.
3
Turn the intensity dial to N.
4
Select the green tone key.
5
Select the top training key.
6
Follow the on-screen instructions to select auto, tree, or point
for the type of dog wearing the collar.
appears on the handheld device screen. The handheld
device is ready to pair. You can cancel pairing by pressing
the green tone key.
7
If the dog collar device is on, turn it off (Turning Off the
Device, page 2).
8
Hold the power key on the dog collar device until it emits two
series of beeps (about 2 seconds), and then release the
power key.
The status LED flashes green rapidly. You can now pair the
dog collar device with the handheld device.
The handheld device vibrates and a check mark appears on the
screen when the devices have paired successfully.
TIP: You must obtain GPS signals on both devices before the
handheld device displays the dog collar device battery status,
distance, and direction (Acquiring Satellite Signals, page 2).
2 Getting Started
Loading ...
Loading ...
Loading ...