Loading ...
Loading ...
Loading ...
11
3. Choose the desired system language, and tap “Next”.
4. Choose the desired time zone, and tap “Next” to enter the WLAN setup page.
5. Slide the switch to ON, the system starts searching for all available wireless
LANs. Choose the desired WLAN access point / network,
• If the network you chose is open, you can connect directly;
• If the selected network is encrypted, you have to enter the right security
key (network password).
*Note: If you choose “Ignore” in WLAN setup, it will go into the date seng page. If the
tool has been properly connected to the Internet, the system will automacally obtain
the correct network date and me and navigate to step 6.
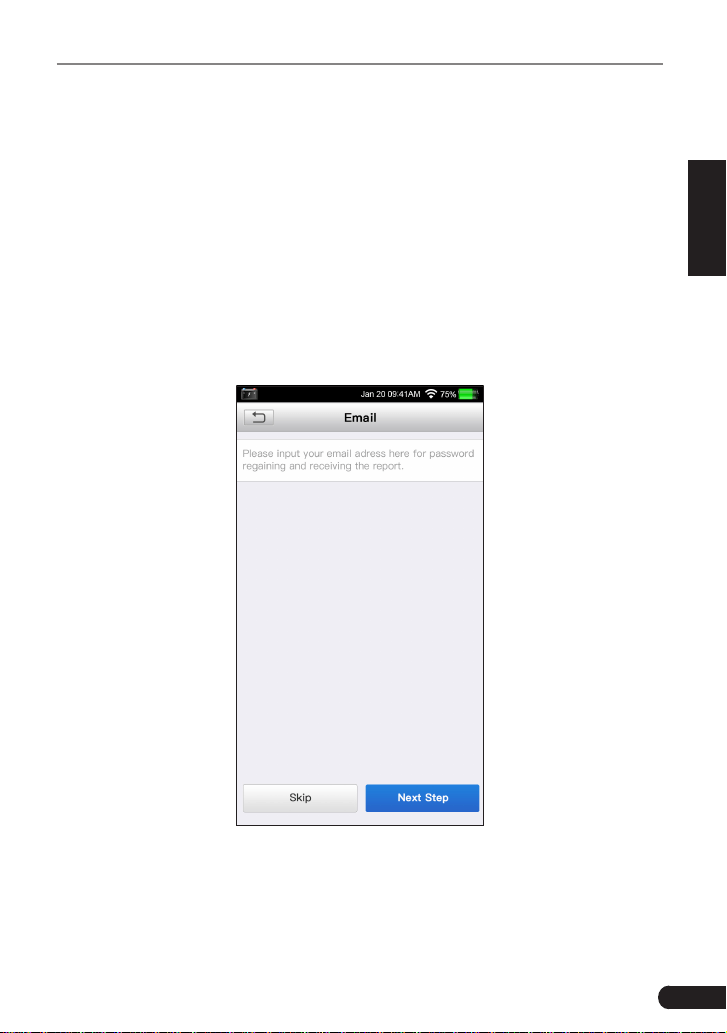
6. After the network connection is done, tap “Next” to congure email address.
Input the email address, and tap “Next” to navigate to the Job menu.
Figure 4-2
*Note: You are strongly recommended to fill in the valid email address. Once you
congured this opon, the system will automacally send the diagnosc report to your
email box every me a complete Auto-Detect process is successfully nished.
Loading ...
Loading ...
Loading ...