Loading ...
Loading ...
Loading ...

8VLQJ<RXU&DPHUD
3.
Using the Camera
3.1
Photo Shooting
Power the camera on and it will be ready to take pictures right away. You
may press the MODE button to switch to another mode.
1.
Line up your shot by looking at the LCD screen to see what is in the shot.
2.
Hold the camera steady and press the SHUTTER button to capture a photo.
3.
The number of photos that can be captured at a particular resolution
will be displayed in the top right corner of the screen.
4.
A “Memory Full” message will be displayed on the screen if there is no SD
card inserted in the camera’s memory card slot. A “Memory Full” message
will be shown on the screen when the SD card is full.
5.
The number of remaining photos is determined by the selected photo
resolution. The higher the photo resolution, the lower the number of photos
you are able to be save to the memory card. Before capturing any photos,
you can select a preferred photo resolution.
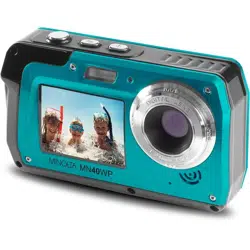
The front LCD screen can be used to take selfies. Simply press the SWITCH
SCREEN button and the front LCD screen will turn on. Then use the camera
as normal. Press the SWITCH SCREEN button to turn the rear LCD screen
back on.
Note: Only one LCD screen is active at a time, when one of the screens is
off, this is not a malfunction.
3.1.1
Scene
This function adjusts the camera’s settings to predetermined values that will
produce the best image for that selected scene.
1.
In Photo Mode press the SETTINGS button.
2.
Select ‘Scene’ using the LEFT or RIGHT buttons.
3.
Press the UP or DOWN buttons to navigate the menu, and press the OK
button to confirm your selected option (Auto, Scenery, Portrait, Night
Scenery, Night Portrait, High Sensitivity, Sport, Beach, Party).
4.
Press the MODE button to exit the settings menu.
3.1.1 Image Resolution (Photo Size)
This function sets the photo resolution. The higher the resolution, the greater
the photo quality and the larger the file size of the photo.
1.
In Photo Mode press the SETTINGS button.
2.
Select ‘Image Resolution’ using the LEFT or RIGHT buttons.
3.
Press the UP or DOWN buttons to navigate the menu, and press the
OK button to confirm your selected resolution (48MP, 30MP, 24MP,
20MP, 16MP, 12MP, 8MP, 7MP, 5MP, 3MP, 2MP).
Loading ...
Loading ...
Loading ...