Loading ...
Loading ...
Loading ...
13
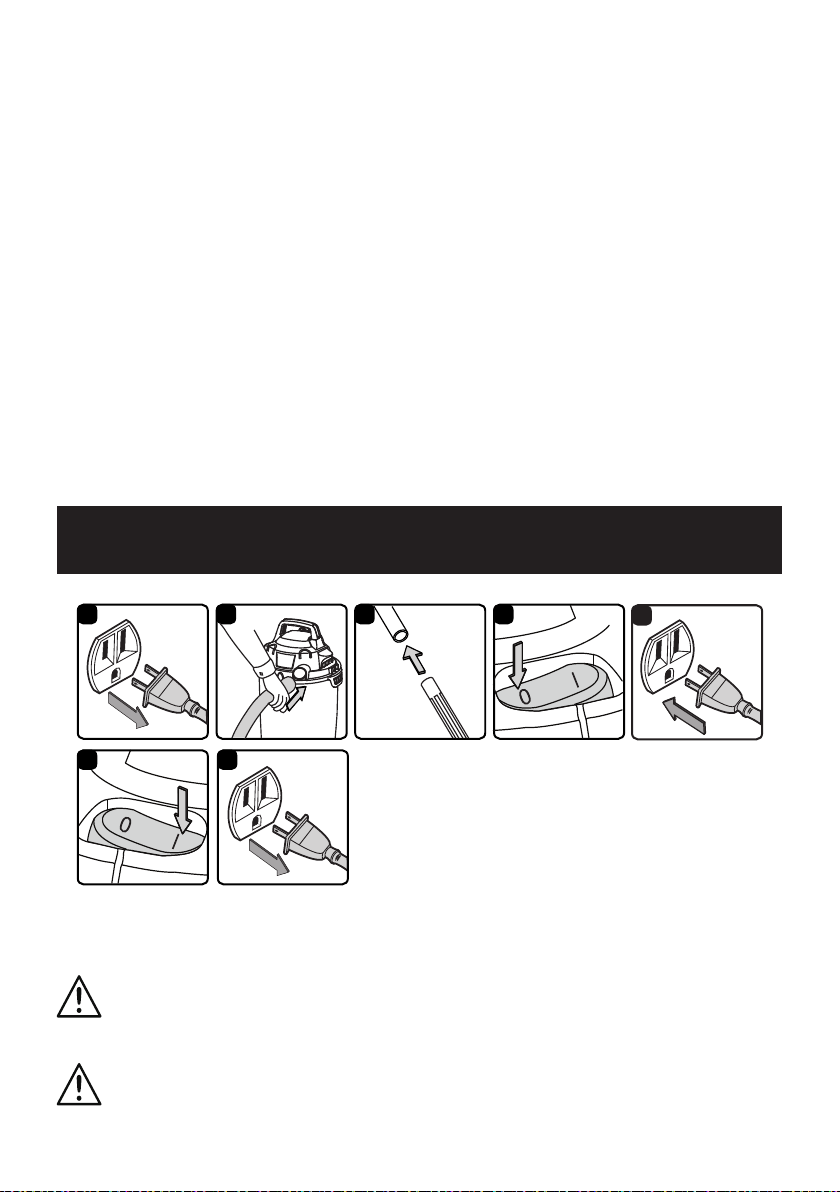
5. Verify that the switch is in the ‘O’ OFF position before plugging the power cord into the power outlet.
Plug the power cord into the outlet (Fig. 5 & 6).
6. Turn the motor on by ipping the switch to the ‘I’ ON position (Fig. 7).
7. Once you have completed vacuuming, ip the switch to the 'O' OFF position and unplug the power
cord from the outlet.
8.
After use, empty the collection tank, clean and dry the inside and outside of the collection tank (Fig. 8).
IMPORTANT! When vacuuming large quantities of liquids, do not immerse the nozzle completely in
the liquid; leave a gap at the tip of the nozzle opening to allow air inow. The machine is tted with a
oat valve that stops the suction action when the collection tank reaches its maximum capacity. You
will notice an increase in motor speed. When this happens, turn off the machine, disconnect from
power supply, and drain the liquid into a suitable receptacle or drain. To continue vacuuming, ret the
powerhead to the collection tank. After wet vacuuming, turn the machine o and remove plug from
power supply. Empty the collection tank, clean and dry the inside and outside before storage.
REMEMBER! The foam wet lter must be removed after wet vacuuming and the reusable cloth lter
must be installed before dry vacuuming again.
1 2 4
5
3
6 7
This Wet/Dry vacuum has blowing capabilities. To use the blower feature, follow the instructions listed
below.
BLOWER OPERATION
WARNING:
ALWAYS WEAR SAFETY GOGGLES COMPLYING
WITH ANSI Z87.1 (OR IN CANADA, CSAZ94.3) BEFORE USING BLOWER.
WARNING:
KEEP BYSTANDERS CLEAR FROM BLOWING
DEBRIS.
Loading ...
Loading ...
Loading ...