Loading ...
Loading ...
Loading ...
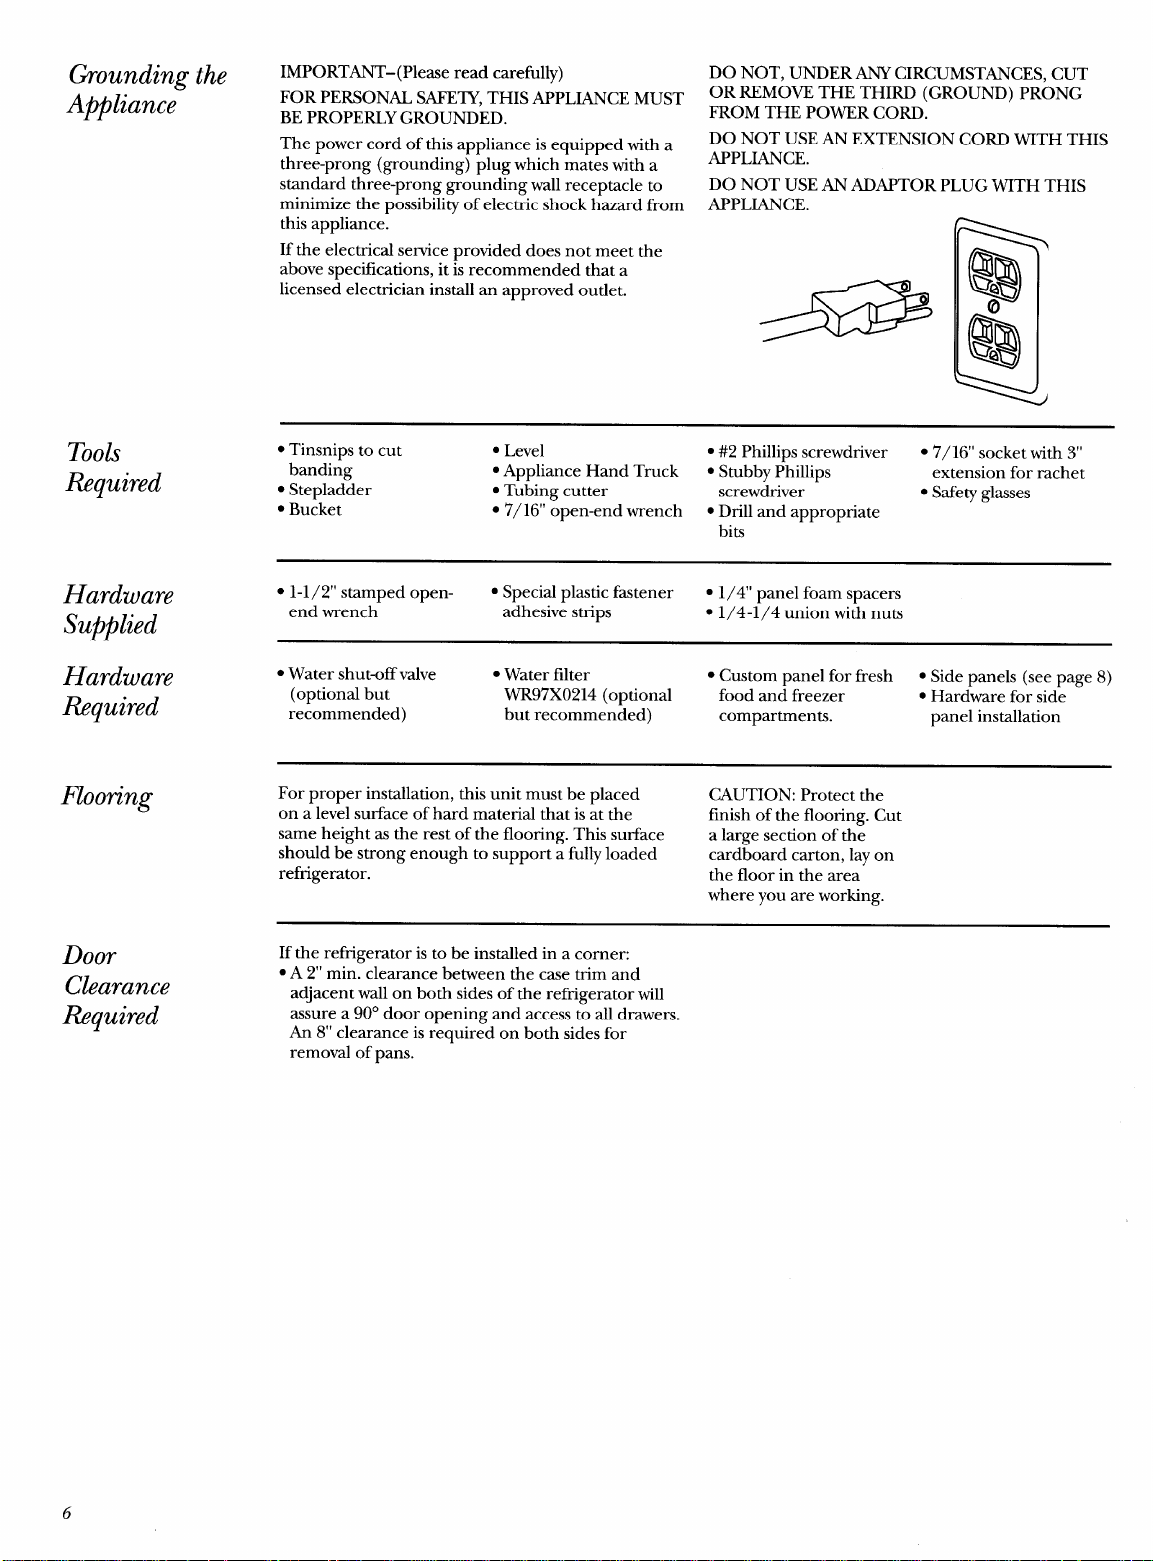
Grounding the IMPORTANT-( Please read carefully)
Appliance FOR PERSONAL SAFETY, THIS APPLIANCE MUST
BE PROPERLY GROUNDED.
The power cord of this appliance is equipped with a
three-prong (grounding) plug which mates with a
standard three-prong grounding wall receptacle to
minimize the possibility of electric shock hazard from
this appliance.
If the electrical service provided does not meet the
above specifications, it is recommended that a
licensed electrician install an approved outlet.
DO NOT, UNDER ANY CIRCUMSTANCES, CUT
OR REMOVE THE THIRD (GROUND) PRONG
FROM THE POWER CORD.
DO NOT USE AN EXTENSION CORD WITH THIS
APPLIANCE.
DO NOT USE AN ADAPTOR PLUG WITH THIS
APPLIANCE.
Tools
Required
●Tinsnips to cut ●Level ●#2 Phillips screwdriver ●7/16” socket with 3“
banding “Appliance Hand Truck ●Stubby Phillips extension for rachet
●Stepladder .Tubing cutter screwdriver ●Safety glasses
cBucket ●7/16” open-end wrench ●Drill and appropriate
bits
Hardware s1-1/2” stamped open- .Special plastic fastener ●1/4” panel foam spacers
Supplied end wrench adhesive strips .1/4-1/4 union with nuts
Hardware ●Water shut-off valve ●Water filter ●Custom panel for fresh ●Side panels (see page 8)
Required (optional but WR97X0214 (optional food and freezer ●Hardware for side
recommended) but recommended) compartments. panel installation
Flooring For proper installation, this unit must be placed CAUTION: Protect the
on alevel surface of hard material that is at the finish of the flooring. Cut
same height as the rest of the flooring. This surface alarge section of the
should be strong enough to support afully loaded cardboard carton, lay on
refrigerator. the floor in the area
where you are working.
Door
Clearance
Ii%quired
If the refrigerator is to be installed in acorner:
●A2“ min. clearance between the case trim and
adjacent wall on both sides of the refrigerator will
assure a90° door opening and access to all drawers.
An 8“ clearance is required on both sides for
removal of pans.
6
Loading ...
Loading ...
Loading ...